
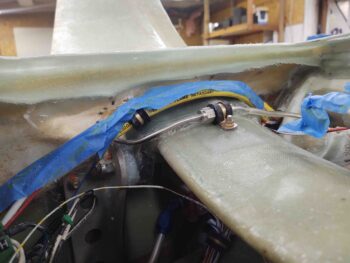
I started today with 3 layup goals… the first was the 4-ply BID layup in the front left corner to beef up and secure the hell hole perimeter flange at that point. Much like I did on the right front corner, where I mounted the LIDAR radar altimeter,
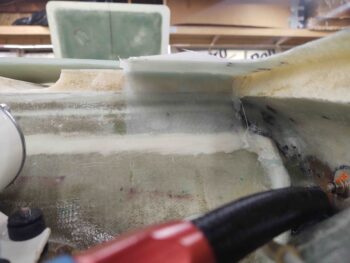
The second layup was rather entailed. Not necessarily in the layup itself, but in the prep of the flange area and hell hole sidewall beneath (as situated with the fuselage inverted, technically “above”) the flange. With not much foam and sidewall real estate along that strip, I wanted to ensure I got every bit of strength possible out of the glass. To achieve this I created a flox (ok, flocro) fillet along the edge farthest from the opening (just above the blue tape in center of pic below). Finally, although I wanted this area to be strong as possible I still went with only 3 plies of BID (prepregged for layup) to create a flange with 5 plies total.
I should note the odd occasion that I did NOT peel ply this entire layup, but only a couple of inches at the aft corner where there will be some glass overlap from the aft flange layup.
I then got busy on the 3rd and final layup of the day: the NACA scoop that will be at the aft base of the RAM air scoop bump just forward of where the bottom cowl meets the bottom fuselage.
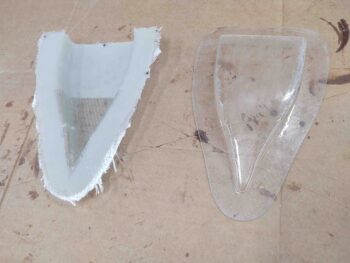
I had bought a plastic NACA scoop from ACS and attempted to tape it up to use it as a form. I tried a number of times and just couldn’t get the tape to lay down into the corners as I wanted, so I punted on the tape and merely applied a couple of coats of car wax as a mold release.
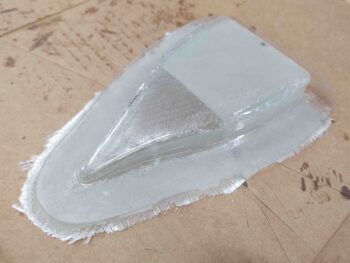
I then laid in a ply of 3″ wide peel ply across the aft side and flanges before laying up 3 plies of glass: BID-UNI-BID. I then repeated the peel ply application on the top side of the layup.

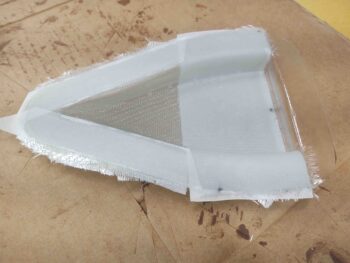
After it cured about 3/4 of the way, I tested the new glass NACA scoop for its releasability out of the mold. It did not look promising. Thus, I went ahead and pulled the NACA out of the mold and distorted it quite a bit while getting it out of the mold.
After finally getting it extracted, I cleaned up the plastic NACA scoop that I was using as a mold and then used it –as well as visually– to straighten out the quite distorted, partially-cured NACA scoop.
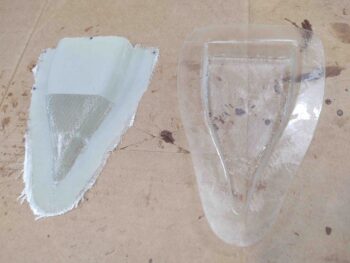
And here we have the NACA scoop even a few hours later, cured in its appropriate shape.
It may seem like only a few simple layups got accomplished, but each one of the last 2 layups took multiple hours each to prep, setup, cut glass, and layup.
Tomorrow I plan on continuing my hell hole flange layups as I transition into mounting the RAM air scoop.