
Today was a fairly light build day, although I did get the left side interior hell hole flange glassed, which took a bit to get it trimmed, shaped, sanded and prepped for glass.
I started off by installing a CAMLOC receptacle in the #2 of 4 hardpoint position along the right hell hole flange. I then installed a screw nutplate at the #3 position.
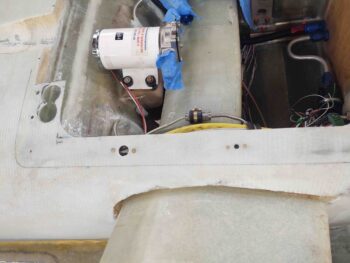
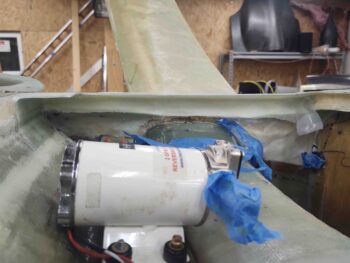
Here you can see some of the CAMLOC receptacle and the nutplate, both riveted in place to the hell hole right side flange. Also note that the flange has been trimmed and sanded to pretty much its final configuration.
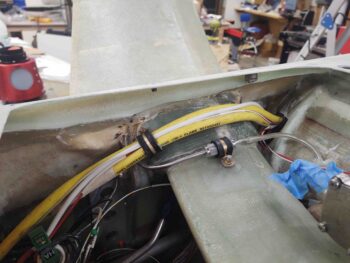
Here we have the clecos installed in the remaining positions to give a better perspective of the CAMLOC and screw install to secure the hell hole hatch cover in place.
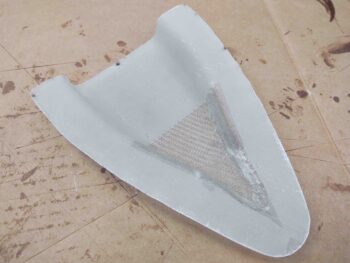
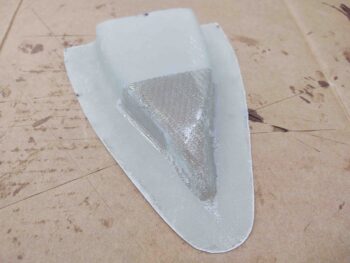
Here’s another shot of the NACA scoop that will get installed during the final push on the RAM air scoop install. Today I finally got around to trimming up the edges of the NACA scoop.
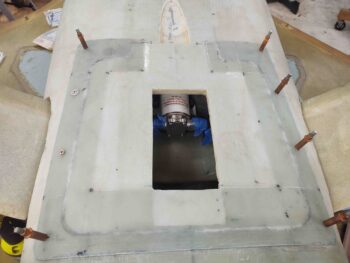
Finally, here we have the 3-ply BID layup along the left inside hell hole flange. After spending a good bit of time trimming the lower wall (as situated, actually upper) glass edge and shaping the foam, I again created a flocro edge along the seam with the lower glass wall.
When I laid up the prepregged glass I overlapped it a bit at each corner end. And I did add a bit more peel ply on this layup: the aft corner and bit in the middle, but most of it was still left UN-peel plied.
I then left this layup to cure overnight.