
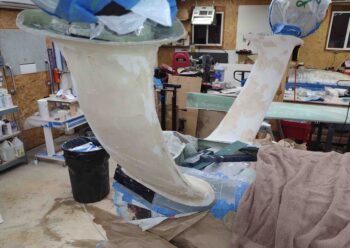
I started off today by whipping up a mixture of micro and West 410 in a ratio of about 20% micro to 80% West 410 to do some significant refills on the main gear micro finish.
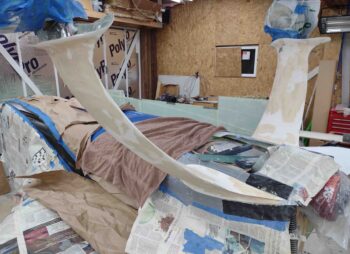
In many respects, on good portions of the gear legs I did what could be best described as a skim coat since I had some major areas of the original fill that were a bit thin. In the remaining spots I was much more targeted in my refills.
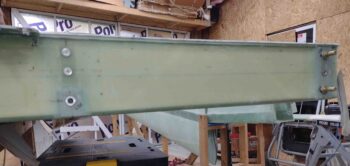
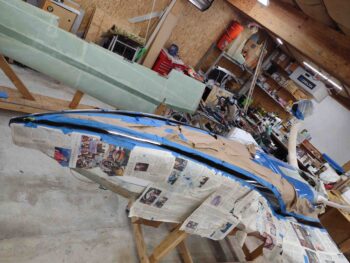
I then got busy to knock out the wing/strake junction lip internal 2-ply BID layup. I did a final sanding and cleanup before laying up the prepregged 2-ply BID tapes, and then applying peel ply to the layup. Here is the final result.
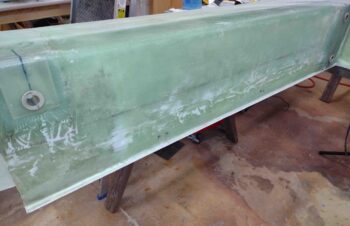
I then did the same thing on the bottom lip of the left strake. I used MGS 335 with fast hardener, and as I mentioned before, it cured so fast that I failed to get pics of the layups and peel ply before having to pull the peel ply and razor trimming the glass edge while still just pliable enough to cut a bit easier. So below is the final result on the strake side.
Regardless, these inside reinforcement BID tapes on the wing/strake junction lips are finished for all the bottom edges.
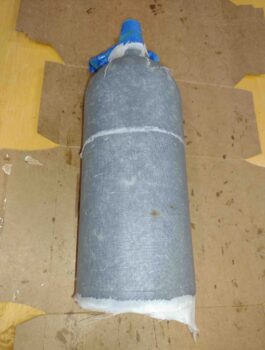
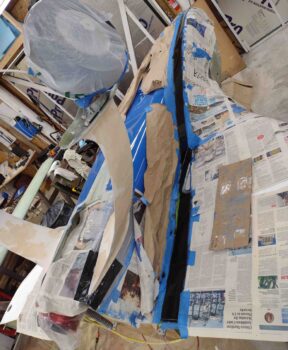
I then did a sideline task in prep for when the fuselage is back upright… a pre-strake closeout task: glassing a mounting bracket for the Mountain High Oxygen bottle. This mounting bracket/sleeve is an attempt to lighten up the Oxygen system by replacing the metal mounting brackets that weigh in at well over half a pound.
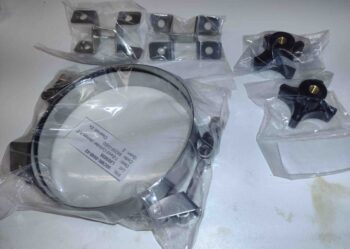
It should also make pulling and replacing the bottle for refilling much easier than using the stock metal mounting brackets.
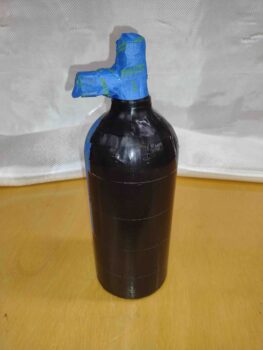
Since I wanted to be able to get the bottle out of the glassed sleeve after I laid up the glass, I decided to make it in 2 parts to be combined after it was removed from the bottle, which is acting as a mold plug. My glass layup schedule for this bracket is 2 plies of UNI with 2 plies of BID.
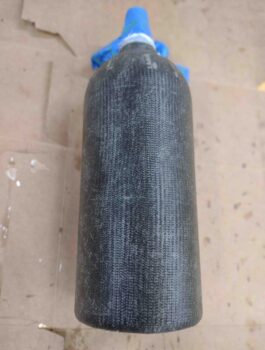
After laying up the UNI-BID-UNI-BID glass, I then peel plied the layup and set it aside to cure.
I then spent well over an hour sanding down the black accent stripe on each side of the nose/fuselage/strake in prep for a second coat. I then mixed up some black paint and painted the second coat of black on the nose/fuselage/strake accent stripe.
I wanted to get this second coat of black on the accent stripe painted tonight so that tomorrow it will be cured enough to allow me to sand the micro refill on the gear legs.
I used a different brush on this round of black painting to tip it, and I will note that it worked much better than the expensive brush I bought specifically for this purpose.
Moreover, the wet sanding really knocked down the rough spots and provided a good base coat of black for this second coat. But I did note after this second coat cured a bit that it will need one more round of sanding to really get it to final smooth with a final/third coat of black. I plan on doing that Monday.
I’ll concurrently work the gear leg finishing and priming with the final coat of black on the accent stripe, then the 2 coats of white paint minimum on the bottom of the nose, fuselage and strakes. I’m thinking by next weekend this fuselage will be really close to being ready to be flipped back upright.