
I started out very early this morning by cutting BID for 2 each 2-ply BID tapes for the wing-to-strake interface lips on the interior corners of both the right wing and right strake. These BID tapes are about 1″ wide.
I first laid up the wing side junction lip corner 2-ply BID tape after creating a micro fillet in the corner gap between the curved wing corner edge and the lip. Since this is a cosmetic piece I’m not going to bother with adding more weight with flox… micro will do.
The main thing that this added glass does is ensure that the lip glass doesn’t peel off if I miscalculate while installing or removing the wing and smack it. I would rather have to fill a ding than replace glass and do more micro and paint work.

As you can see, I then pretty much did the same thing on the strake side, except this layup was upside down.
I used MGS 335 with fast hardener, and boy was that sucker fast! Here they are a few hours later with peel ply pulled and razor trimmed.
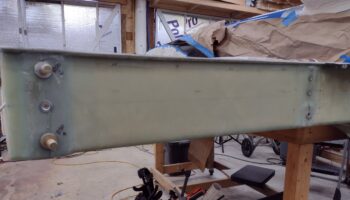
The weather today called for overcast and/or partly cloudy, but no rain at all. I moved the right wing outside onto my wing sawhorses and then proceeded to take the left wing off. It was a tad fiddly but not bad at all… again, I’m very glad I reversed the inboard wing bolt as it makes it much easier getting the wings on and off.

Here’s a shot of the wingless bird ready to get moved outside.
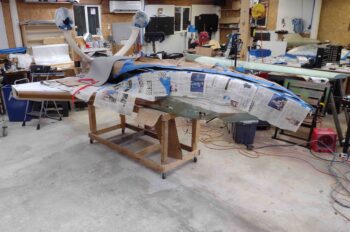
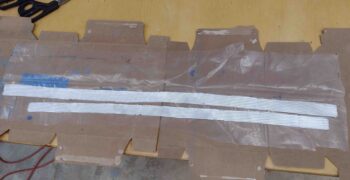
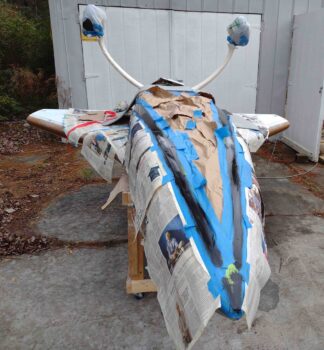
The plan was to move the fuselage outside to sand down the micro on the gear legs and keep from making a mess in my shop. I added paper and cardboard to protect the black and blue paint (or so I thought! See below…) and was ready to rock and roll!
I took this shot just after I moved the fuselage outside.
Then . . .
5 minutes later the sky opened up with a very steady downpour of rain. I scurried to get plastic over the gear legs, but it drenched all my fuselage protecting paper, etc.
Needless to say I was super pissed…. The rain subsided in about 15 minutes, but it continued to mist for a good half hour more.
 The problem was that I was already a day or two overdue on getting the micro on the gear legs sanded. And although I mixed in West 410, it was getting tougher to sand every day. So after the actual rain stopped I started sanding, but had to clear out my boards quite often since of course the rain got all my sanding boards wet.
Not only was I trying to get this micro knocked down, but I wanted to get back on schedule with painting the fuselage/nose/strake black accent stripe.
I was also due to depart in a couple of hours for an early night out with Jess… so I was behind the power curve and rushed. Not always a good combo. And it wasn’t.
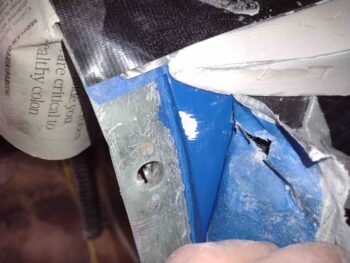
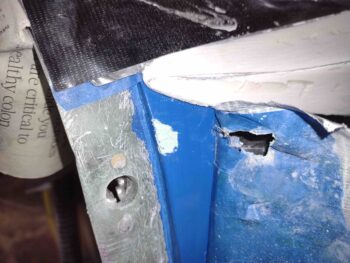
In my flurry to get the micro on the gear legs sanded, I got a bit too aggressive with my sanding board and cut through 2 plies of duct tape and a ply of blue painters tape, nicking the back edge of the fuselage right at the firewall.
Needless to say, I was really pissed off at this point.
After I returned from dinner I applied some Metal Glaze to the paint wound.
A while later I sanded down the filler and then applied white primer to the patch. I’ll sand down the primer in the next day or so, and when I do the final coat of blue on the canopy frame I’ll add a dollop here.

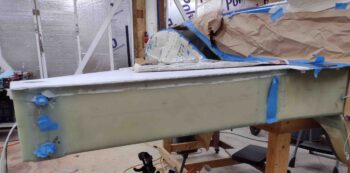
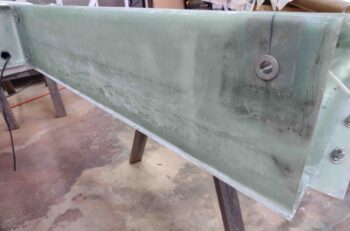
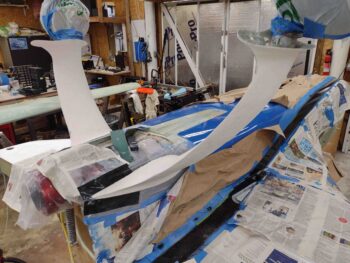
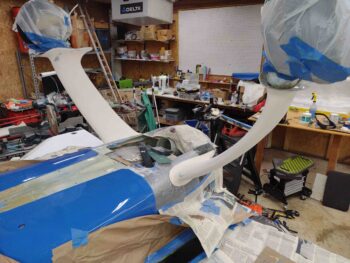
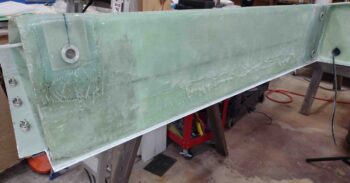
The last thing I did for the evening was to remove all the foam and tape from the strake-to-wing intersection lip on the left wing (forgive my atrocious wing glass here… it was very early on in the build when I was still a huge noob). I also did the same on the aft side of the left strake, although I didn’t get a pic of it.
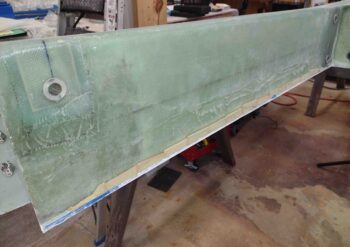
Here it is cleaned up and ready for glass.
With that, I called this work day over.