
I started out today sanding down the primer I applied yesterday on the nose gear strut.
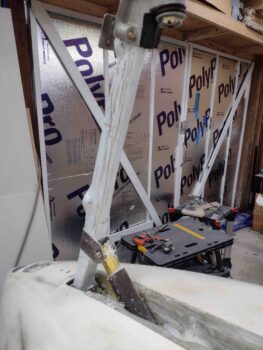
I also cleaned up the wheel well a bit more, including some primer applied in there as well. In addition I sanded the nose gear strut well… all except the area covered by the nose gear actuator.
I then finished priming the nose gear wheel and strut wells.
I then slathered on another round of white primer on the nose gear strut with its first coat of white paint.

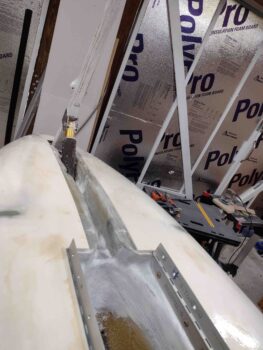
I also applied another round of white primer to the inside surface of the nose gear doors and strut fairing as well, but didn’t grab a pic of those components.
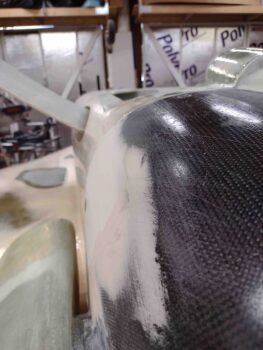
I then spent a good 45 minutes cleaning up the interface between the aft/bottom fuselage and bottom cowling to allow me to re-install the bottom cowling.
I also took a few minutes to annotate the stud lengths of all the CAMLOCs that secure the cowling in place.
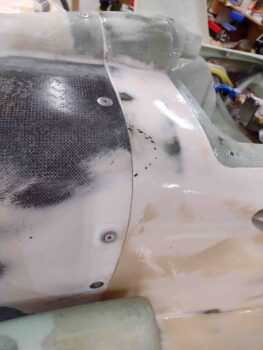
Note the bottom cowling side CAMLOC in place with its new reinforced floxed hole edge.
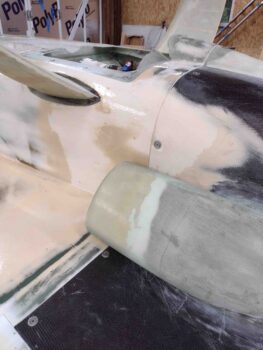
The right side looked good, although I had to do some slight sanding on the bottom right corner of the cowling to get the elevation dialed in with that and the lower right fuselage corner.
Here’s a shot from the front… note the indentation at the side fuselage and cowling is pretty much gone. Mission complete!
Although with that said, sadly I have a couple of minor tweaks I need to do on the left side cowling and aft fuselage…. with a couple of West 410 filler added fills on the aft fuselage. One at the corner since there is a slight elevation mismatch with the fuselage corner low, causing the cowling corner to jut out into the wind slightly (about 30-40 thou of an inch).
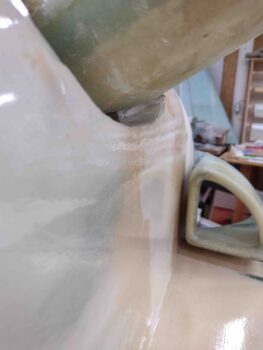
The other area is behind the armpit air intake scoop… as pictured below, from about even with the lower CAMLOC down to the corner with the strake. About a 1/16″ thickness needs to be added in to match the bottom cowling sidewall. Again, all to help eliminate the indentation at this point.
Note the bottom cowling side CAMLOCs in place with their new reinforced floxed hole edges.

The lower (“upper” as situated here) refill was a fairly quick kill, so I marked the slightly depressed area on the bottom lower left corner of the fuselage.
Then sanded the epoxy wiped aft lower fuselage corner to provide a nice textured surface for the West 410 to grip to. I also taped up the front edge on the bottom cowling.

I then whipped up some West 410 and applied it to the lower aft left corner of the fuselage.
After I sand and contour this to the correct shape tomorrow, I’ll then remove the bottom cowling and work the other area requiring attention on this side.
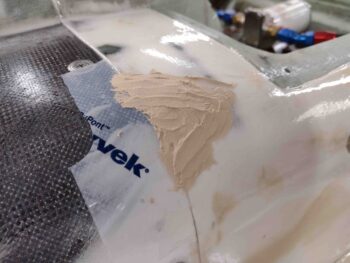
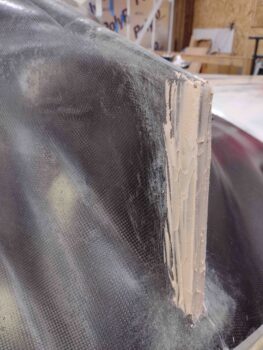
Of course you can never mix up just what you need (at least I can’t!), so I had some West 410 filler left over. Not wanting to waste it I applied it to the back tip of the bottom cowling boat tail, which definitely needed some love.
I then left this West 410 refill to cure overnight, closed up the shop and spent another good hour+ doing research on my Epifanes 2-part polyurethane paint application process before calling it a night.