
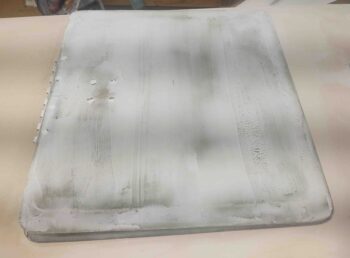
I started off today by removing the landing brake, sanding the edges and prepping it for micro finish. I didn’t use any West 410 on the landing brake since I wanted it to have a bit tougher shell (at least in theory) since it deploys down into the airstream. I then set it aside to cure.
I then taped up the intersection between the bottom left strake and the bottom left wing with the thicker Gorilla duct tape. After the tape was in place I then applied flocro with West 205 (fast) hardener at the edge of the wing-to-strake junction… about an inch wide.
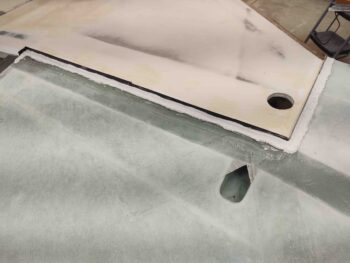
As I did on the strakes, I then started my West 410/micro fill on the bottom left wing from the outboard end… leaving the outboard area open for the upcoming winglet-securing glass. Again, this gave the inboard flocro edge time to cure and firm up before getting bombarded with micro, as a sort of flocro dam if you will.
As I progressed through the bottom left wing “micro” fill I would occasionally take a moment to pull off the perimeter blue painters tape to ensure it didn’t get ensnared in the curing/hardening micro. I also did the same with pulling off the Gorilla duct tape from the seam between the wing and strake.
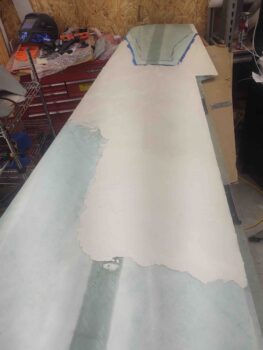
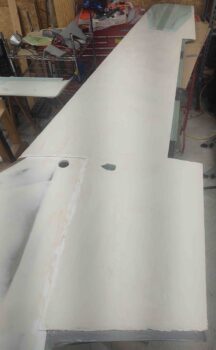
Here we have the micro leading edge on the bottom left wing.
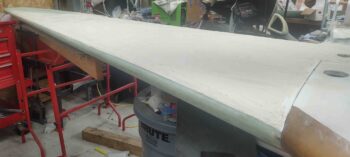
It took 9 batches overall at 5 pumps of West epoxy/206 hardener, except for the very last batch where I used 6 pumps.
I have to say I’m very pleased with the “micro” finish on the bottom left wing… not sure how much I’ll be saying that tomorrow though when I start sanding it!
I’ll add that I also did one last touch-up West 410 application on the bottom/forward fuselage and nose to allow that to cure overnight as well.