
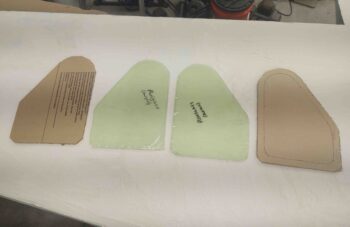
I started off today by cutting out 2 plexiglass 1/8″ GIB strake window panels to replace the 3/16″ airline window panels I had cut out earlier. At 3/4-pound a piece the aircraft windows were heavy, and reading a CSA write-up discussing Lexan vs Acrylic (aka “plexiglass”) I realized I should be using plexiglass, which is significantly lighter and interestingly less prone to scratching. I say interestingly because while it may be less prone to getting scratched (and repairable when it is), it is a royal PITA to cut… I cracked #1 and #3 attempts at cutting these out! And the last 3 were all clamped to backer boards!
BTW, total weight on the plexiglass is a little over 10 oz. while the combined weight of the 3/16″ panels (again) is 24 oz. That’s a big weight savings in my book.
I then got busy on the bottom left wing “micro” finish. I first sanded down a good bit of the flocro edge seam that the wing shares with the strake. It took a good bit to whittle it down, and I then left a bit of an edge that would get knocked down with the rest of the micro as it was sanded.
I then cheese-grated the cured “micro” (West 410 + micro) on the wing surface to get a fairly level surface before I started my sanding endeavors.
I then got busy sanding down the surface of the “micro” finish…. and when I say “sanding” I mean some SANDING in that I start out knocking down a good bit of the micro with the air file. I’ll make a point of note here in that I still run it at 45° each direction, in relation to the leading edge.
 And boy does this thing make some dust! It really does save an hour or more in my estimation off the initial few rounds of sanding. I’ll make another point of note that this thing is not for the faint of heart…. this is a beast and the operator needs to know what they’re doing for maximized results! <wink>
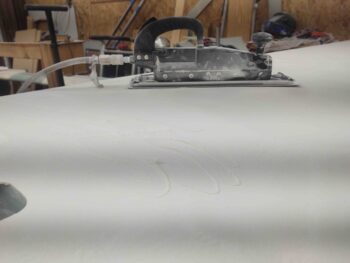
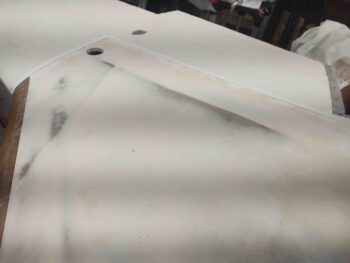
After a few rounds of sanding with the boards it was time to revisit that flocro edge at the wing’s junction with the strake. The flocro was naturally thinned out a bit, but not nearly enough to really dial in the rest of wing’s surface contour. It was time to get serious!
I then spent the next almost hour working on nothing but this flocro edge seam, but when I got it I was pretty much spot on!
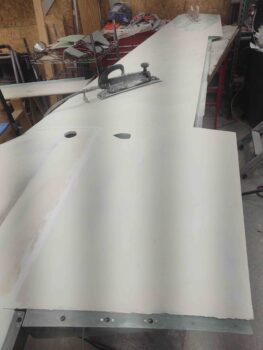
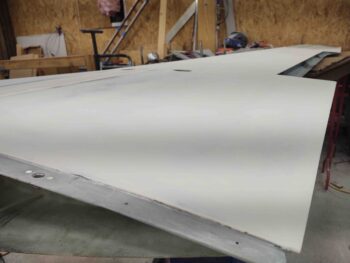
Another couple of hours of sanding and I was done with sanding the “micro” finish on the bottom left wing.
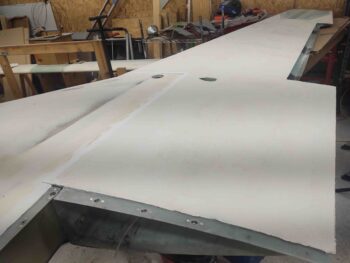
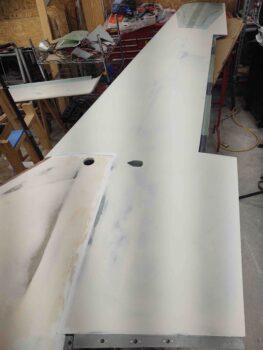
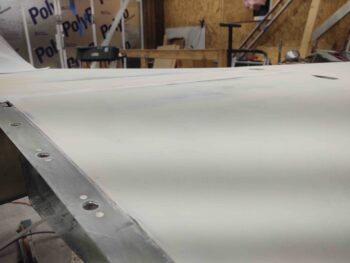
Here’s a long shot of the finished wing.
And one from the aft inboard corner.
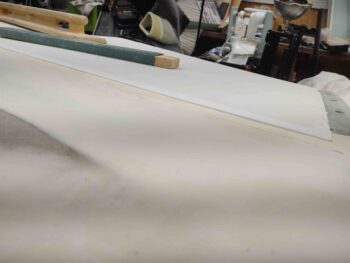
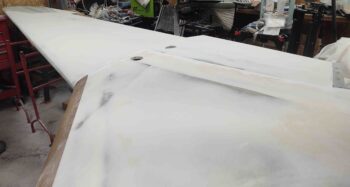
And a shot from the aft wing side of the strake-wing junction.
And a shot of the same from the strake side.
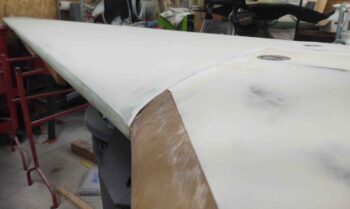
Finally we have a shot of both the bottom left wing leading edge and some of the strake-wing junction.
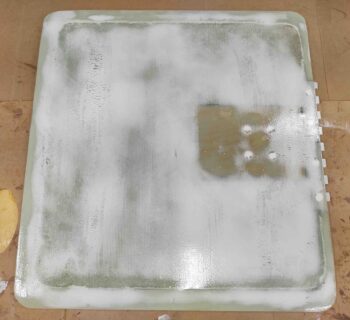
Now, I had sanded down the micro on the exterior landing brake earlier in the day. After I cleaned it up I immediately started the epoxy wipes on the surface. This is the end of the evening, my last task of the day, where I finished applying the 5th and final epoxy wipe.
Tomorrow I plan on prepping the bottom right wing for “micro” finish. I might also start sanding and priming some of these epoxy wiped components from the fuselage bottom side.