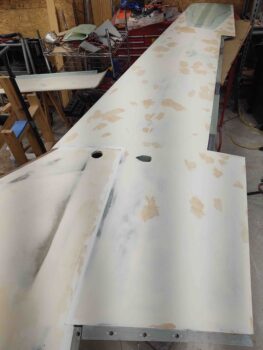
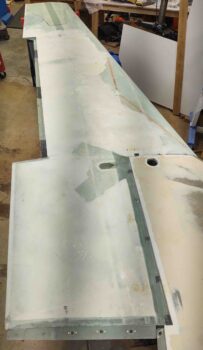
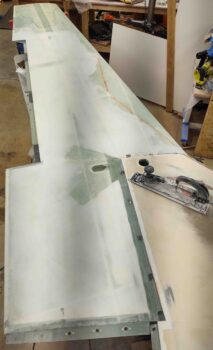
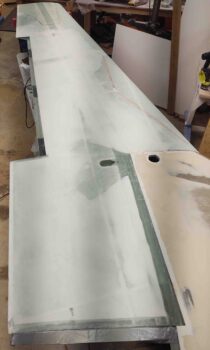
I started out today with some final sanding tweaks on the bottom left wing before I then whipped up a small batch of straight West 410 “micro” filler and applied it to the divots, low spots and deep scratches in the “micro” fill of the wing.
I also filled just a few final imperfections along the bottom forward fuselage and nose with this West 410 batch.
I then got to work on the bottom of the right wing… this unsightly sin of the past which showed my inexperience and over-eagerness to “be efficient” in my build process by listening to one of the old guard Long-EZ bubbas. This was an effort to “micro the surface shortly after skinning the wing as it’s still in the not-quite-yet-cured stage” in order to save sanding the wing down. I clearly didn’t know enough about finishing or how much micro to lay down, so this experiment proved to me that I would never recommend it to any builder unless they fully understand the parameters within which they need to work. Even then, I would recommend that they “just say no!”
If you look closely you can see quite a raised ridge at the front edge of this micro application, about a 1/4″ off the surface of the glass.
Wanting a fresh, clean canvas to start with, I employed the services of “the Beast” and in less than a half hour had knocked down all this old micro to an acceptable level.
I then spent another half hour fine tuning the micro’d area to remove any remnants of shiny old cured micro in prep for new micro.
I then got to work spending another couple of hours sanding and prepping the exposed glass —mainly along the leading edge— in prep for “micro” finish application.
Finally I removed the tape tabs, then used a hacksaw blade and razor knife to clean up the joint between the strake and bottom right wing.
Tomorrow I’ll apply a small Gorilla duct tape strip along the strake-wing joint to keep the flocro out of the joint and from adhering to the strake-side of the seam. I’ll then re-“micro” fill the bottom right wing.


