
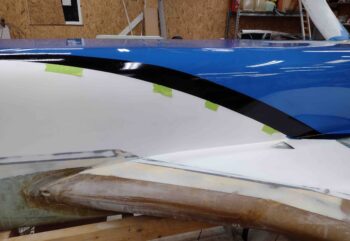
I started off today by pulling the tape along the black accent stripe that I had placed there to protect the border of the black stripe with the latest rounds of white paint on the bottom of the nose, fuselage and strakes.
I then wet sanded the 2 coats of white paint with 600 grit sandpaper.
Unfortunately, a big issue I had was my “protective” tape on the black border stripe didn’t do its job as I had expected/wanted, and I had a fair amount of seepage of the white paint as it encroached on the black accent stripes.
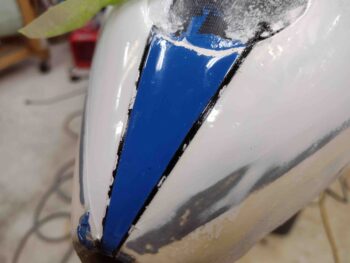
These white overflow spots onto the edge of the black stripe was pretty much the norm down the entire lengths of the black accent stripes. I spent about an hour each side carefully using a razor blade to remove the surface level white paint.
After my initial cleanup of the unwanted white paint on the black accent stripe, I then got to work on the black painted gear fairings by wet sanding them with 600 grit.
Another couple of shots of the black accent stripes on the gear fairings sanded with 600 grit sandpaper.
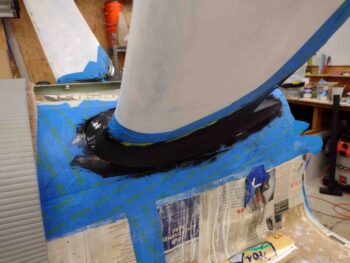
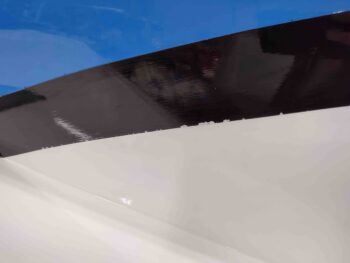
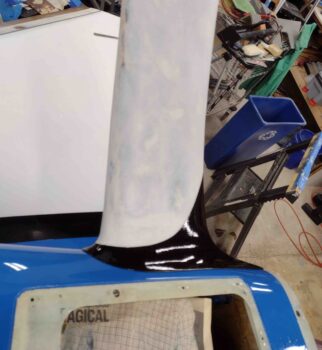
I then painted the last coat of black on the top of gear fairing accent stripes.
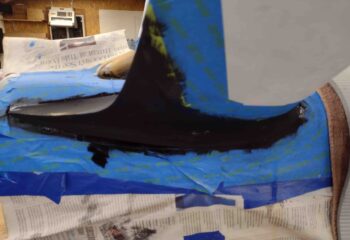
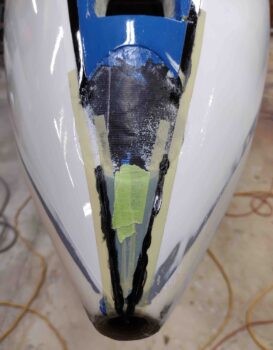
I then got to work touching up the black accent stripes to remove the white paint overflow spots.
I started out by taping up the white at the edge of the black accent stripe to touch up the black paint. However, it was a bit laborious so after this first round I simply went to free handing the touchups with black paint… I’m happy to report it went a lot faster and I didn’t have any issues with getting any black paint on the white paint.
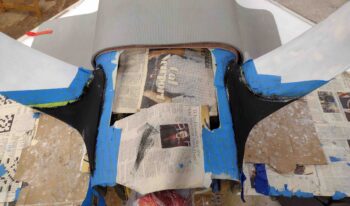
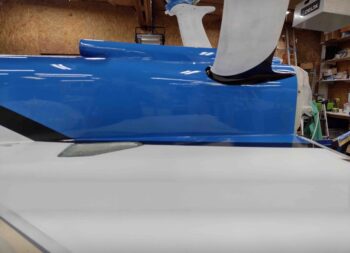
I also taped off and repainted the black accent stripes at the very front of the nose… note the sanded white paint on the right side of the pic vs the unsanded white paint on the left side.
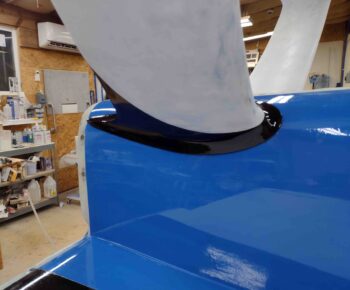
At the end of the evening, after the final black paint coat on the gear fairing accent stripes were pretty much cured, I pulled the tape from around the gear fairings.
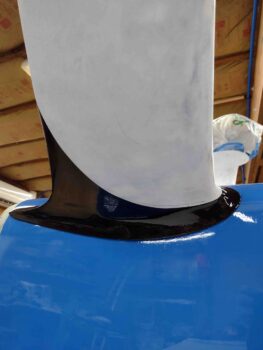
Some shots of the final black paint on the gear fairing accent stripe.
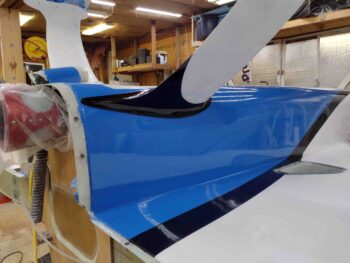
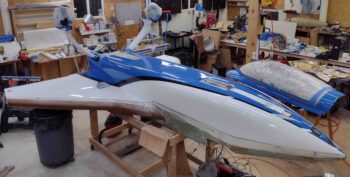
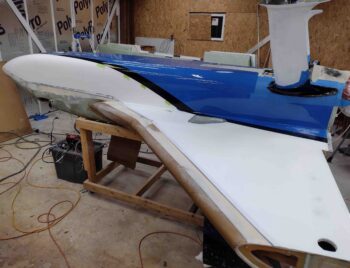
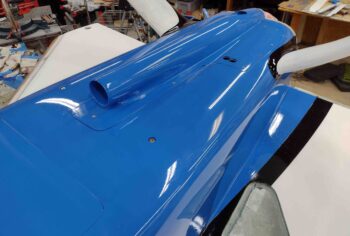
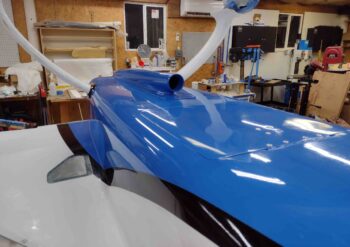
I then set the RAM air scoop/hell hole hatch cover in place on the bottom of the fuselage.

The RAM air scoop definitely needs some tweaking to fit into place, but these shots provide a good general view of how it will look in place.
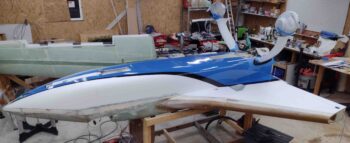
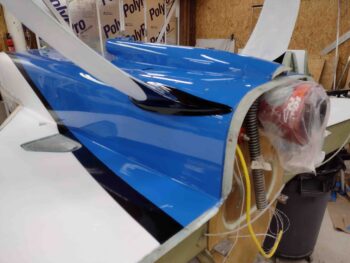 A few more shots of both the gear fairing black accent stripe and the RAM air scoop in place.
With that, I left the black painted surfaces to cure overnight.