
Today I started out by sanding the micro + West 410 refills on various low spots and deep scratches on the canopy frame, which I set up outside.
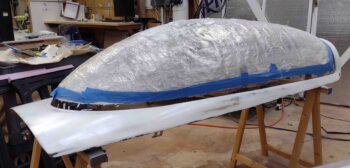
I then set the canopy back up in the shop and proceeded to epoxy wipe the canopy frame. A bit later I pulled the tape off the edge of the canopy where it met the frame.
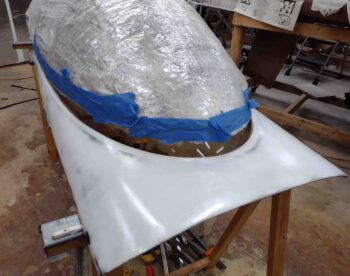
I am pleased with the edge of the canopy frame where it meets the actual canopy, although I did spend about 45 minutes shaving down a few high spots on each side of the forward edges of the canopy in an effort to create a straight line at the canopy edge all the way around the canopy frame.
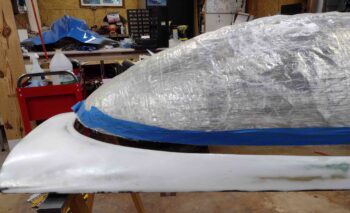
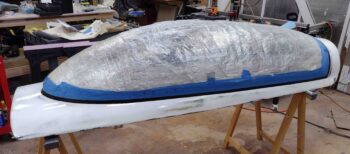
Here are a few more pics of the initial epoxy wipe and the exposed canopy edge.
I had planned on sanding the paint on the fuselage and associated components in the hours in between the epoxy wipes, but the canopy ended up needing a bit more attention than I had initial planned on. In fact, before the second epoxy wipe I spent almost 2 hours carefully digging out the fine bits of tape along the edge of the canopy.
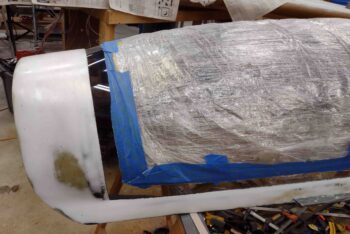
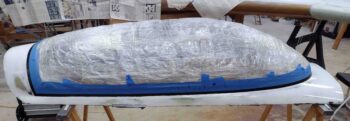
Here we have the canopy frame in its 4th and final epoxy wipe.
Although it was a bit of a pain, each round of epoxy wipe I would pull the protective tape after the epoxy set up after about an hour. I would ensure there was not epoxy on the canopy, and any that was present I would clean off . . .
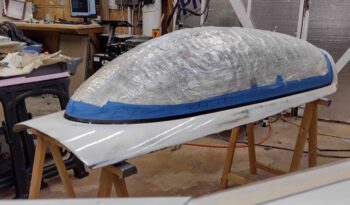
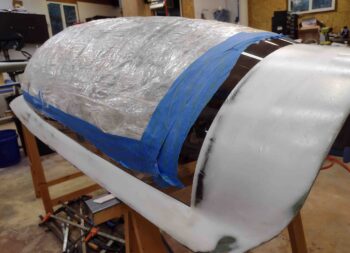
then before the next round of epoxy I would apply fresh tape around the edge of the canopy to protect it from the fresh epoxy wipe.
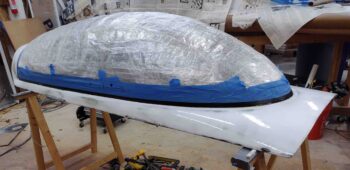
I came back after about an hour of cure time on this last wipe and pulled this tape.
Again, kind of an entailed, niggling process but I am very happy to have this critical step completed in the finishing process on the plane. I’ll let this epoxy cure for a couple of days before taping up the canopy again and sanding down the epoxy coat in prep for primer.