
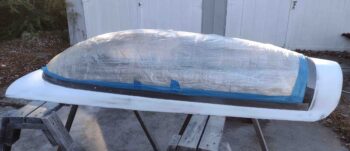
Today I started out by spending nearly 4 hours sanding the straight micro finish on the canopy frame. I have to say that I can understand the reports by builders of countless hours of sanding if one uses the traditional straight micro application. I’ll tell ya, micro laced with West 410 is definitely WAY easier and WAY faster to sand.
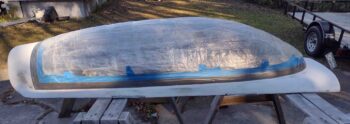
For some reason I must have some mental issue with piling on micro thick enough to fill the entire surface… but it seems beyond my capacity to accomplish, so, alas, my canopy frame micro will require refills. That being said, so far I am very pleased with the overall shape and finish of the canopy frame… I’m consistently impressed with how this finishing process cleans up unsightly composite surfaces.
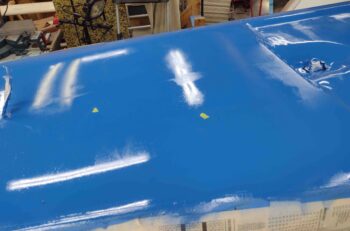
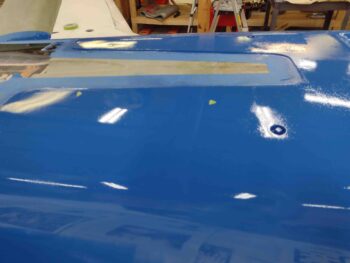
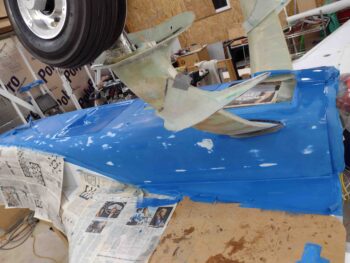
I’ll report that both yesterday and today I have been working the blue paint on the bottom of the fuselage. While looking closely at the paint surface I found about a dozen and a half depressions and blemishes in the paint (technically the underlying fuselage surface). The first couple of pics below are of the fuselage sides.
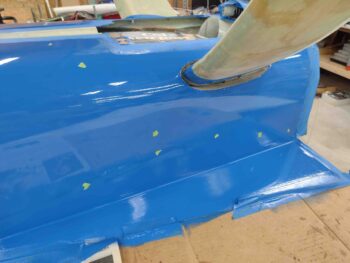
As you can see, I identified all the blemishes with small pieces of green tape.
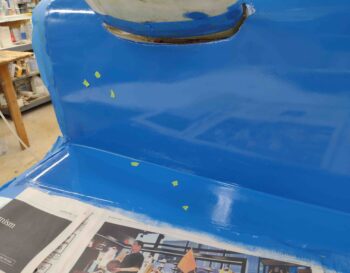
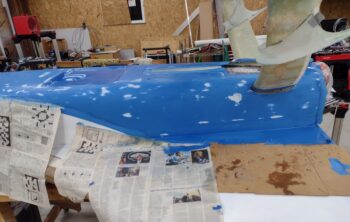
And here we have some divots/blemishes on the bottom of the fuselage.
I needed to make a decision. Do I A) simply fill the depressions, divots and blemishes and press forward? Or B) sand the entire paint coat down to really dial in the smoothness and quality of both the paint and fuselage surface?
I know I have repeatedly stated that “perfection is the enemy of good enough” and that I’m not shooting for a perfect paint job… just “good enough.” However, the issue here is not just about looks, or even quality, but weight. Albeit it may be negligible, but I felt I should do my due diligence by really dialing in the surface as it should be for both smoothness and minimal paint and fill.
Thus another sanding adventure ensued. I used 400 grit and started wet sanding, and wet sanding, and wet sanding . . .
I will state that it’s a mind-boggling mystery to me how you work the micro finish over and over, then sand down the epoxy wiped surface, then multiple rounds of sanding on multiple coats of primer, only to then still have enough surface irregularities to have essentially a sacrificial first coat (actually two) of paint. Regardless, I’ll note my lessons learned (finish with a higher grit sandpaper at nearly all phases and use guide coats to ensure no depressions in the surface), chock it up as part of the process and press forward to get it done.
After about another 5 hours of wet sanding of the blue paint on the bottom of the fuselage, I stopped sanding for the day to do some surface refills on the canopy frame micro. Since I’m adding micro on micro I did cheat a bit by adding just a hair bit of West 410, even though the canopy frame will be blue (ie a bit hotter surface temps than white). I added the West 410 because just a bit of it in the micro really creates a creamy filling to aid in getting it into the deeper, narrower voids.
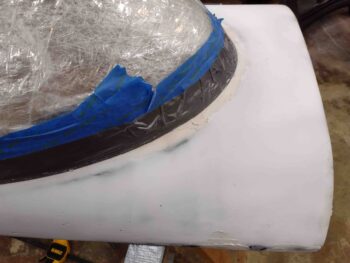
Yep, just a scant bit of the West 410 really affects the consistency, but as you can see the amount I added didn’t change the color of the micro that much.
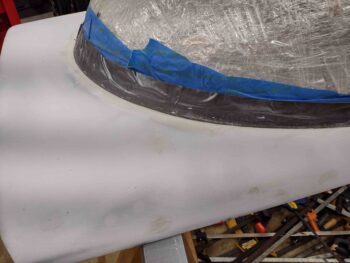
With the divots and deep scratches filled on the canopy frame’s micro finish, I then left it to cure overnight.
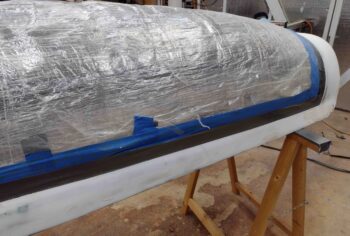
Tomorrow I plan on sanding the canopy frame refill and then epoxy wiping the canopy frame. If all goes according to plan, the canopy frame should be in blue paint very soon. In addition, I’ll continue to work the bottom fuselage and other components in blue paint as well in my attempt to get this bird flipped back upright.