
I finished the 4th application of pure epoxy around 2am, and after that I was tapped out. I realize now I need to program in 2-1/2 to 3 hours between epoxy wipes on the surface being finished since 2 hours just isn’t enough. Especially considering that each application of epoxy takes about a full half hour from start to finish to complete.
So, my total epoxy applications at this point is four (4) vs the planned five (5). This actually works out fine because I can tell that I have some areas, the biggest being about 2″ wide, that will need a little bit more fill. In addition, the simple action of repeated sanding –once the primary shape has been locked in with the epoxy finish– refines the surface finish when it finally comes to paint. This may seem like an overly simplistic & obvious statement, but it is true and very evident during the sanding process.
Thus, my “new” (slightly modified) plan was to sand down the current epoxy wipe quite a bit to knock down the high points, level out the surface between the high & low spots, and bring the entire surface of the canard to a much tighter equilibrium finish elevation wise. Then I would add another 2-3 coats of pure epoxy.
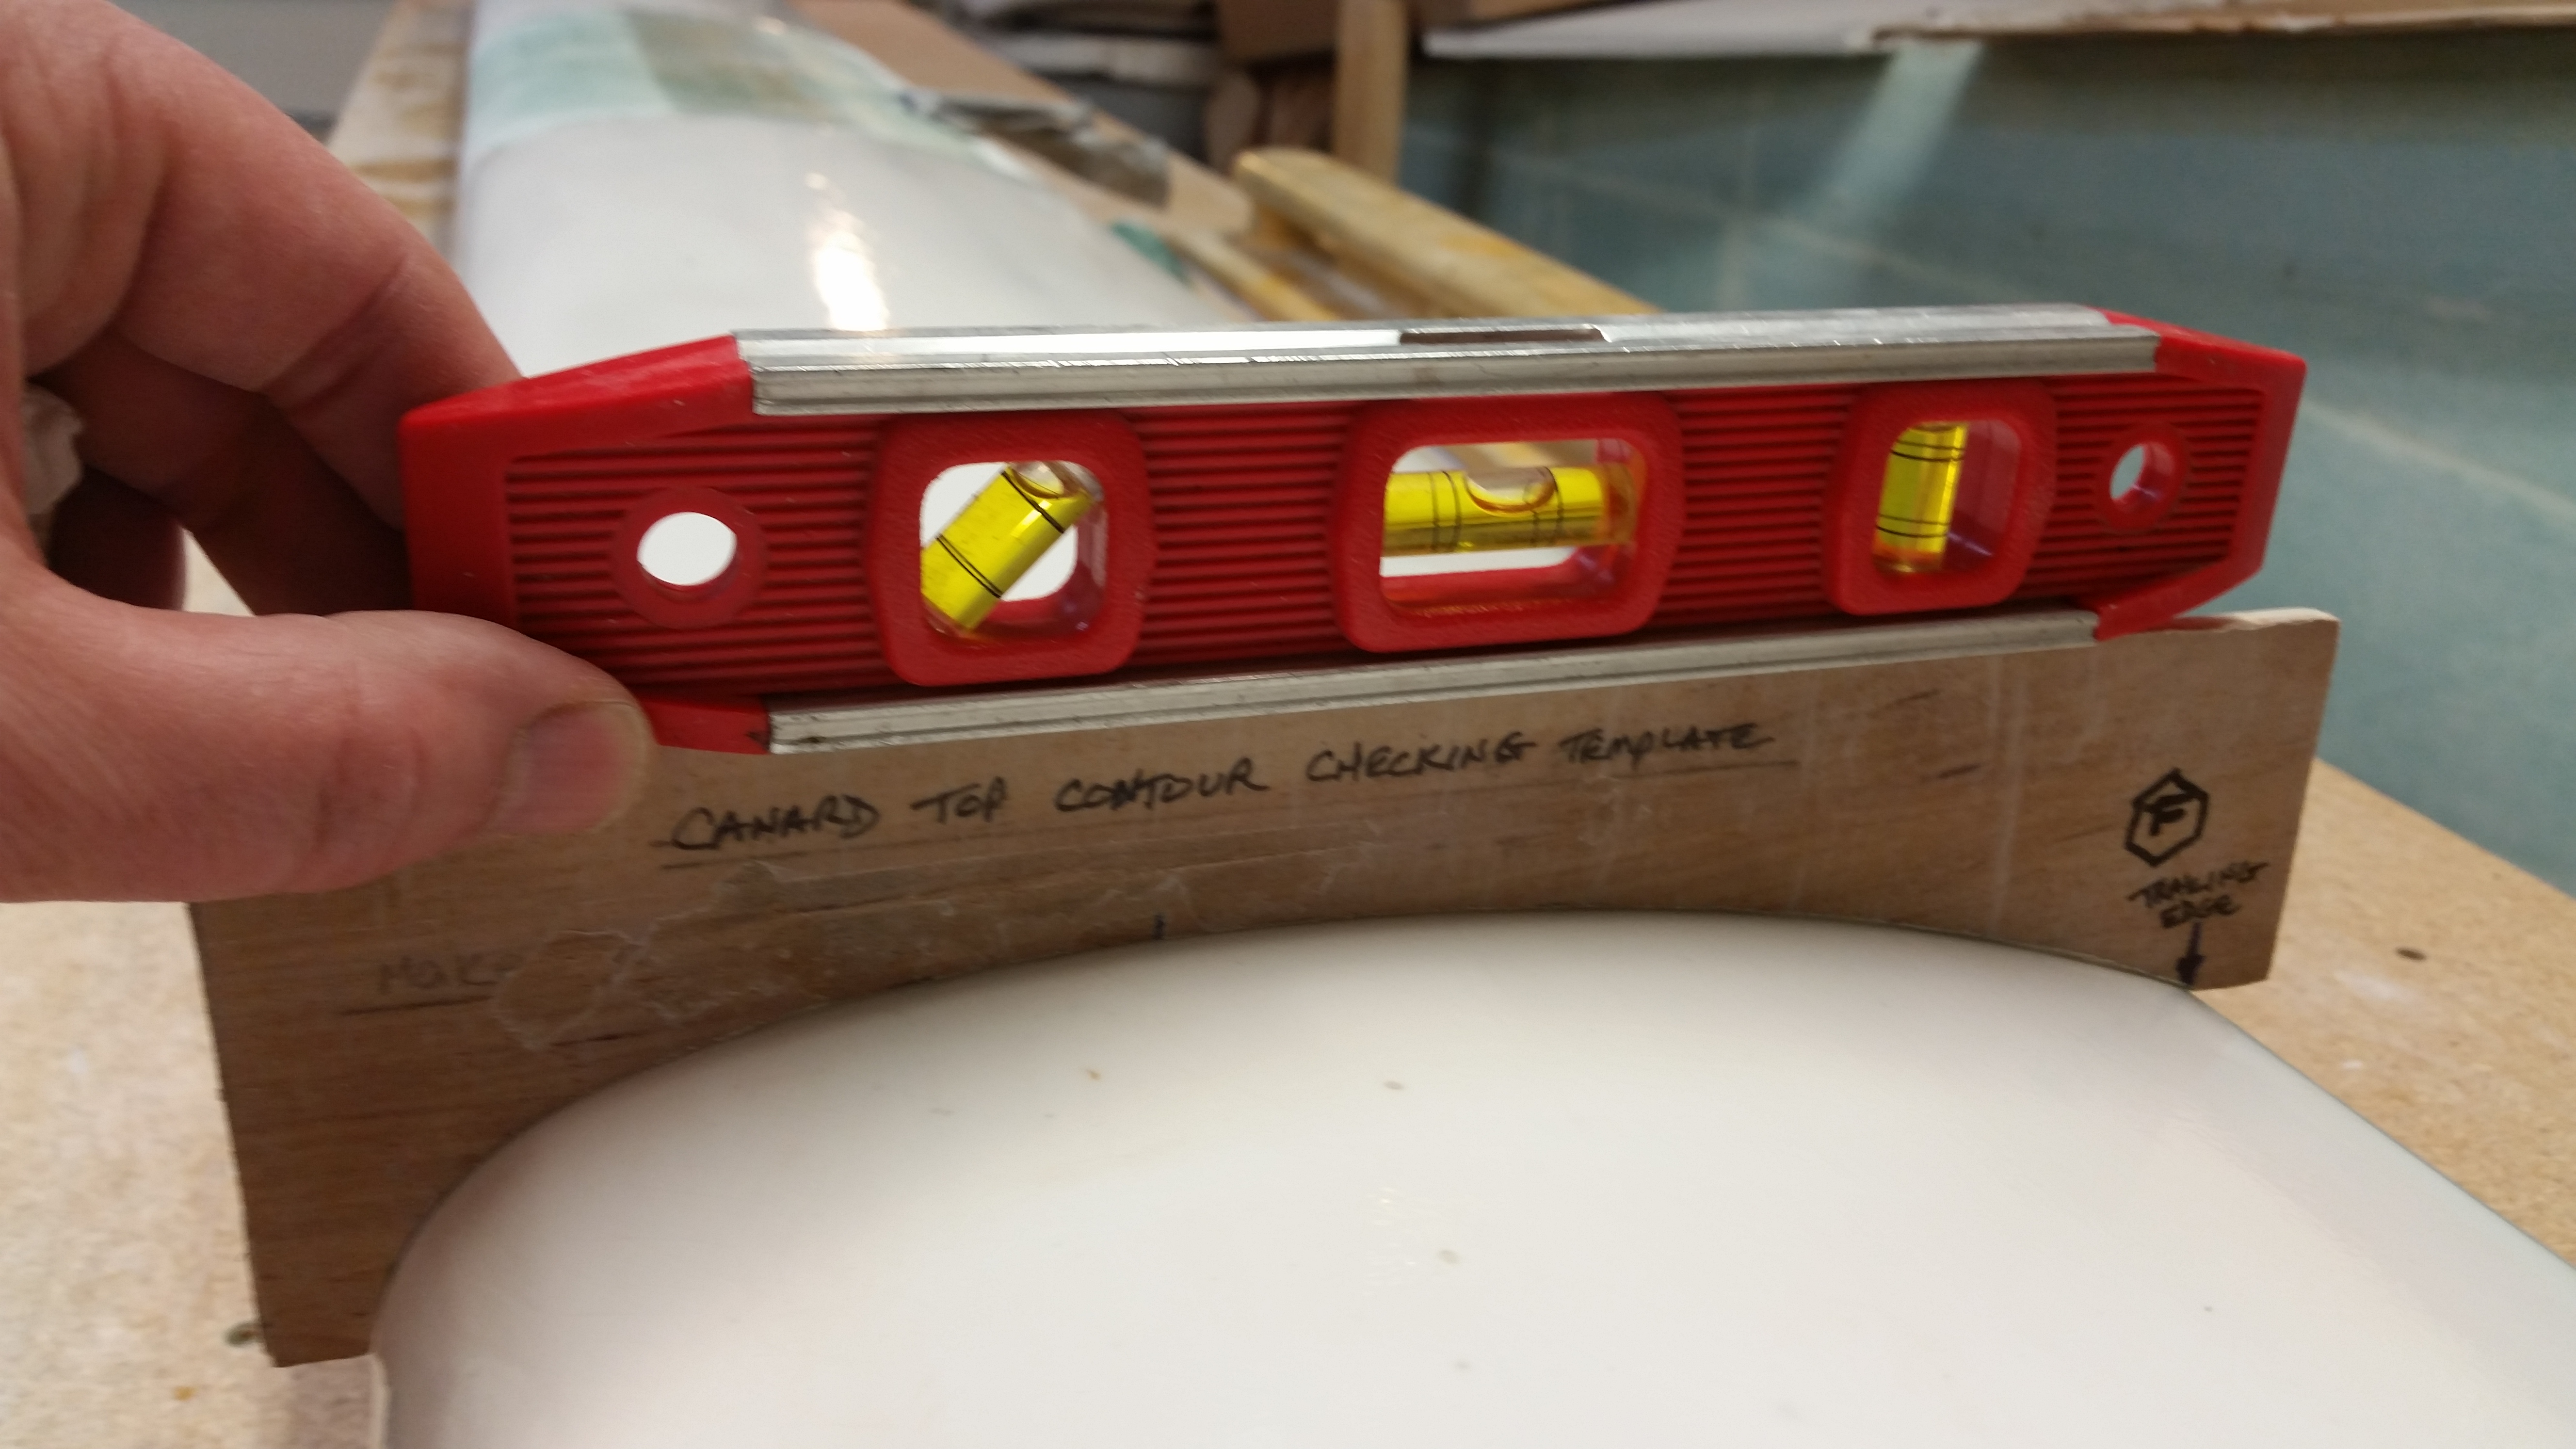
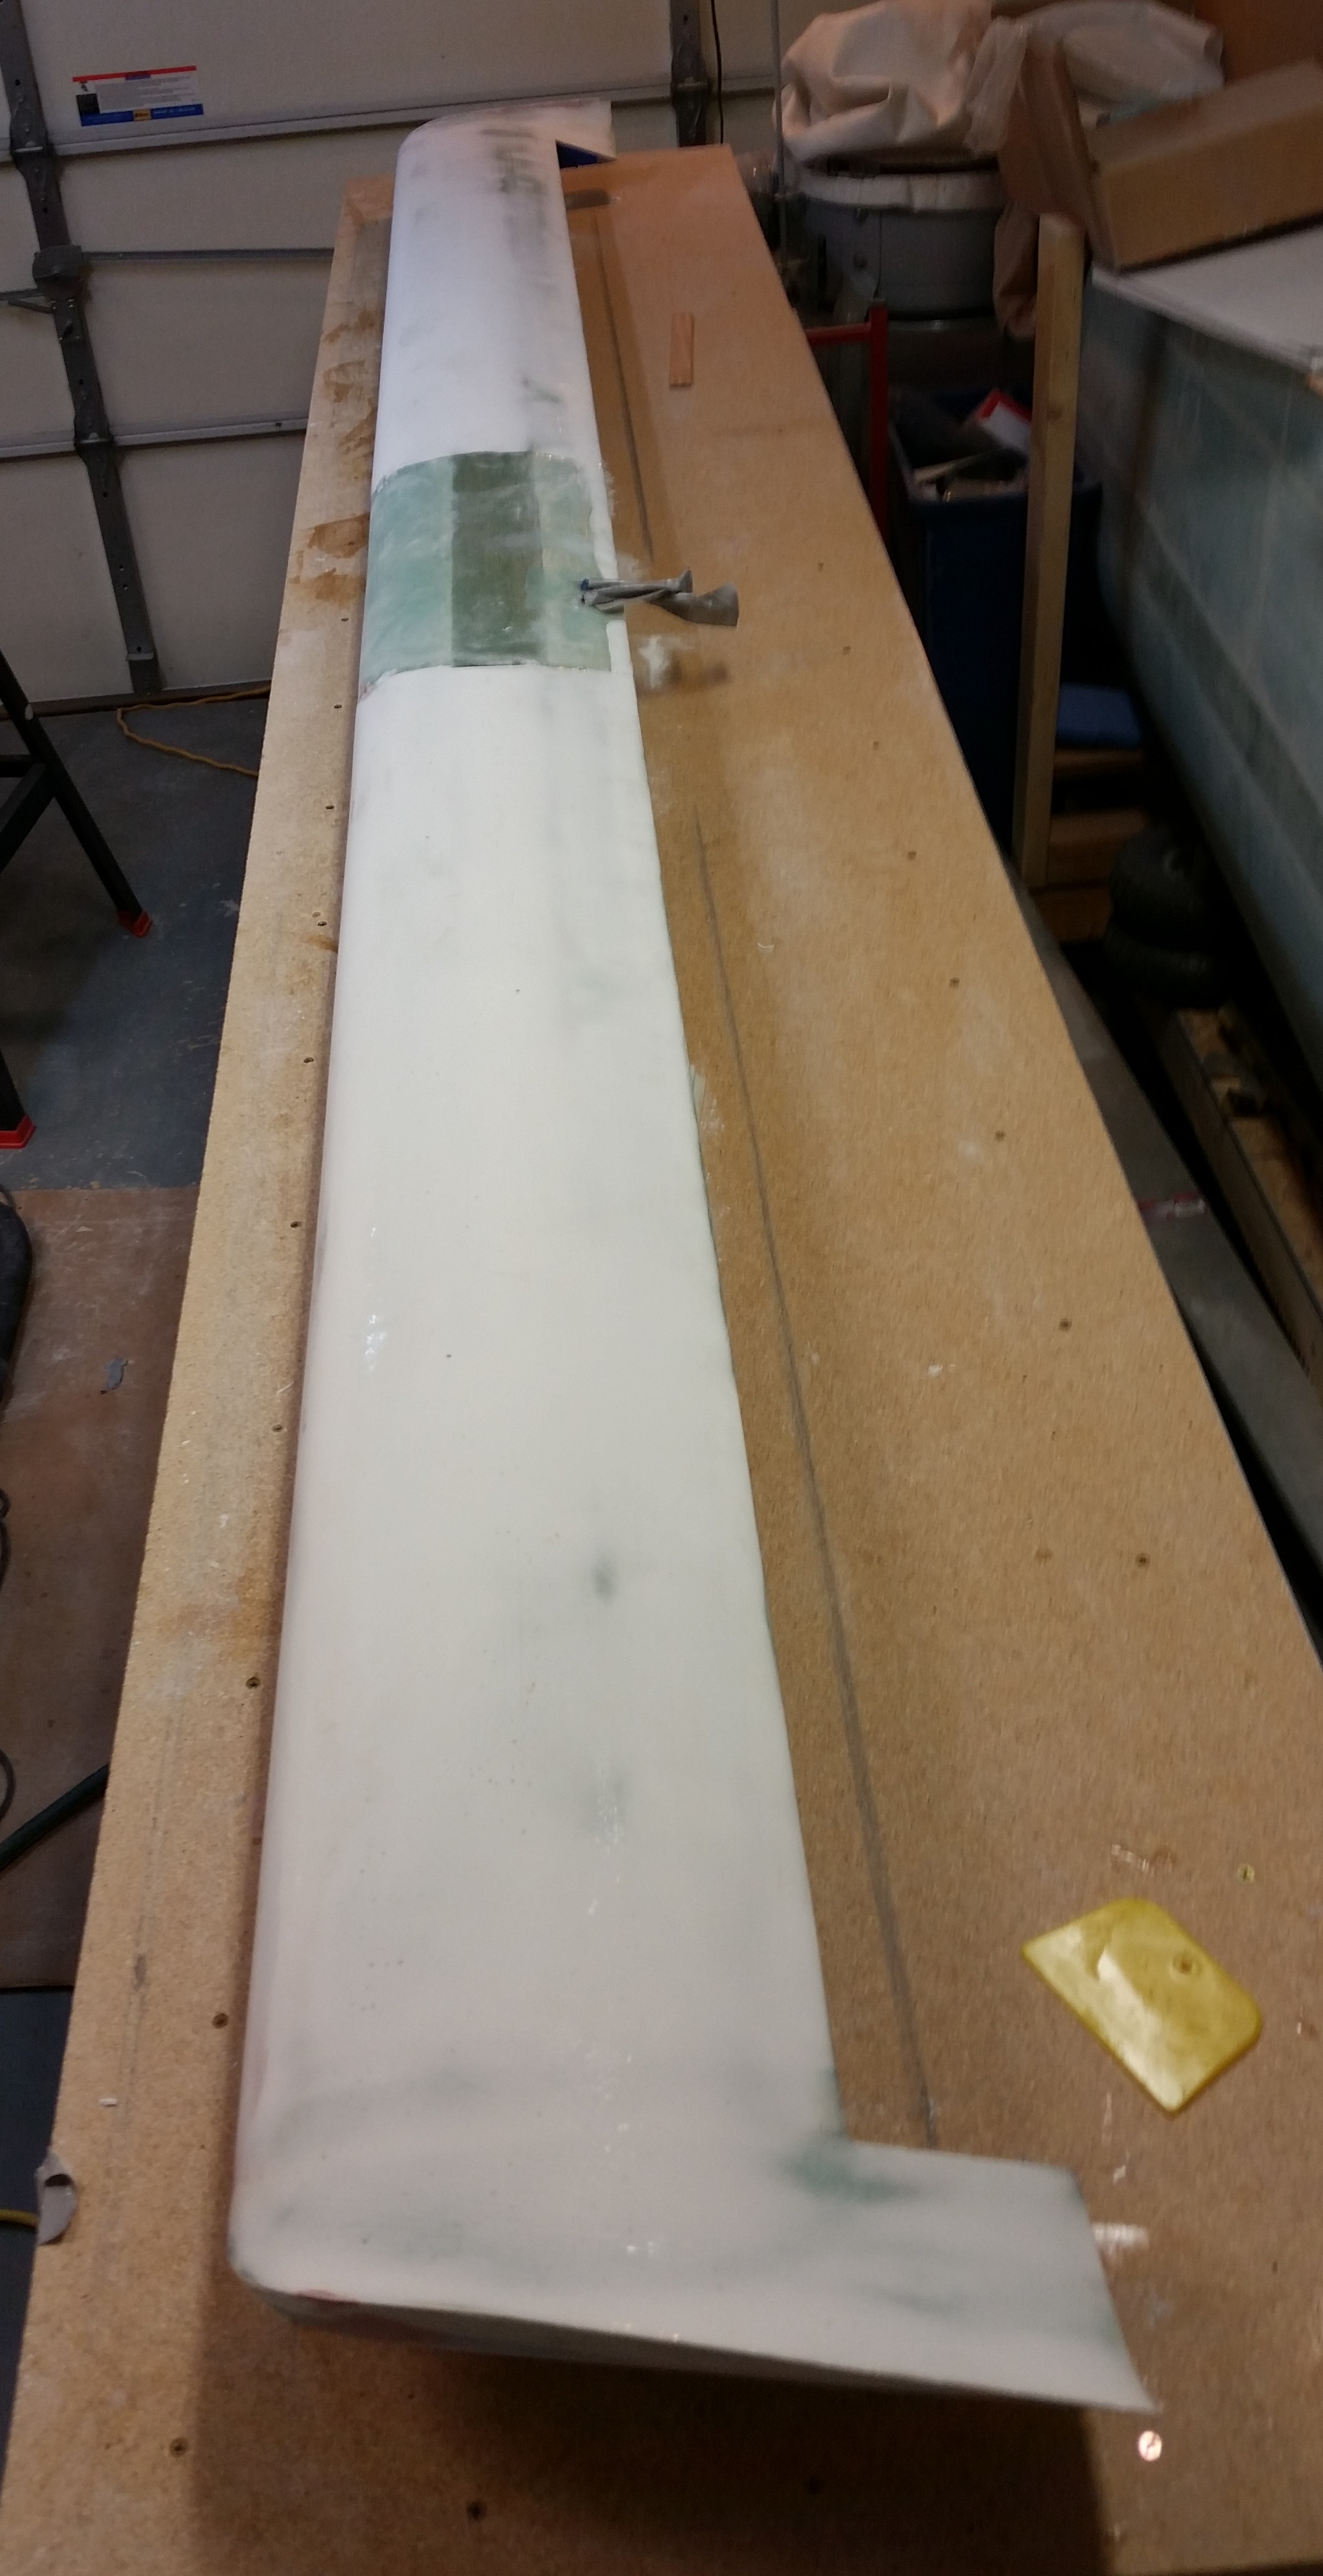
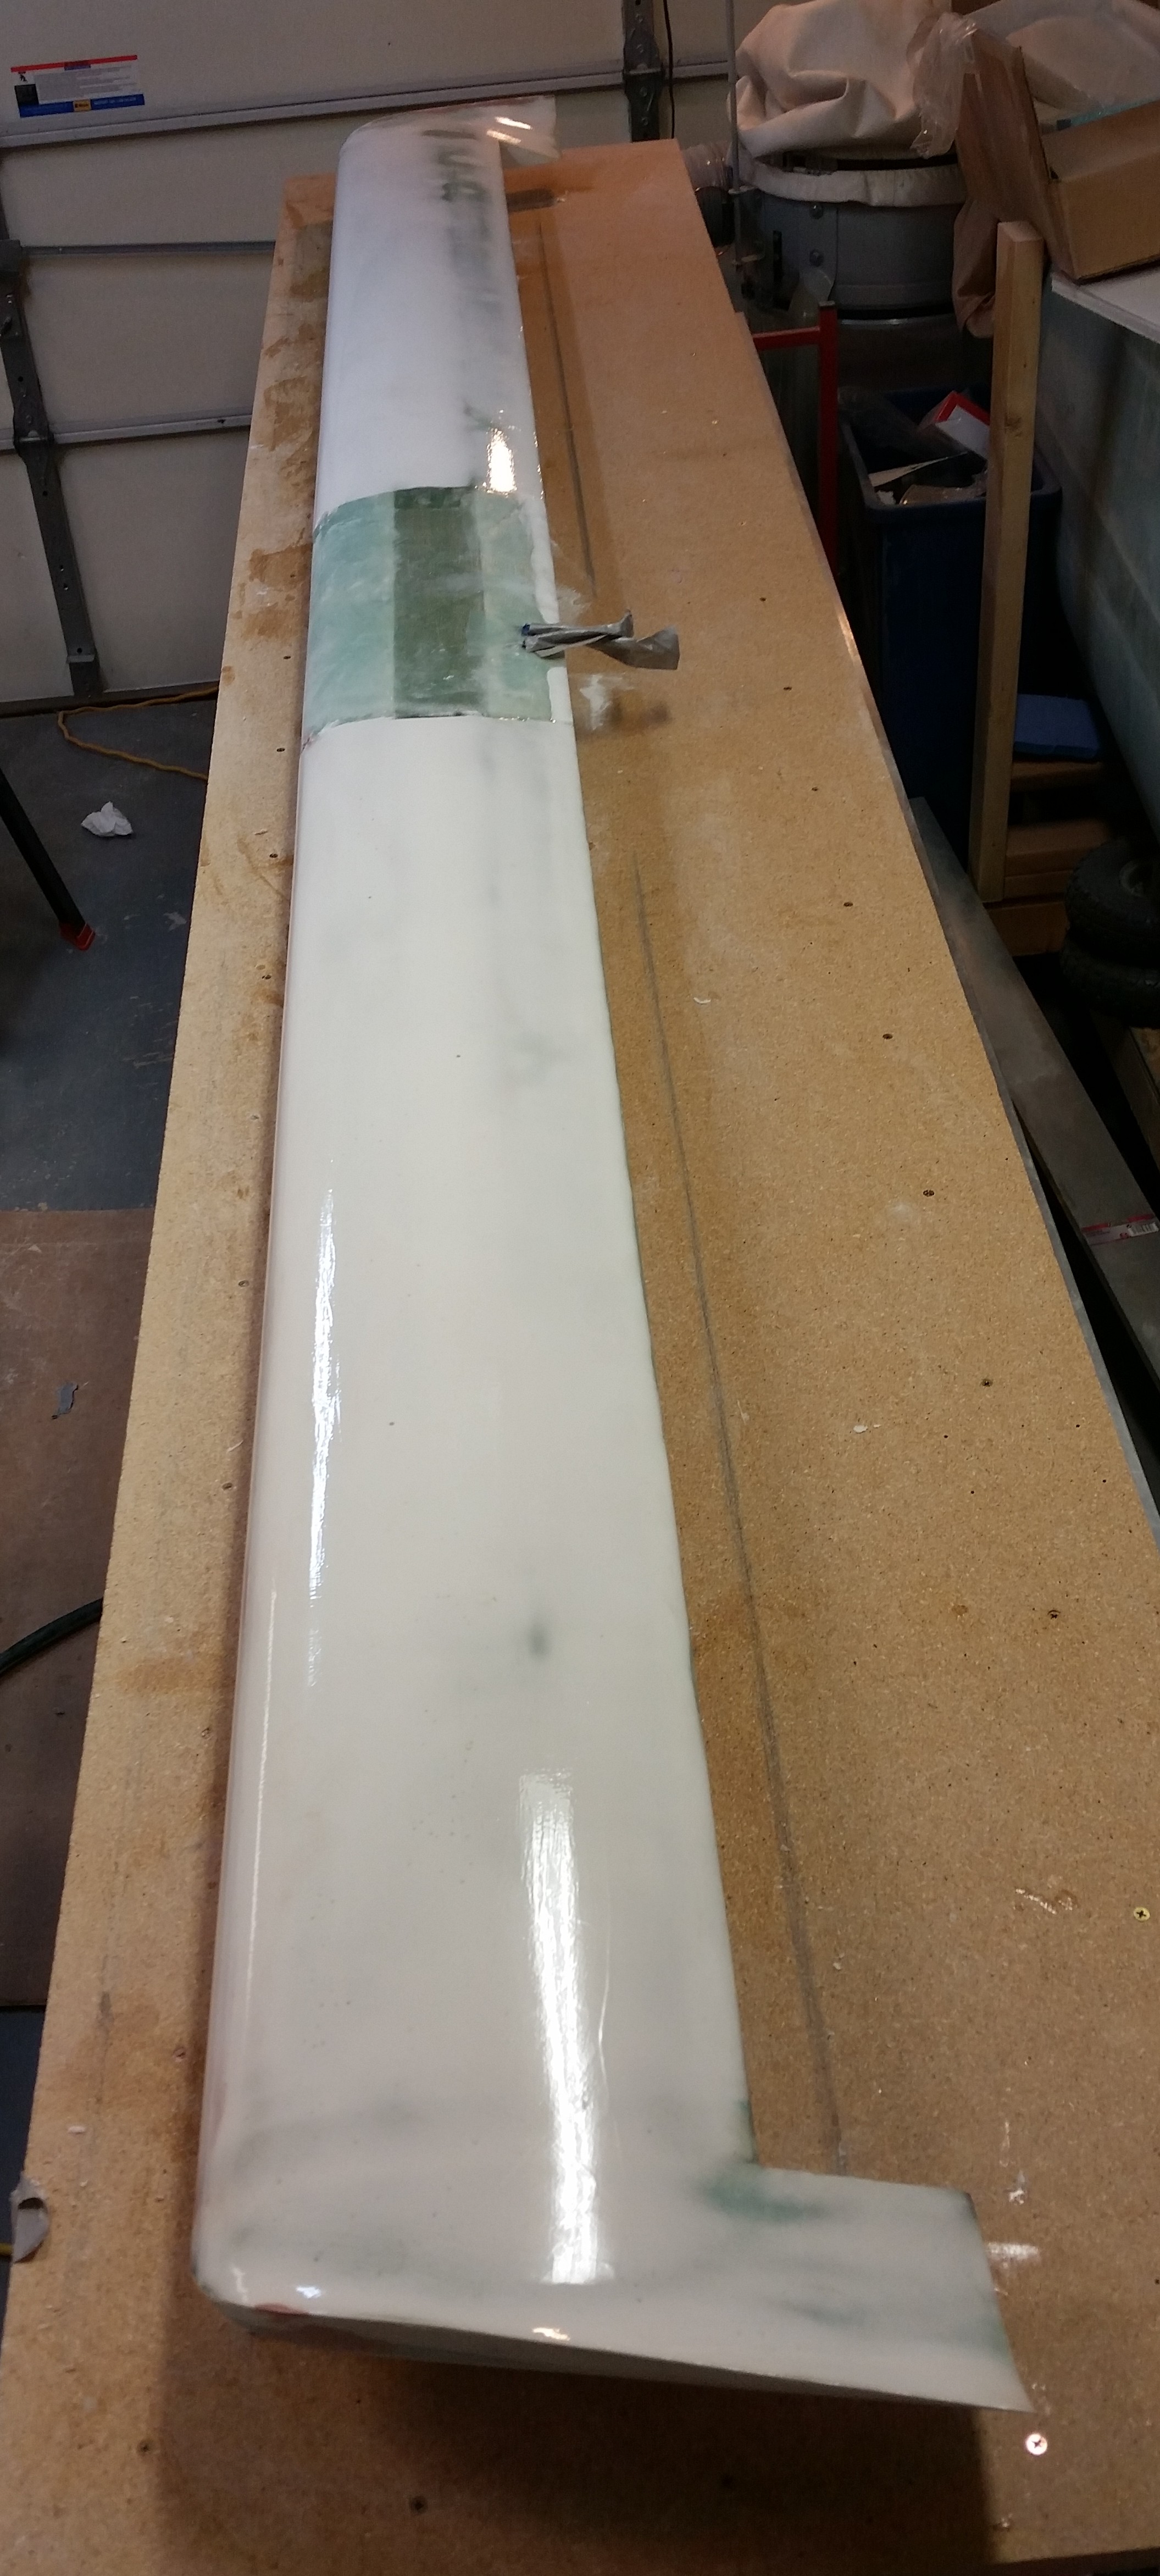
I started by checking the surface contour of the canard by not only focusing on the actual contour as compared to the bottom edge of the “F” template, but also by concentrating on the incidence angle that is being conveyed via seeing how the angle of the top straight edge of the “F” template matches the angle of the work bench. In the picture below I have a really good top canard surface contour in addition to a spot-on incidence angle.
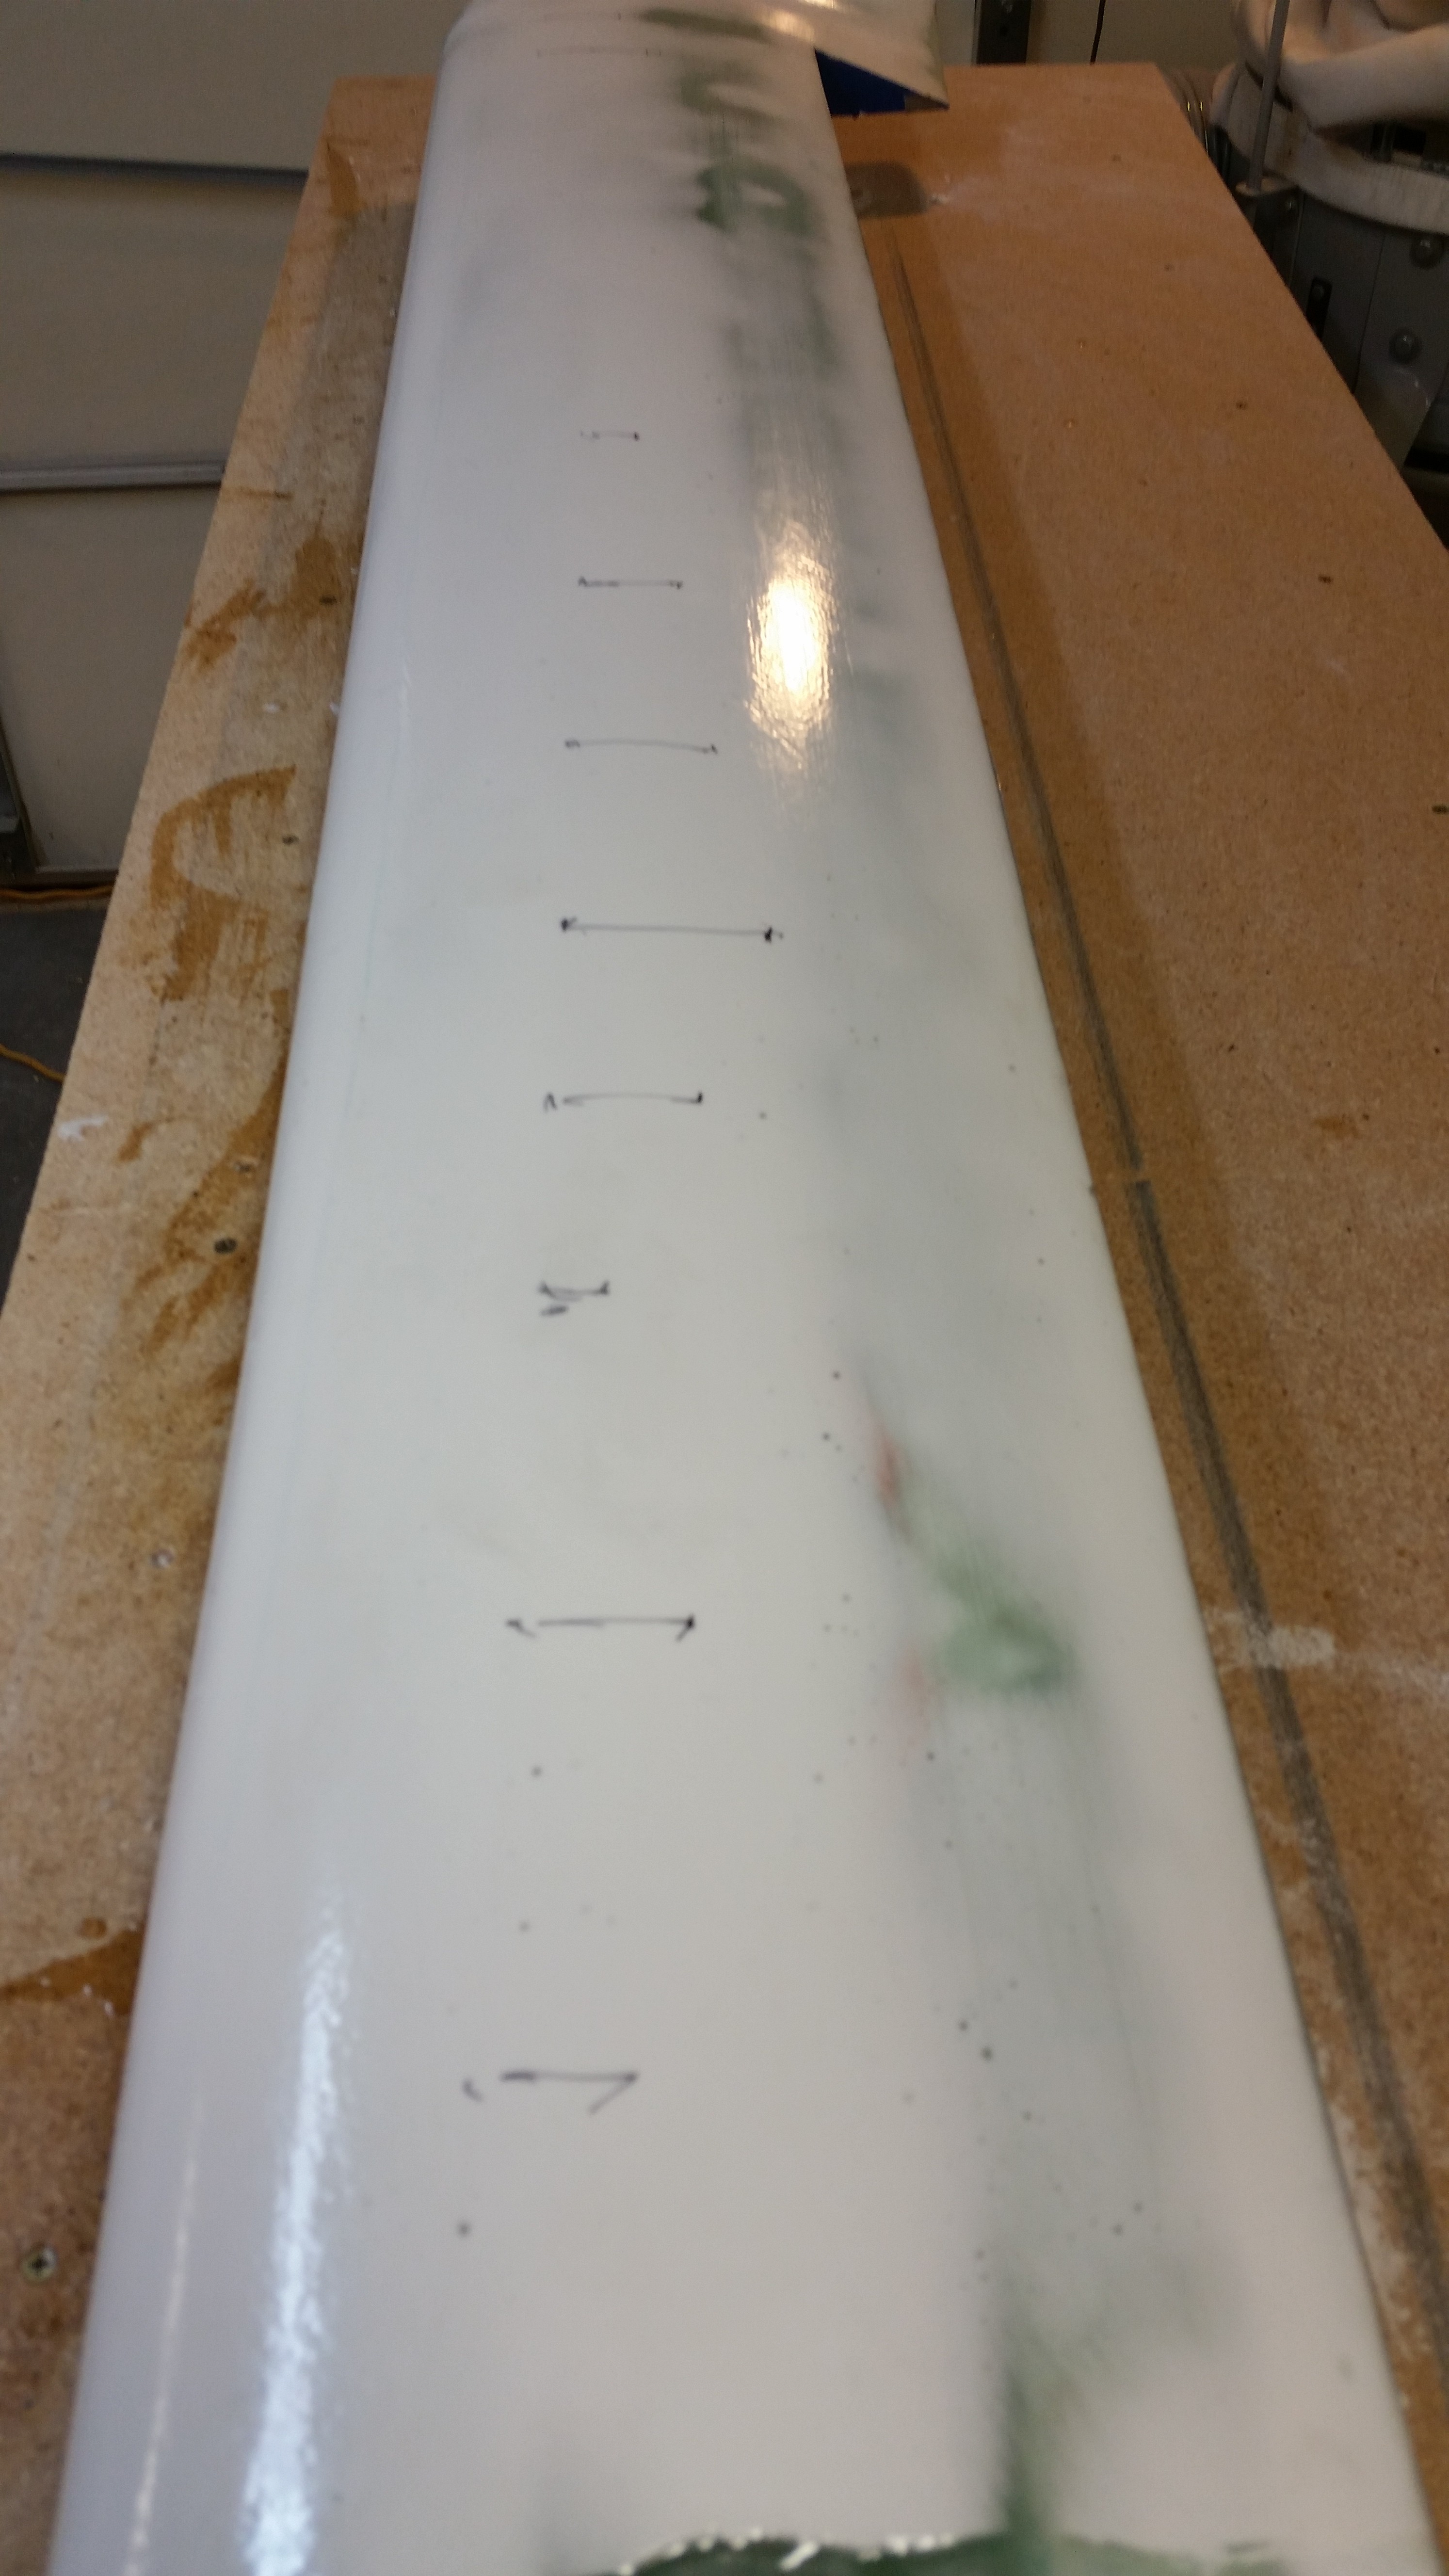
I then completed the contour check about every 4-6″ along the top surface of the canard. Below you can see the contour sanding lines I drew on the right-side canard top that denote the high points that need to be knocked down a bit for the canard surface to be better aligned with the contour checking template “F”.
To be clear, by cleaning up the contour profile of the canard (bottom side of “F” template) it had a direct effect of bringing the incidence angle into better alignment (top of “F” template). As it stood, the areas where I marked the lines acted as a high point, or fulcrum if you will, where the contour template teetered upon one way or the other. That being said, it was actually rather apparent that by reducing the middle high point, or “ridge,” that the forward part of the “F” template fell towards the LE and thus brought the incidence angle into proper specs.
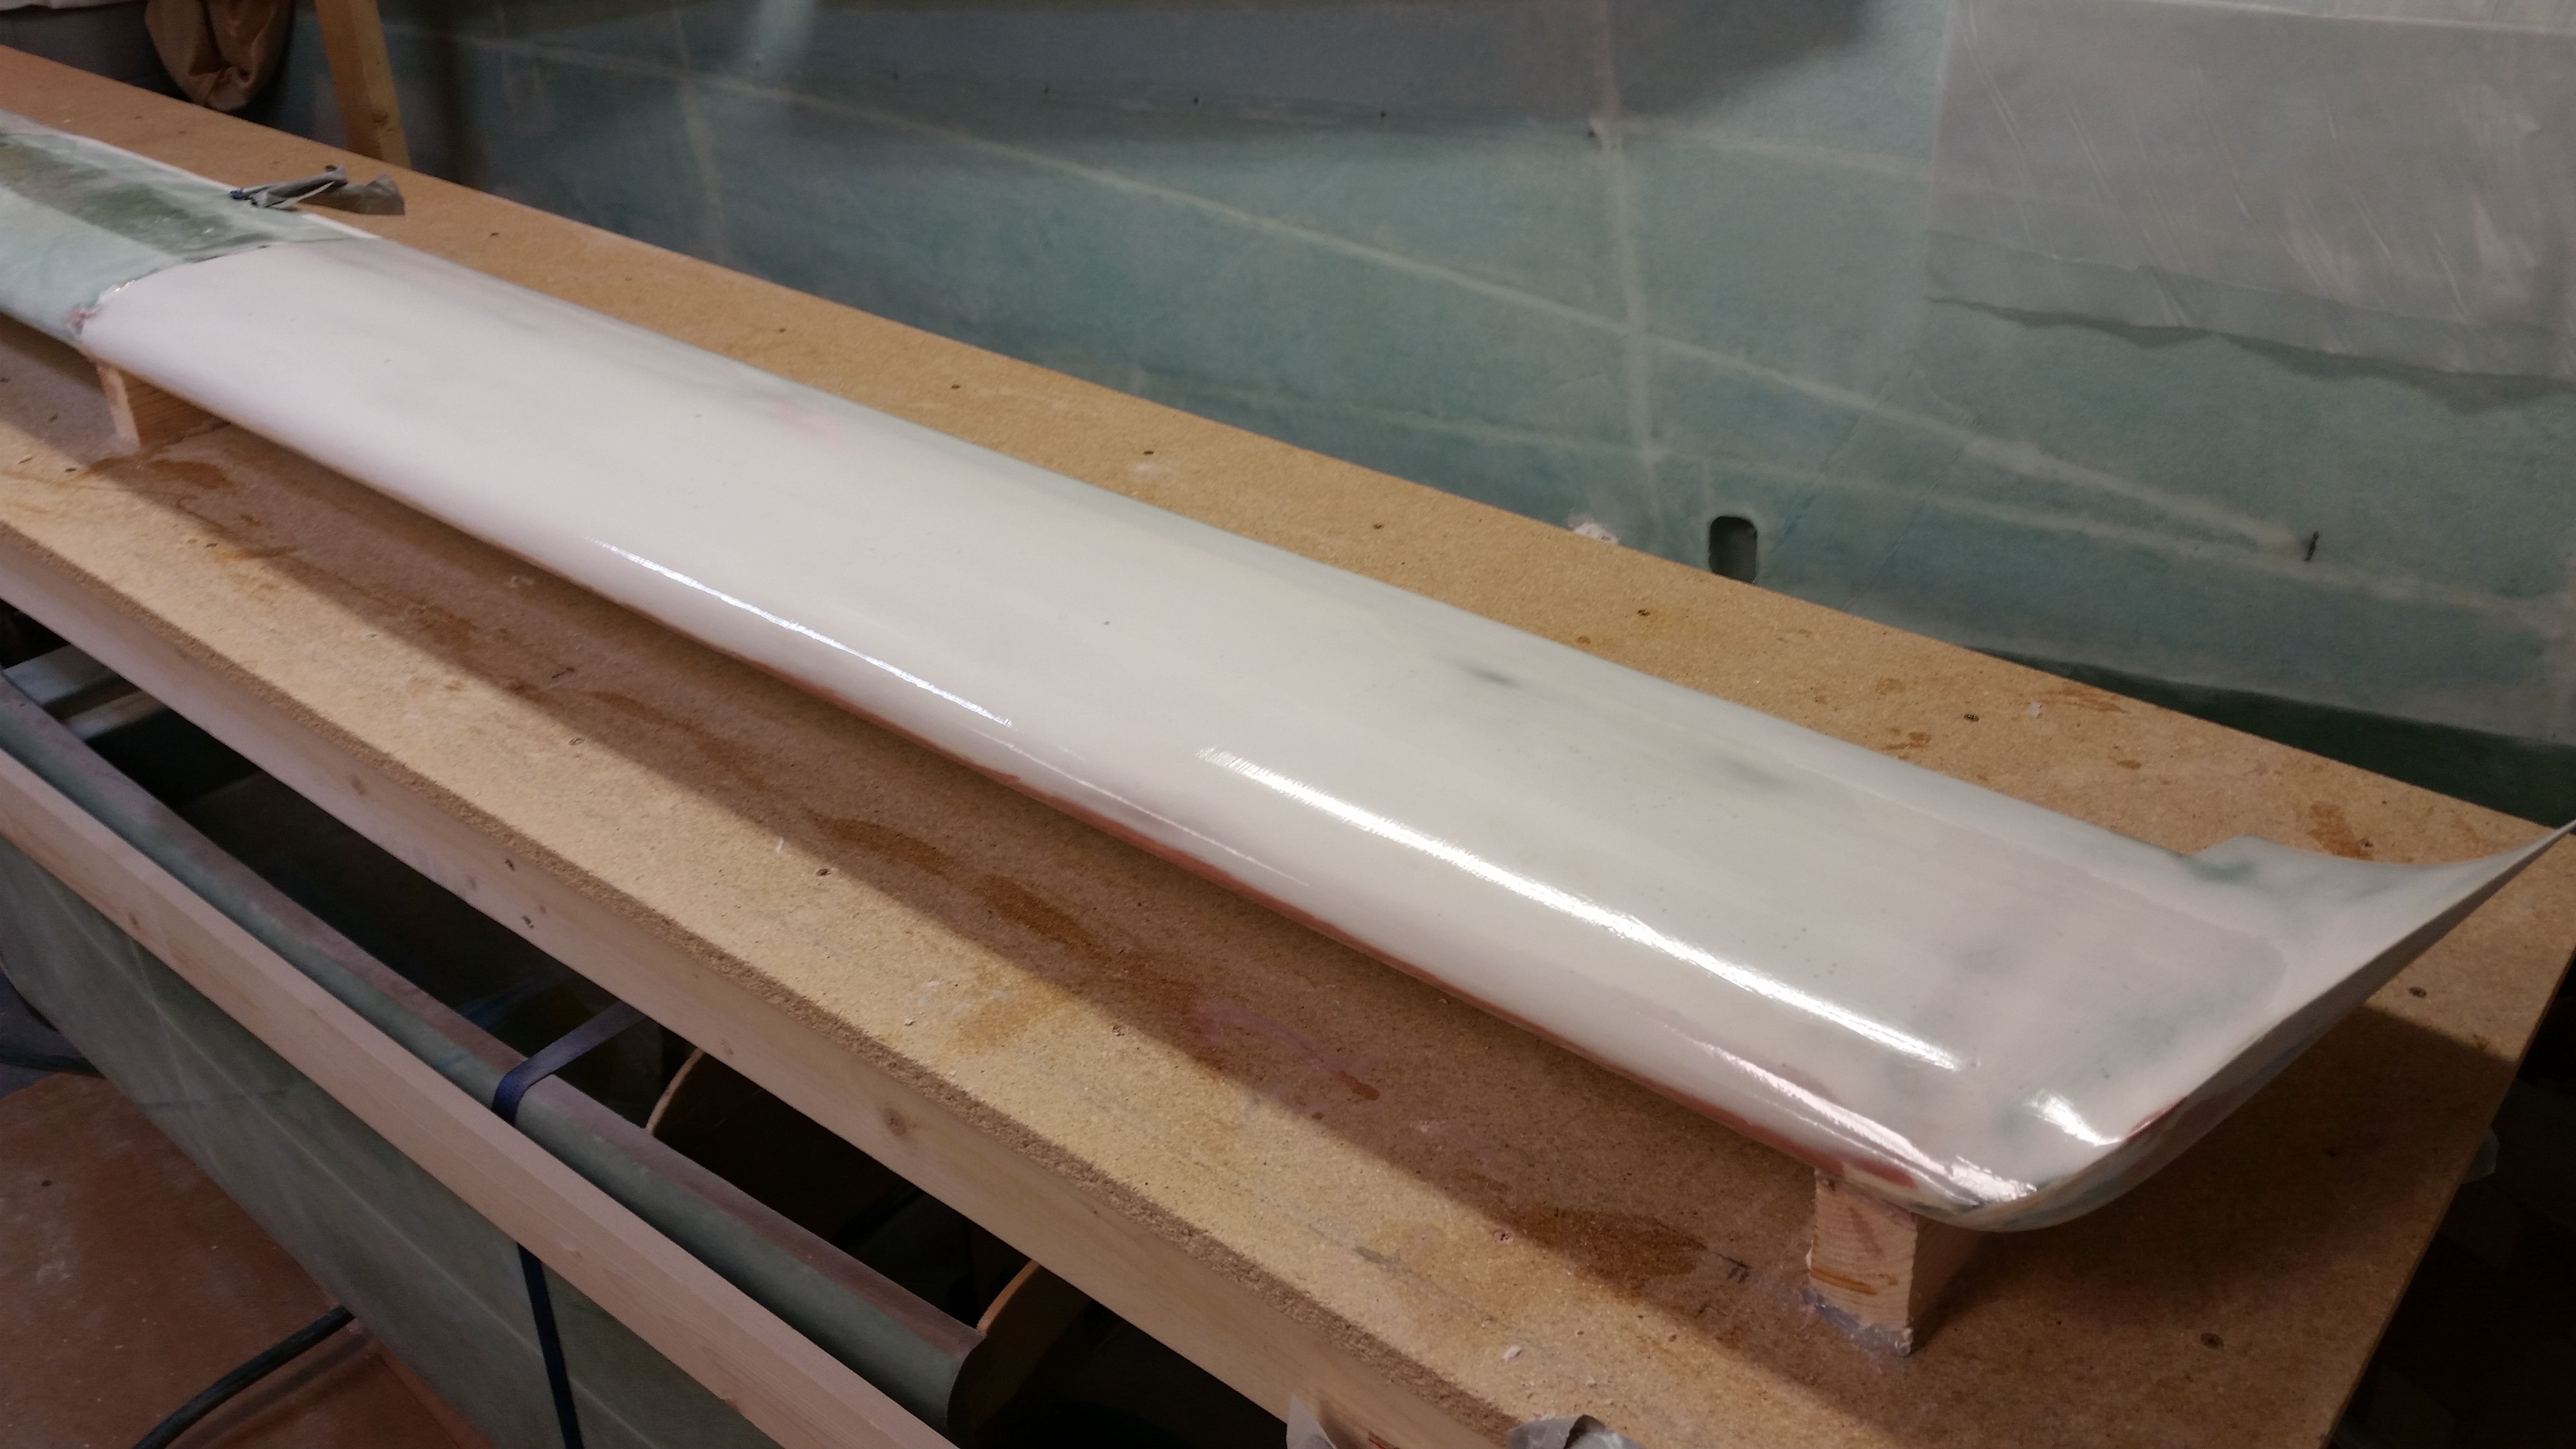
Here’s a shot of the canard after about an hour’s worth of sanding with the long board with 80 grit first, then 120 grit.
I then applied 3 more coats of pure epoxy, waiting 2-3 hours between each coat.
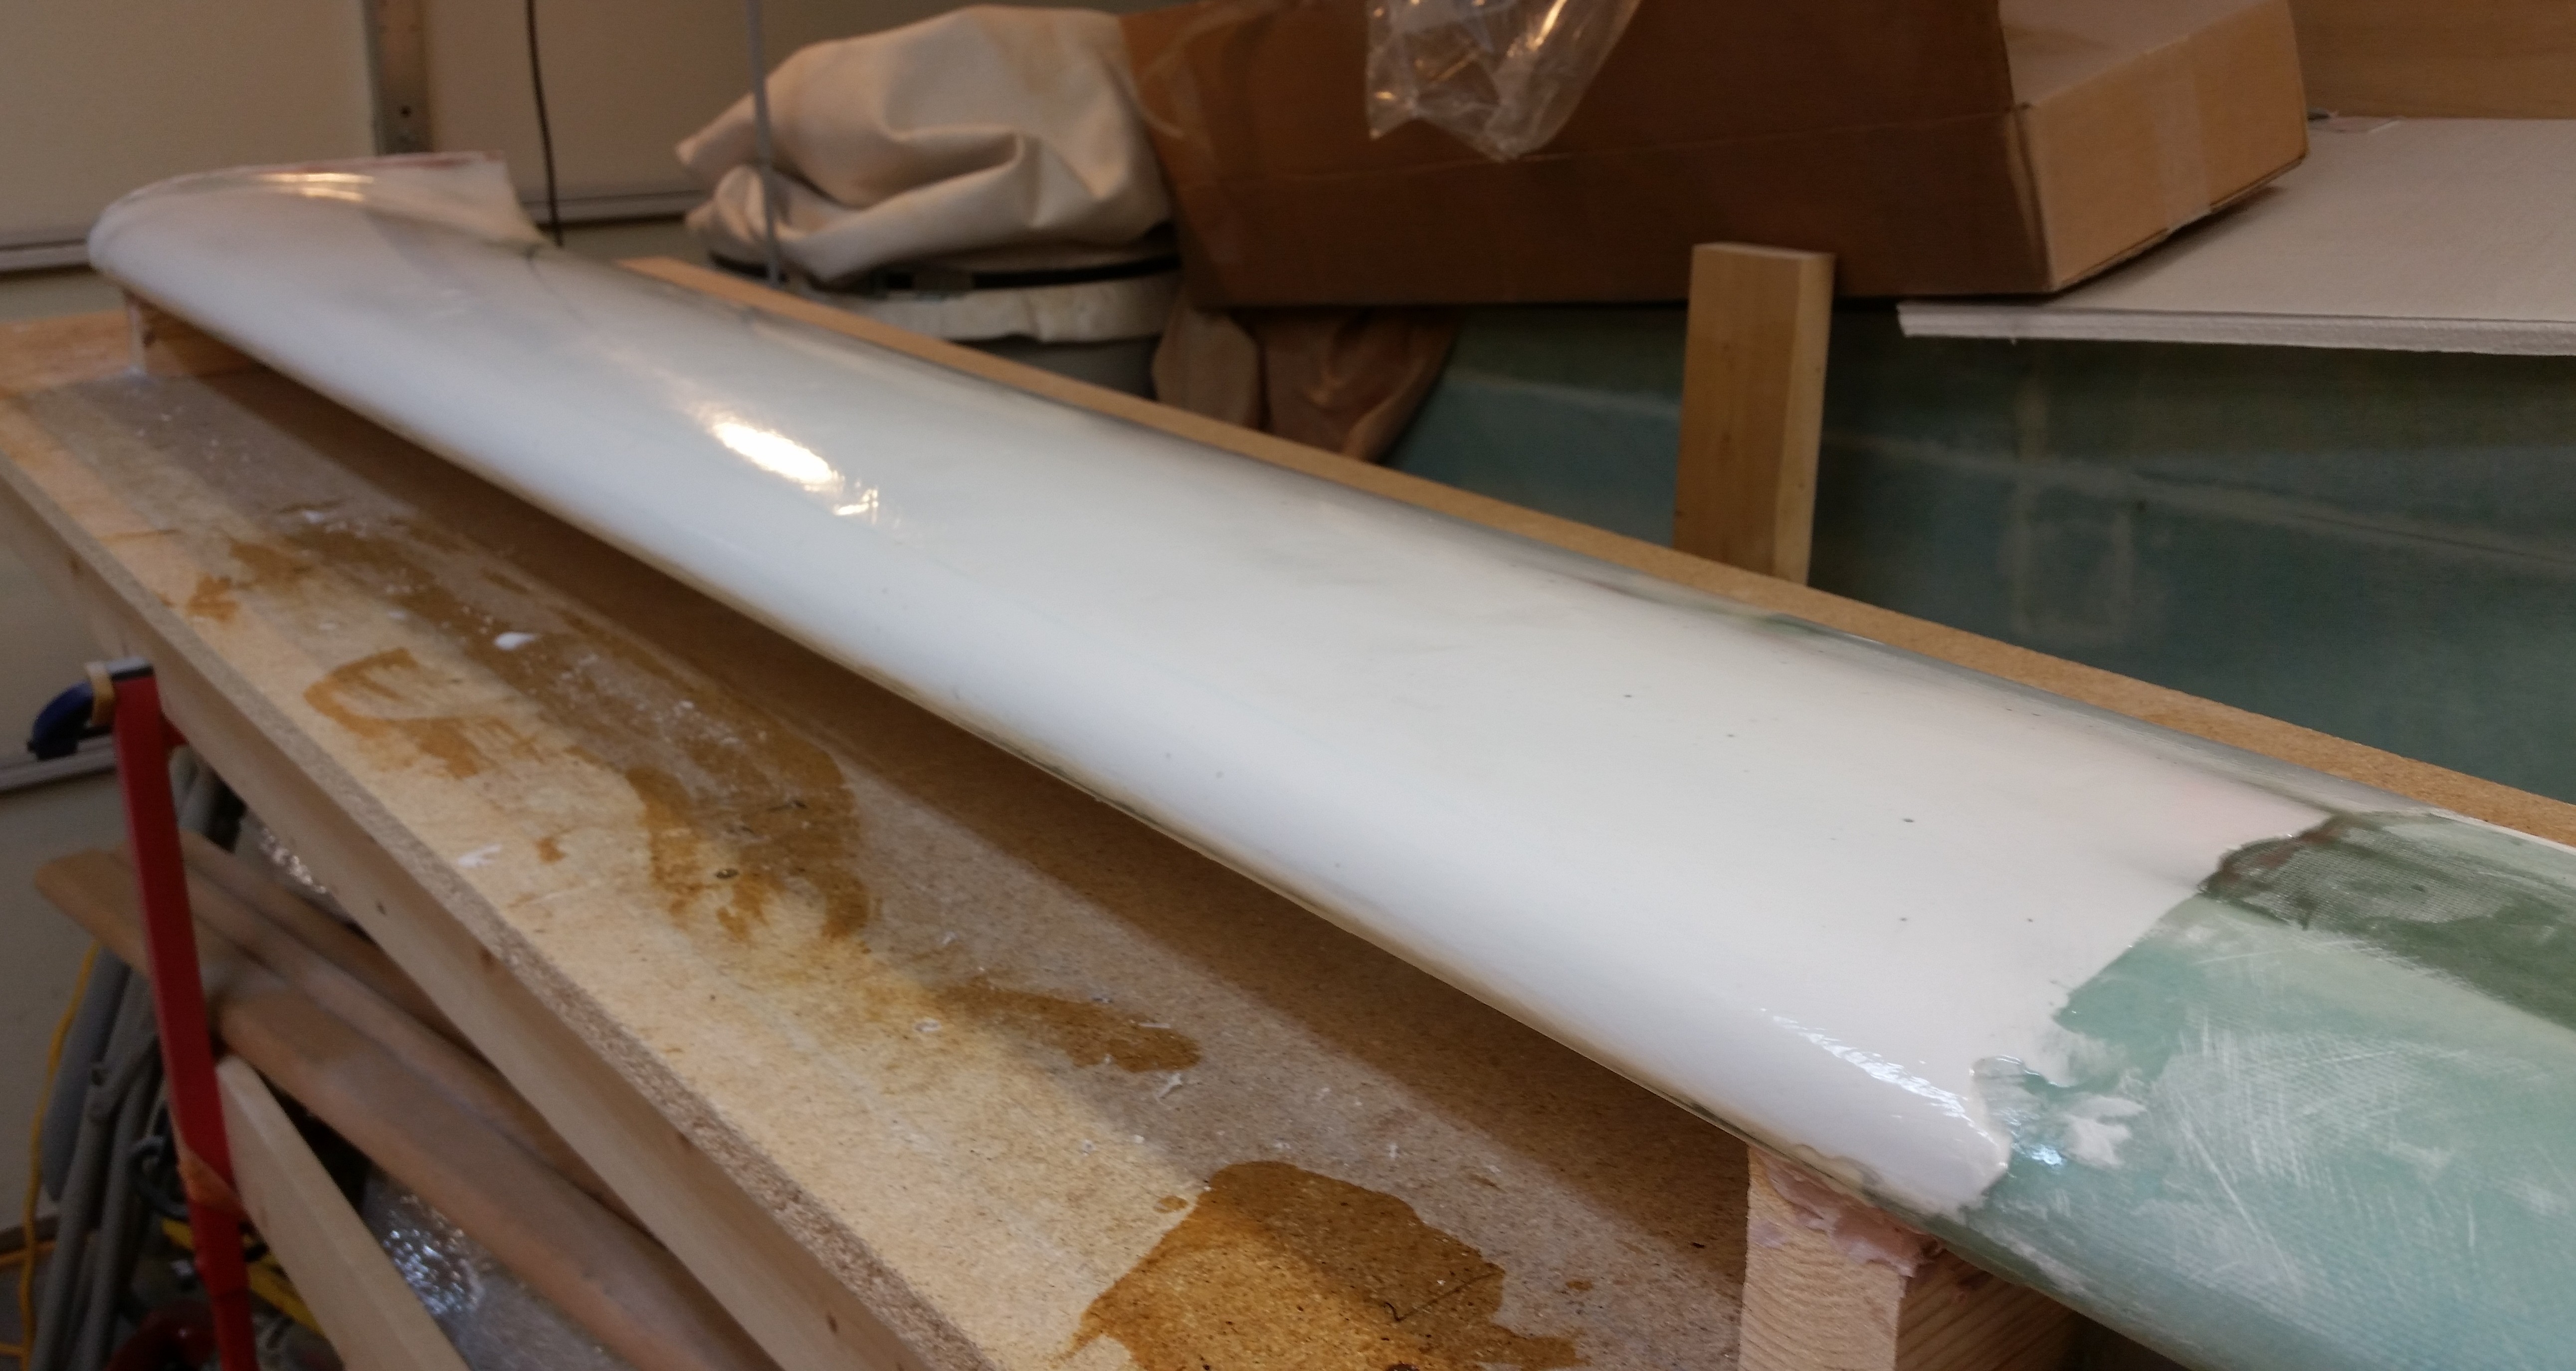
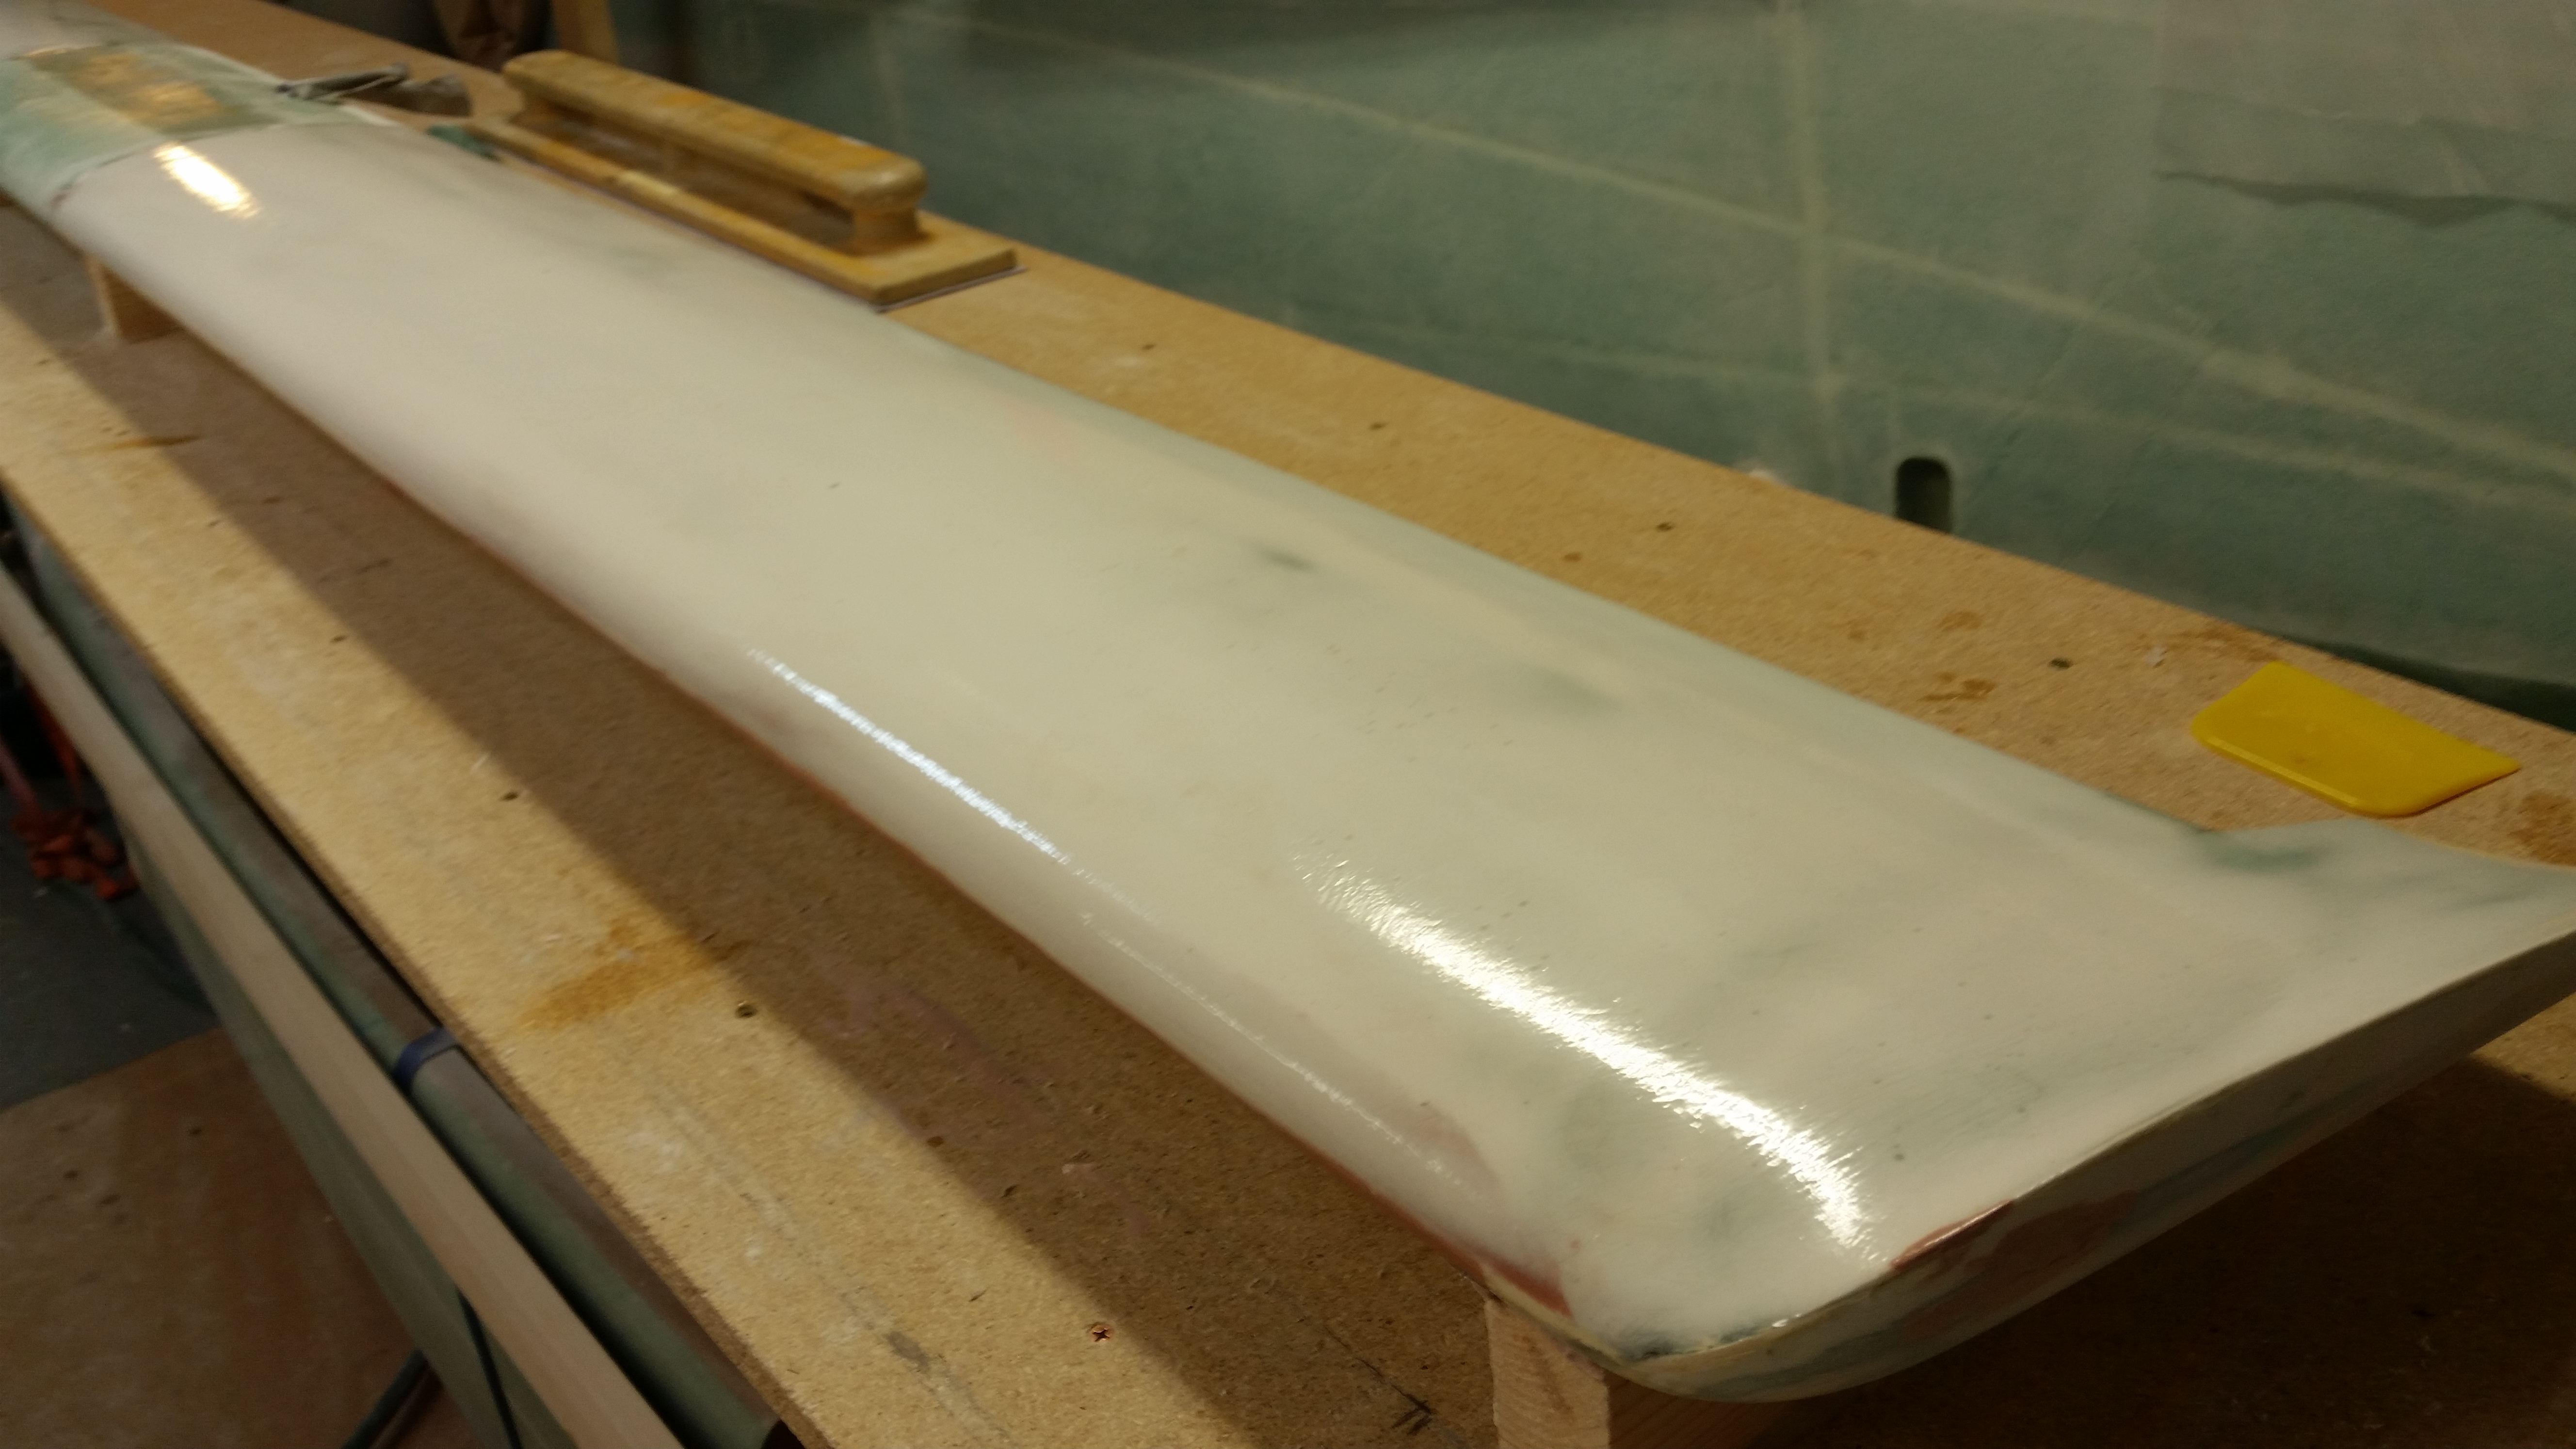
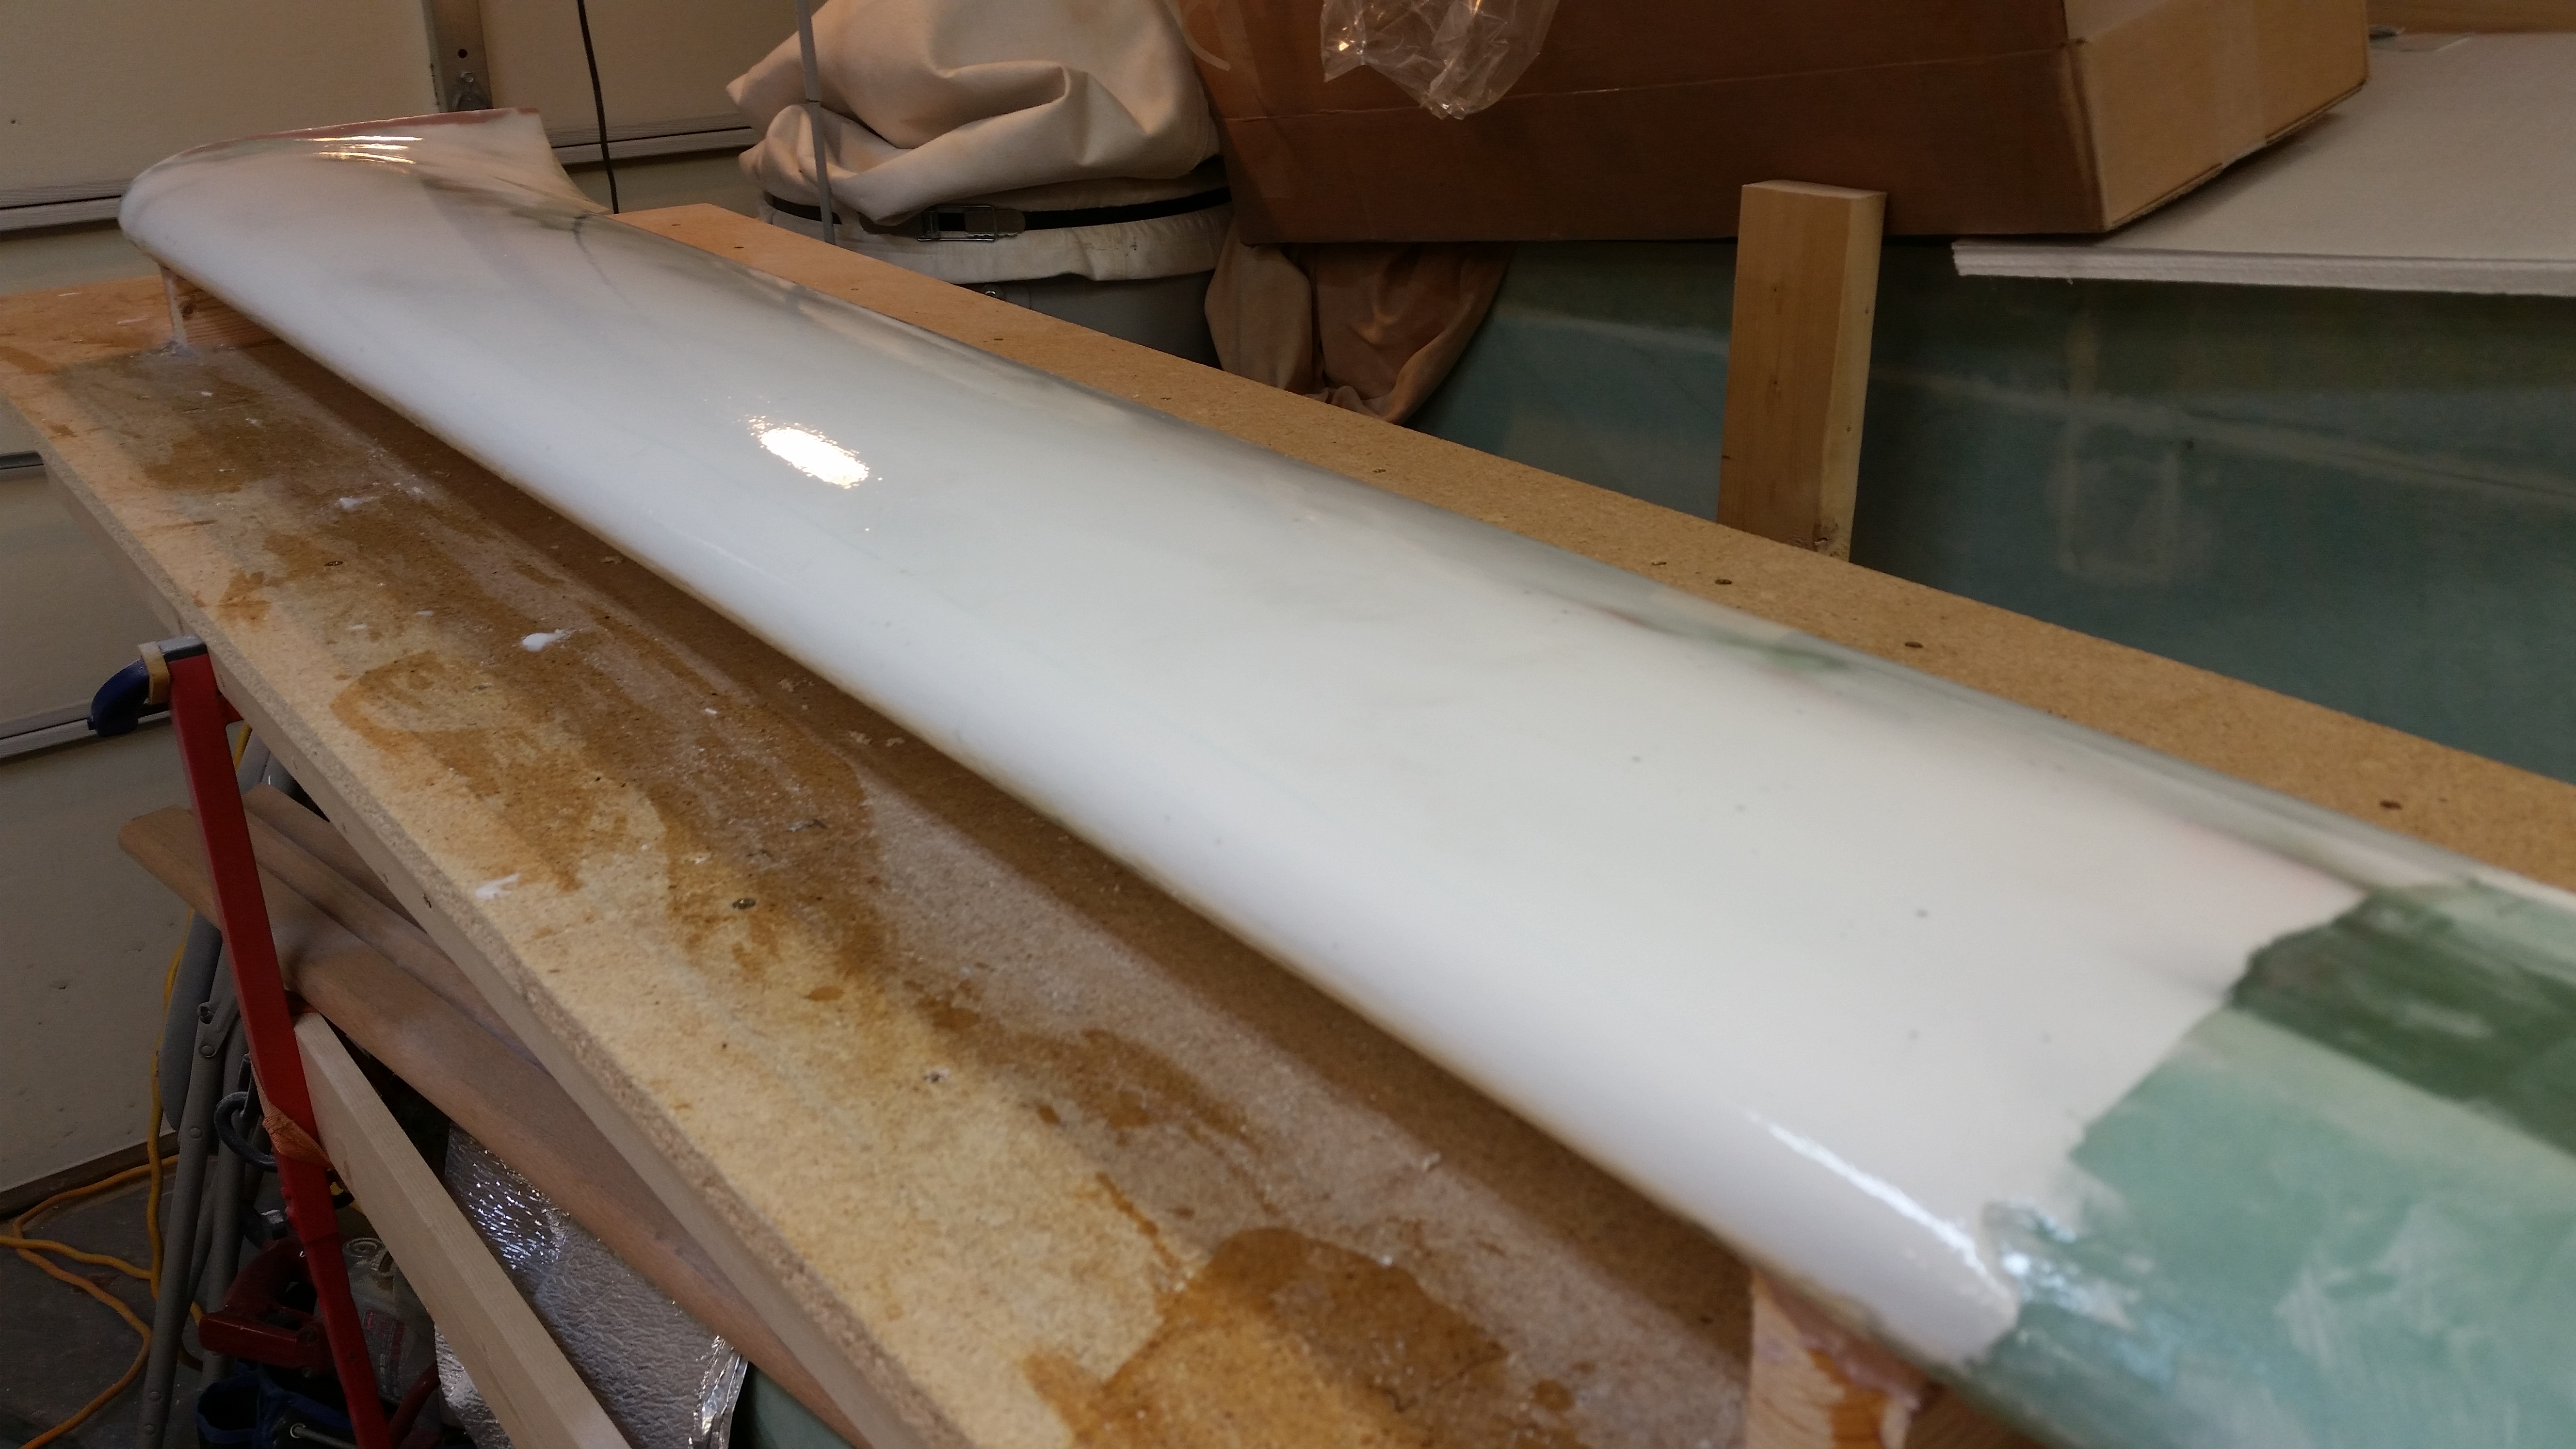
Here’s a shot of each side of the canard with the final 3 (additional) coats of epoxy. A few hours after the final coat went on, I spent about 45 minutes pulling the remaining protective tape from the sides and cleaning up the TE, LE, and swoosh tip areas with a razor blade. I got most of the gunk off these areas, but some still remains that will have to be sanded clean once I flip the canard for the final contour of the bottom side, with special focus on the LE.
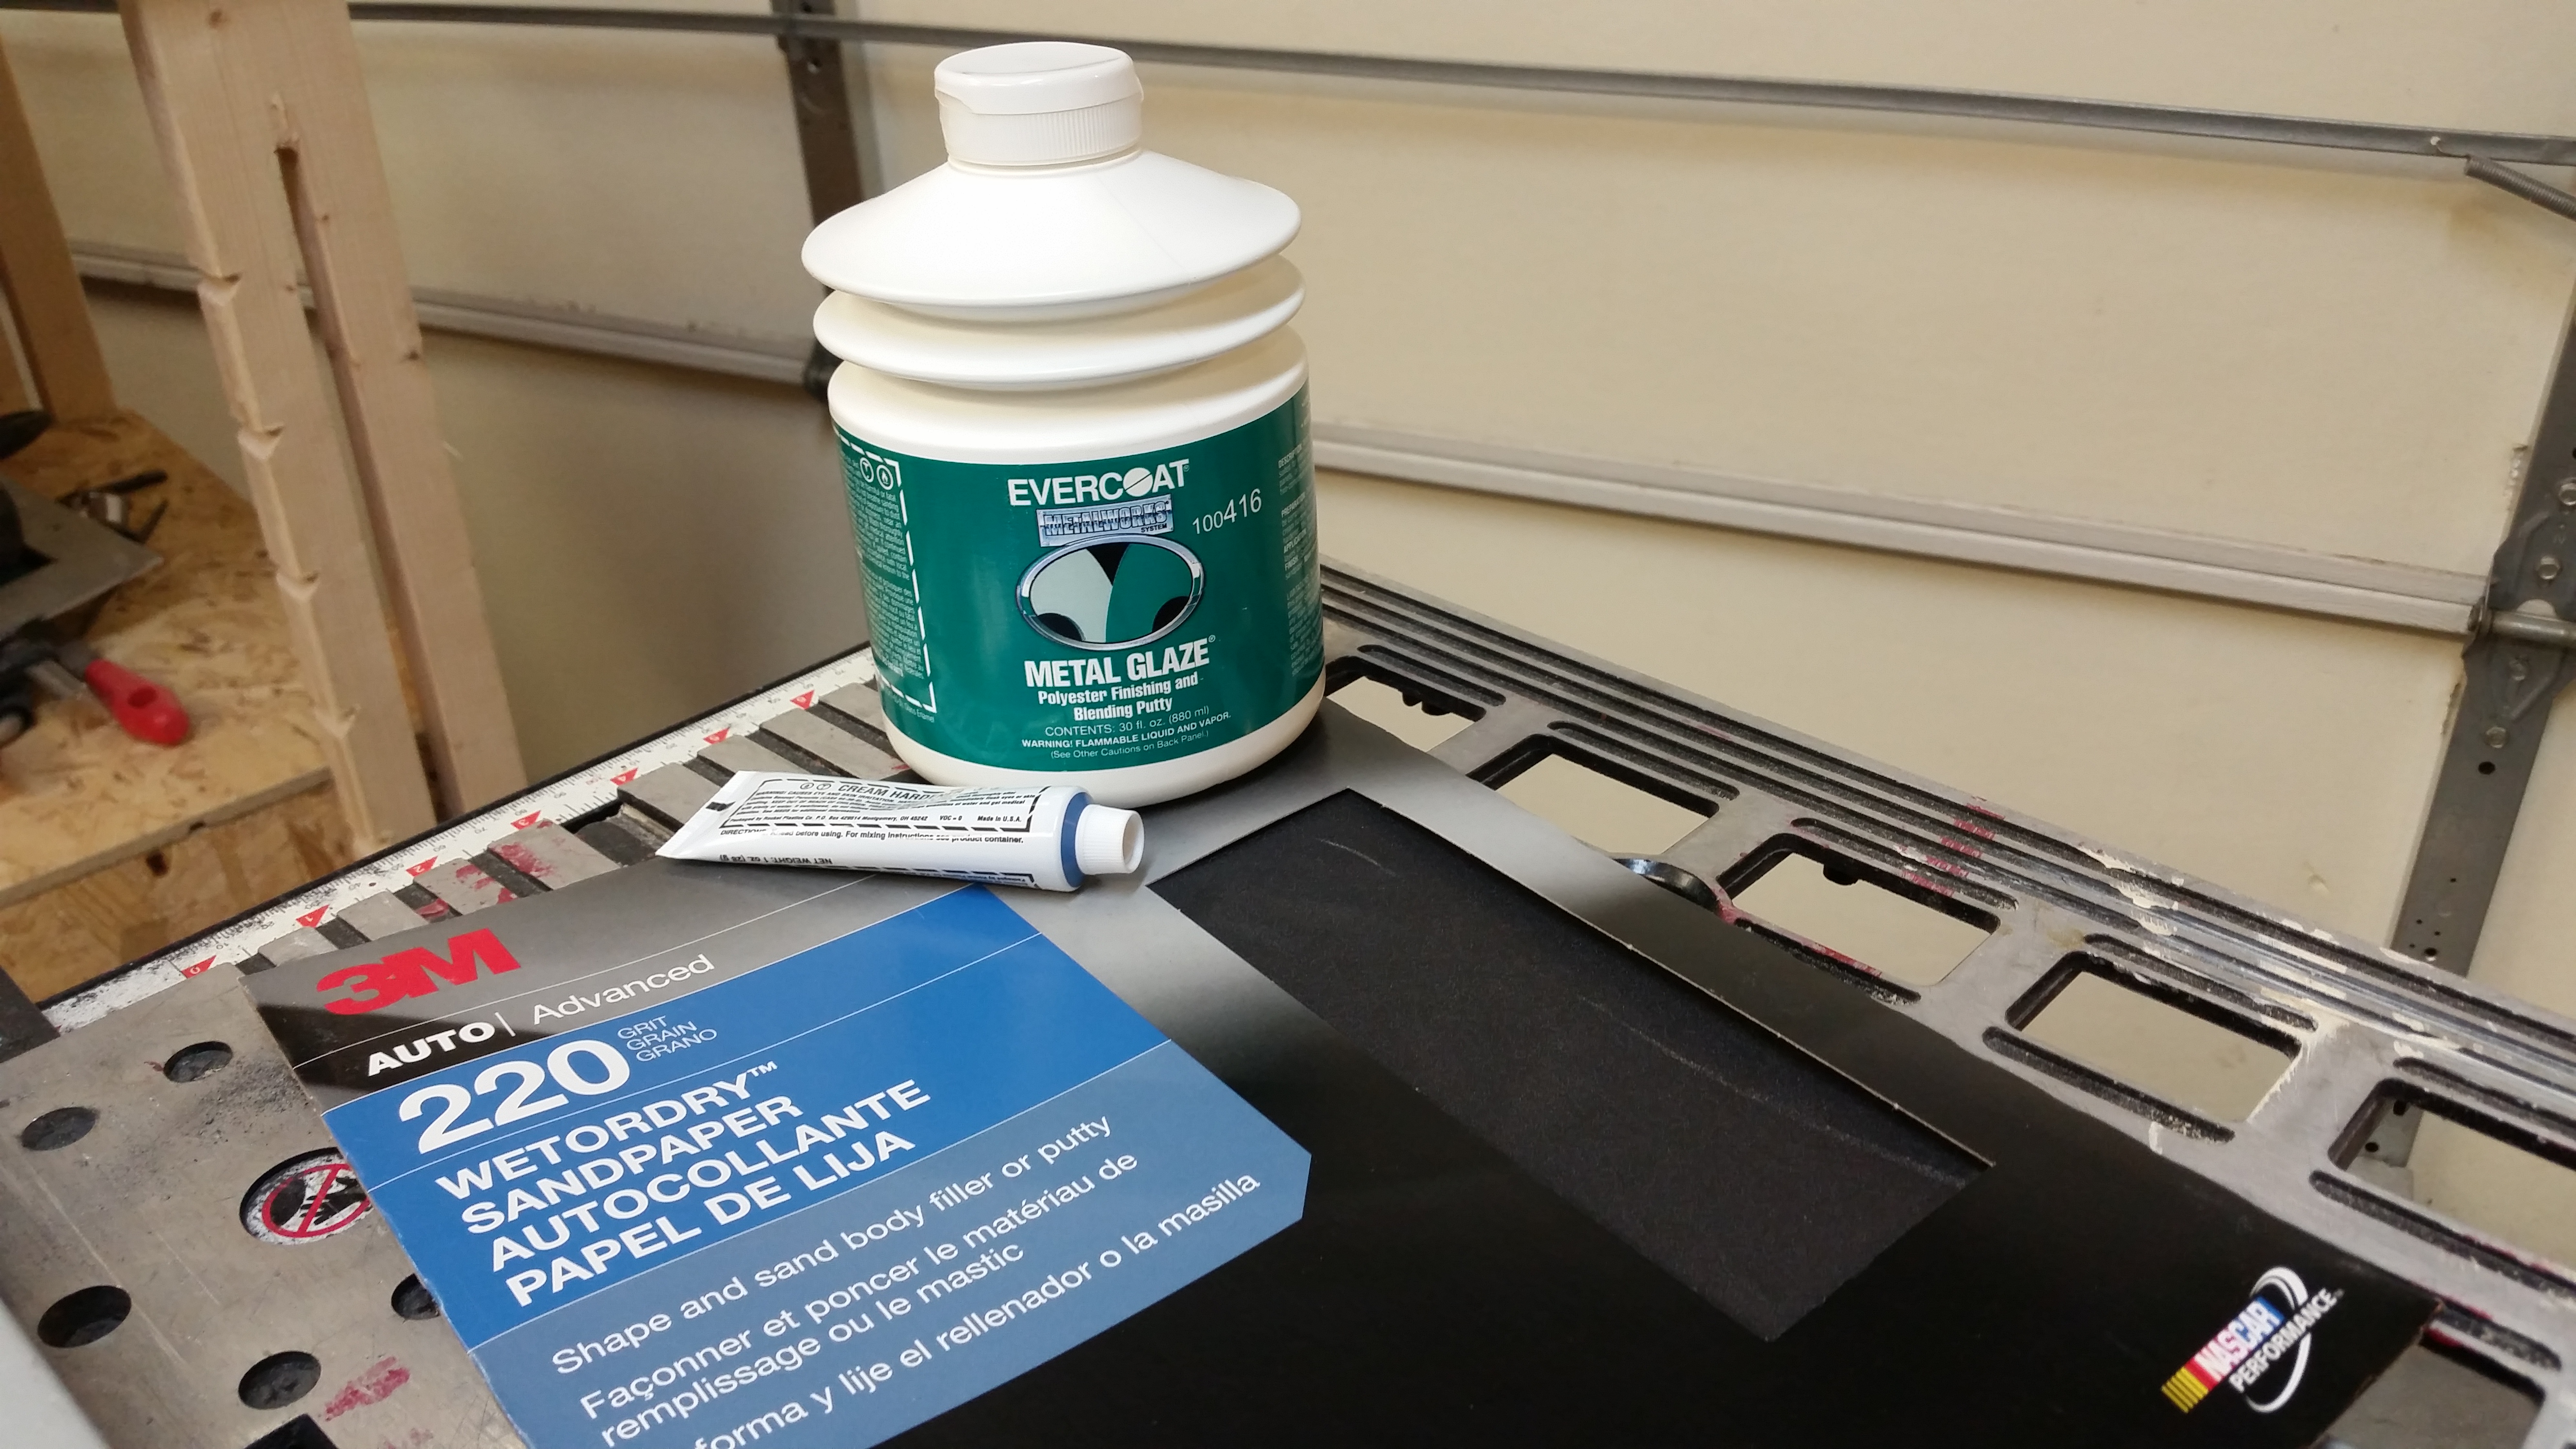
During one of the ~2 hour curing times between coats I ran out to a auto paint supply store to grab some glazing putty & wet/dry sandpaper to have on hand for this weekend.
I’ll wait a minimum of 24 hours for the epoxy to cure before I do anything to the canard top.