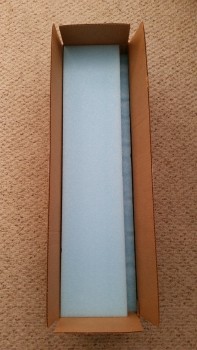
First off, before we get to Cory, as you can see by the pic below my new elevator cores arrived from Eureka CNC! Thanks Steve!
After doing about an hour’s worth of research on some electrical topics for wiring the nose gear actuator, etc. I picked up my long board to sand yet once again. (whew! … I’m not gonna get back on my soap box, but I still can’t imagine doing nothing but finishing for MONTHS on end!).
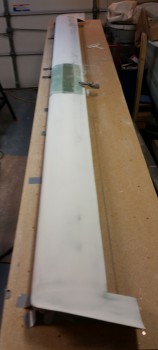
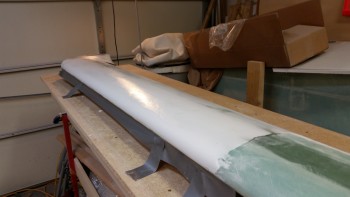
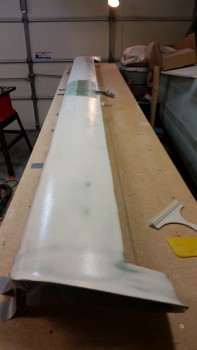
After about 15 minutes of sanding I was very close to the my final contour on the left hand side. On the outboard third of the canard I’m maybe about 30 thou of inch (0.030″) too wide from LE to TE, but the profile is great. And since I was closing in on the LE Bondo layer, and the inboard two-thirds looked really good, I called the left side around 97% good. Any more sanding would have only gummed things up in my opinion, so I stopped while I was ahead.
The right side canard top surface didn’t come out as awesome as the left, but it still looked really good. Since I had to do quite a bit of sanding on the LE area, I tapered it closer back to the shape where I was compelled to add another micro layer.
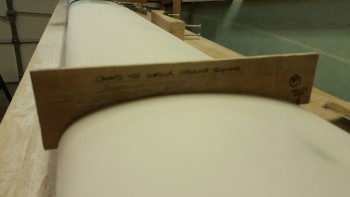
When I checked the right side with the contour profile template I got 3 near-perfect contours, 2 good contours, and one just ok. Now, again, instead of sanding further and just compounding the problem, I decided to let the 5 coats of epoxy and 2-3 coats of primer take care of any minor surface deviations, and will backfill any major abhorrent surface irregularities that exist in the final finish steps. Taking off a gross amount more of micro finish wouldn’t have done anything but make the overall contour profile even worse.
If I had to call it in percentages of optimum contour, I would give the right side a grade of anywhere between 85% and 89%, at it’s current state. That being said, I’m confident that it will be at a grade of 95-98% of optimum contour by the time I’m finished. Moreover, I’m really happy with how the top canard profile turned out!
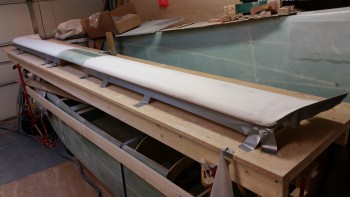
I shop vacuumed the work bench and the top of the canard, and then taped up the bottom edges to control any overflow of out-of-control epoxy.
I then mixed up some pure West epoxy and spread it over the canard surface top starting on the right side. It’s amazing how the epoxy wipes removes so many of the sins of micro finishing. I’m not, of course, endorsing sloppy workmanship, but it’s nice to know that the divots, holes from air bubbles and depressions from not enough thickness in the application of micro will be greatly minimized, if not eliminated altogether, from 5 good applications of a very thin layer of epoxy.
Thus, again, Cory Bird is a genius! And I’m glad he made this maddening process a heck of a lot easier . . .
I then finished up on the left side.
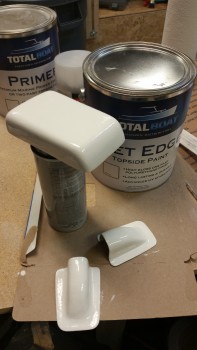
After the second application of epoxy to the canard top, I sanded down the first coat of final top coat paint on the headrest GPS antenna puck cover, and then sanded down and added the first coat of final white paint to the elevator outboard weight ice shields.
Now, to be honest I haven’t been blown away with the performance of this boat paint. I don’t have negative feelings towards it either, but the jury is still out. I may need to look at a better way of applying it, because on these parts I just used a cheap paint brush. Thus, we shall see . . .
My plan for the rest of the evening is to get the final 3 coats of epoxy applied to the top surface of the canard. In lieu of this, I won’t be adding any more to this post this evening.
Tomorrow, I’ll be prepping for the building of the elevators while the epoxy cures. Tomorrow evening I’ll most likely do a final sand of the epoxy covered canard and hit it with its first coat of primer. And I still need to add some material to the right swoosh tip edge as well.

