
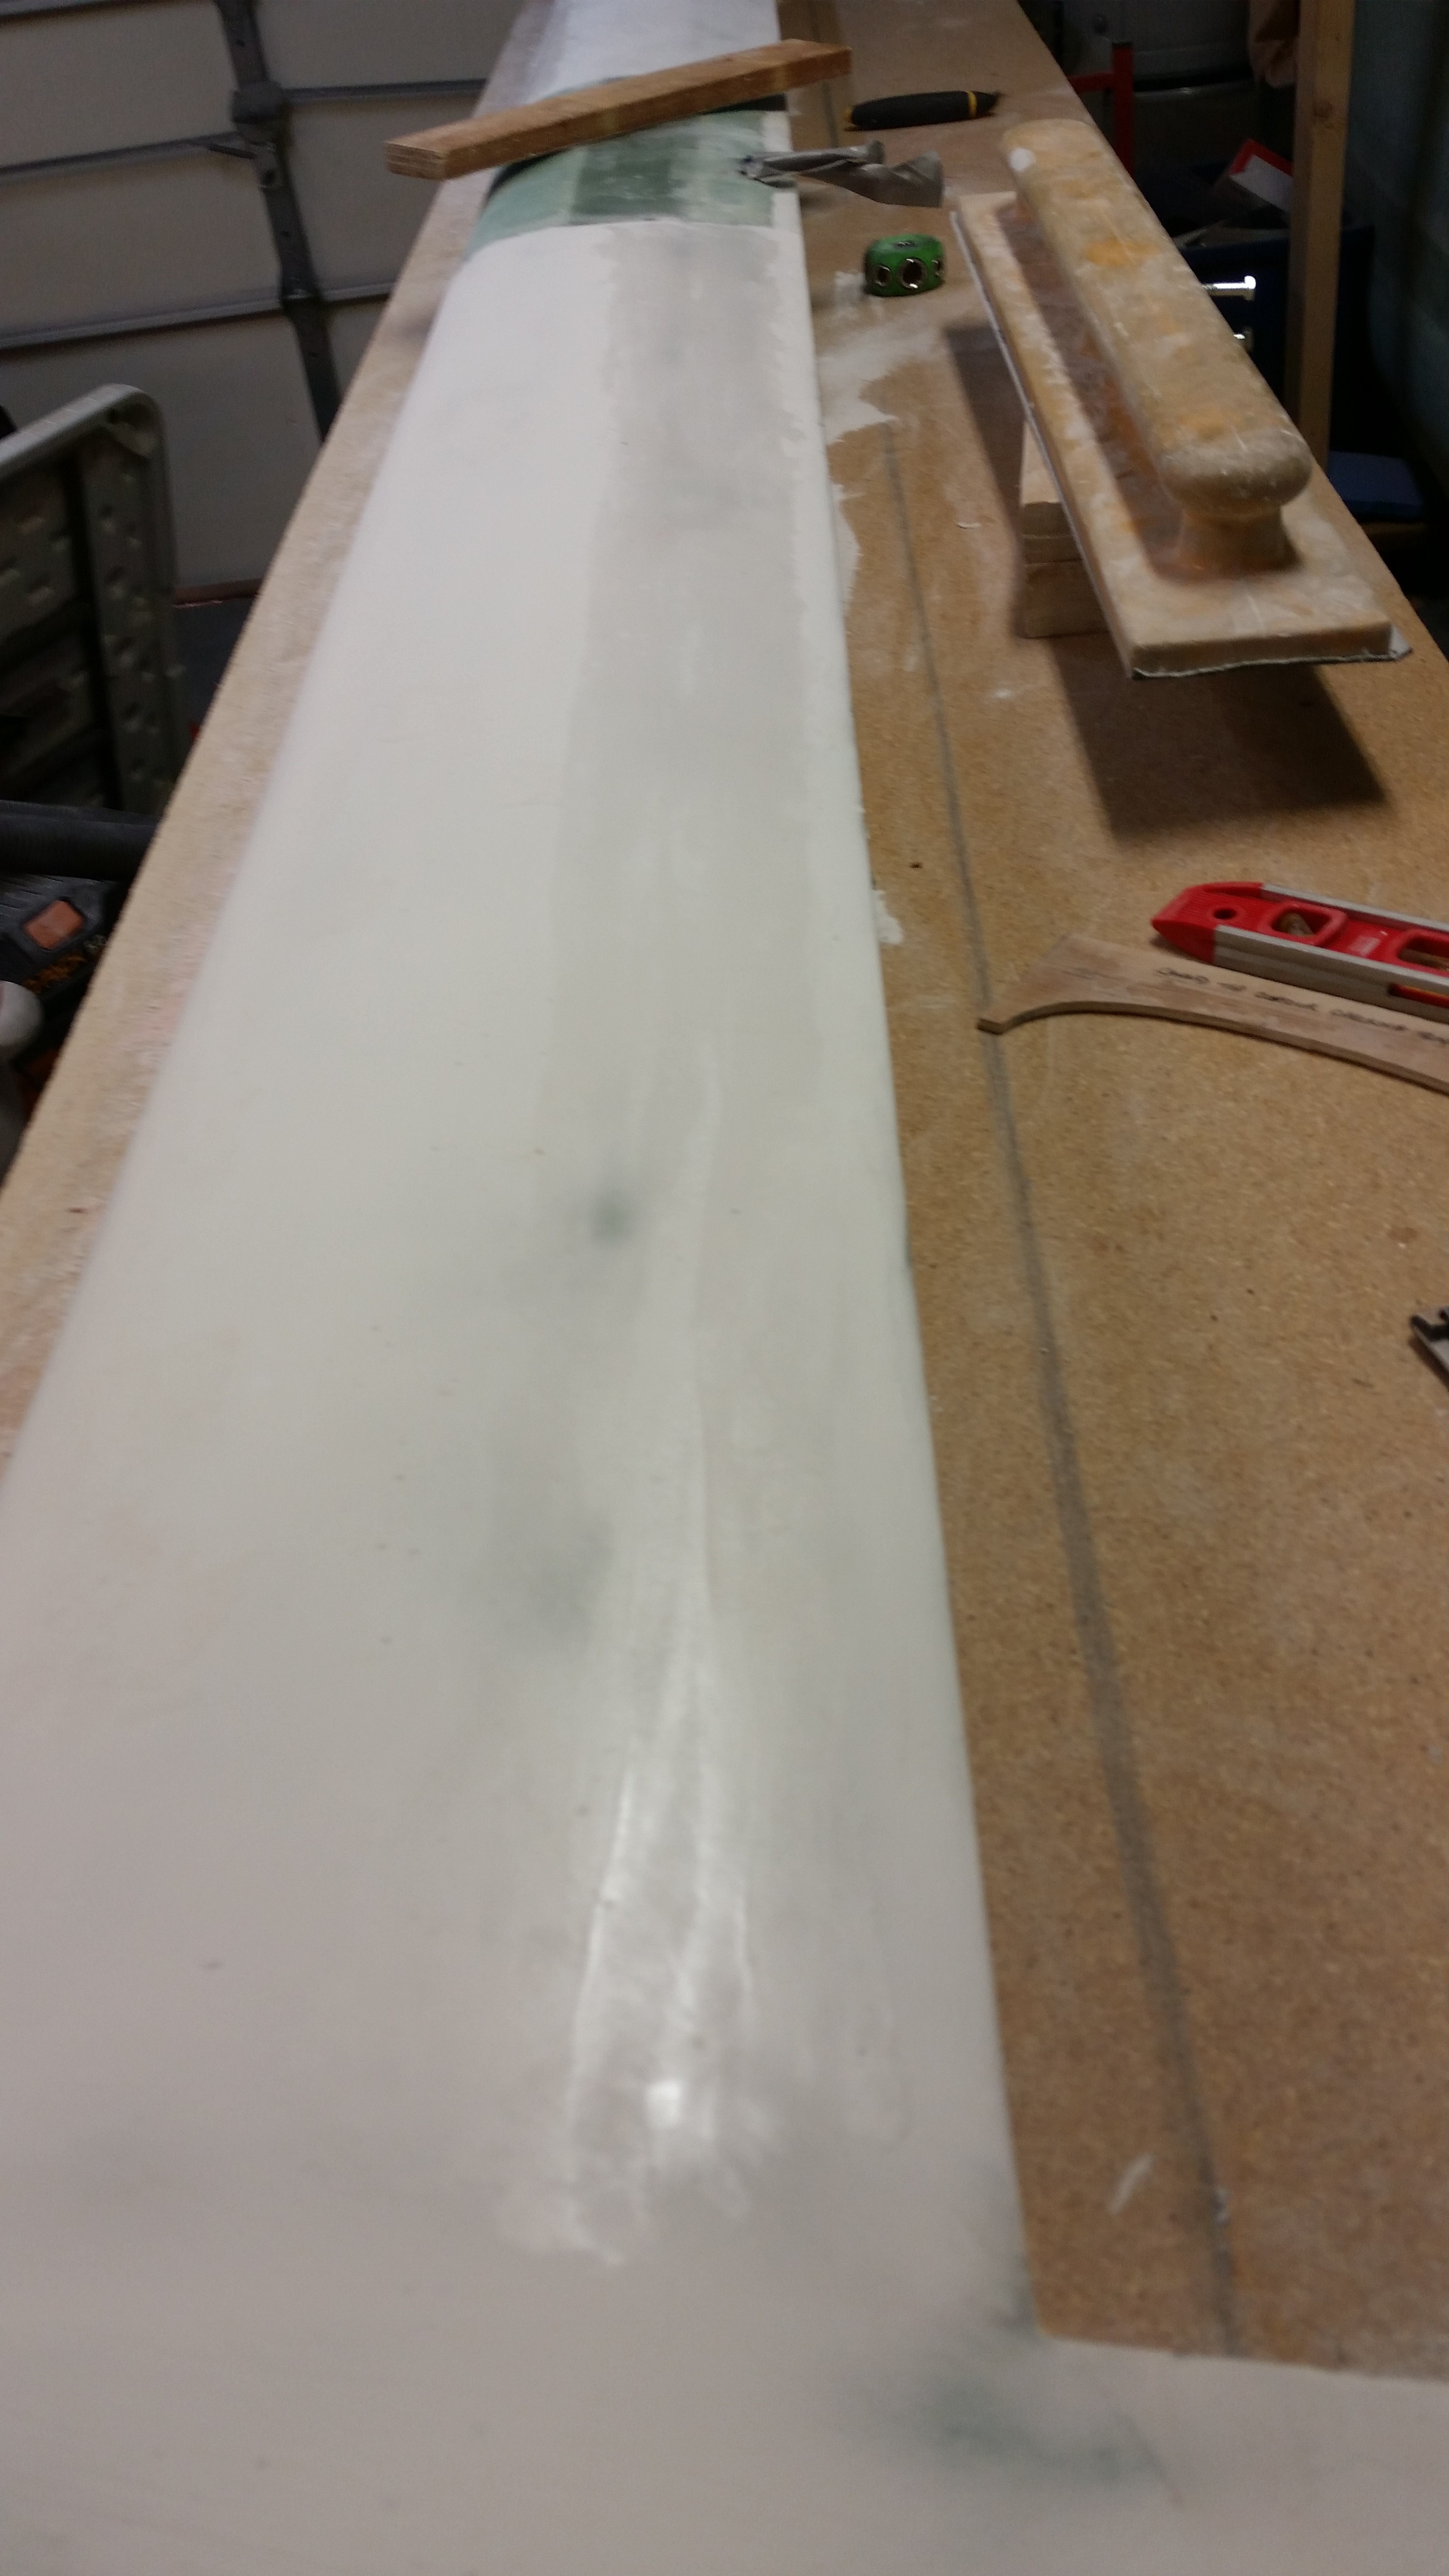
To start, I cheese grated both LEs & the various spot fills on the canard surface shortly around midnight. I have to say that I notice when sanding micro it seems to be tougher at the beginning when breaking through the shiny layer of epoxy that cures on the surface of the micro. Once into & through that layer, the sanding tends to go a little faster with ever so slightly less pressure (ahem, not implying that a good bit of umph isn’t still required!). Well, cheese grating seems to get to the point where that top shiny surface layer has already been broken through. I’m hoping this is the case and that any difficulties that arise between sanding between micro layer #1 and added micro layer #2 is minimized by cheese grating.
An important realization that I had when I cheese grated the right LE is that the LE still wasn’t thick enough for my (and the contour profile template’s) liking. It was late though & I really didn’t want to be up for another 30-45 minutes, so I left the adding of micro finish layer #3 until this morning.
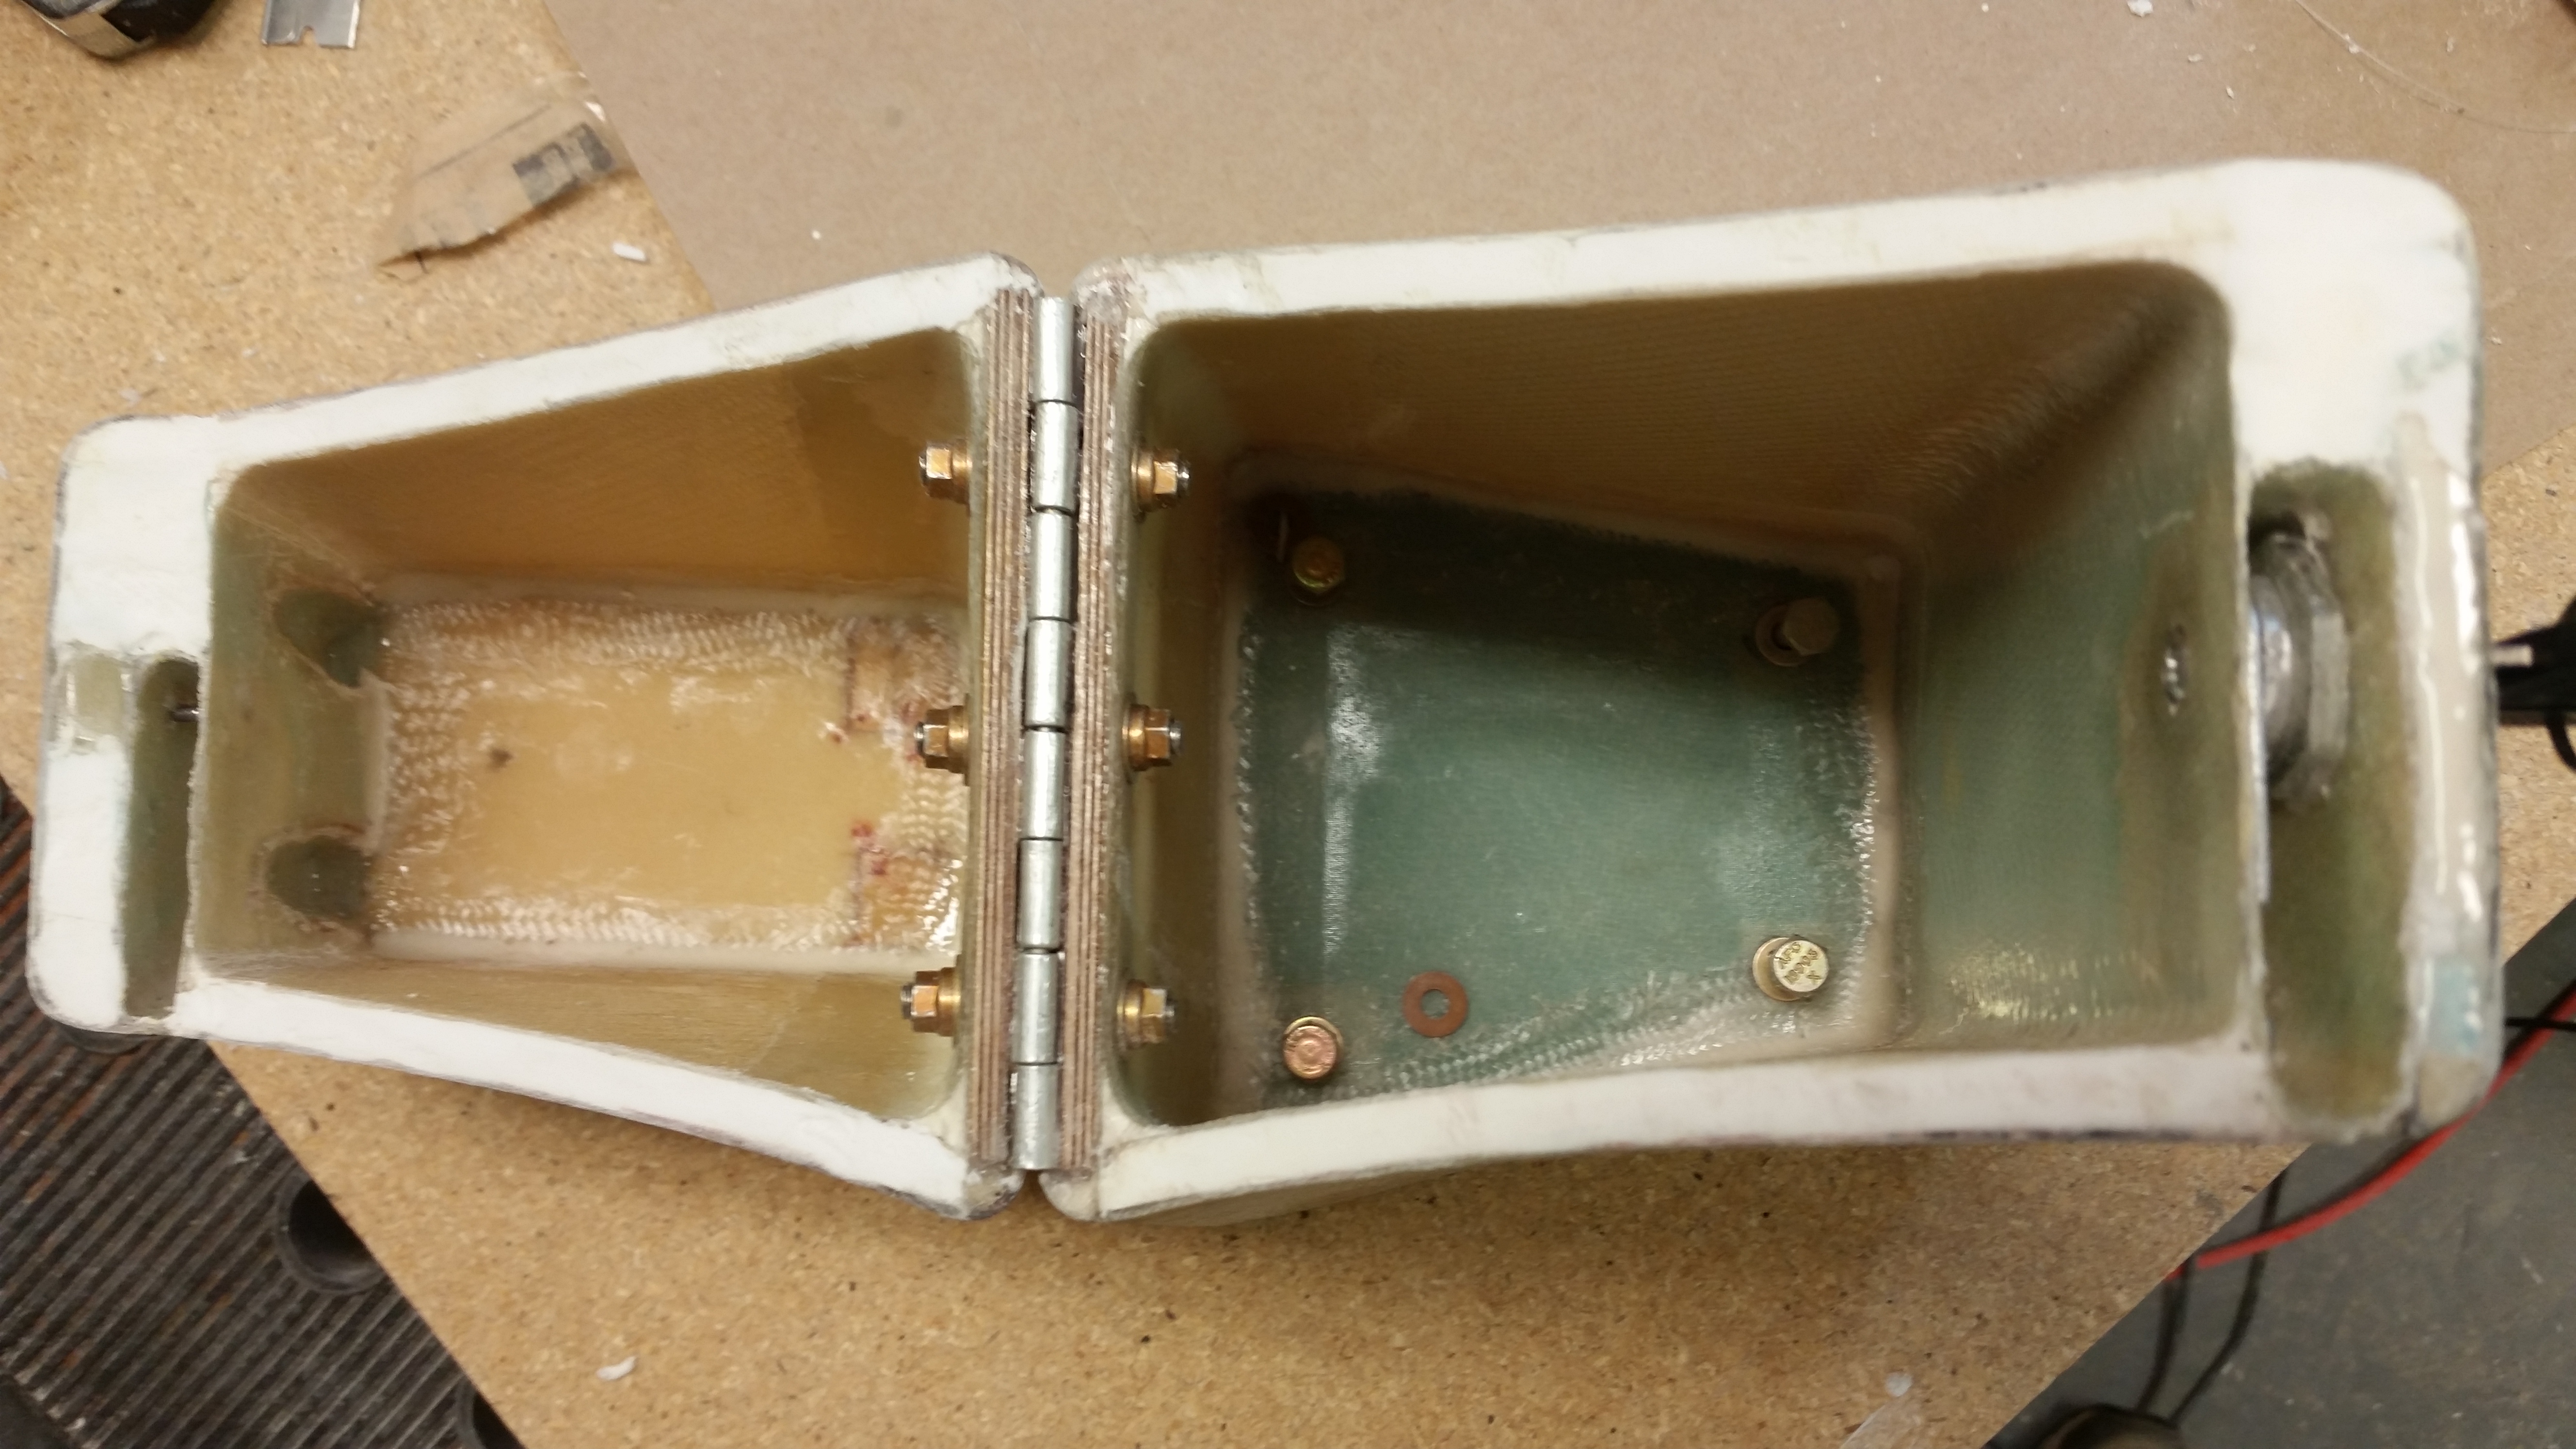
After I got done cheese grating the top canard surfaces, I pried apart the two halves of the headrest by slowly & carefully inserting straight razor blades around the entire sides & back side of the edges where I applied the micro. A big oops here and thank goodness I caught it in the green stage, because this would have been near impossible if the micro had fully cured. I thought that the peel ply would make it so the two sides came apart with the typical & gratifying peel ply tear off, but this was a solid cure and turned the top & bottom “halves” of my headrest back into one solid piece. Yes, if it ain’t one thing it’s another! Ha!
That’s 30 minutes of my life I’m not getting back!
This morning I added more micro to the right side LE. Again, we’re talking if I get 1/16″ added filler depth after sanding (which is always the trick! that damned sanding inexplicably tends to remove the stuff you put on in the first place… bewildering!) then I’ll be happy.

I also noted after checking the canard surface with my contour profile template that the aft side of the left side canard has just a bit of daylight, so I skim coated with micro the entire left side aft canard about an inch forward of the LE in about a 3″ swath. Here, anything that provides a little extra surface depth is golden since I’m not overly concerned about this area. But since I’m contending with other areas on the top of the canard, I might as well take the opportunity to tweak this area as well.
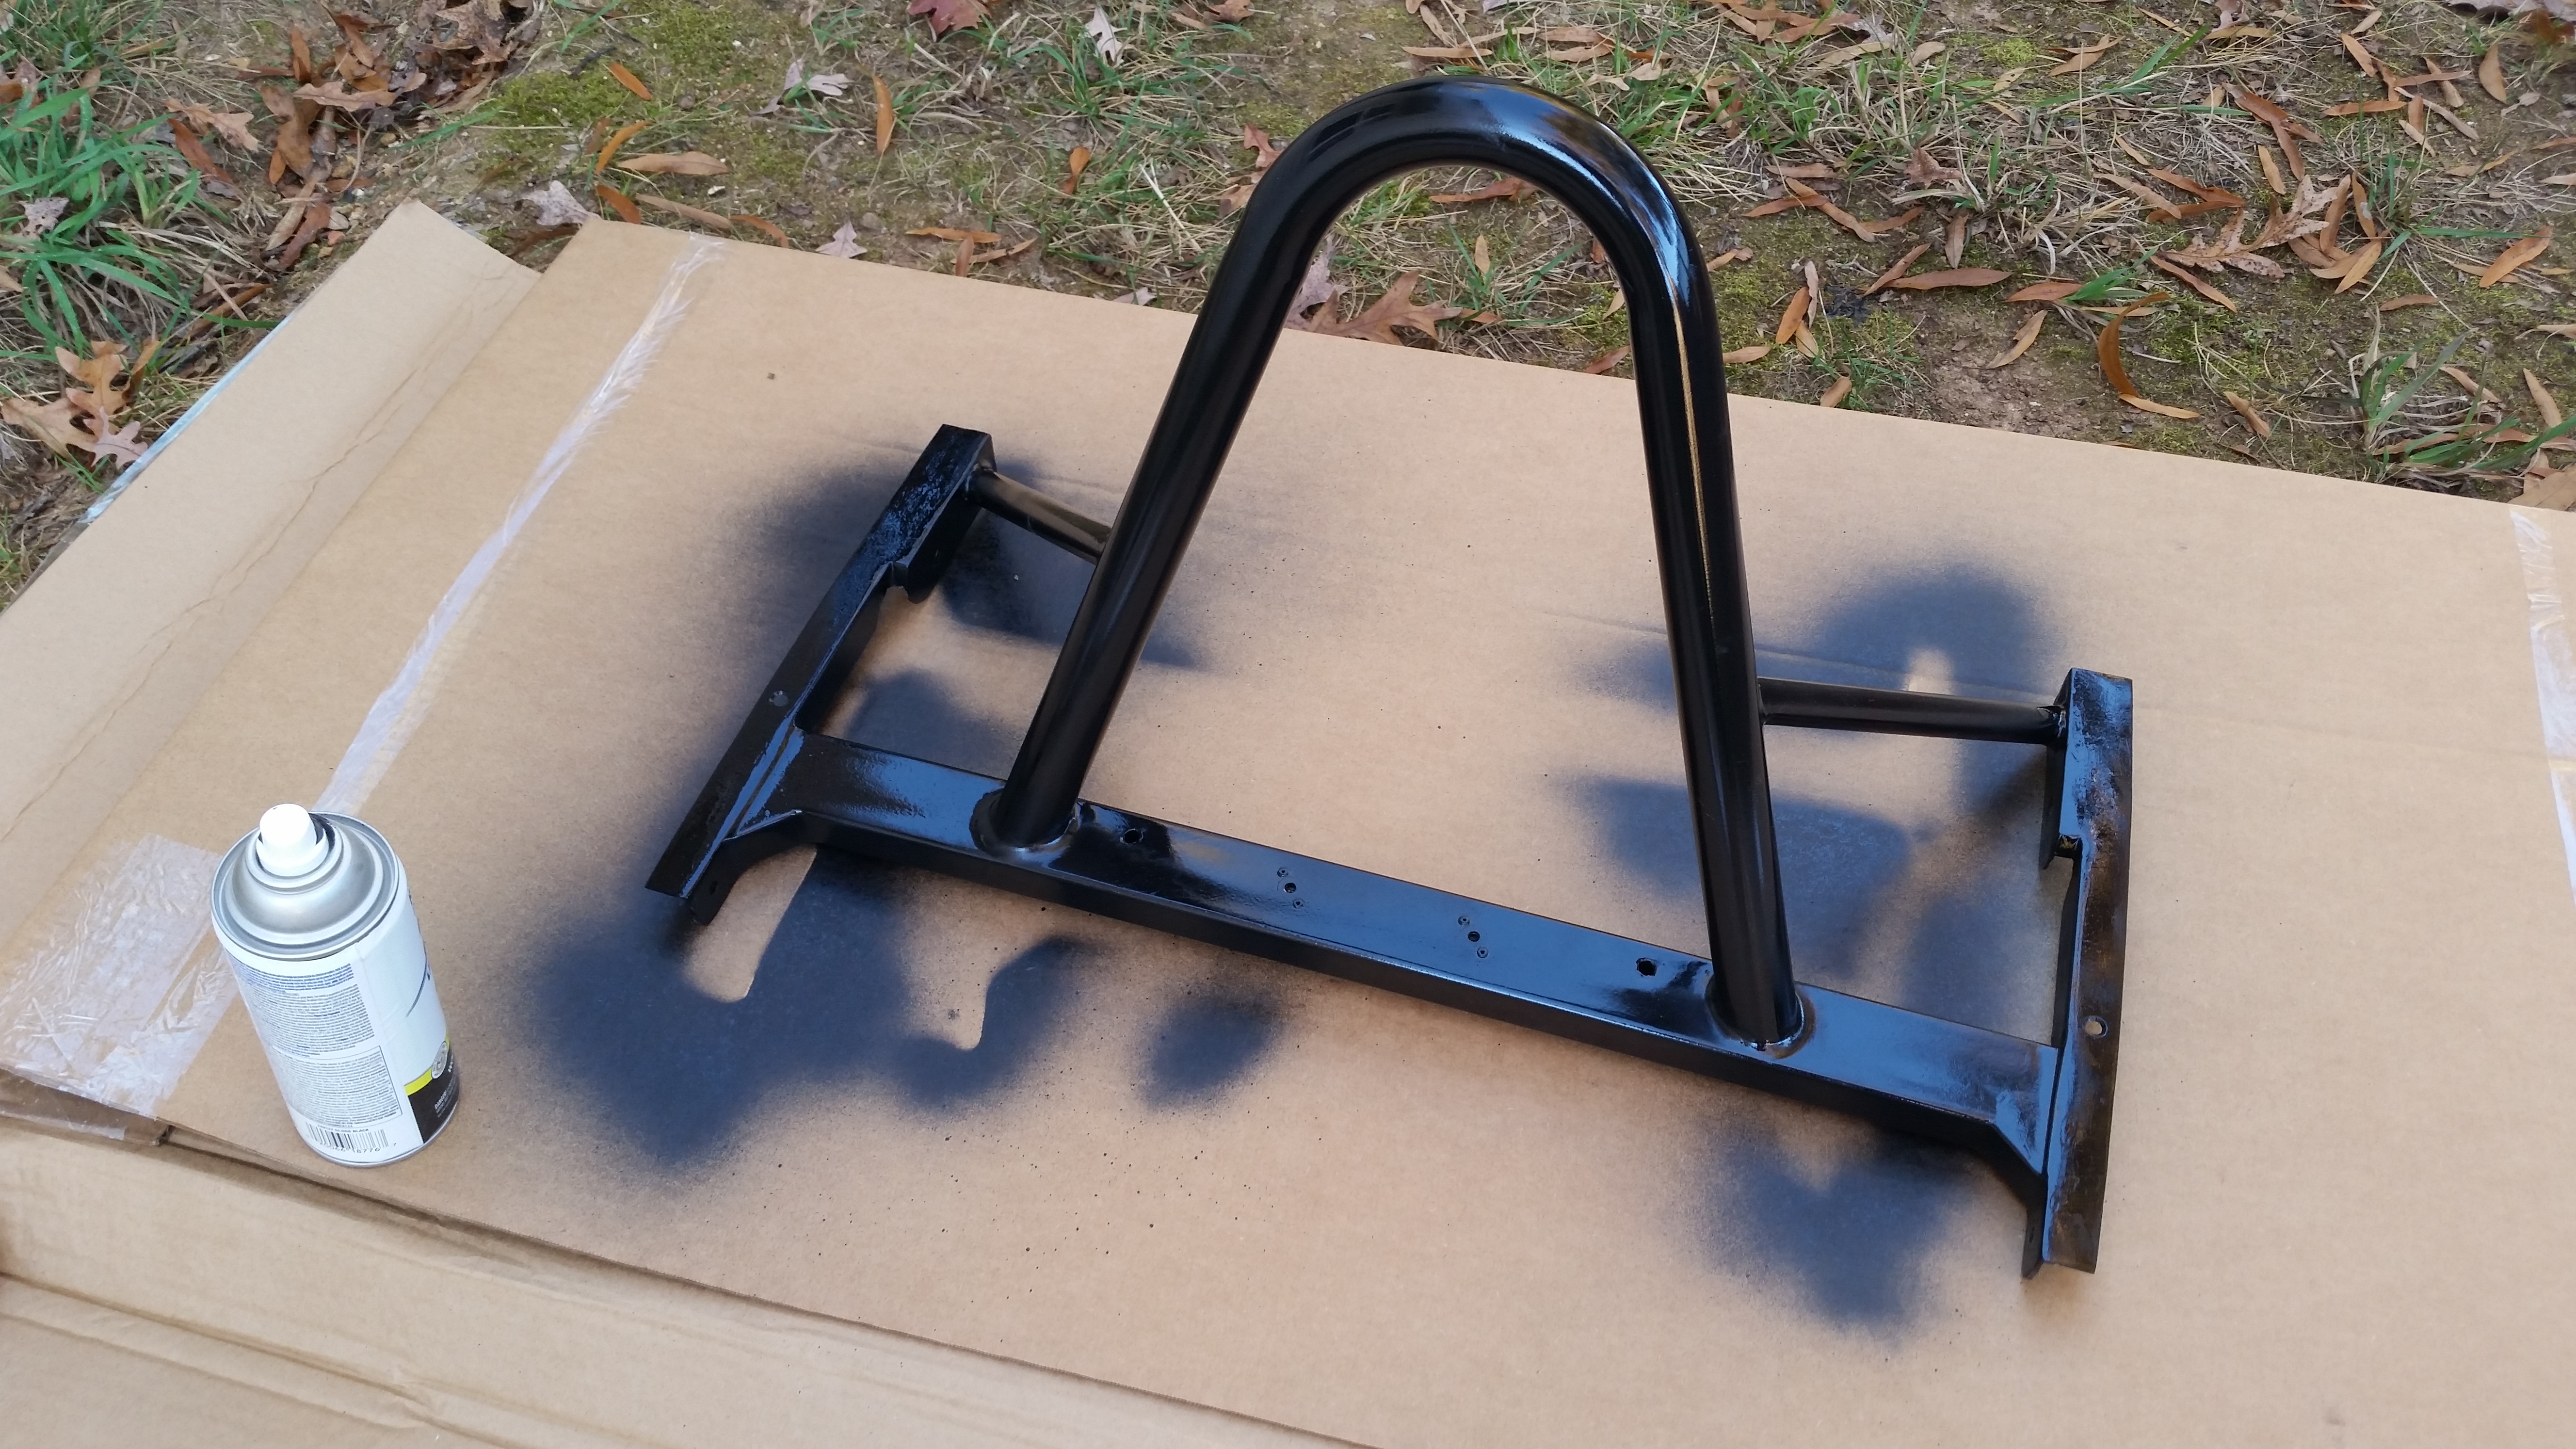
Yesterday, when I wrote up my 3×5 card to-do list (or “cut sheet”) for finishing the top of the canard, I added tasks that I can do in-between the epoxy wipes during the 2-2.5 hours it takes for the epoxy to set up for the next coat of pure epoxy. These are those small, gotta do tasks that SHOULD get done eventually, but don’t hold a lot of weight in actually getting the plane built, or at a minimum, have anything to do with the current chapter at hand. Of course there’s been a myriad of these pesky tasks that require completion: from adding the click bonds to the wing root rib, to micro’ing the edges of the headrest, cutting the 4130 engine mount extrusions, etc.
Although clearly I have not yet started the epoxy wipes on the canard, since I have to wait for the freshly added micro layer #3 to green, I started in on my list of these tasks… the first one being to sand down the base of the rollover on each side to clean up the irregular surfaces & shoot it with primer again.
Sanding round #1 I used 100 grit paper on each side, then did a final round #2 sanding with 220 grit paper.

I then cleaned up the freshly sanded surfaces with Simple Green, took the rollover assembly outside and shot the sanded areas with 3 coats of the same Rustoleum gloss black primer that I used previously.
With my canard micro still not “greened” yet, I spent a good 45 minutes cleaning up and organizing my garage work shop (much needed, and yes, on the to-do list!).
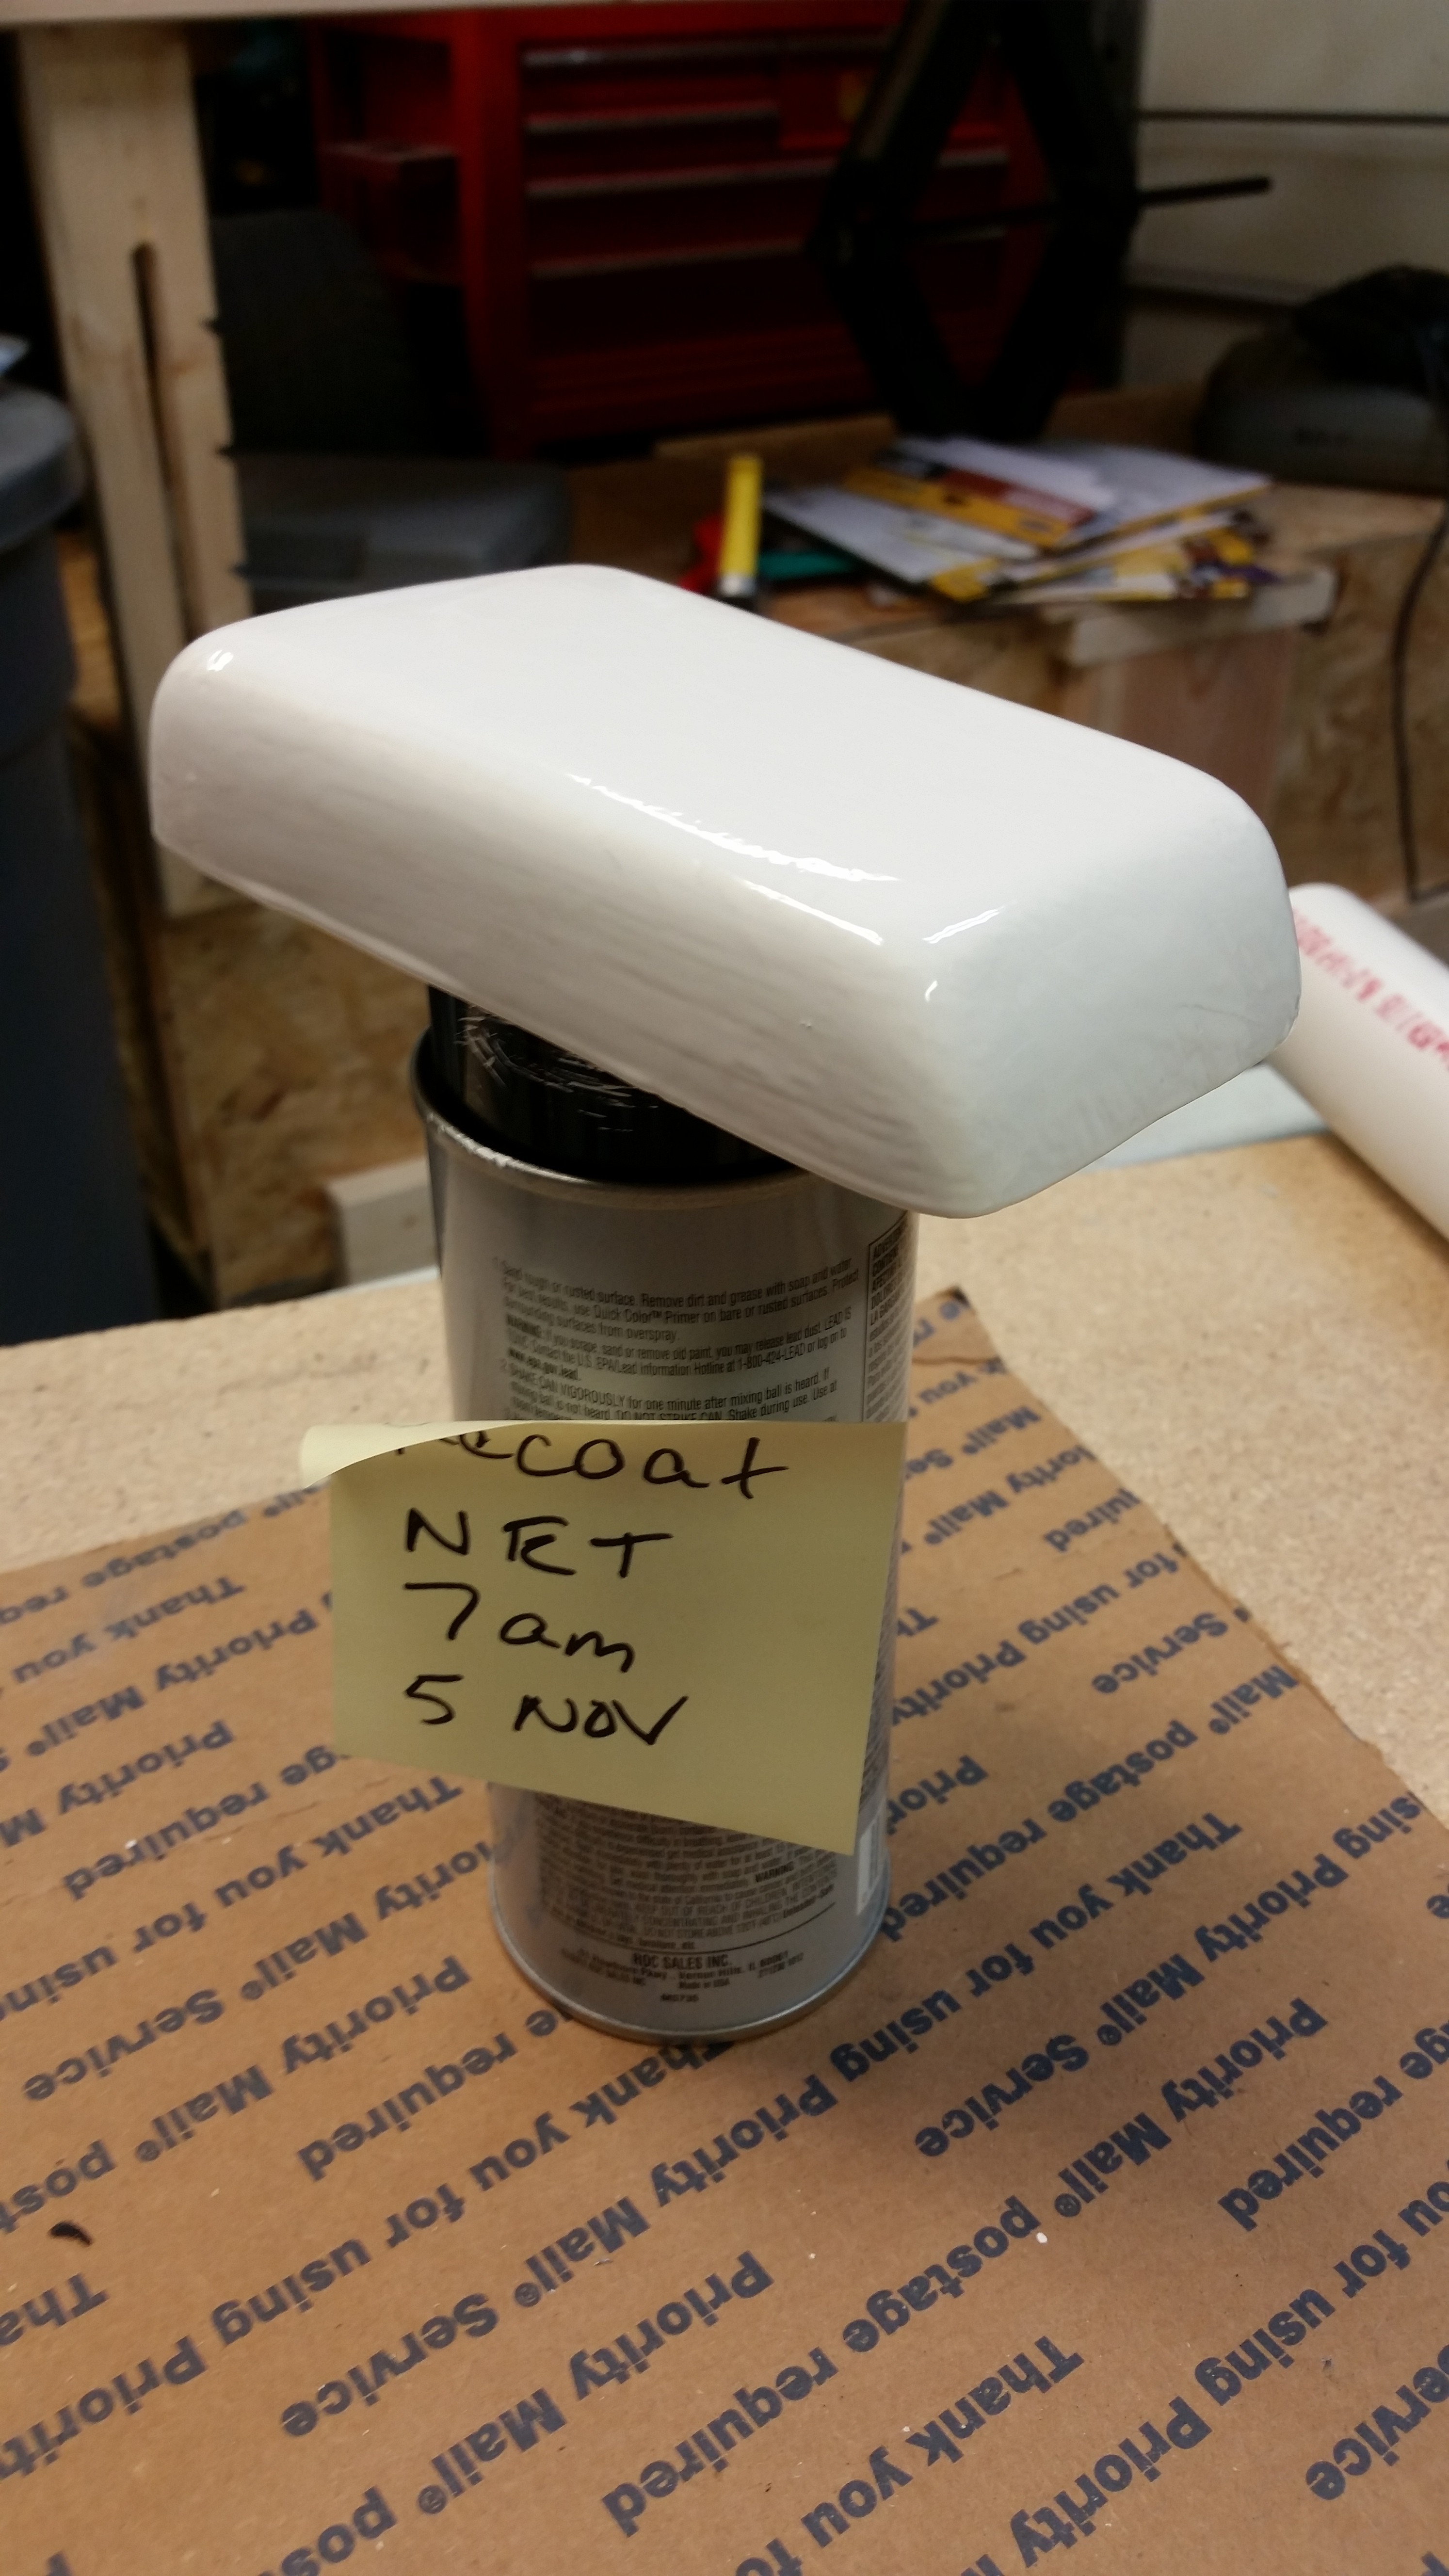
After my cleaning spree, and with both the rollover assembly and the re-micro’d canard still curing, I decided to test out my boat paint on the headrest GPS antenna puck cover.
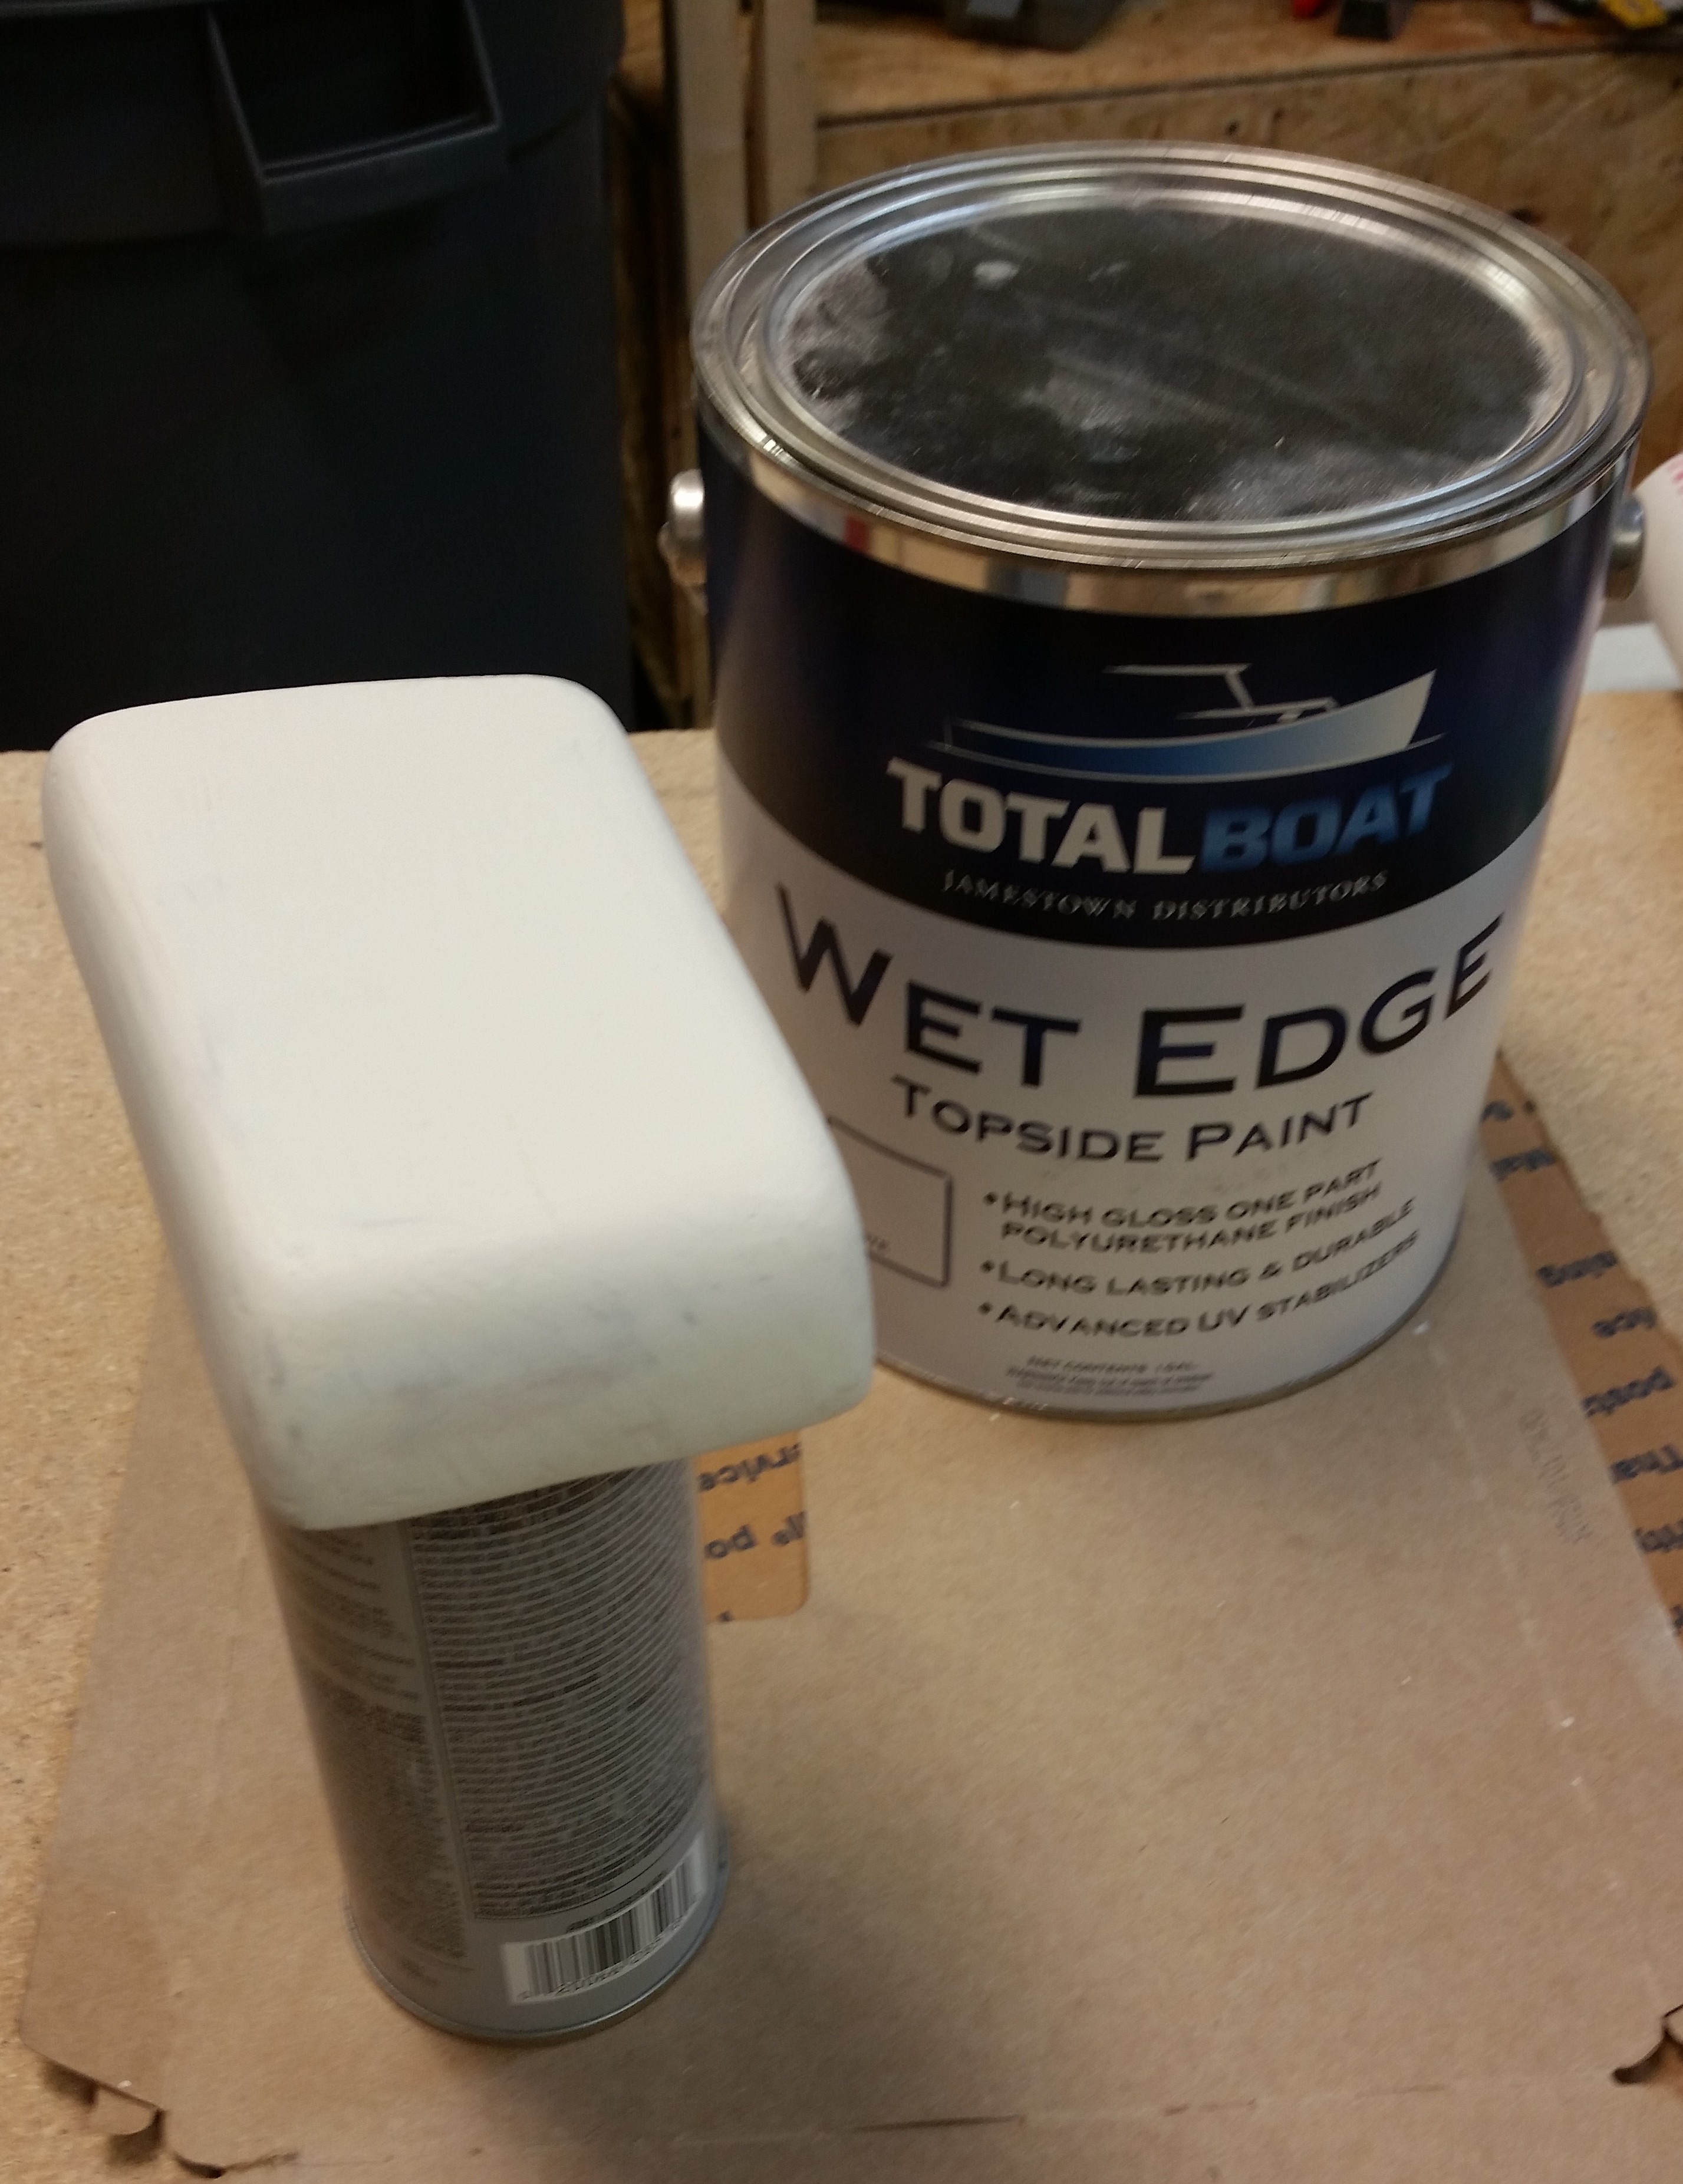
I duct taped the antenna cover to the top of a paint spray can and then brushed & tipped on the first coat of white boat paint. This will be the first of a few test applications I use to see if I’m going to move forward with using boat paint, or at least this brand of boat paint.
Finally, the new micro was at a good green stage to cheese grate it. I spent a good 20 minutes cheese grating the LE edge area and then I quickly hit the left-side TE swath that I had applied at the same time as the right-side LE.
If you look closely in the pic below, you can see that the swoosh tip has some Bondo on its ridged edge. I applied this shortly after micro layer #3, but forgot to snap a pic of it, which I rectified below.
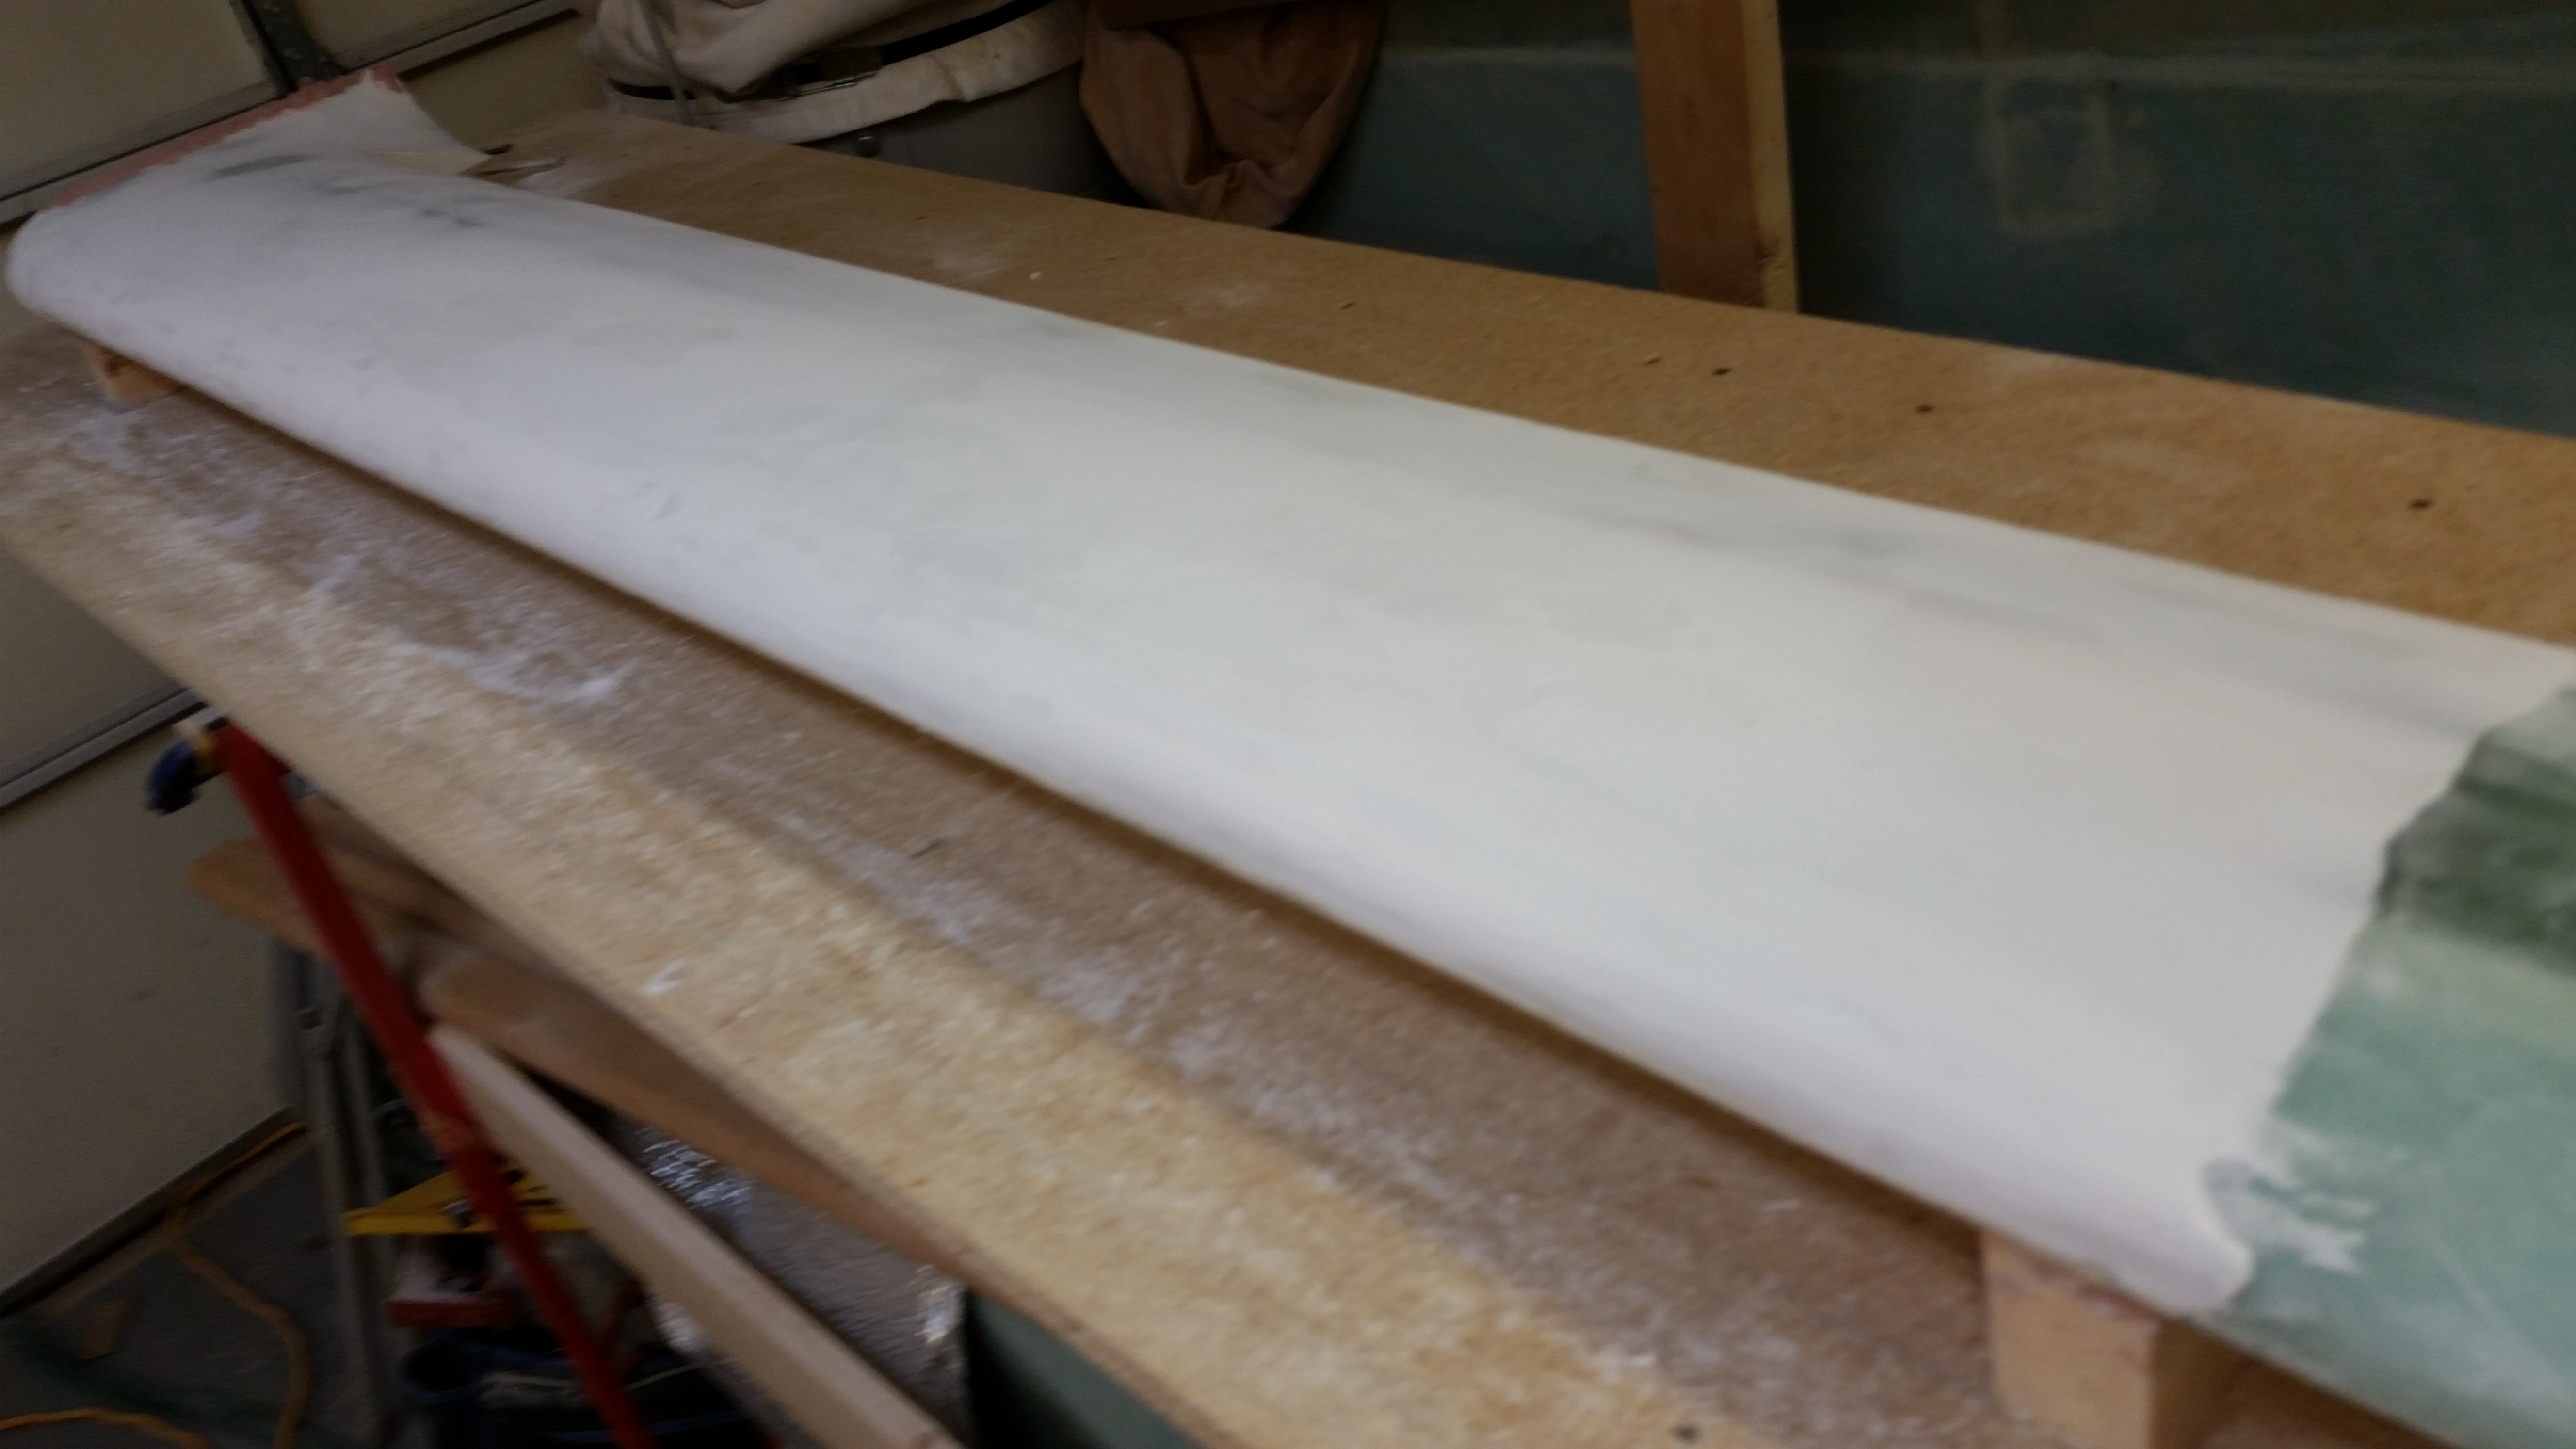
Here’s a shot of the bondo on the swoosh tip ridge edge. It needs to be built up just a hair to A) cut a near straight line profile-wise from front to back since it has a very slight dip, and B) the ridge needs to be just a tad bit more pronounced (read: higher) to better match the left side ridge.

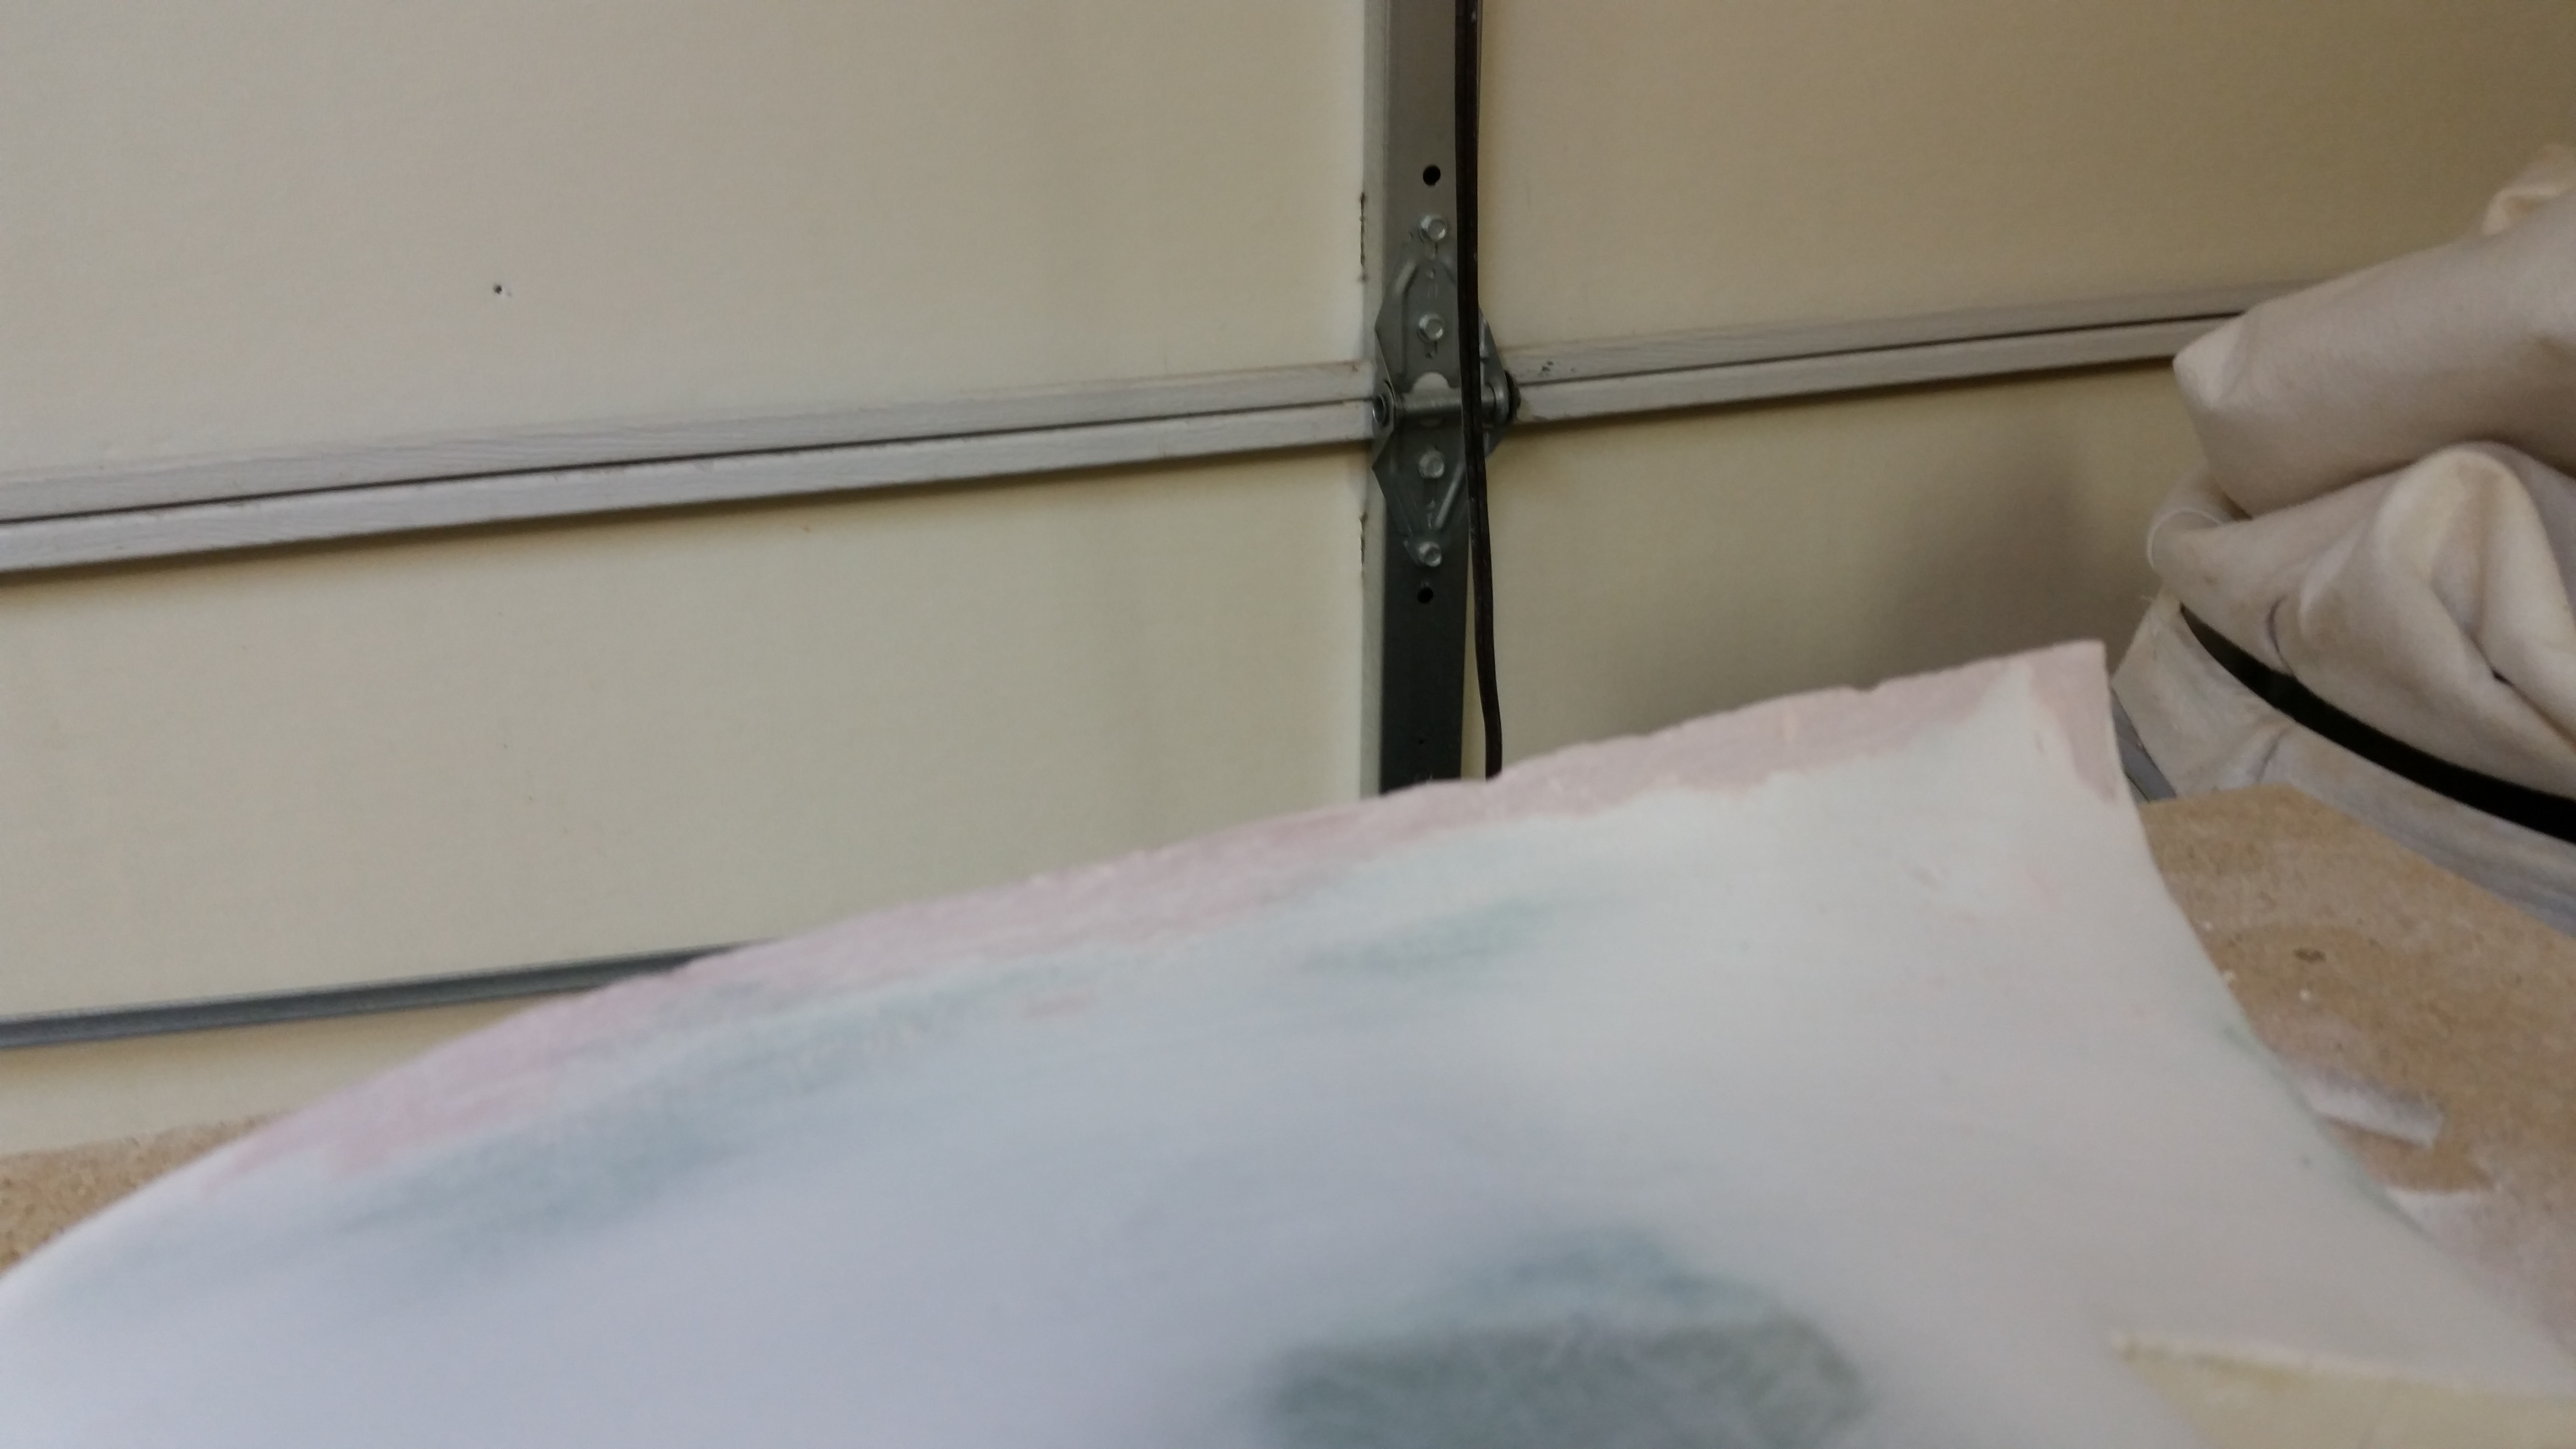
Again, I know Bondo is MUCH heavier than micro, so I’m using it very sparingly, but I know from experience that it’s some tough stuff. As you can see below, just from the very initial sanding, that I’ve knocked off about 80% of the Bondo that you see above. Once I get the ridge set, I’ll probable follow up the Bondo with a final application of flocro (micro & flox mixed together) to smooth out any irregularities and add to the strength of the ridge.
As I was just finishing up with the cheese grating I heard the distinct sound of my neighbor’s Harley. I haven’t seen my neighbor Dave around in weeks, and with my bike sitting in the driveway at the ready, I ended up going on a scoot for a few hours with Dave.
Tomorrow I plan on actually getting the top of the canard finished to its final contour & shape, and then get the 5 coats of epoxy squeegeed on. Also, as an update, the original FedEx ETA of today for my Eureka CNC elevator cores has been slipped to the right one day until tomorrow. No worries since I obviously need to get this canard finishing complete to clear up workbench space to build the elevators.