
. . . yep, and sometimes you’re the nail. Today, I was the nail.
Since the weather was good, I decided to wash off all the sanding dust off my motorcycle and then cut the 4130 steel engine mount extrusions. Now, as far as I know you can’t buy 1″ 4130 angle “iron,” so I bought 1″ x 1″ x 1/8″ square tubing a couple of years ago for the engine mount extrusions. I figured I would merely cut the tubing along opposite corners and Voila, I would have my L-shape angled 4130 pieces.
About 6 months ago I called a local steel company and asked them how much it would be to have them cut these for me. They said they didn’t do it and referred me to a local machinist, who wanted nearly $200 to cut the damn things. Well, a couple of months ago a friend of mine’s elderly father unfortunately passed away and she had the small table saw below that she very graciously gave to me. Since it was a little beat up and since it’s much more inexpensive than my larger portable table saw, I would use it with a metal cutting blade to cut these 4130 square tubing engine extrusions.
Here’s the square 4130 tubing for the engine mount extrusions.

Ahh, the well laid plans of mice & men! Unfortunately the blade would flex to the side under the pressure of the hard 4130 steel so it wouldn’t really cut the corners cleanly. I played around with it for about 15 minutes before finally realizing it was a lesson in futility. With the corners thinned a bit, I grabbed my Dremel and tried to cut it freehand. Well, that’s the hardest 4130 steel I’ve seen because by the time I got from one end to the other my Dremel cut bit had disintegrated.
Ok 4130 square tubing! You won round #1, but I’ll win in the long run! Ha! With that, I moved on to more important build tasks at this point in time.
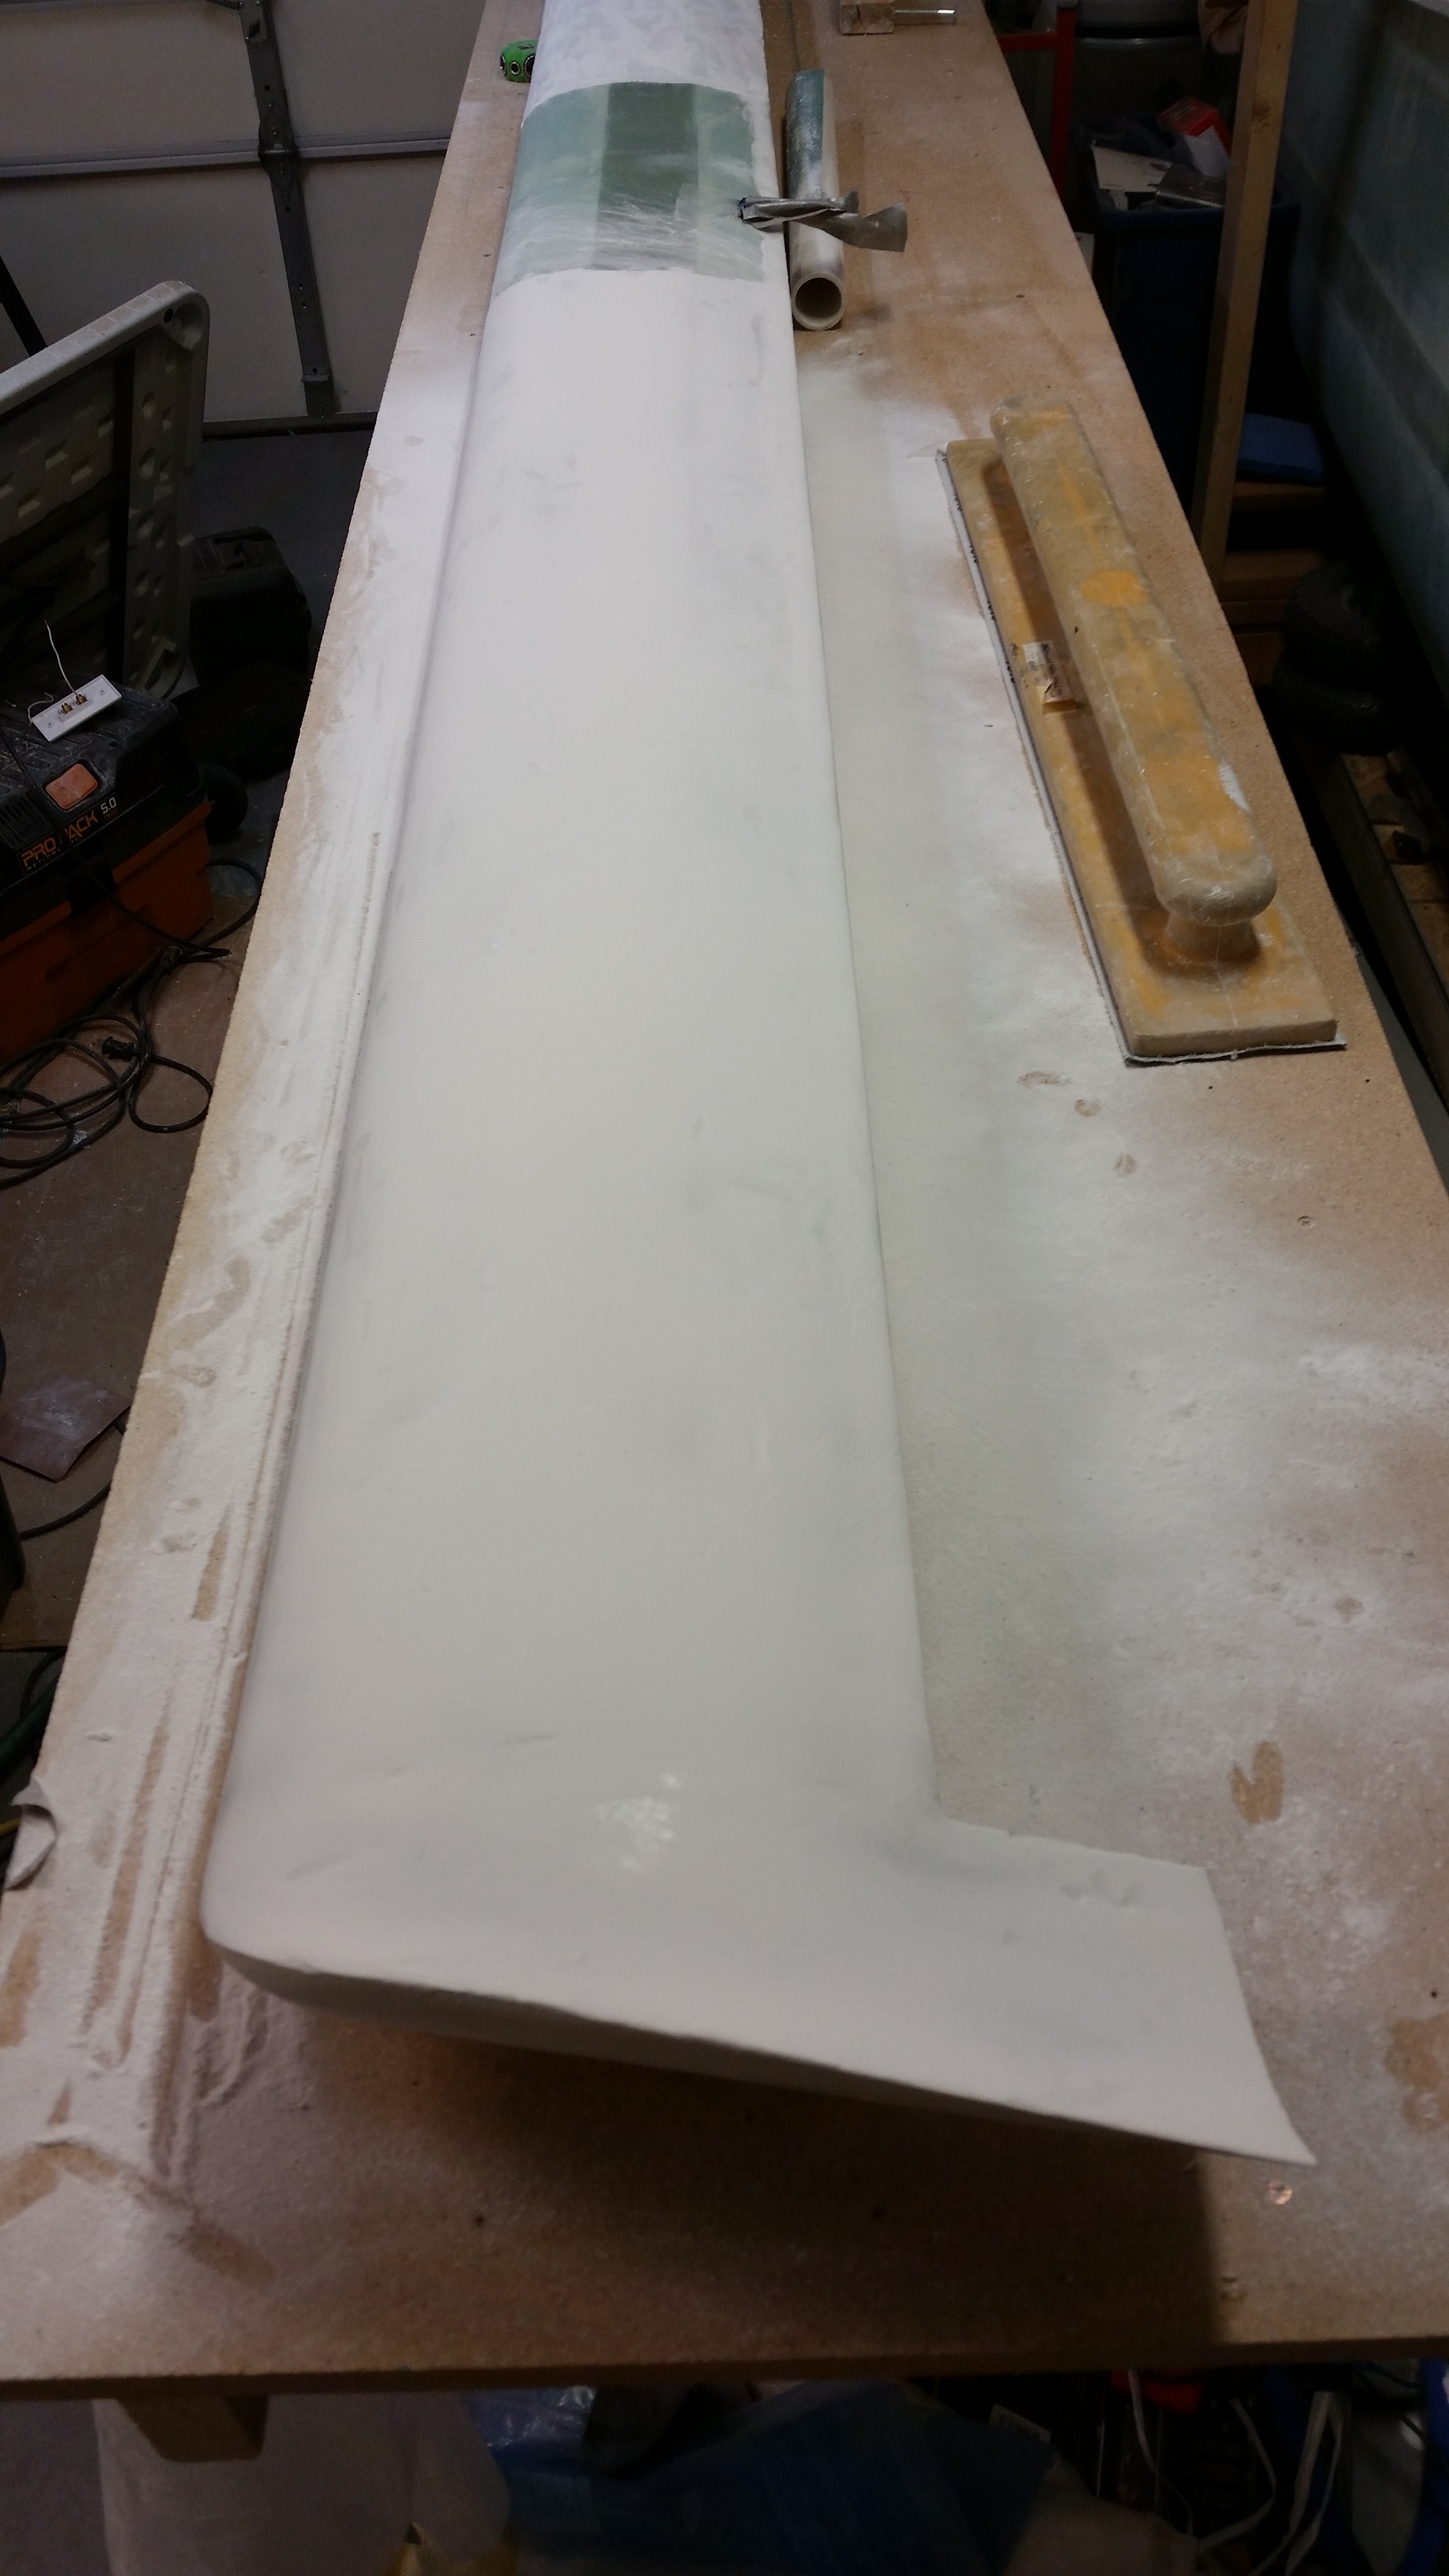
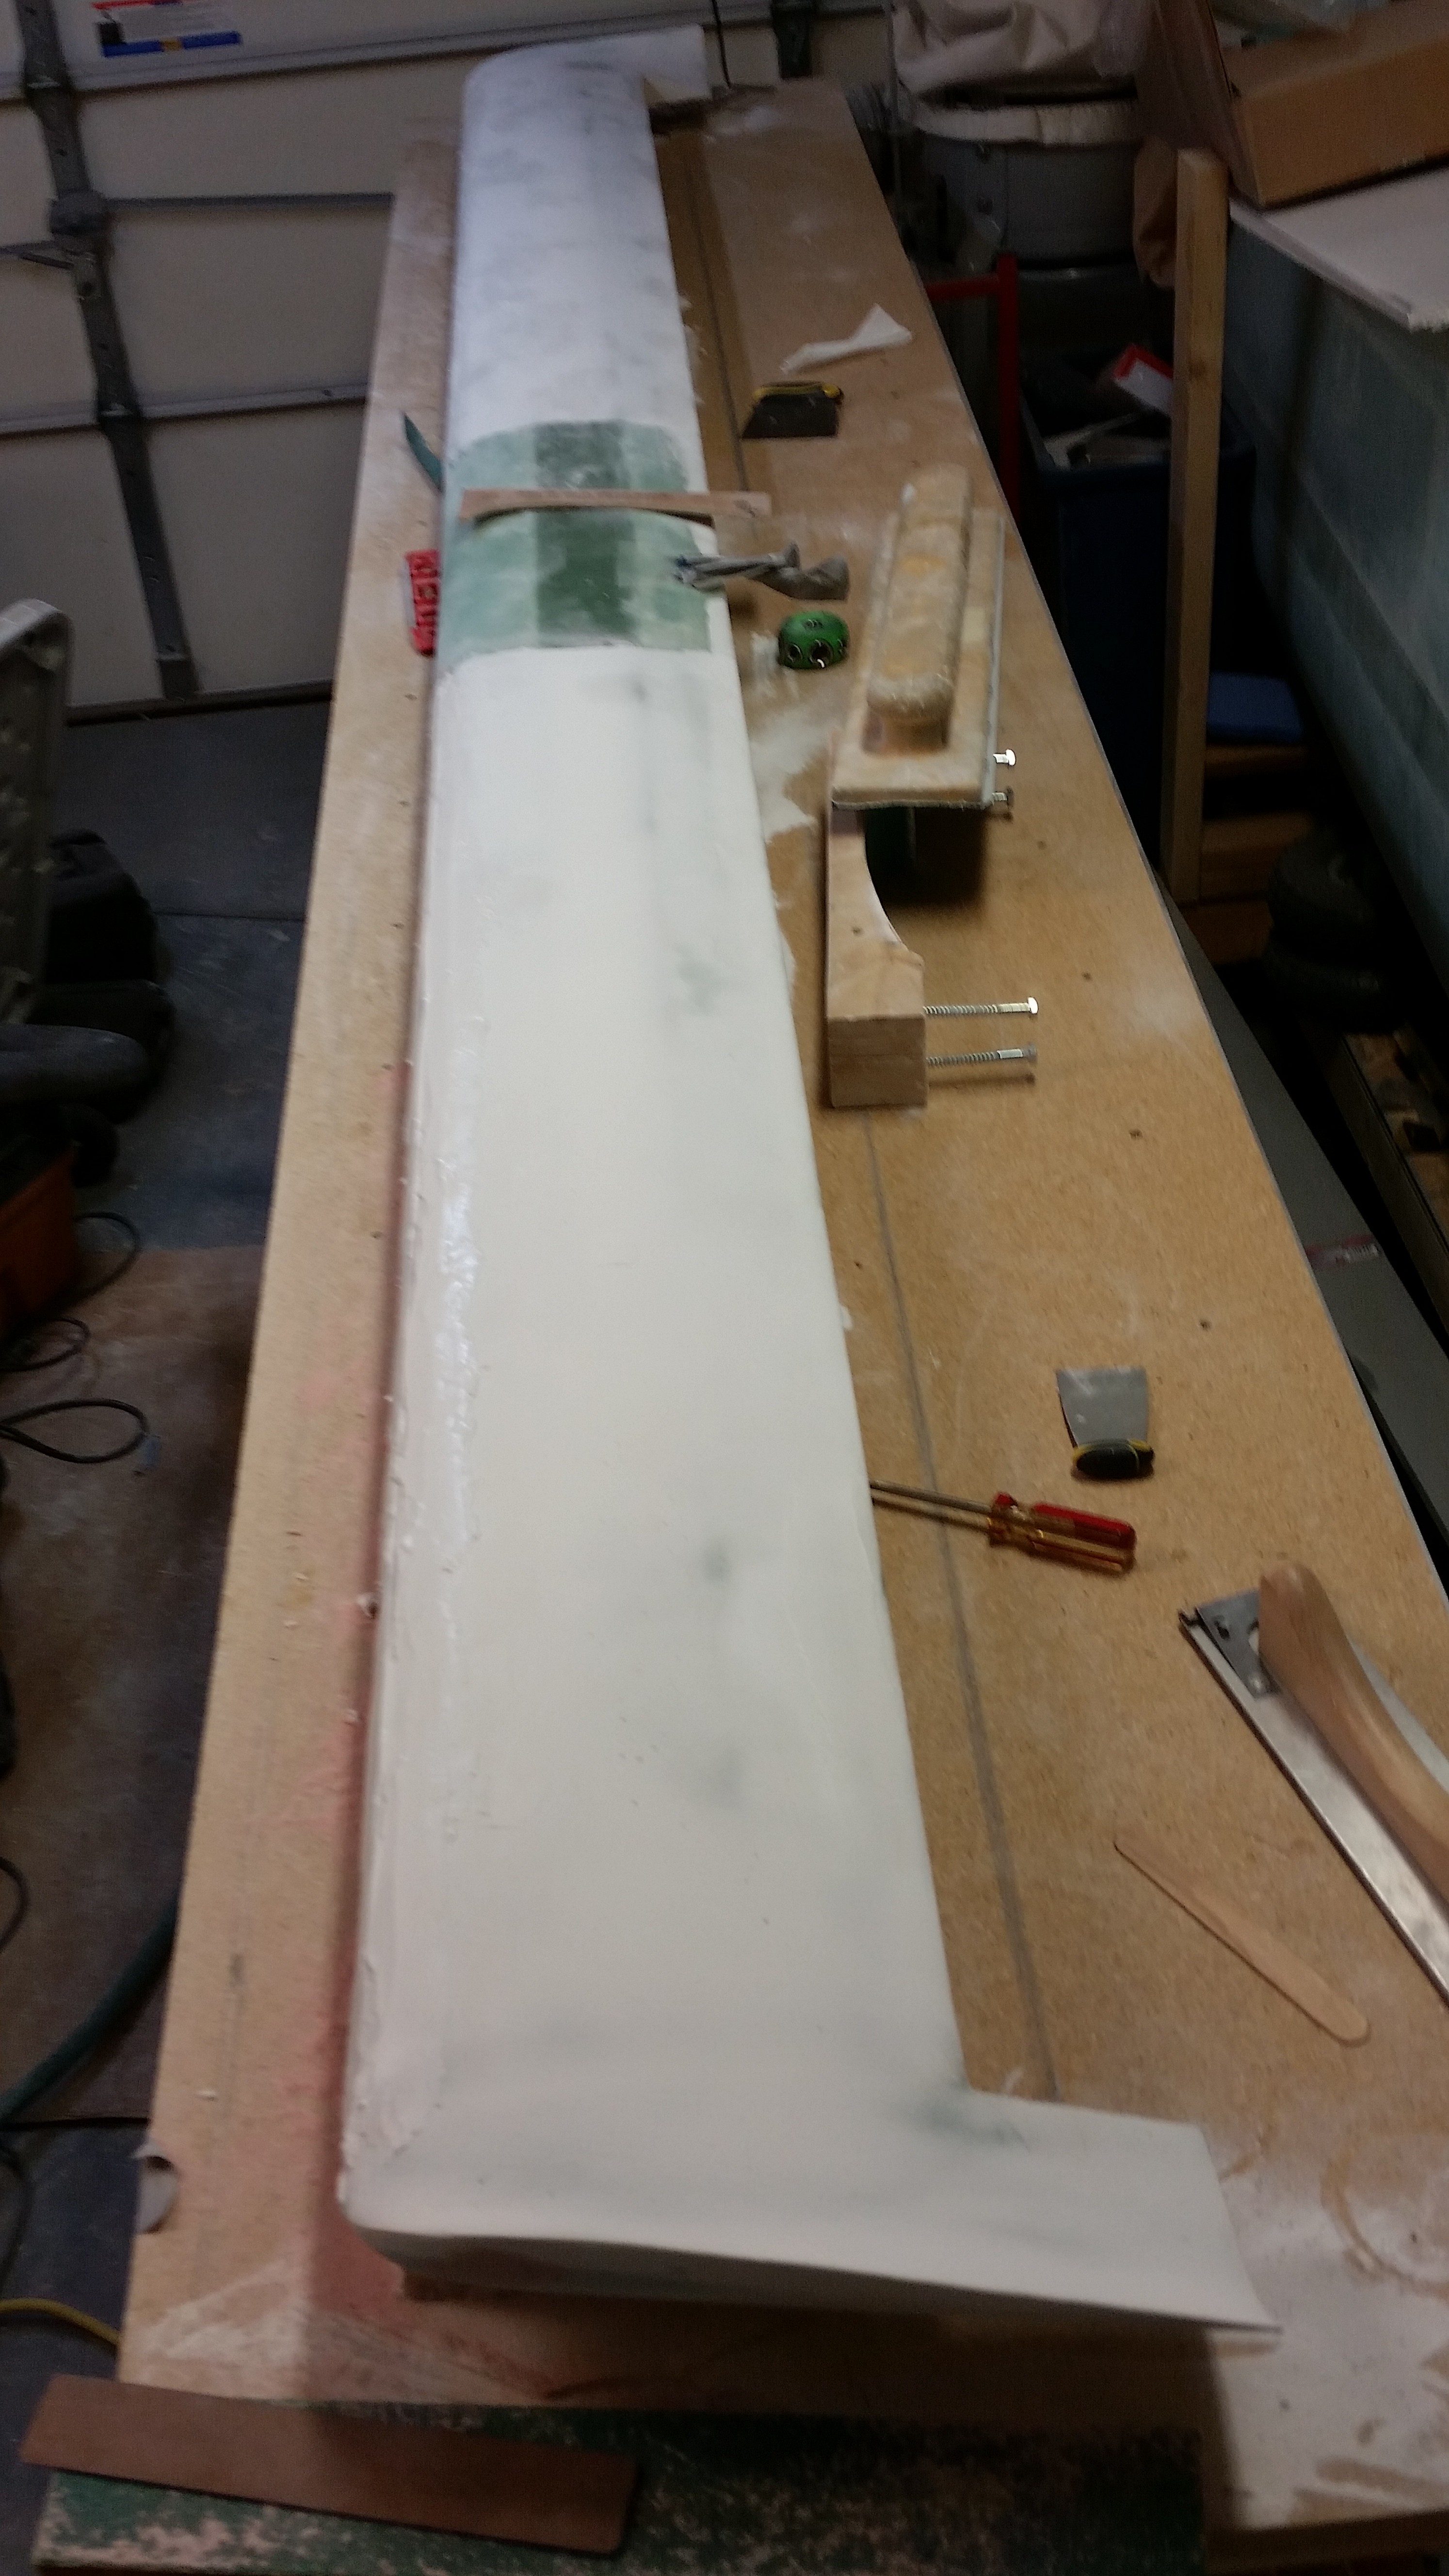
So early in the morning, around 2:30 AM I went down to the work shop to “cheese grate” the micro finish on the canard. Well, the micro hadn’t fully “greened” yet, so it was still a bit gummy. I did what I could for about a half hour, but then gave up and went to bed after setting my alarm for 4 AM to get another half hour of “cheese grating” in. To be honest though, I’ve been exhausted from sanding for hours on end & building the fuselage dolly. Bottom line I slept right through that alarm and missed the “green” state of my micro, so it was nice and cured when I started this afternoon. You can see that the right side is much more cheese grated than the left.
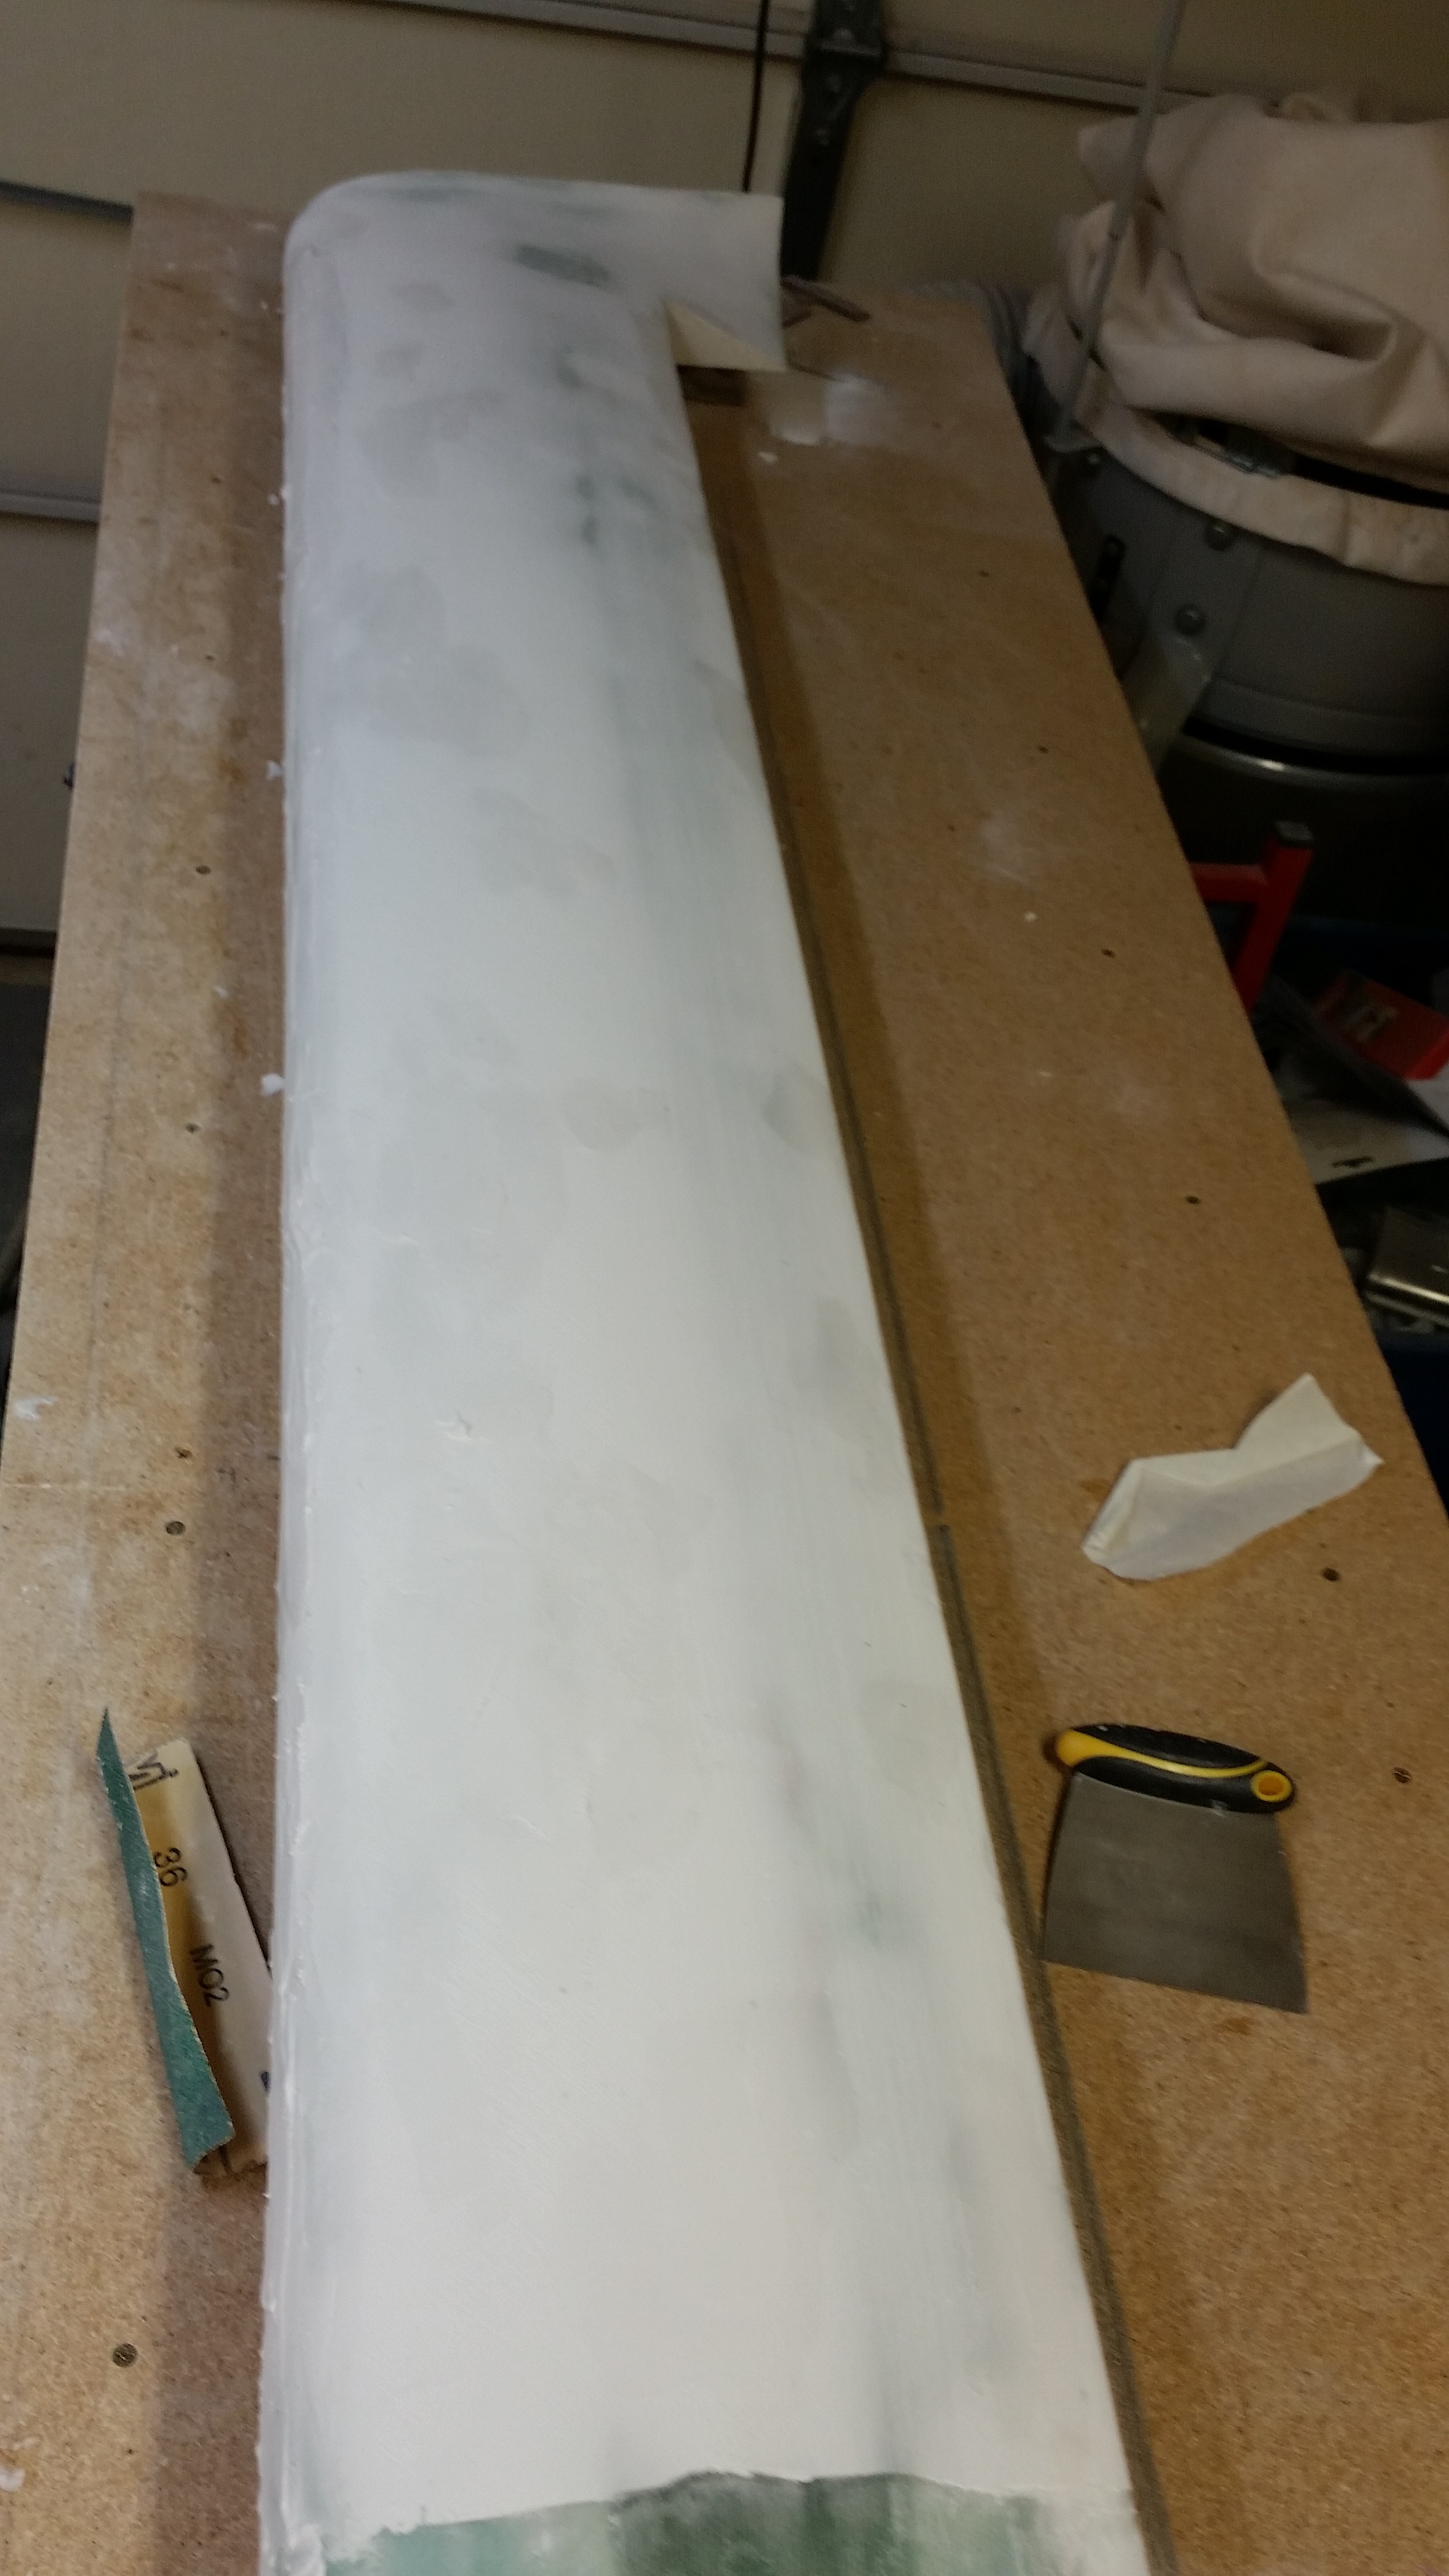
I knocked down the high wave tops of cured micro with the 2″ PVC pipe with 36 grit sandpaper, which is what I used to shape the swoosh tips. After about 10 minutes with the PVC sanding tube, I moved on to the long sanding board with 36 grit mounted on it. Again, I sanded for about 10 minutes with the long board.

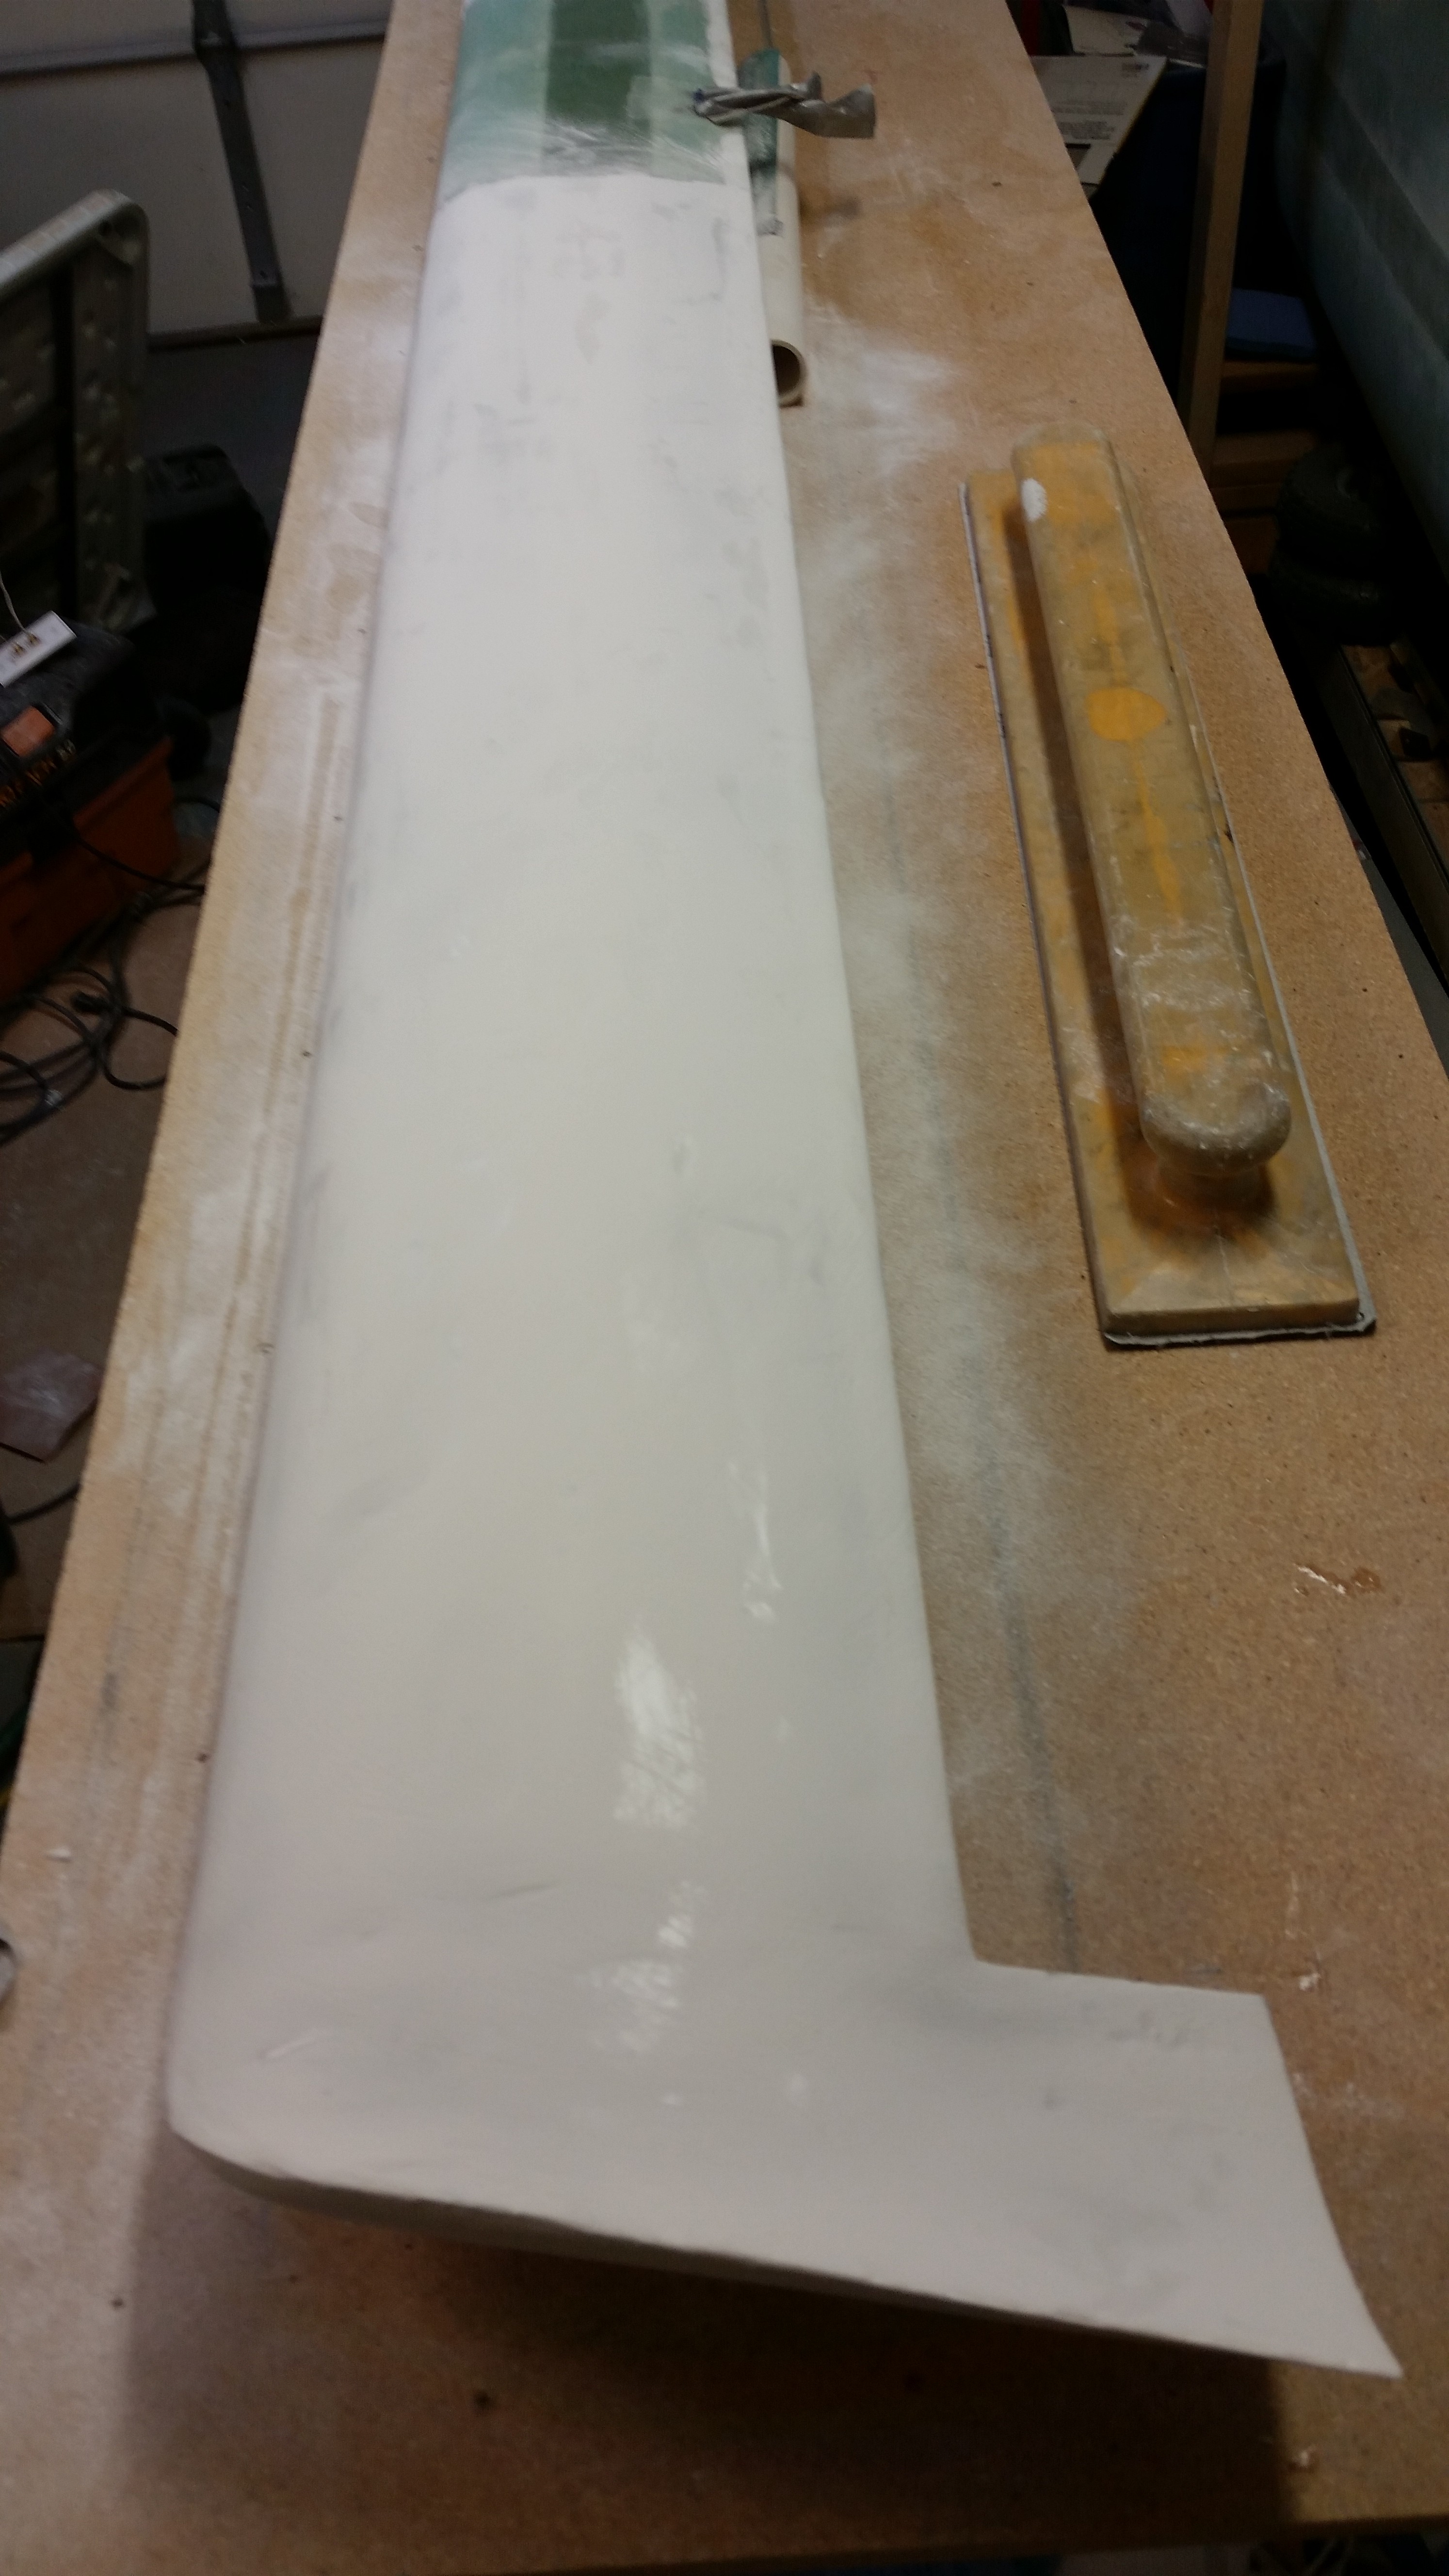
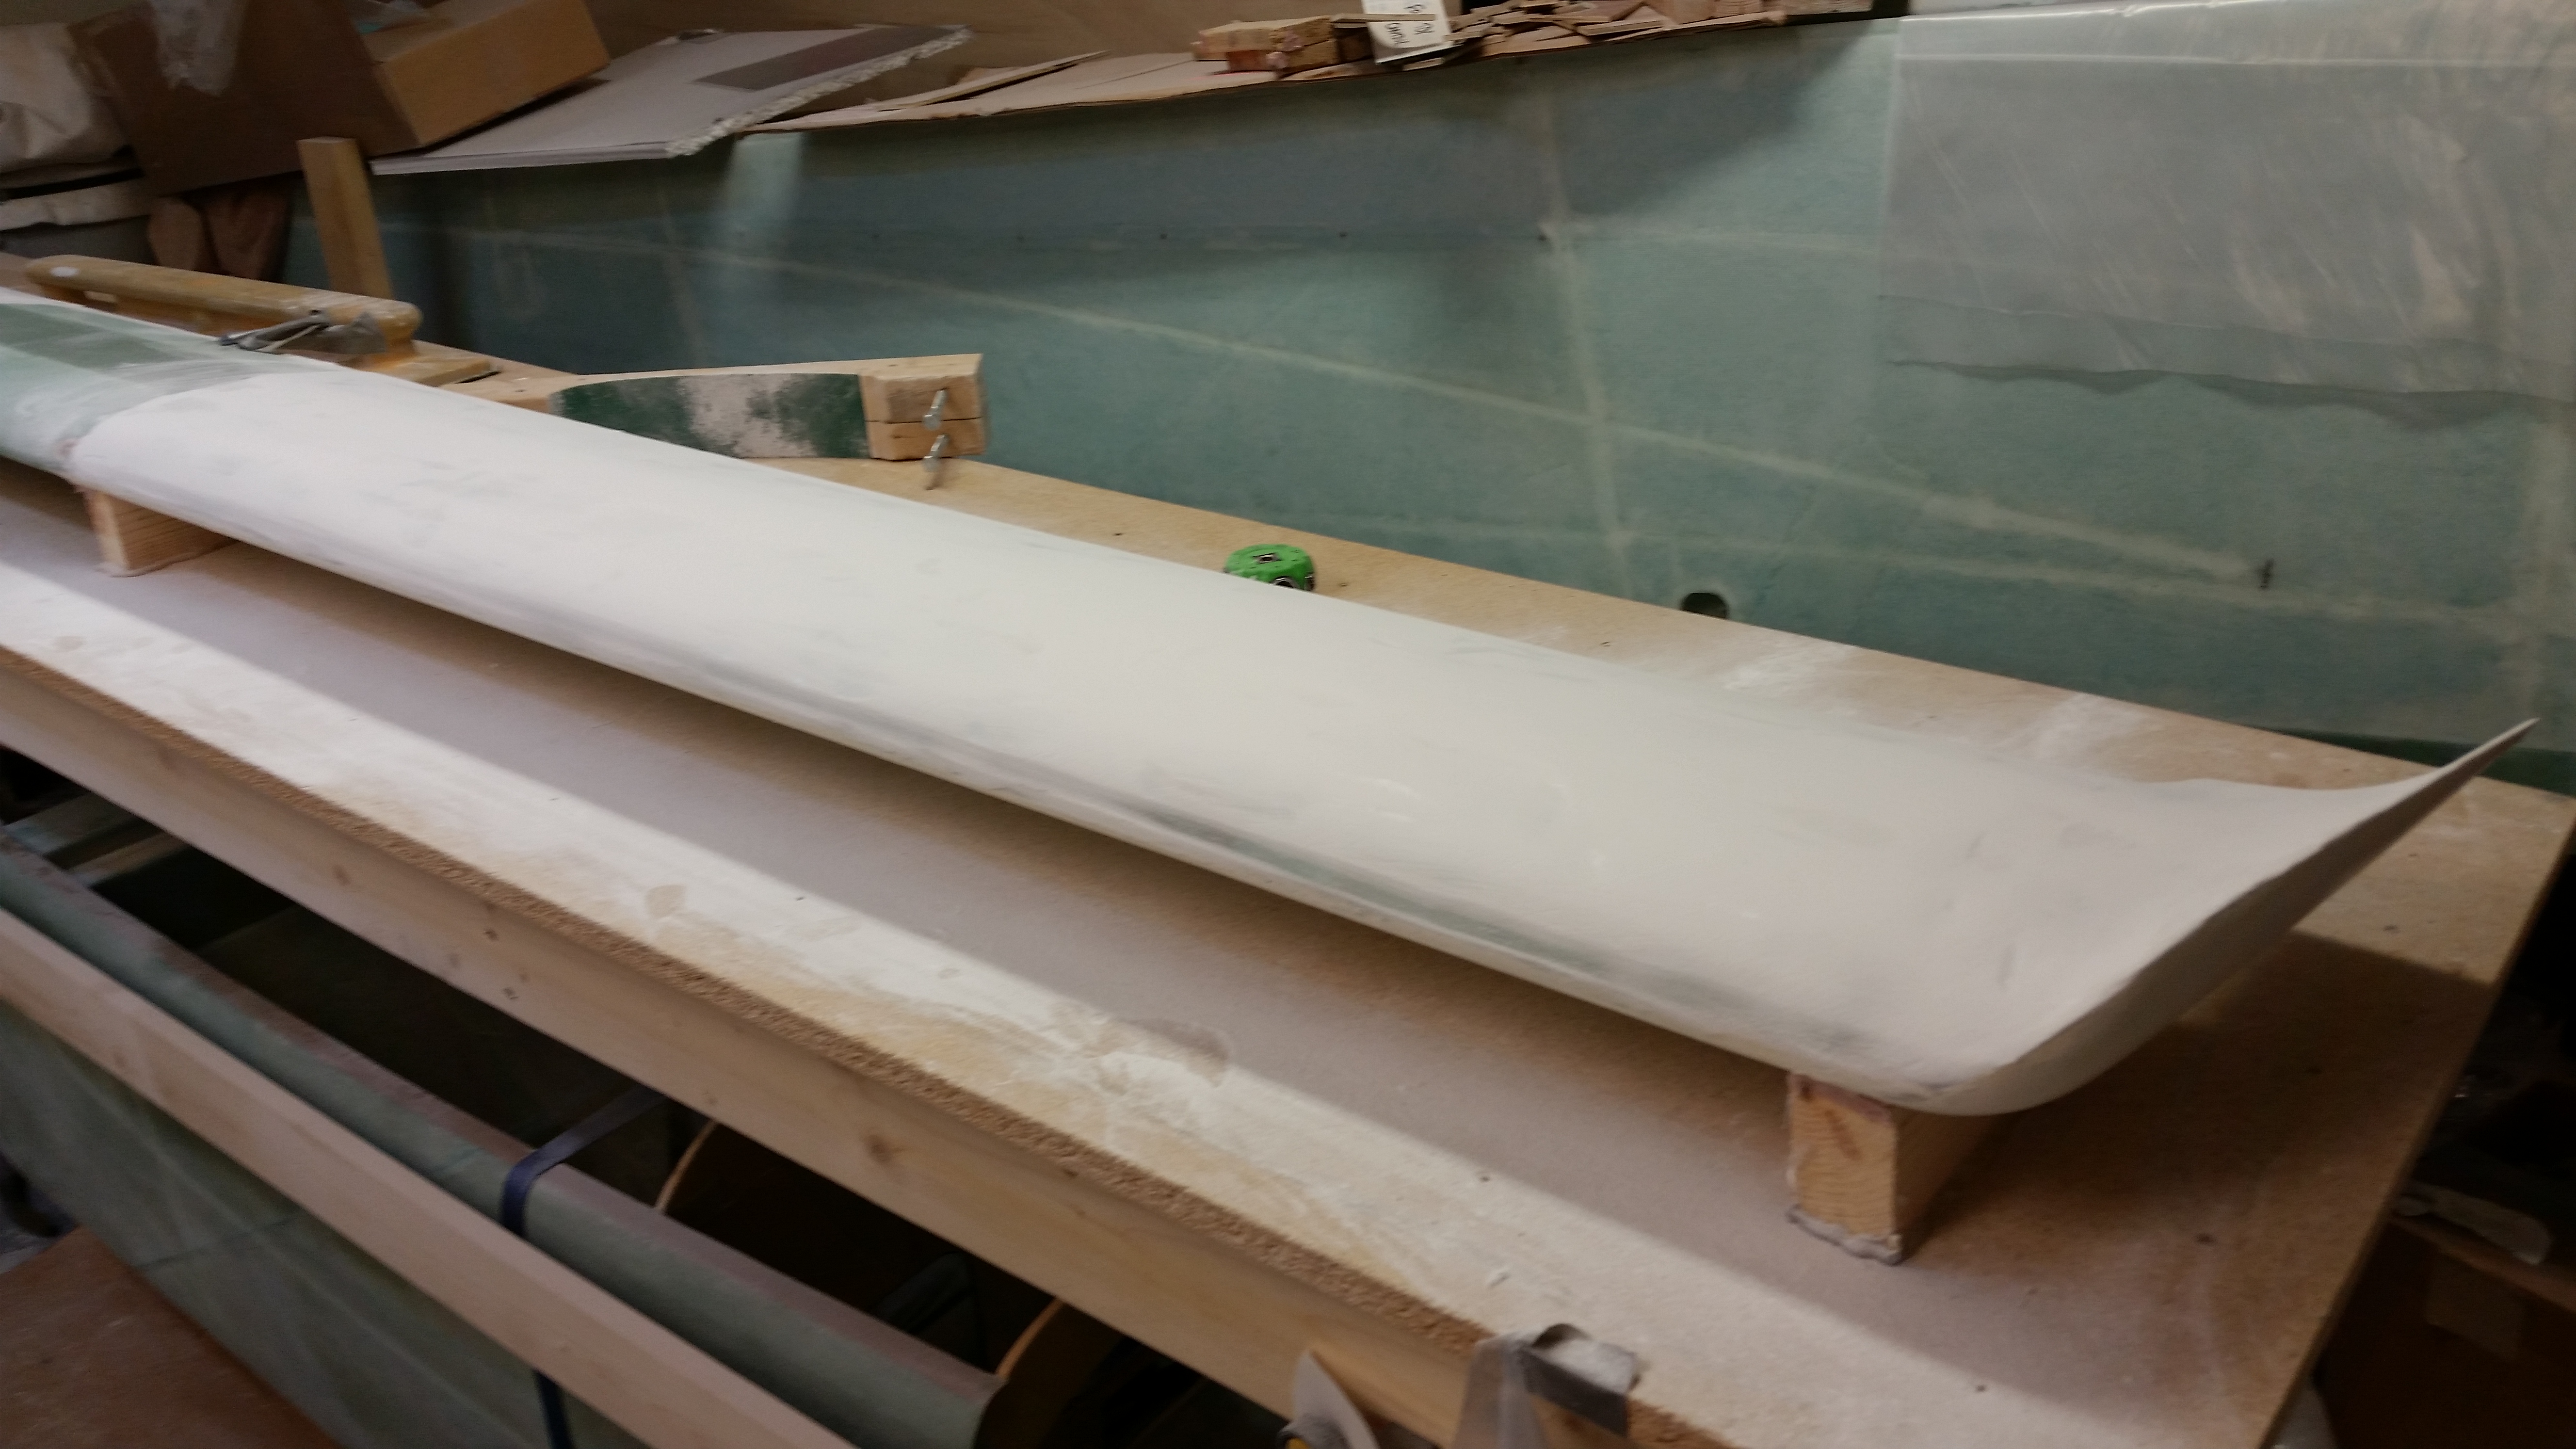
Here’s a shot of the left side of the canard after I sanded it with the long board.
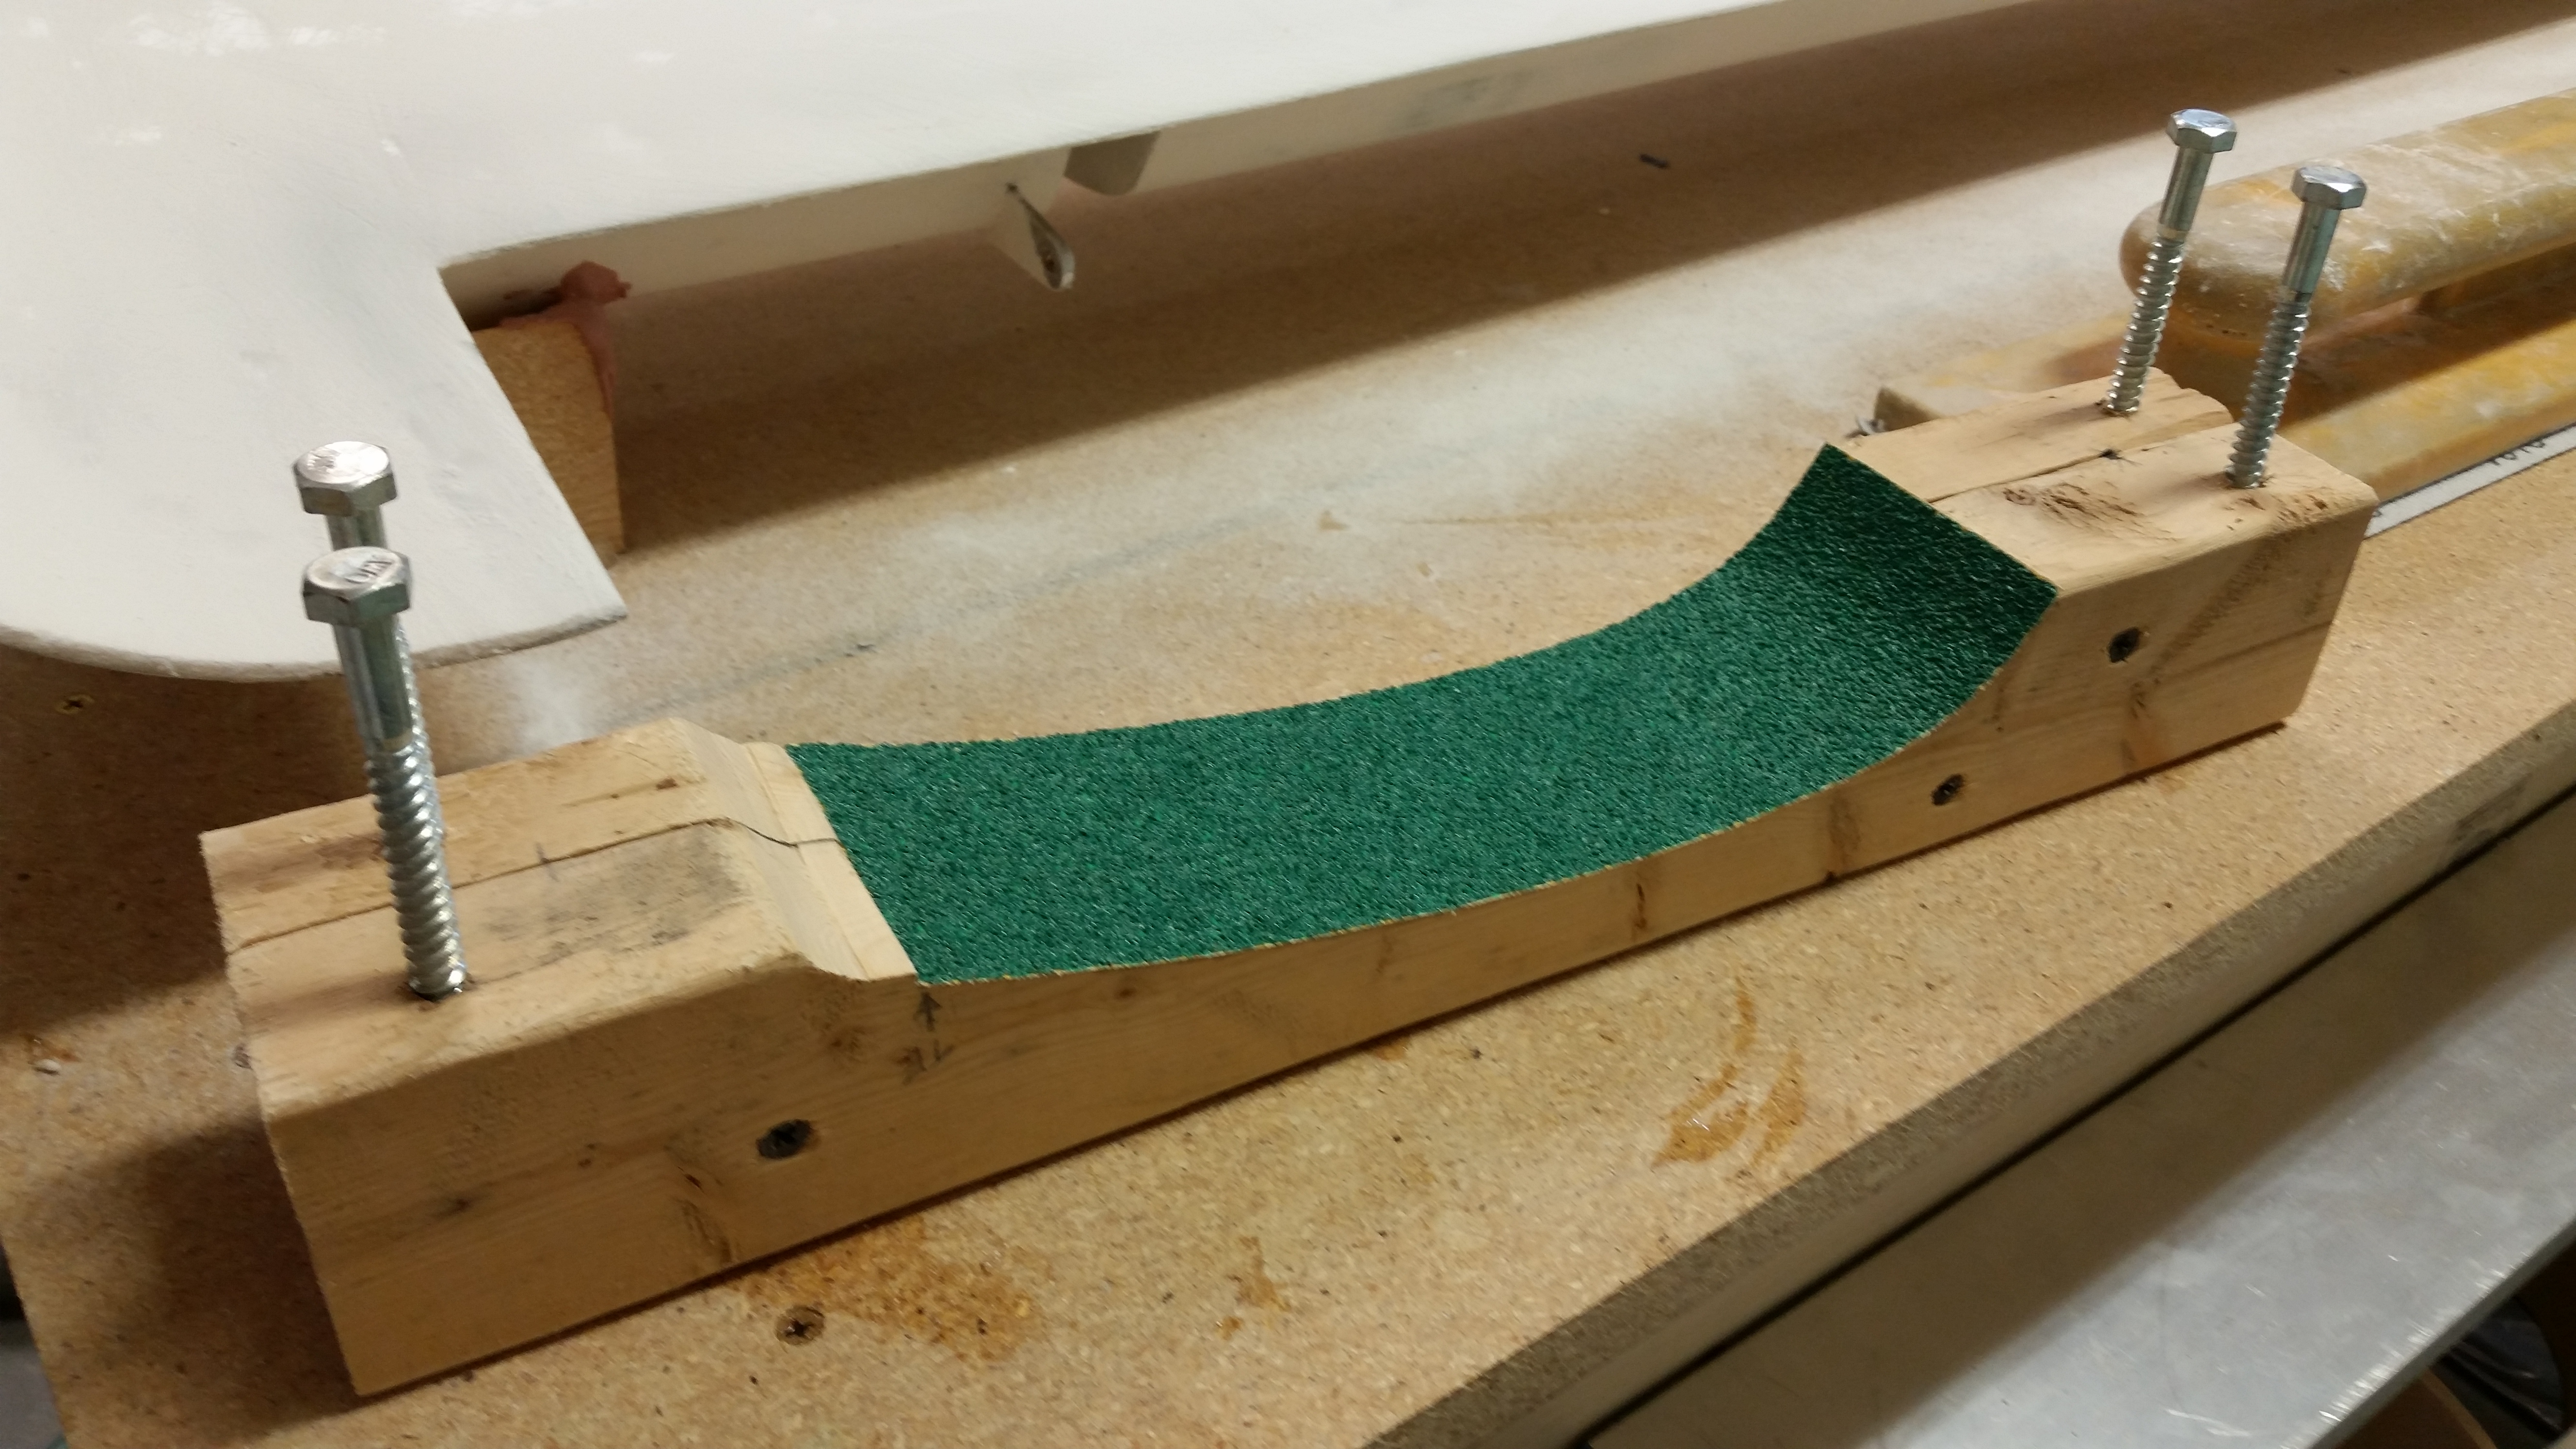
After I got the contour somewhat in line, I switched to the contour sanding block with 36 grit sandpaper.
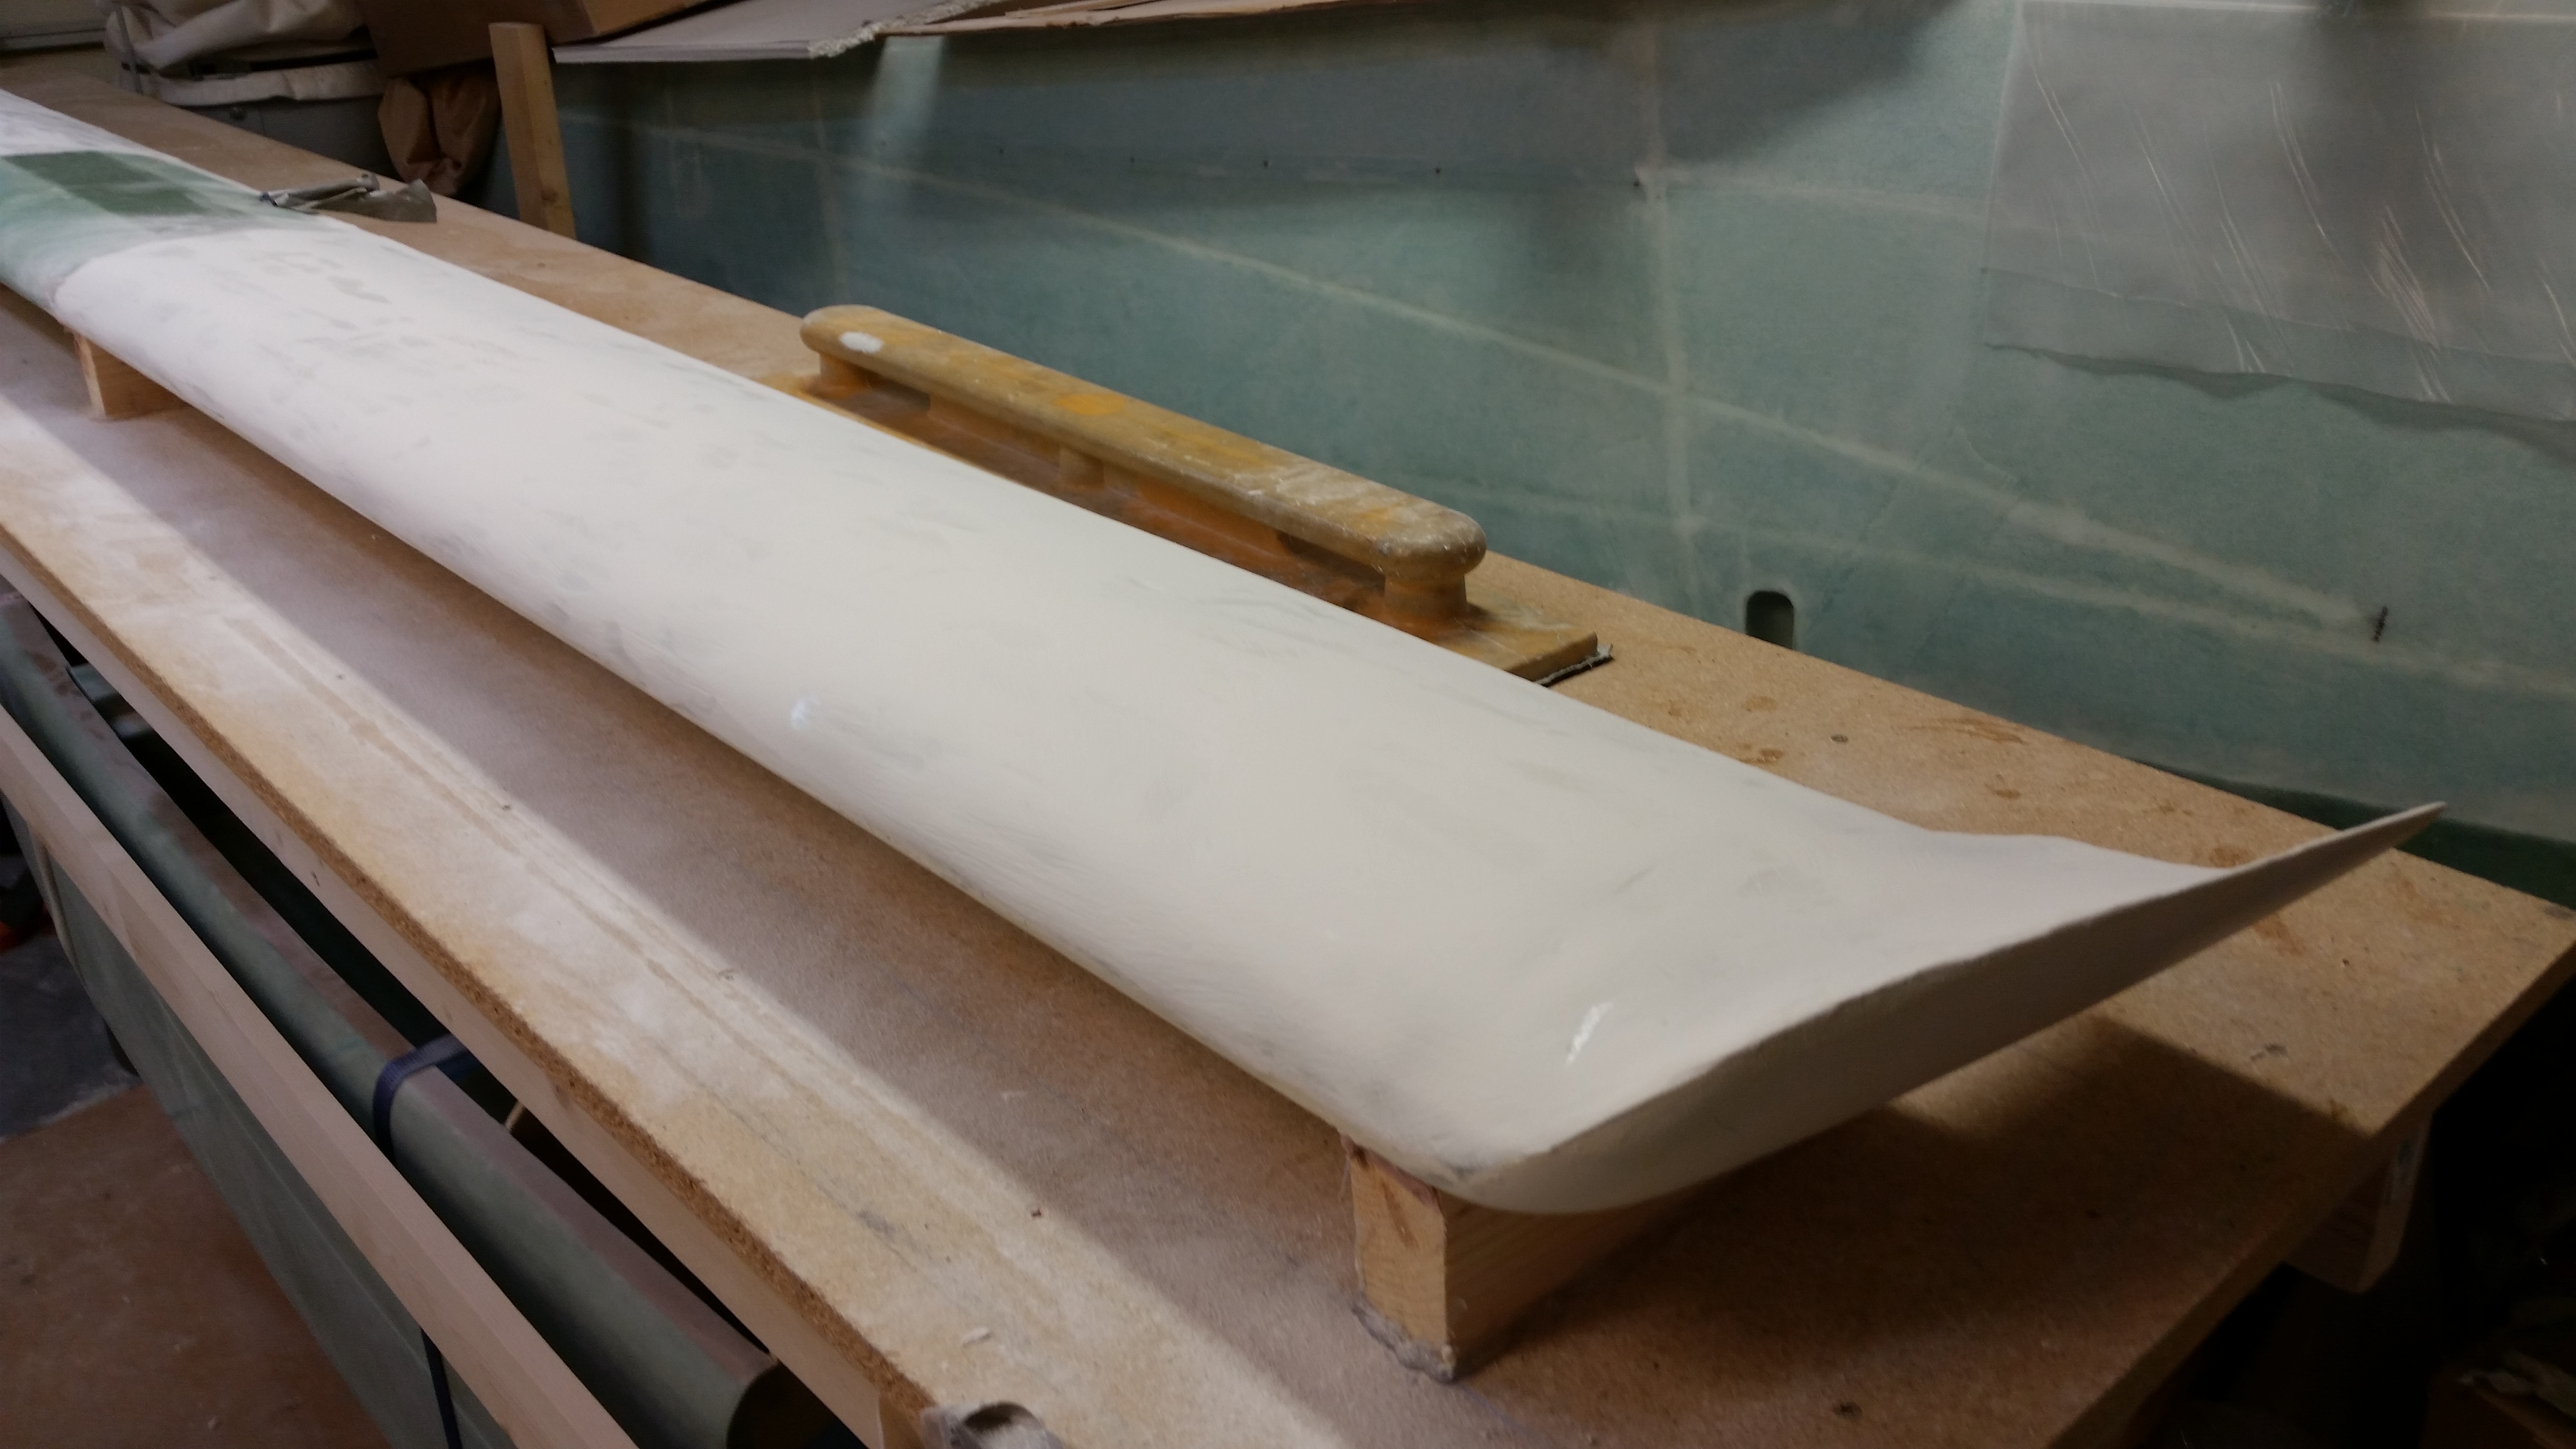
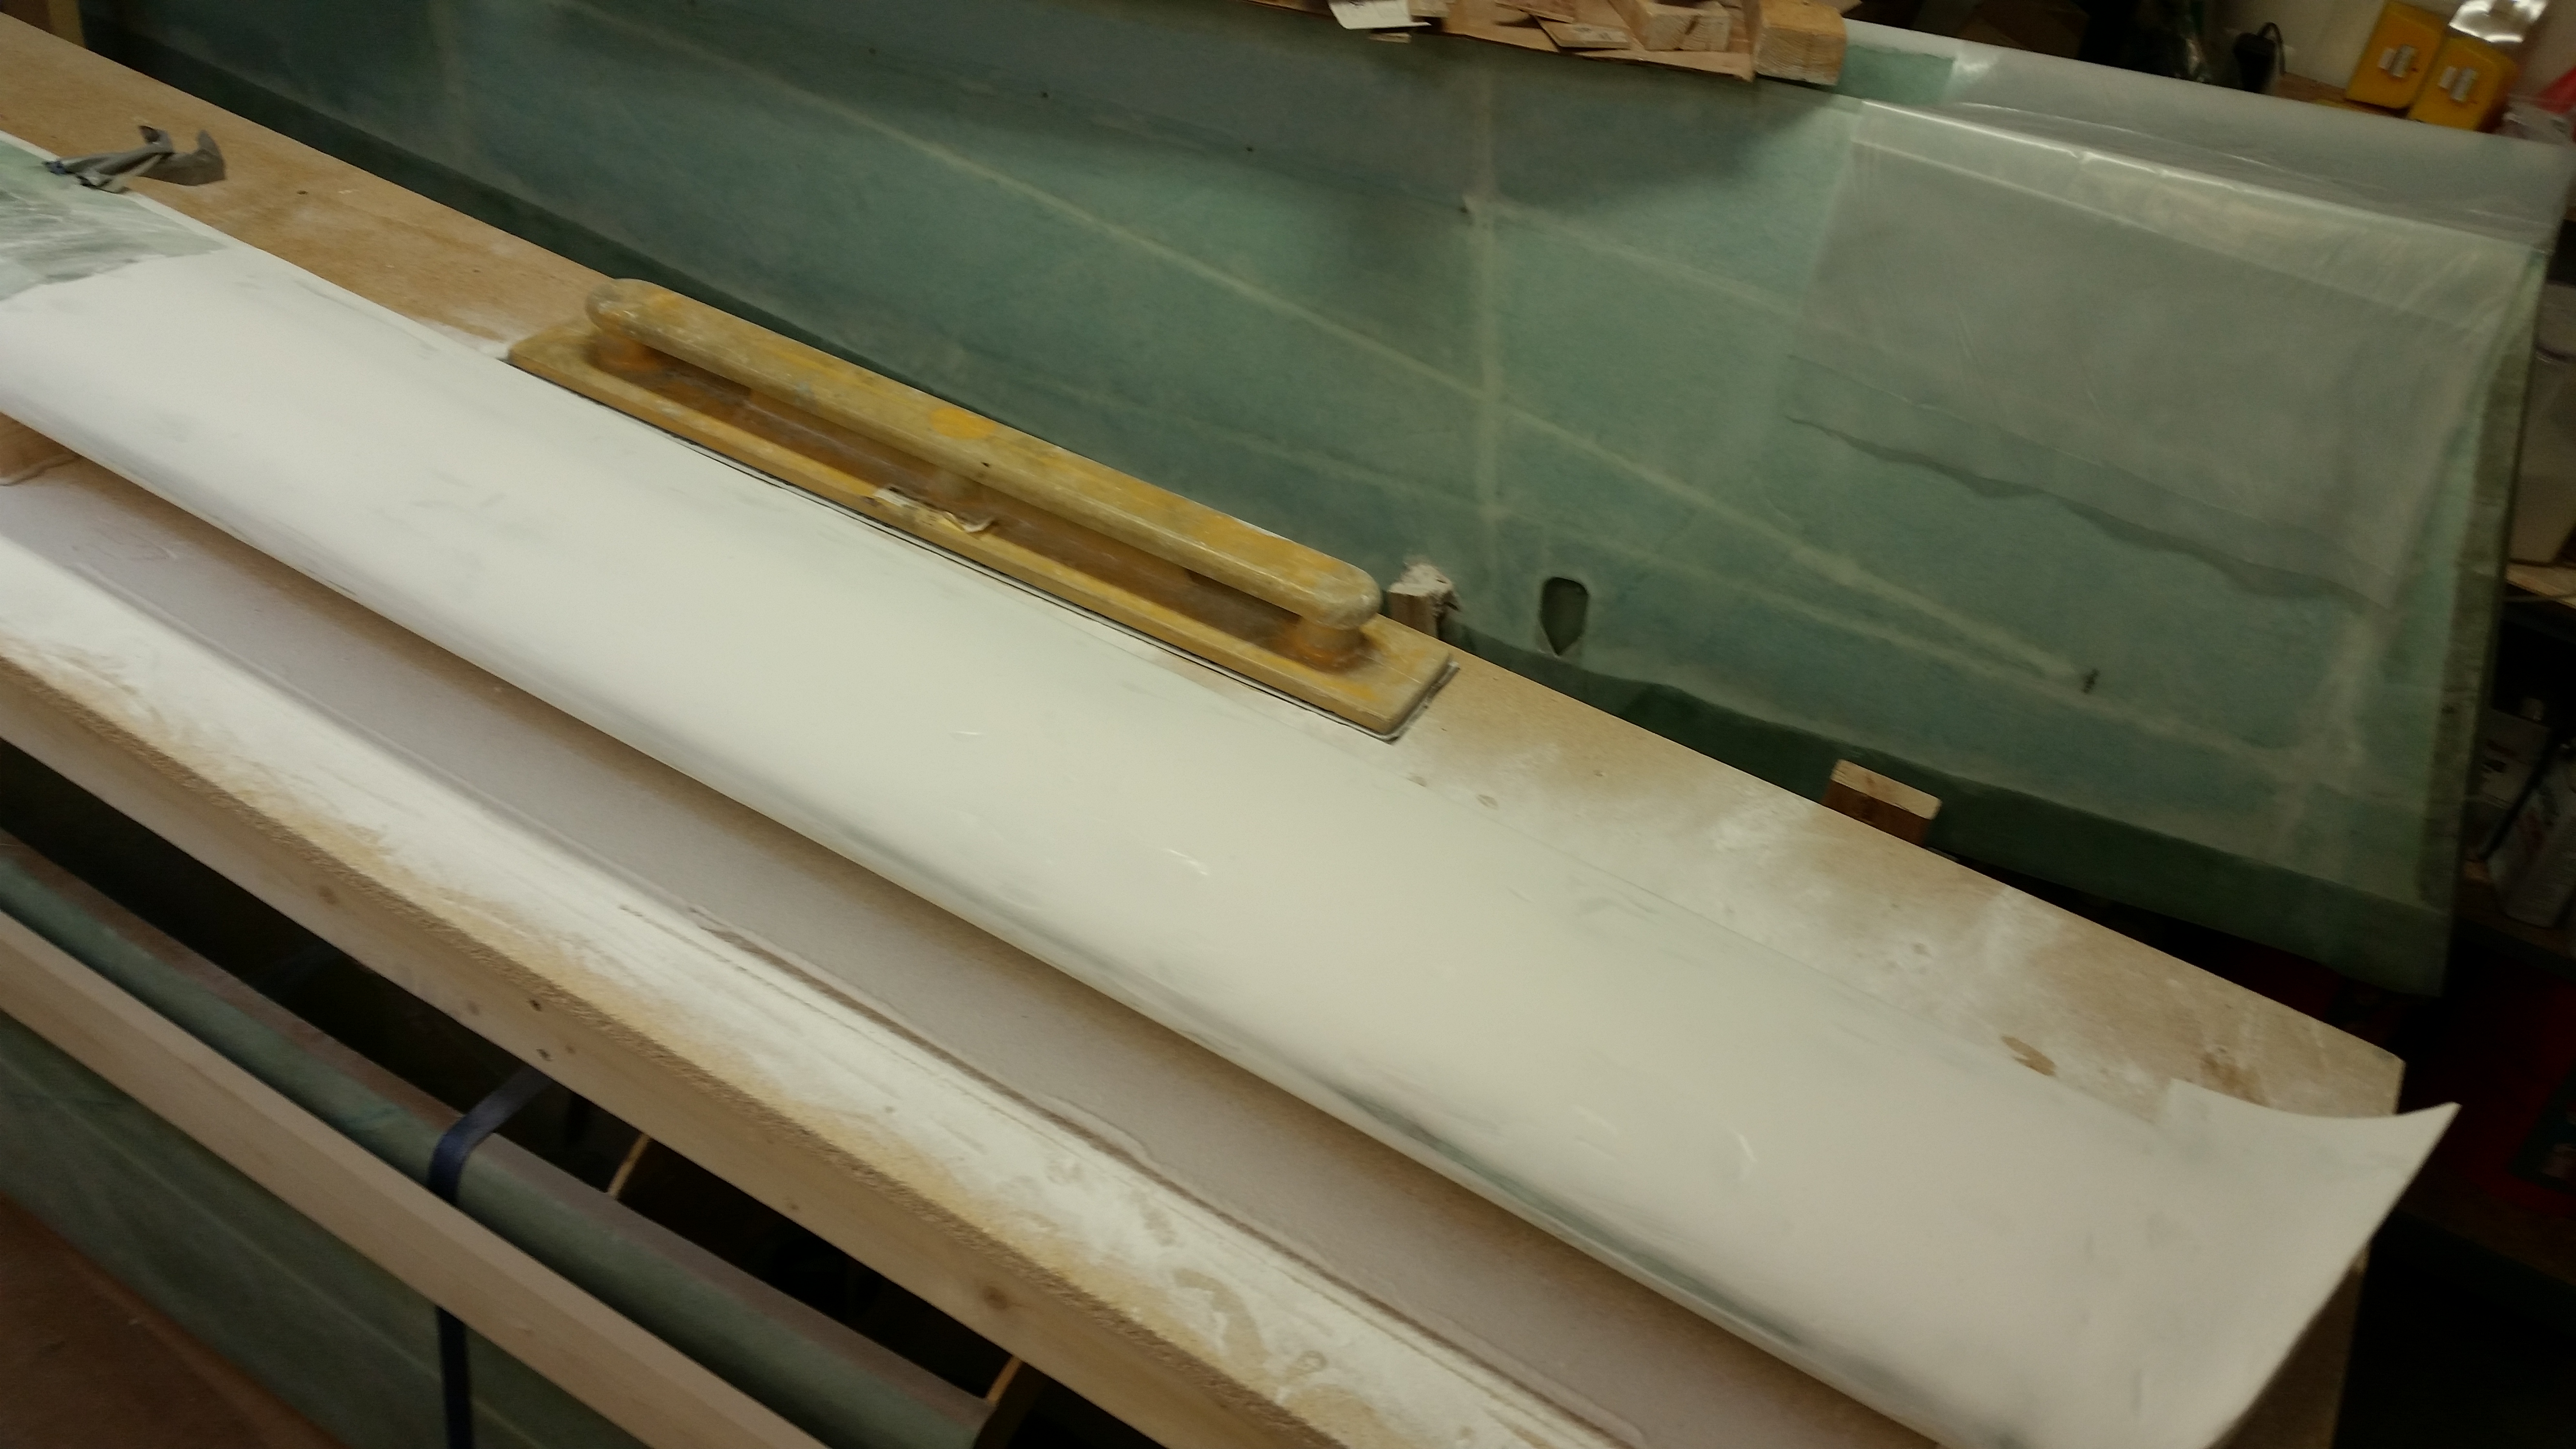
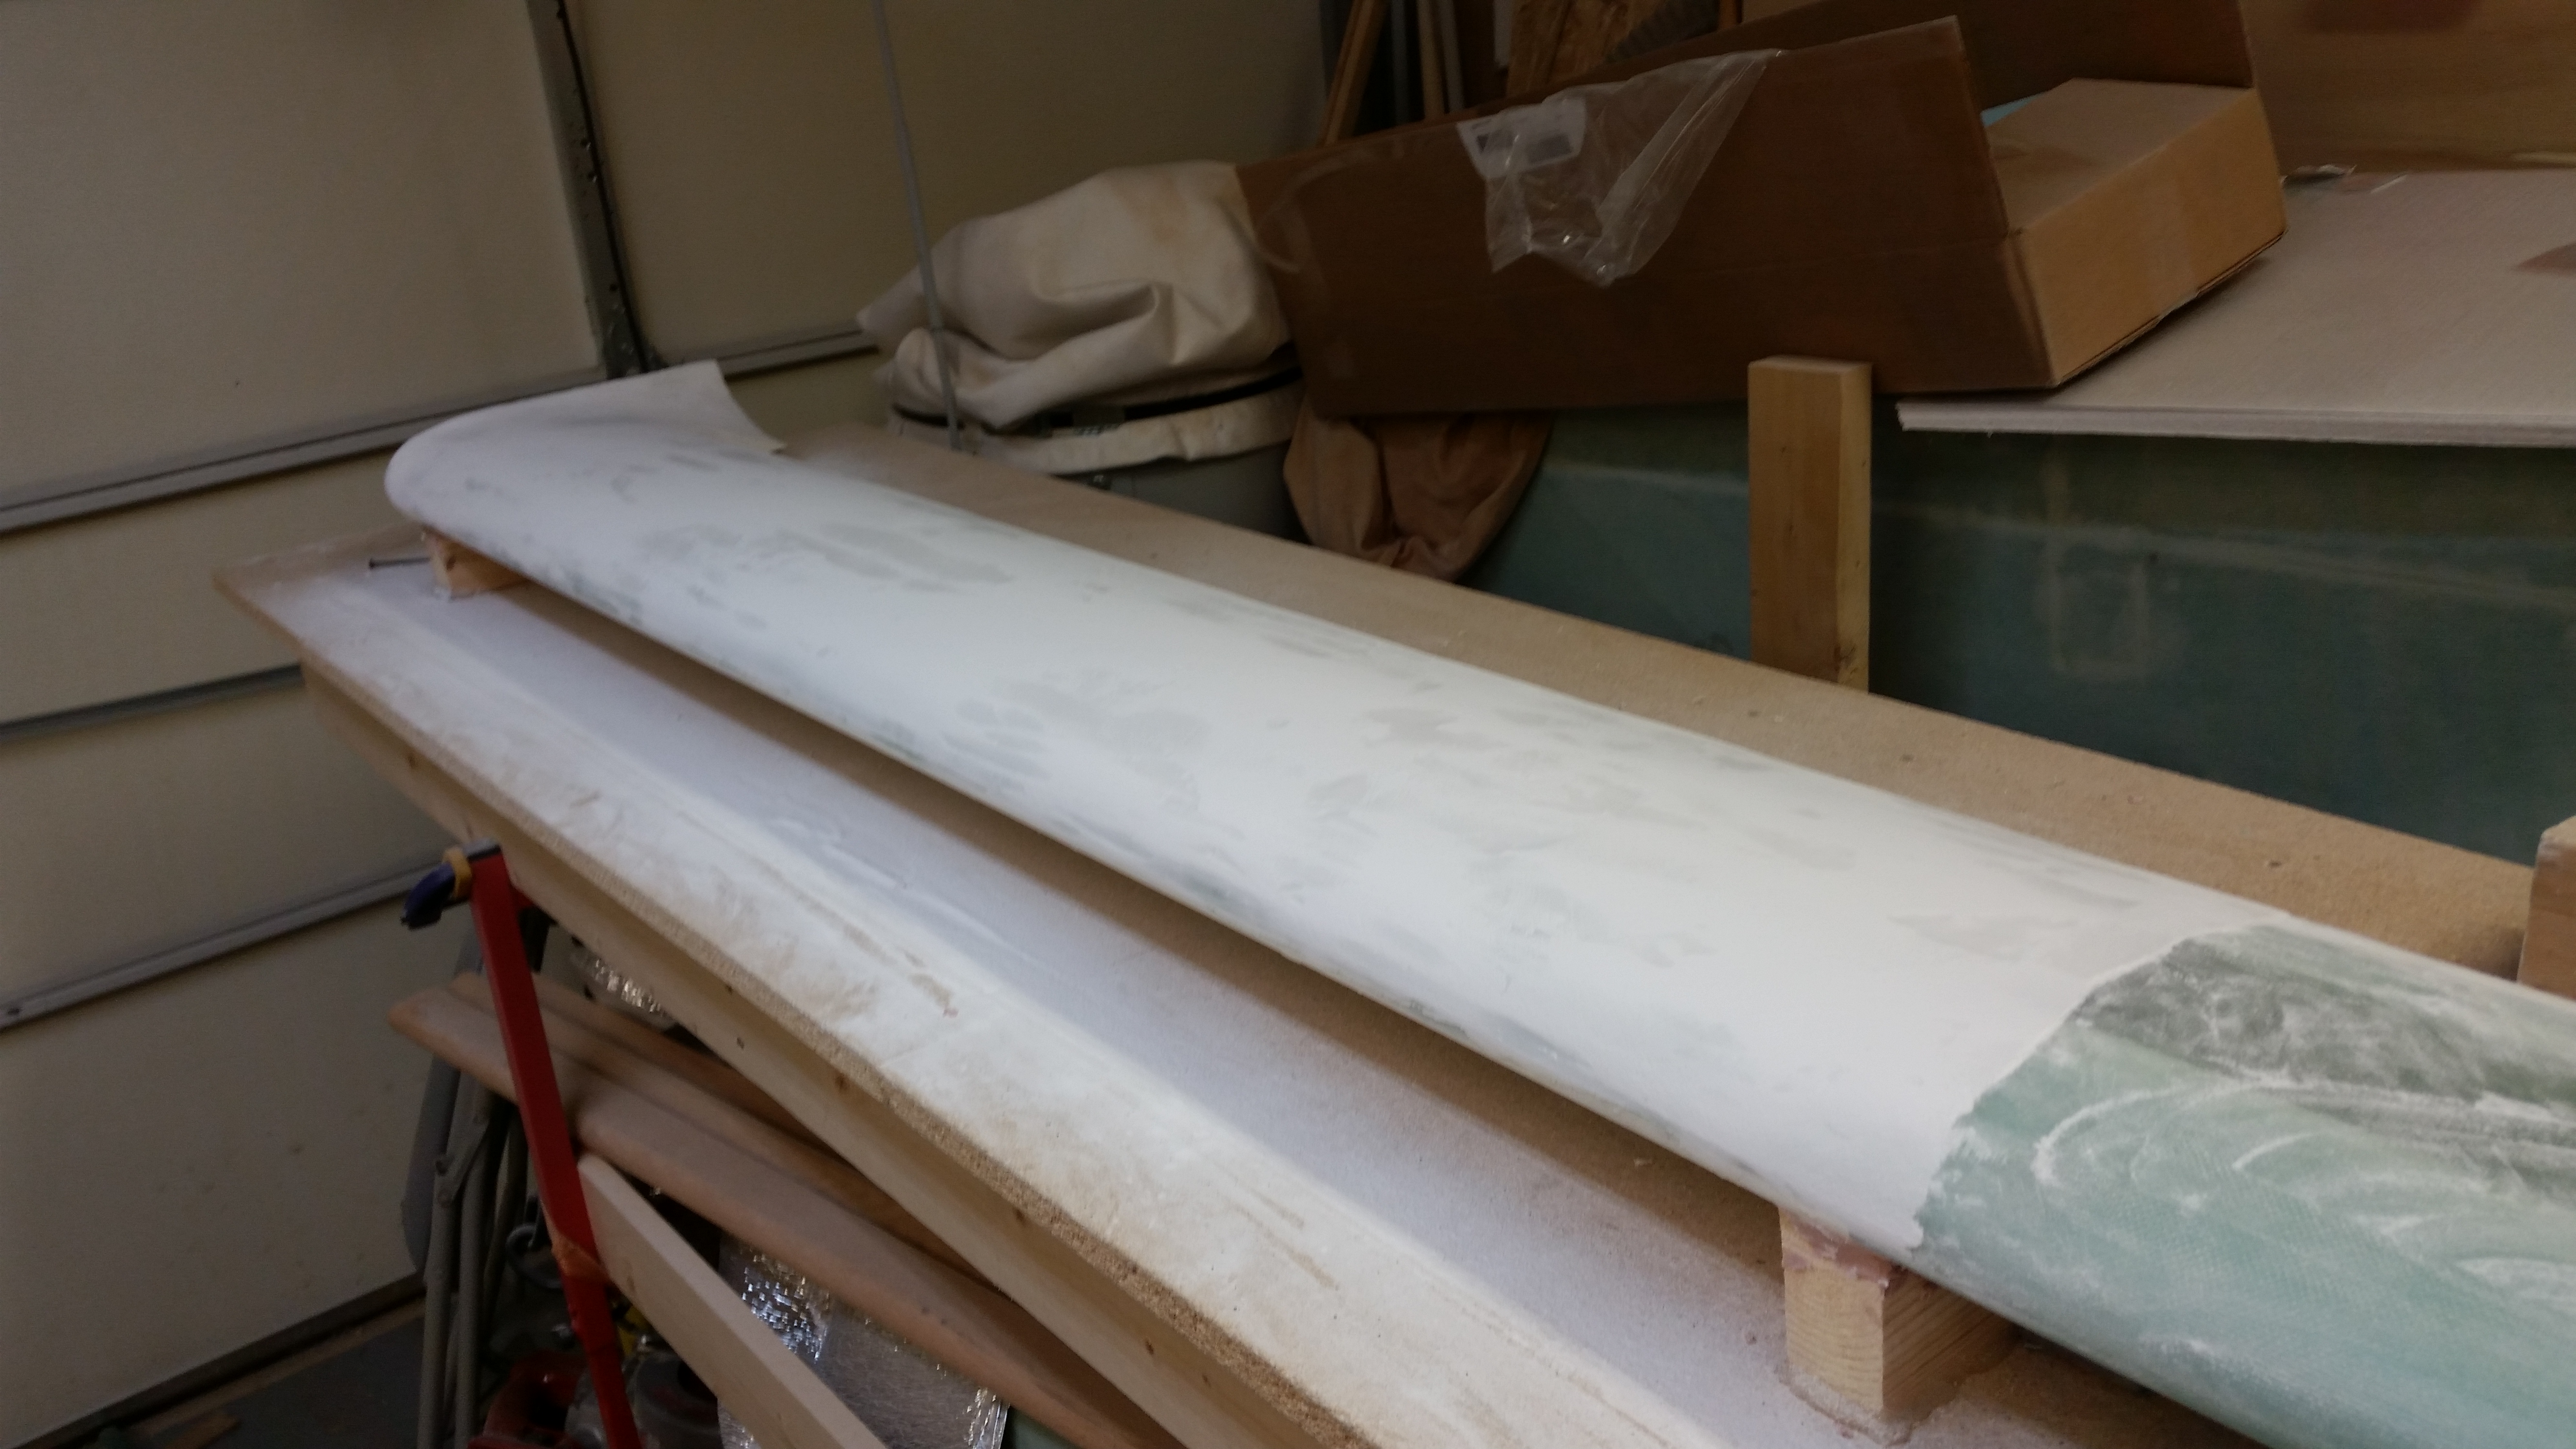
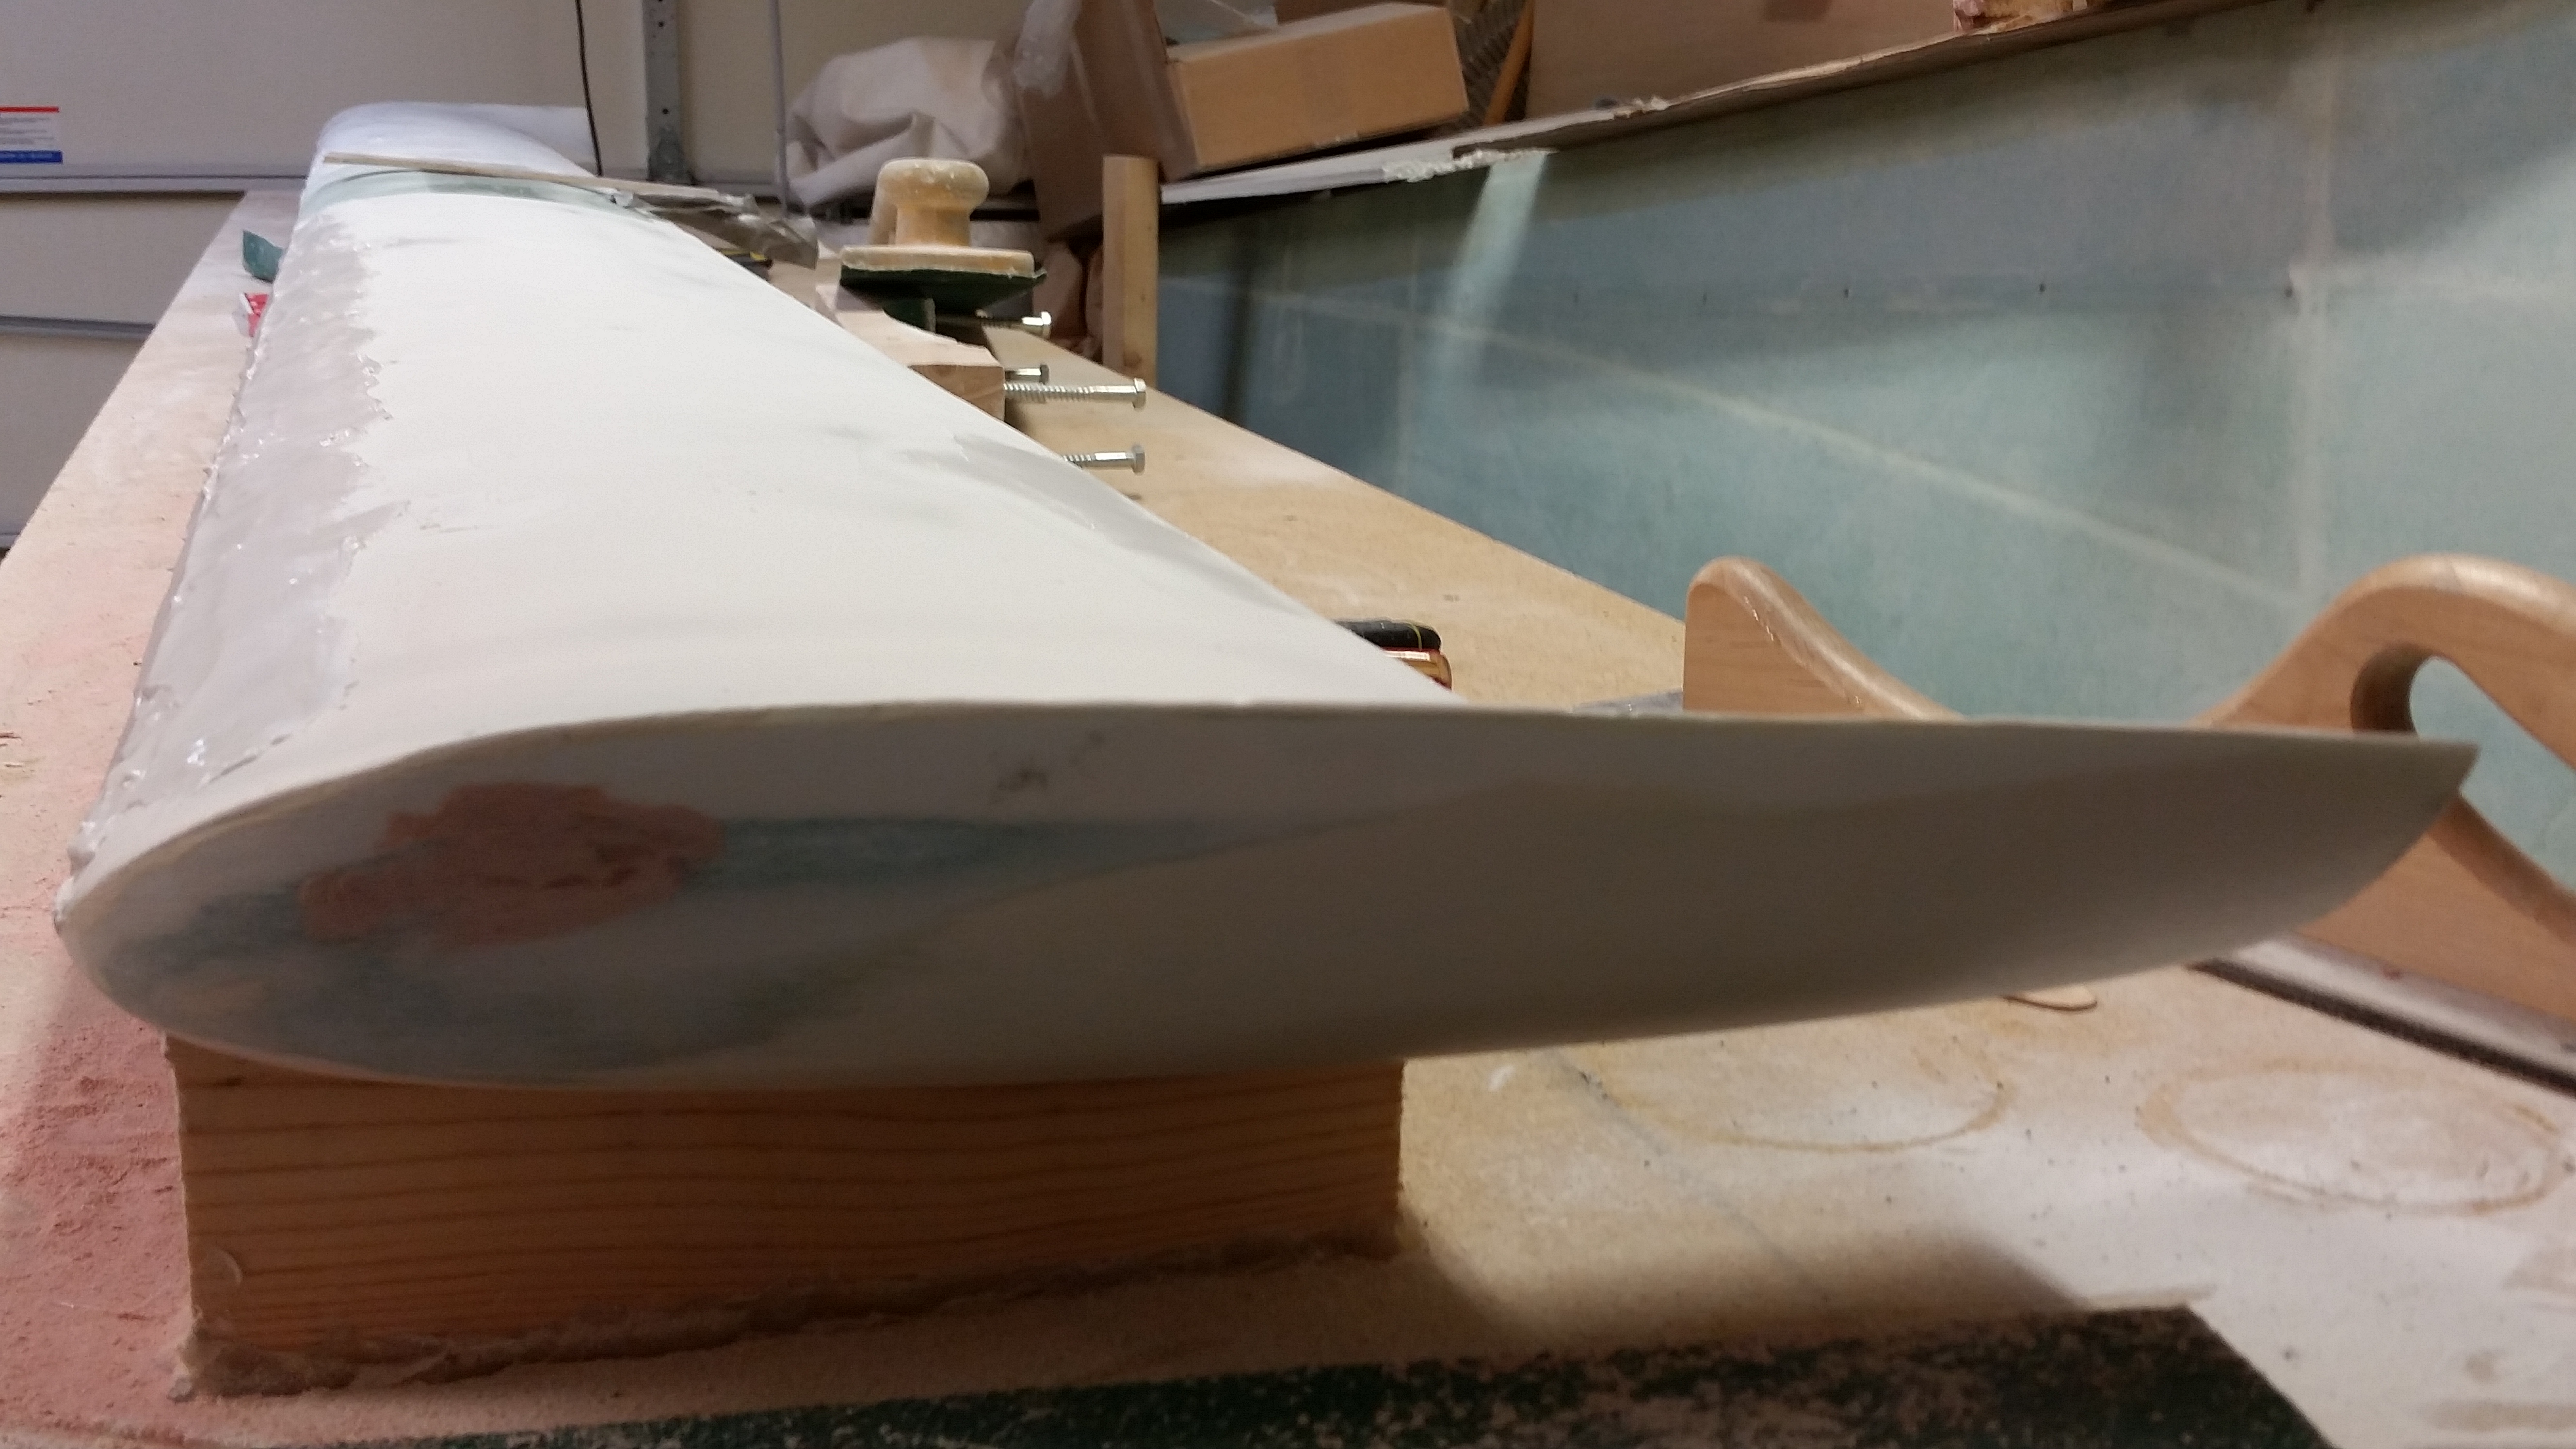
And here’s a couple shots after I did about 3 good passes (~5 minutes) with the contour sanding block.
I then switched back to the long board, using it primarily for the rest of the sanding of the left side top canard surface. Now, I did do a little hand sanding on the top of the swoosh tip and a did a few more quick passes with the contour sanding block. Below is a couple more shots after the major sanding on the left side was complete.
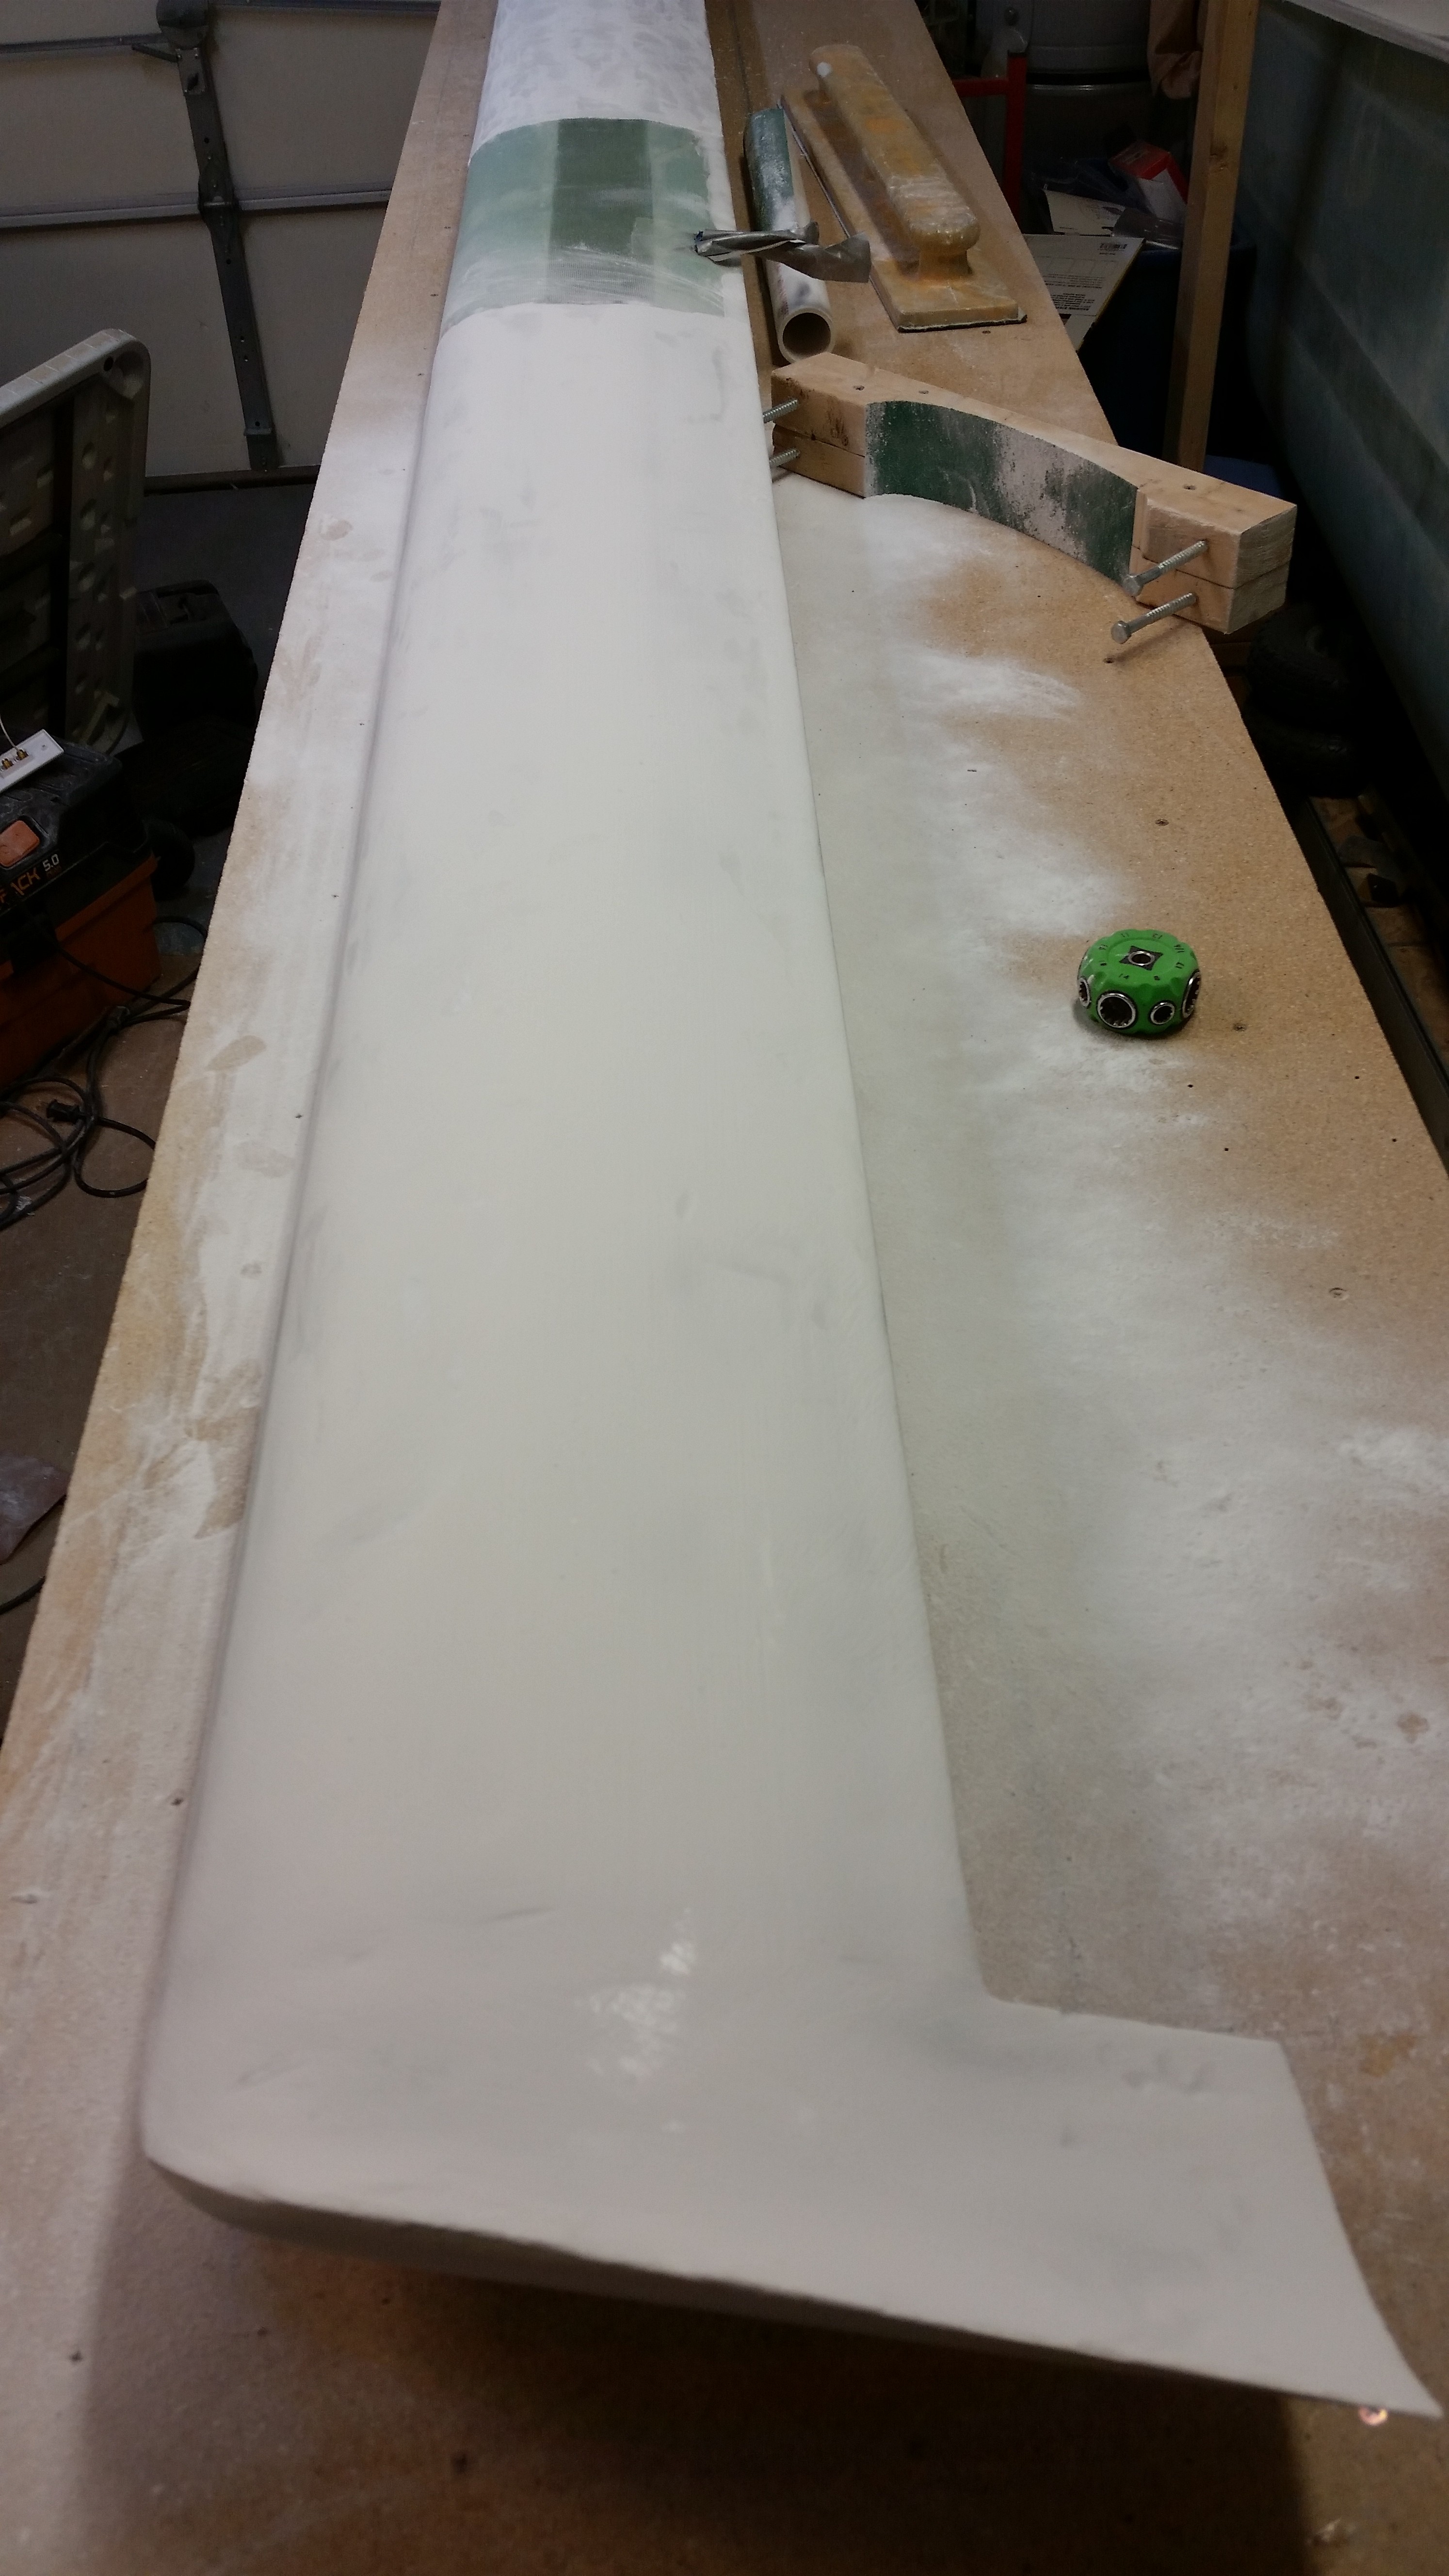
I then started in on the micro finish on the right side of the canard. Since I had done a fair amount of cheese grating on the right side, I started with the long sanding board.
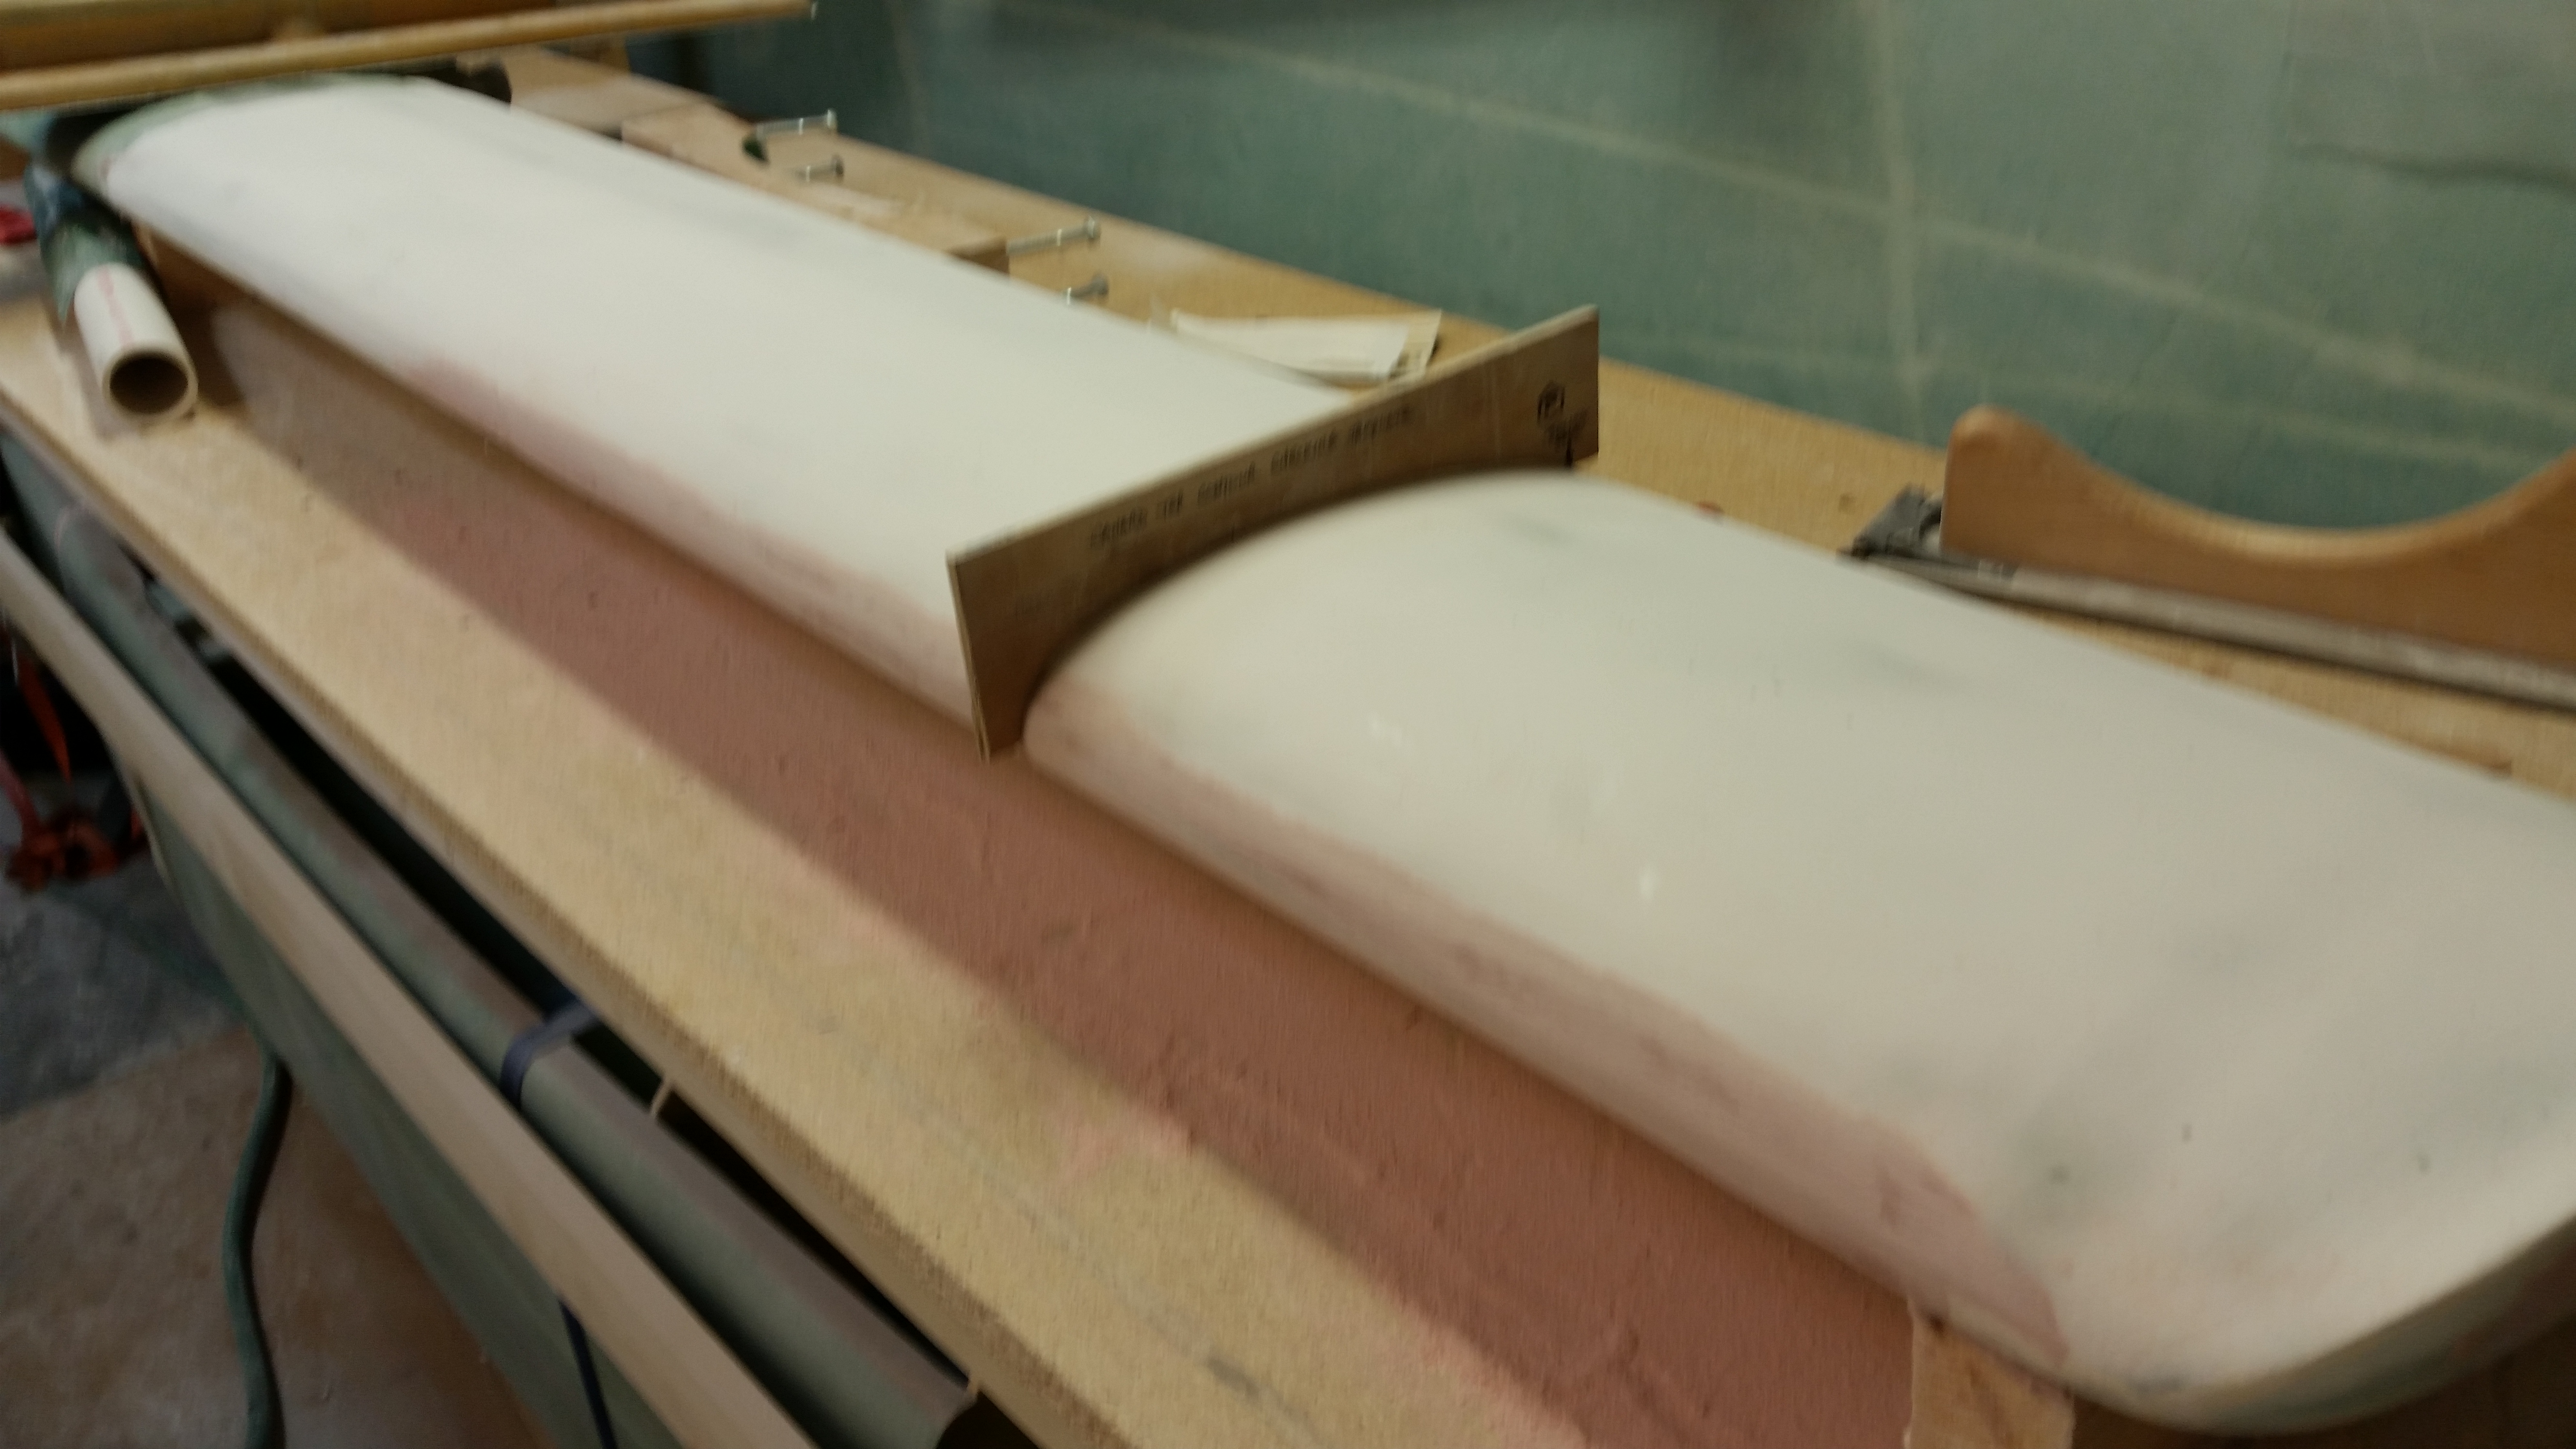
After working the long board for a good 10 minutes, I then switched to contour sanding block. Interestingly, you can see in the pic below that the main contact point for the contour sanding block on the right side was just forward of the TE. Now, I will say that although my canard looks spot on when I sight it by eye, and even run a string on the edges, I think there’s a very slight twist to my canard. Nothing major, but enough to throw some twists (pardon the pun!) into my canard endeavors.
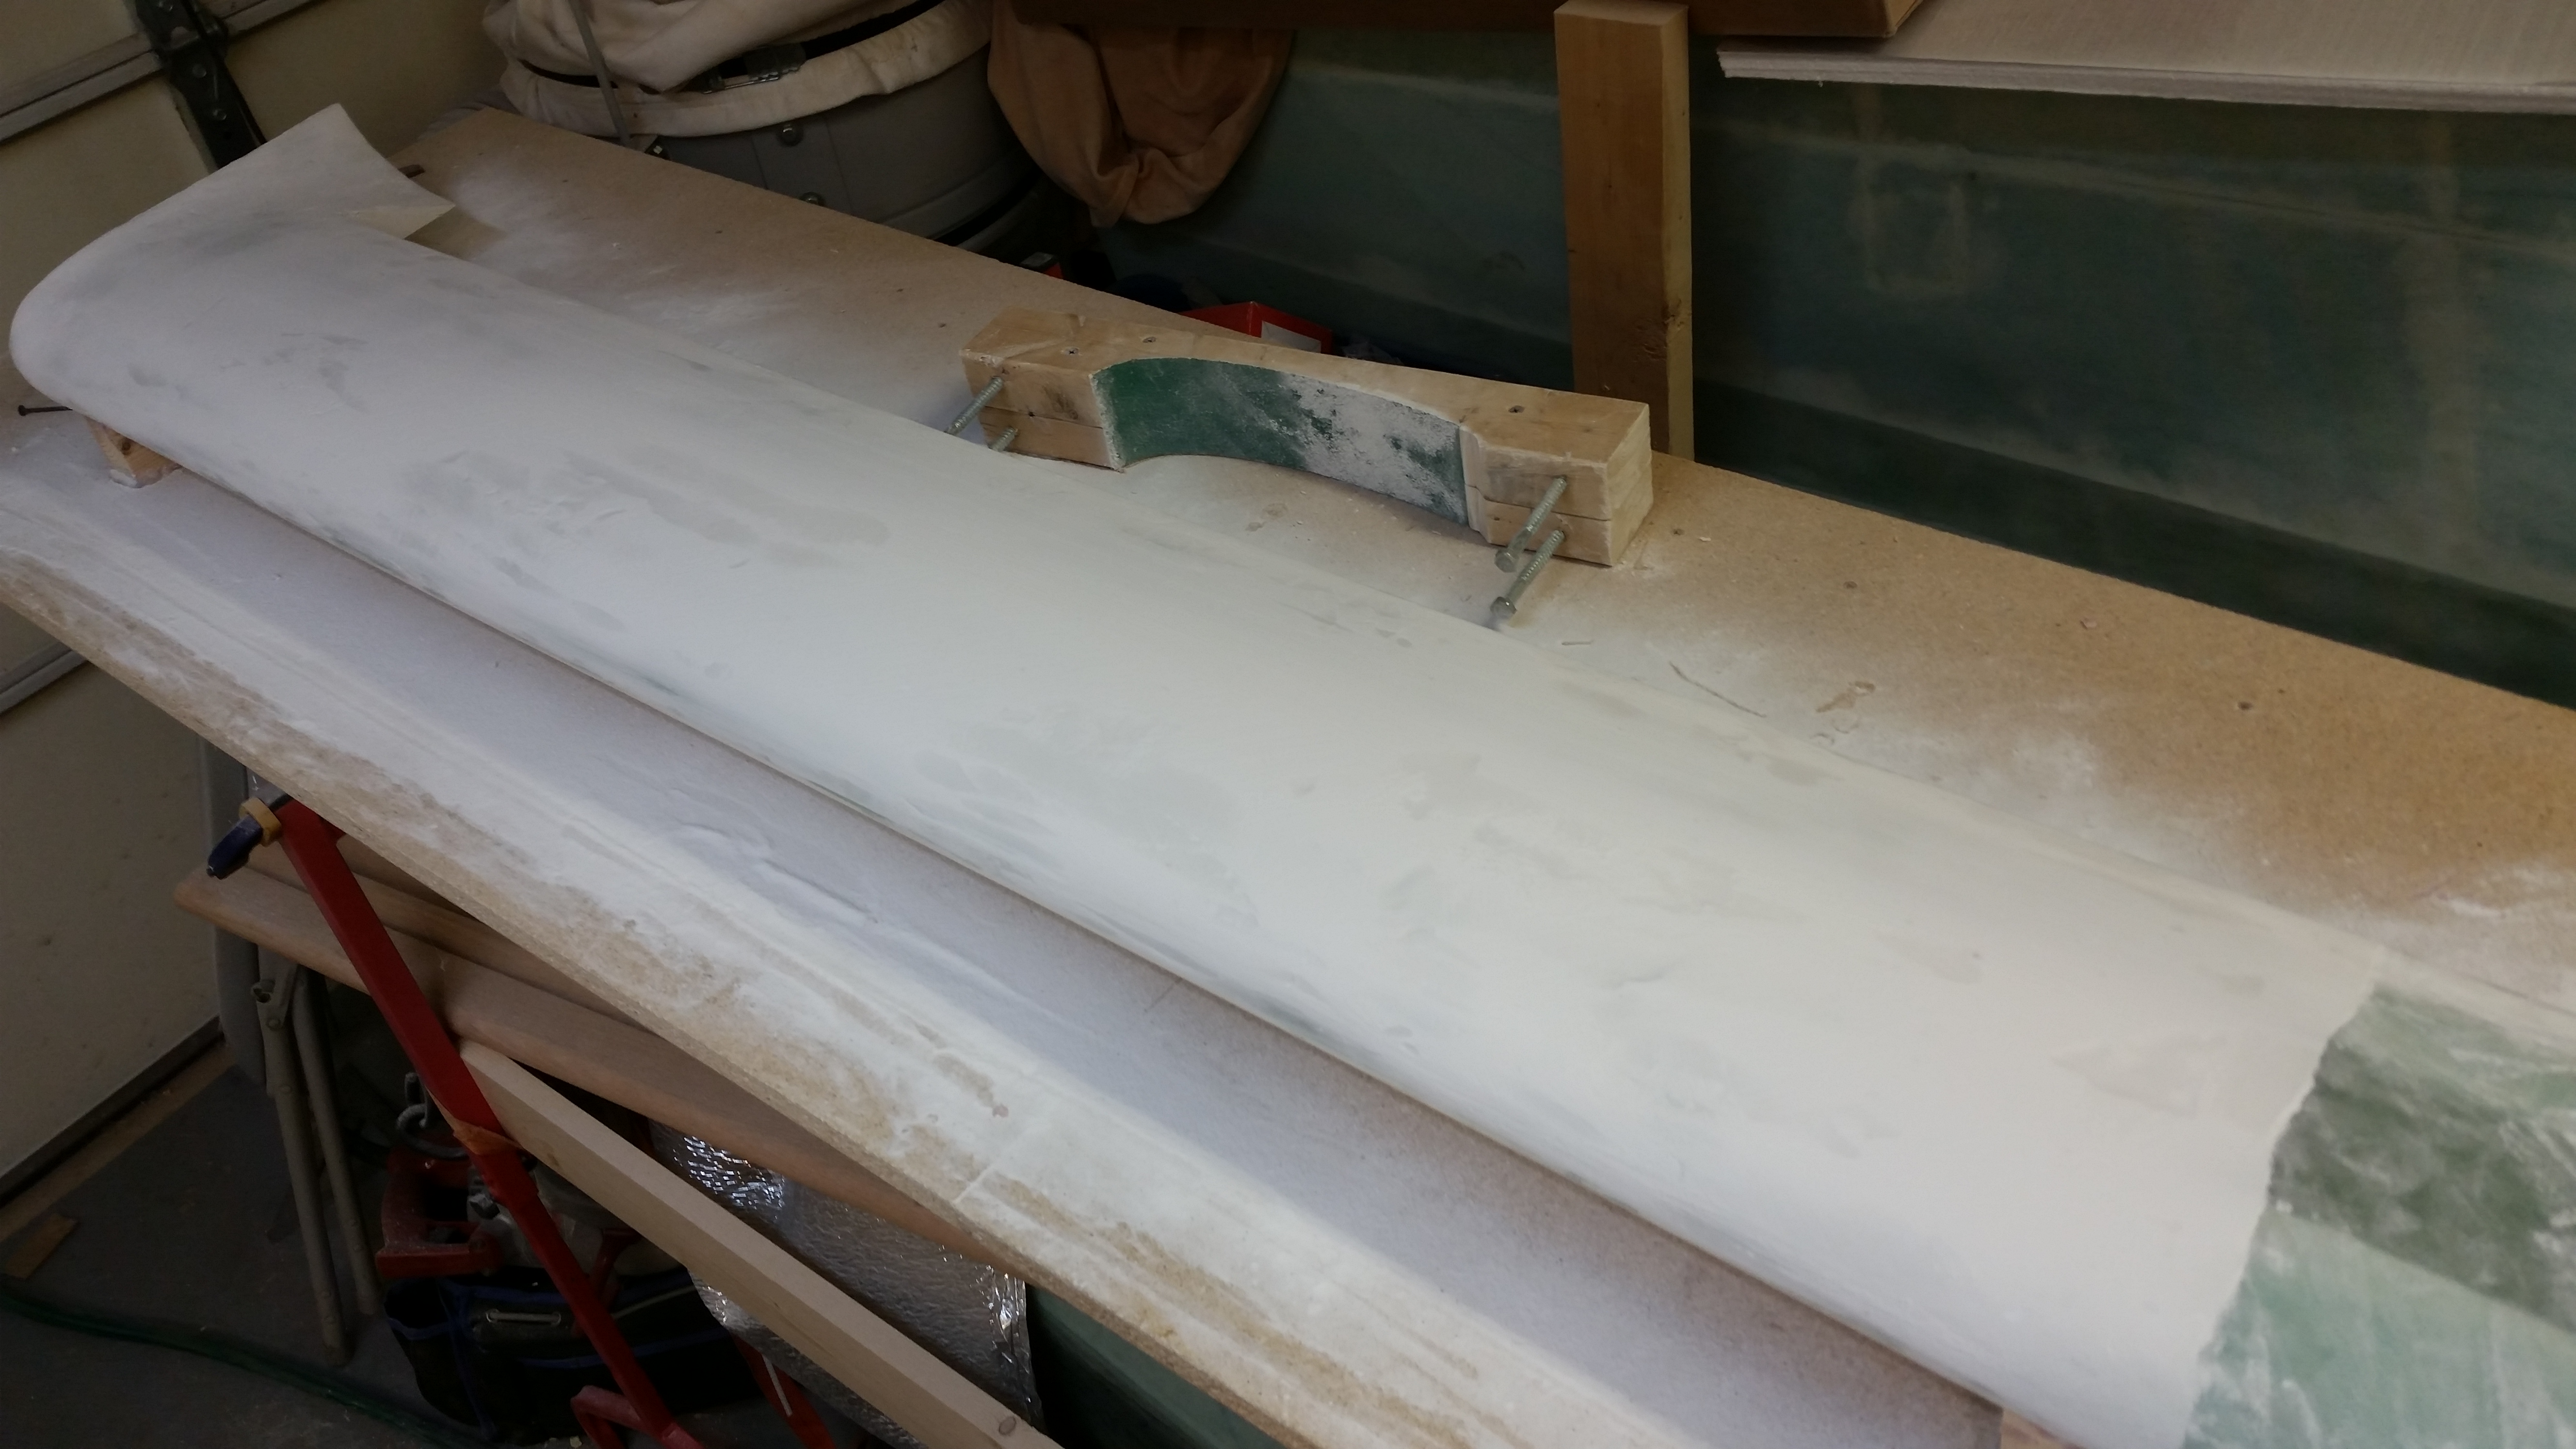
I then checked the top of the canard with the original contour checking template. Now, in the pic below you probably notice a pink LE. Before I took this pic I was checking the top canard profile and kept seeing a gap at my LE, in part caused by my contour sanding block digging into the LE edge a bit. It did get a little of the glass, but not nearly enough to require any glass repair, but I did what something tougher than micro as a foundation so I slathered on a thick layer of Bondo onto the outer 2/3rds of the left side LE.
Since Bondo cures so quickly, after working for a bit on the right side I came back and quickly sanded the Bondo. Now, I know Bondo is heavier, but the resulting sanded layer averages around 30 thou (0.030″) thick. Like I said, it’s enough to give a little depth and a little harder base that can’t get sanded off so quickly. I’m really seeing that both the trailing & leading edges can go uglier fast, so due diligence to these areas is a must.
I then violated one of the laws of the finishing composites by adding a second round of micro to fill in the low points on both sides (left/right, top) of the canard, and also slather a bunch on the LE on both sides to build that up to better get the plans LE shape as close as possible.
Early on I was aggressively shaping the left outboard/bottom swoosh tip when I got to glass, and broke through to the inner layer of glass. With the glass thin at this point, when I mixed up the Bondo, swabbed some on that area too to beef it up just a bit more.
Here’s a couple shots of micro round 2.

Of course I mixed up too much micro and expecting at one point that this might be the case, I implemented my ancillary plan and Dremeled out the foam on the edges of the headrest halves.
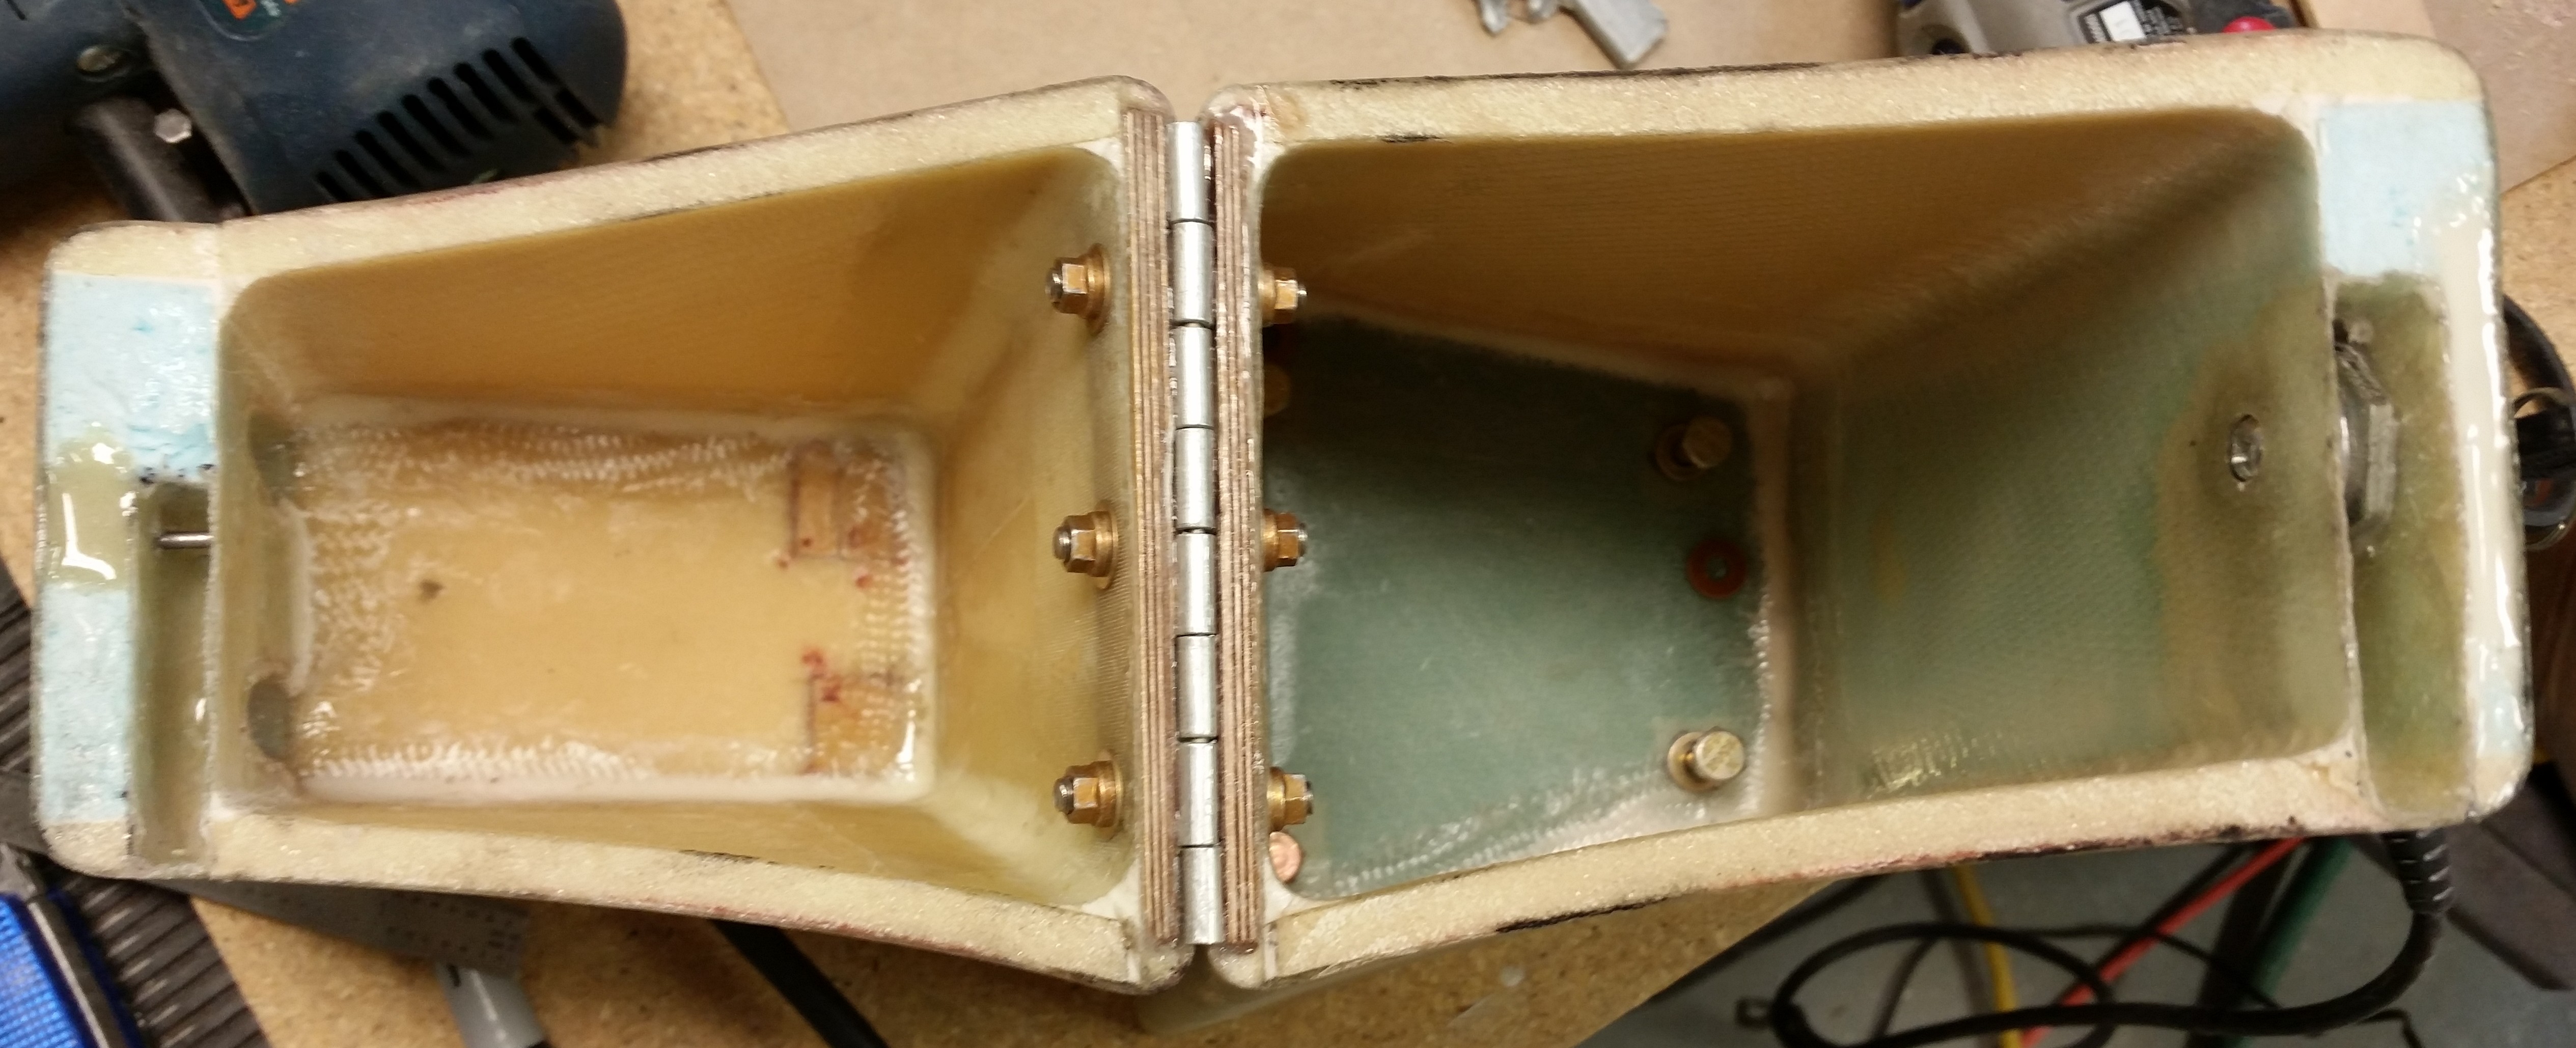
Here’s the micro applied to the headrest edges.
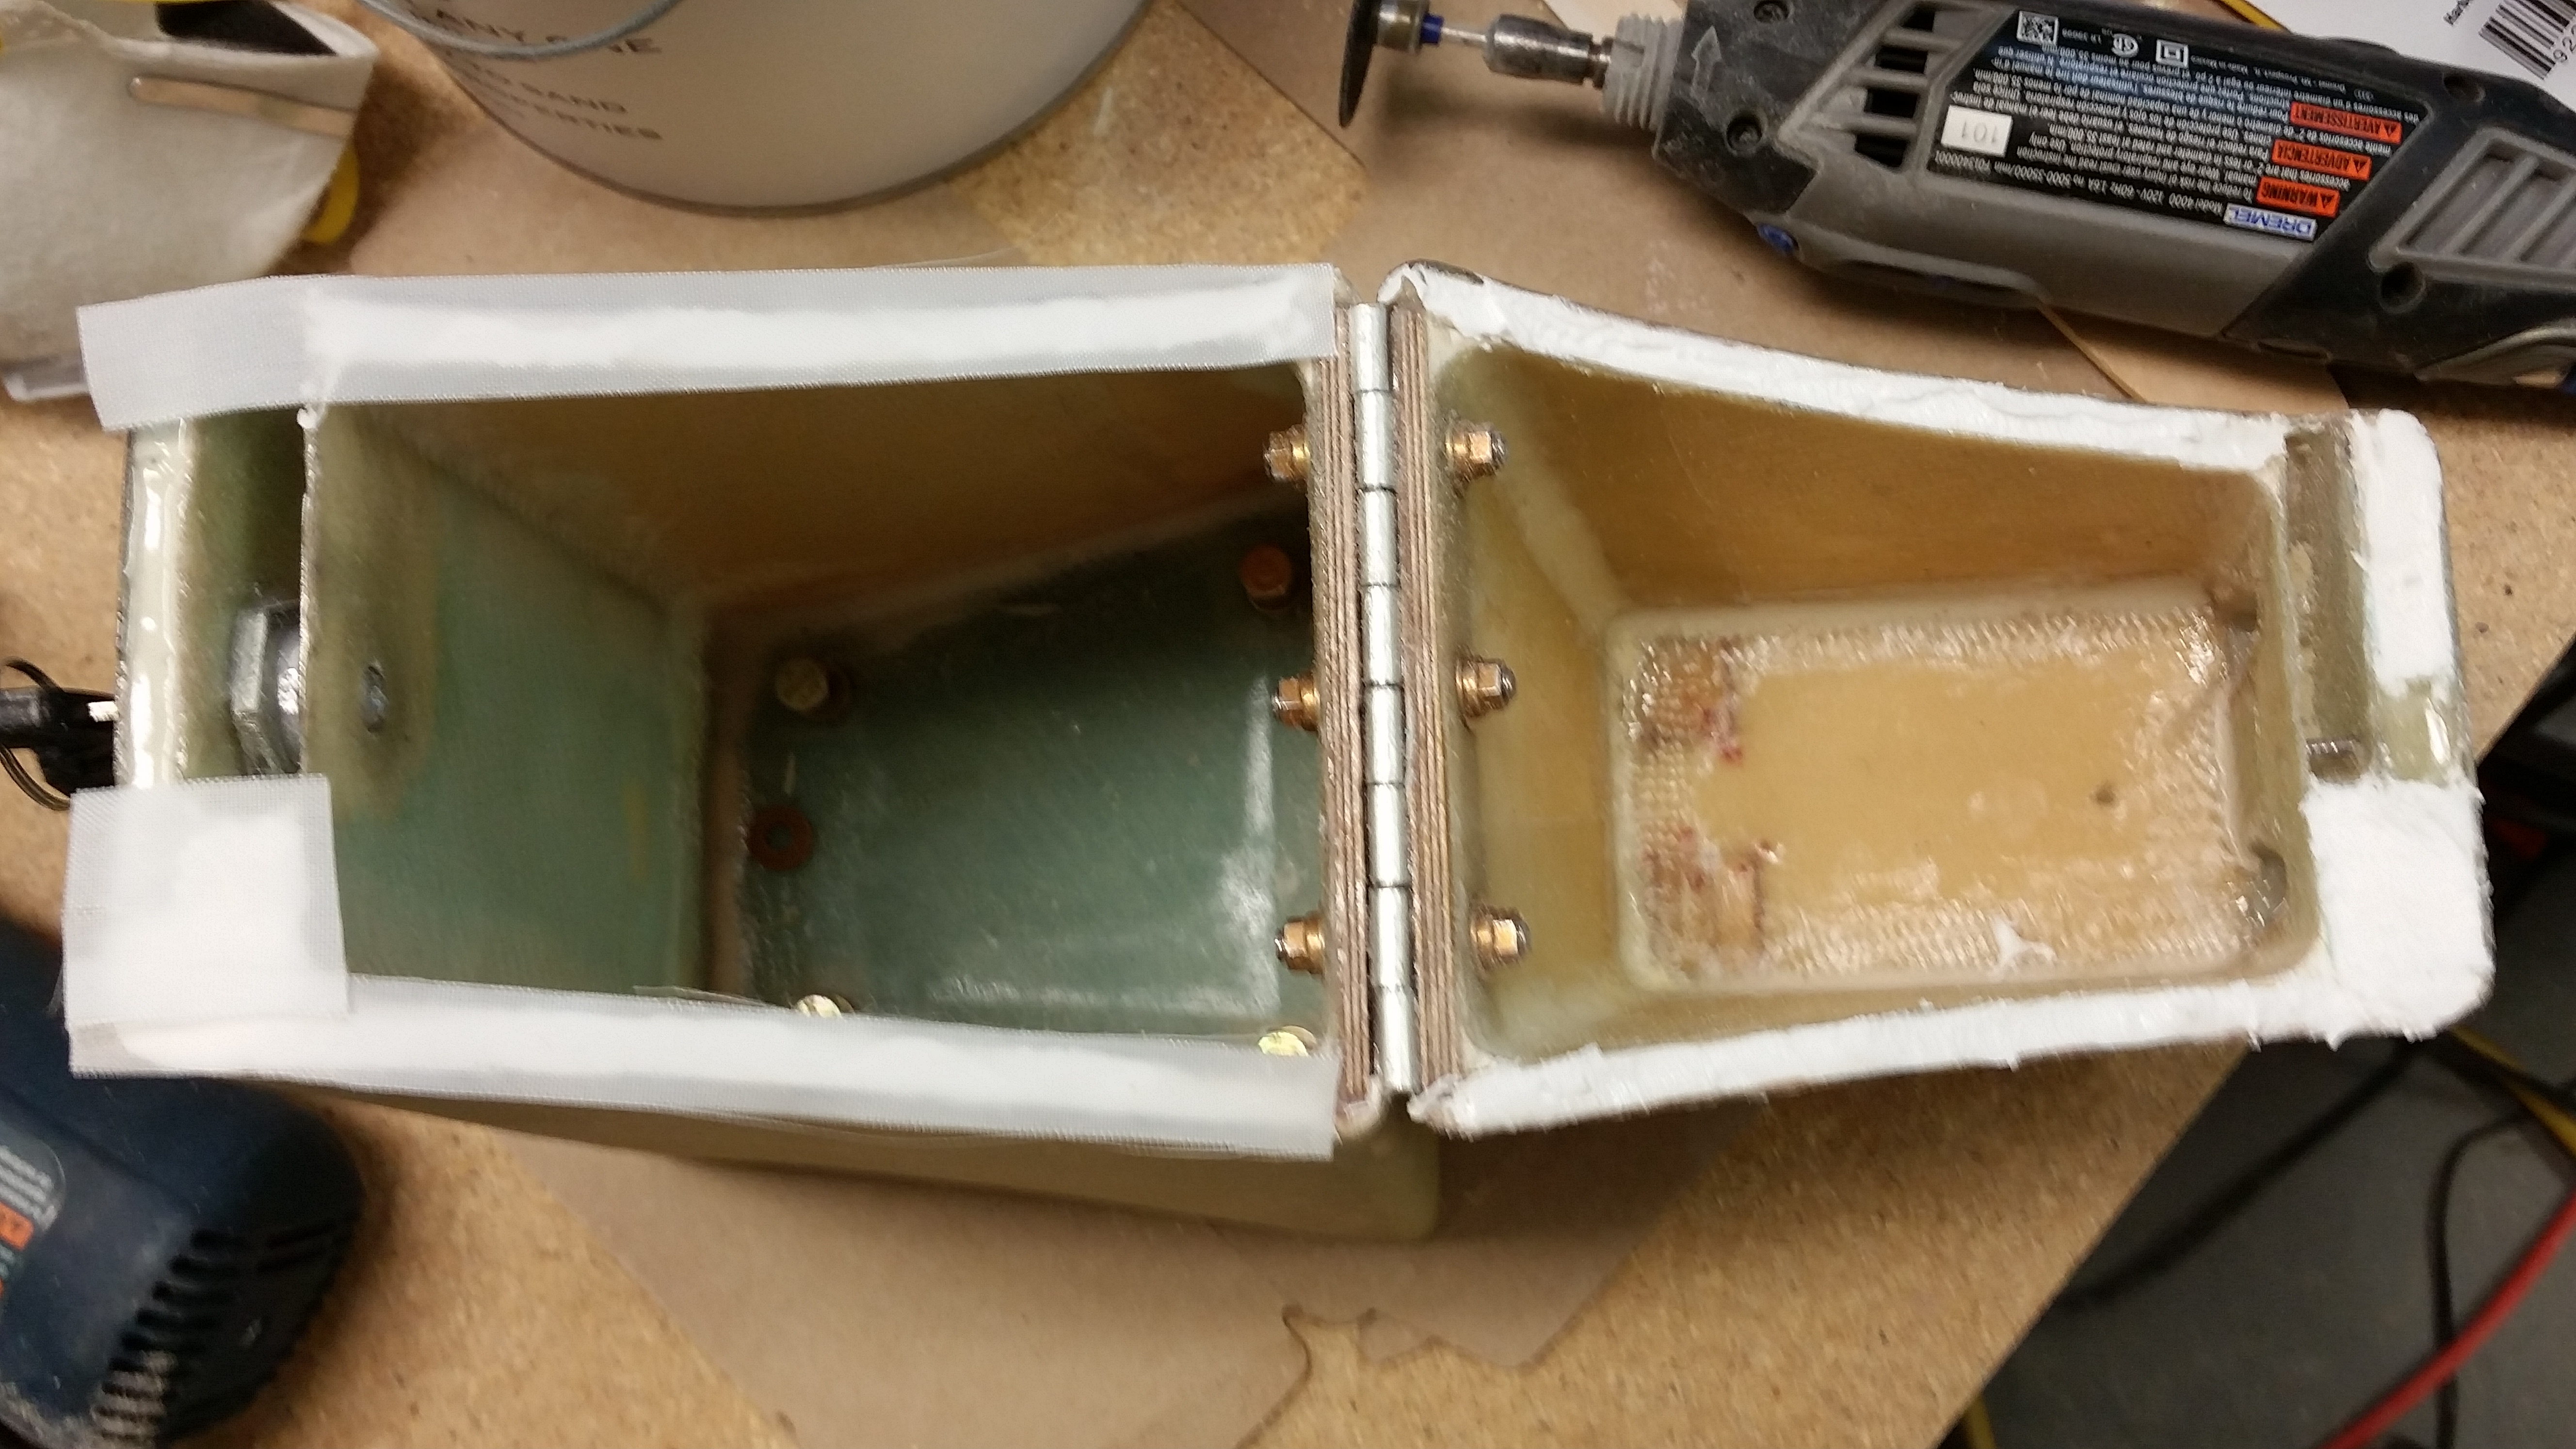
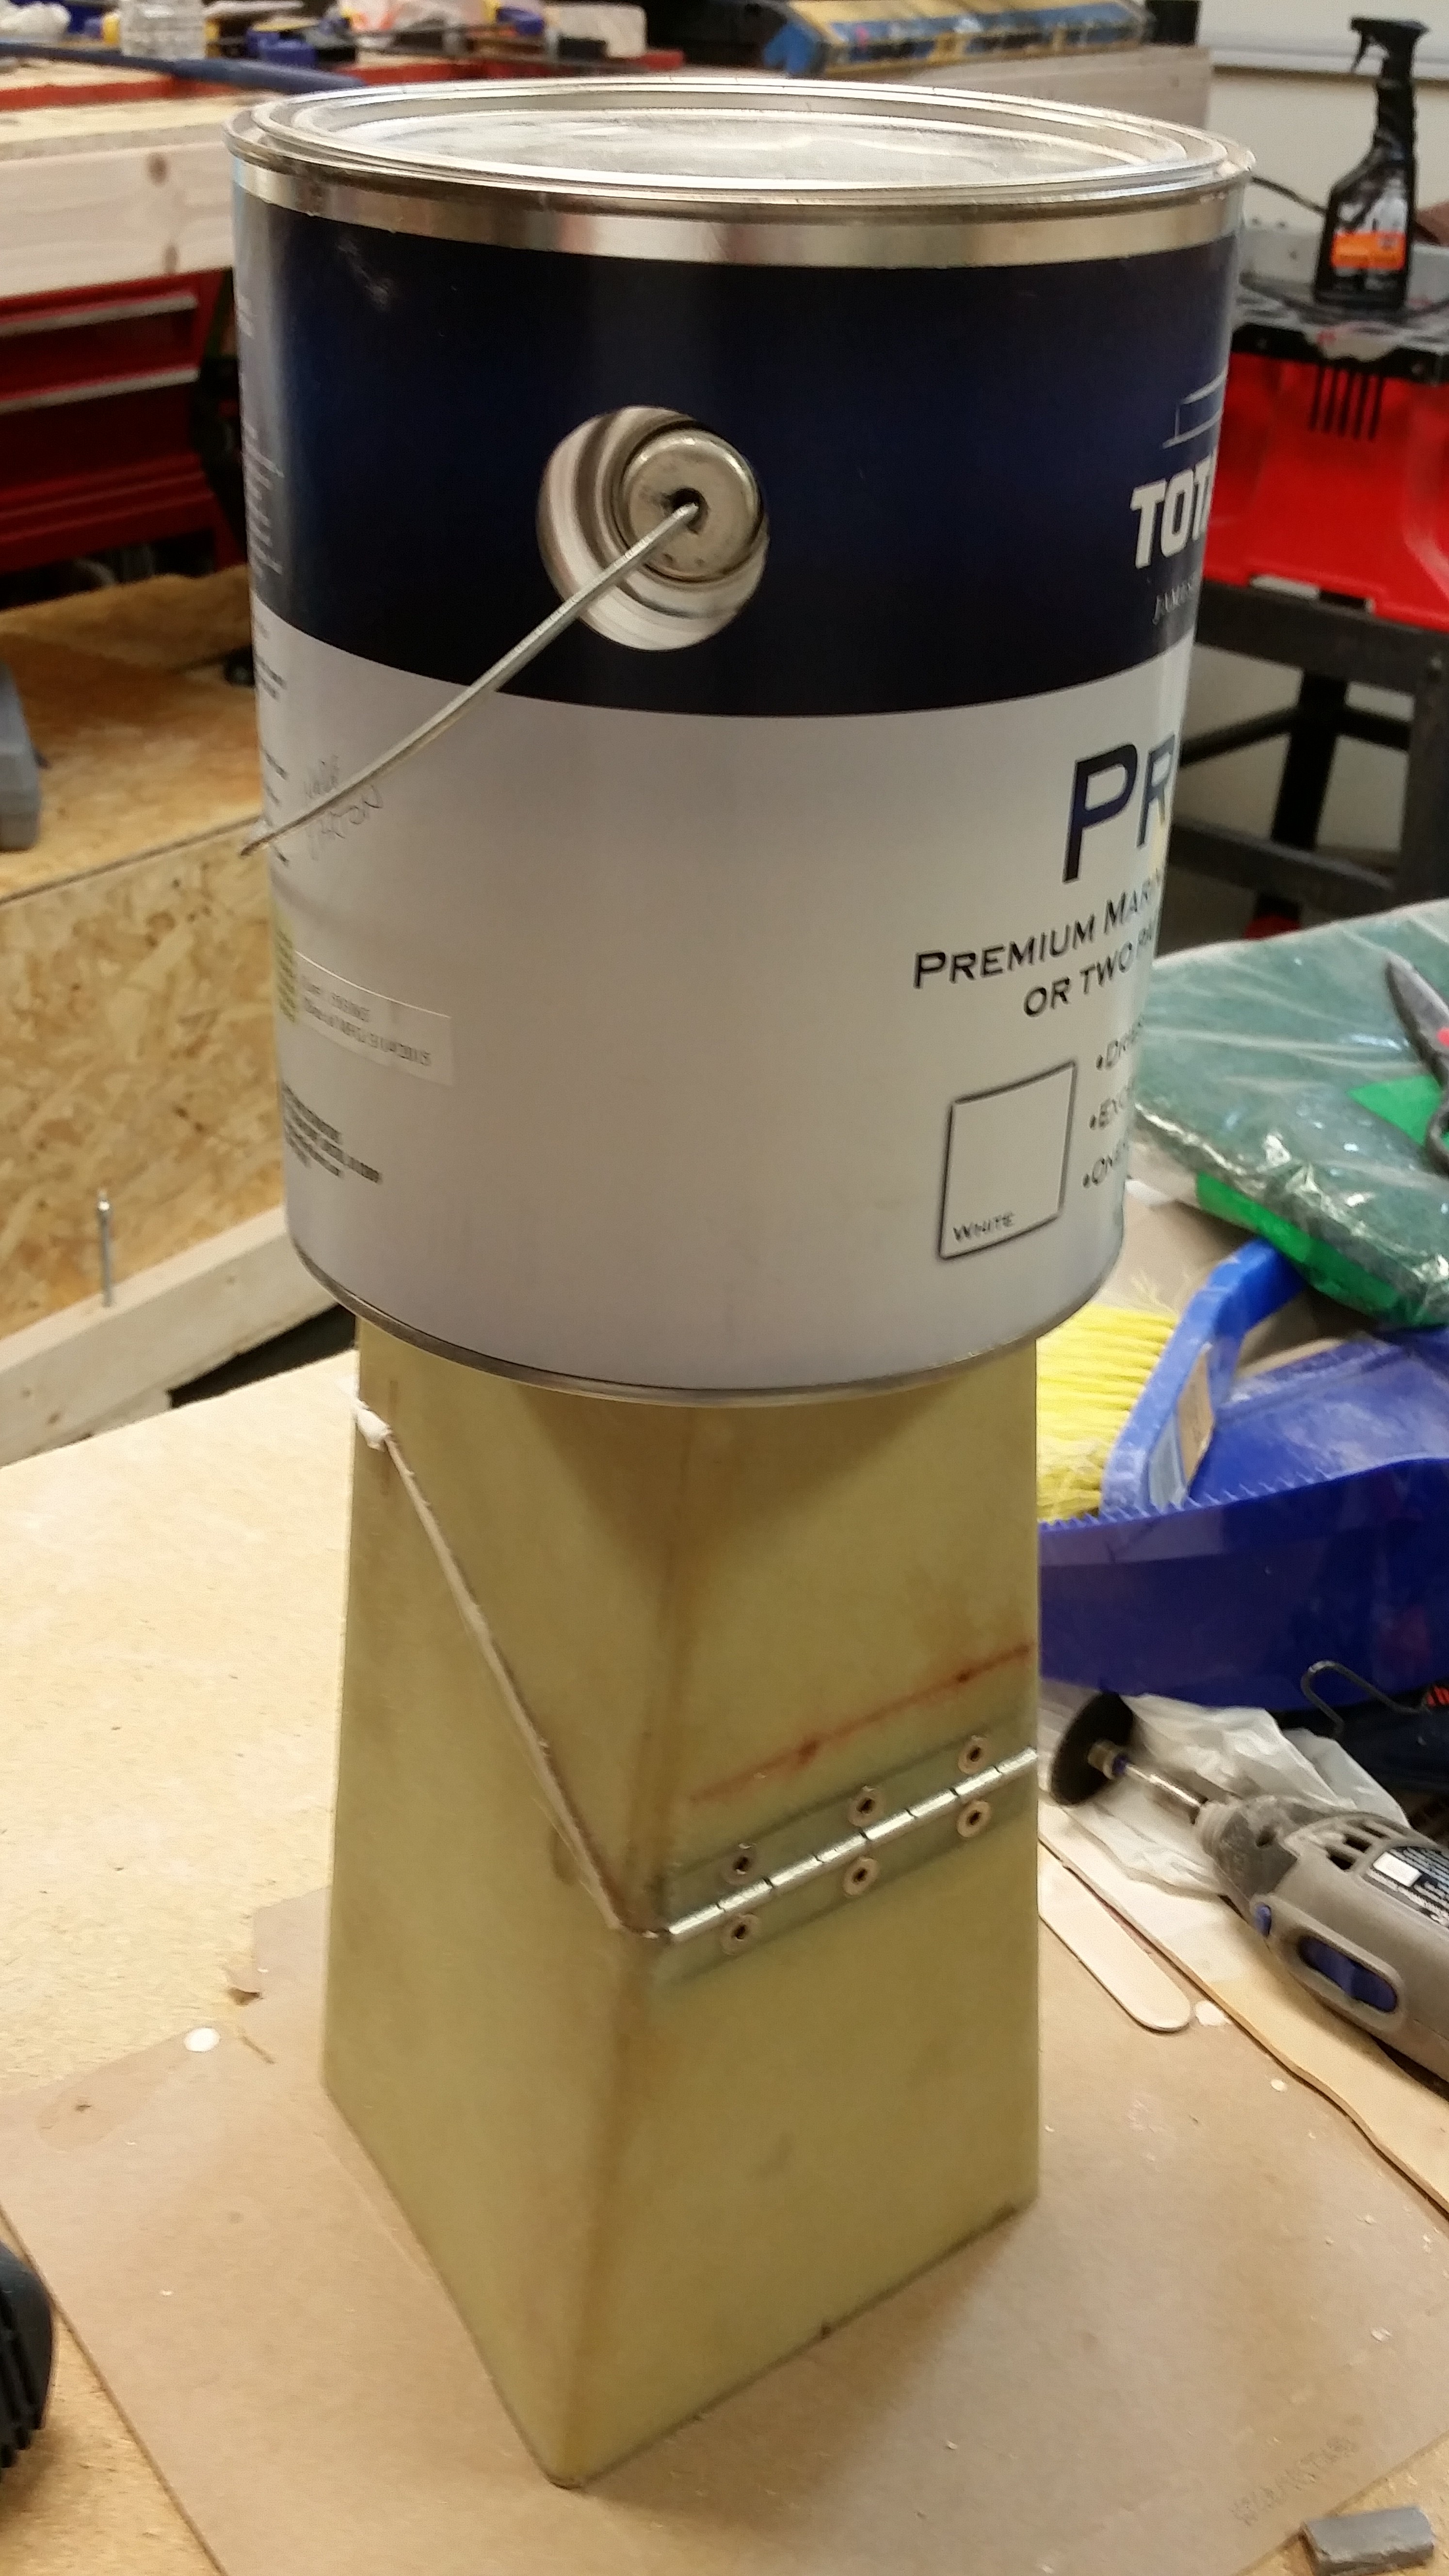
I then peel plied the micro, closed & locked the headrest and then weighed it down to compress the micro as best possible.
I’ll most likely cheese grate the second application of micro later this evening, but for the sake of expediency I’m going to go ahead and post this. I’ll continue to focus on the canard over the next few days, but I will start working on the new elevator cores as well.