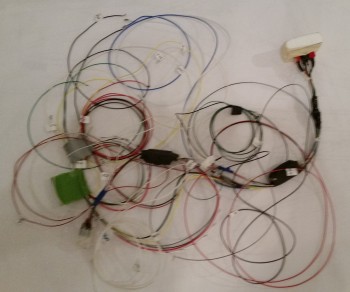
I spent the first half hour this morning finalizing my wire tracking & matching endeavor on the EZ Noselift Actuator wiring harness. I got down to 2 unclaimed wires, but wasn’t sure & couldn’t tell by the wiring diagram if they were supposed to be spliced together, although I suspected they were.
I fired off a quick e-mail to Jack Wilhelmson to verify a few things on the wiring and he e-mailed back shortly later to set me on the straight & narrow path! So all is good thus far in the wiring department for the nose gear actuator.
After I got everything straight with Jack, and as I was waiting for his e-mail, I was finishing up some research on Amp CPC connectors on Mouser.com. I ended up calling Mouser to confirm that I was ordering the correct stuff. After cracking the code on the various pins & sockets for the Amp connectors, I fired off my dorder to Mouser for Amp connectors to replace the Molex connectors currently used in the nose lift actuator system.
After I got the nose gear actuator system’s electronics straightened out, I started back on my quest to get the canard finished. I ended up sanding the bottom of the swoosh tips, the area just inboard of the swoosh tips and the 2 outboard elevator hinge pin areas on each side. Quite amazingly, by the time I was done on the bottom of the canard, 3 hours had flown by.
The corners where the canard end caps (swoosh tips) meet the TE take a while to sand and are time-busting PITAs!
After I got the newly primed areas sanded on the bottom bottom of the canard, I went to work on mounting the canard right-side up to finish the top of the canard. To be clear, my buddy Mike recommended I wait so that I can finish the middle nose fairing on the canard at the same time, but I may utilize an alternative center canard fairing which would negate the standard plans canard nose fairing.
In addition, as I’ve mentioned before (and I have thought about this a fair amount while I’m finishing the canard): As much time as it takes to finish the surfaces of this plane motivates me even more to finish the parts I can in prep for paint so that the finishing of all these parts don’t come due at one time!
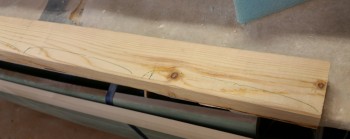
I ended up deciding to use 2×3 blocks under the canard to hold it in place while I finish the top. I marked the lower curvature profile of the canard in 5 consecutive spots on a 5′ long 2×3. I used the lower contour profile as a template and after marking the 2×3 I cut out my mounting blocks.
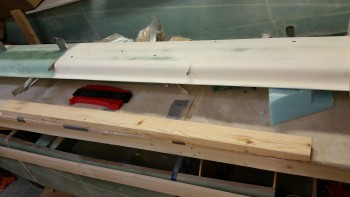
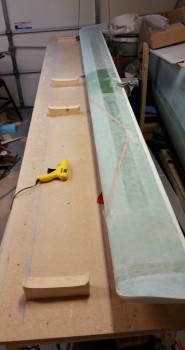
Here are the blocks ready to be hot glued to the work bench.
I ended up only using 4 of the 5 mounting blocks, and I’m mounting them in the middle of the canard, where finish won’t matter, and at the ends where the swoosh tip junctions meet the canard ends, since these areas need some work on the transition anyways.
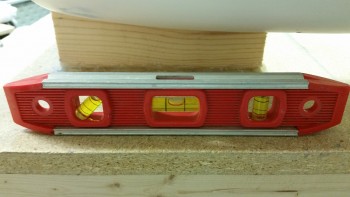
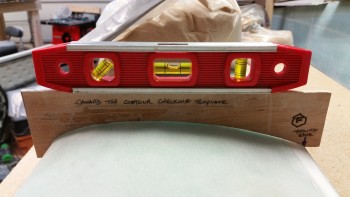
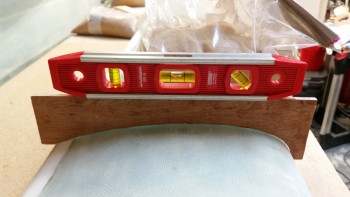
I then measured the angle of the table again on each end.
And then matched the surface angle of the canard to the table at each end so that it is aligned, to ensure I’m sanding true while using the contour sanding block.
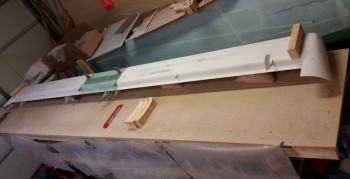
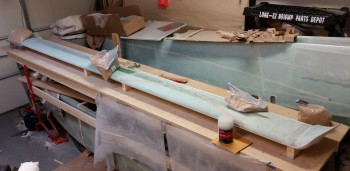
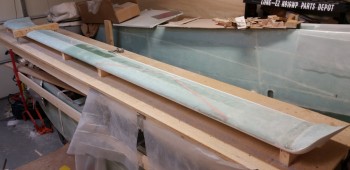
I then broke out the Bondo and set the canard to the 4 mounting blocks.
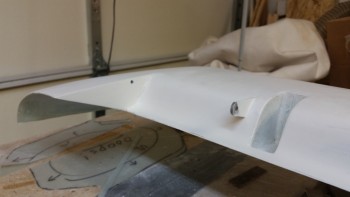
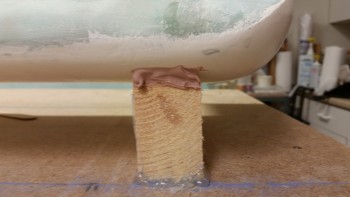
Here’s a close up shot of the canard Bondo’d to the mounting block. Note the hot glue holding the block to the work bench.
This is the last time the canard will be in its raw form!
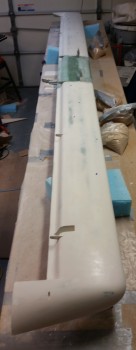
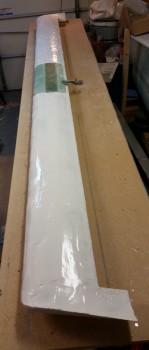
And here’s the top of the canard after I applied the micro finish.
After the West epoxy micro cures for 2-3 hours and is in its “green” stage, I’ll cheese grate the surface to knock off all the high points and get the surface cleaned up.

