I just returned from my North Carolina sortie late this afternoon. I of course had to attend to some normal life stuff before getting back into the groove of things.
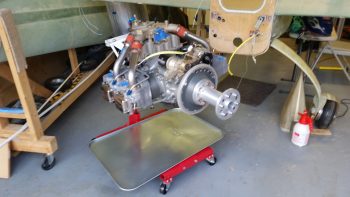
I would like to actually start out by reporting on a couple things I did/noted before I left for NC. The first is that before I left out I flipped the engine inverted and recharged the cylinder dehydrator plugs with fresh desiccant. Since I have 4 of the these dehydrator plugs I removed them from the top plug holes on the cylinders and replaced them with standard aircraft spark plugs before flipping the engine upside down. [This is a previous “stock” pic I took of the engine positioned inverted on the engine stand… it’s mislabeled stating that it was inverted only for a few hours vs 5 days].
After replacing the desiccant in the dehydrator plugs I then pulled the 4 standard aircraft plugs on the bottom of each cylinder (of course facing up at this point) and replaced them with the dehydrator plugs. Since the oil filler cap was facing downward and the top mounted crankcase vent would leak into the Engine Dehumidifier air lines if I tried to attach it to the inverted engine, I just left both unconnected for the duration of my trip.
In addition, as I was packing up for taking a load of household stuff down to NC, I found my cardboard mockup of the Trig TT22 transponder. It became readily apparent why I thought the actual TT22 unit was much smaller than I expected as I realized why when I compared the two. The dimensions for the TT22 unit are given from the tip of antenna jack to the end of the wire mounting spring clip on the other end. Clearly the box section of the unit is not included in those dimensions, making it much smaller in real life than my mockup. Just an observation I had in how there always seems to be some sort of wrinkle in the planning of this stuff for the aircraft build.
So I got back home late this afternoon from NC and immediately kicked off an overdue Seattle Avionics chart data update for the GRT HXr EFIS (I missed the previous one… ).
In addition, the desiccant I left in the oven while I was gone was clearly saturated with moisture and had turned a bright light pink, so I fired up the oven to refresh the desiccant to its desired brilliant blue state. A while later, after letting it cool a bit, I put it back into a sealed container to use in the Engine Dehumidifier after I flip the engine upright tomorrow.
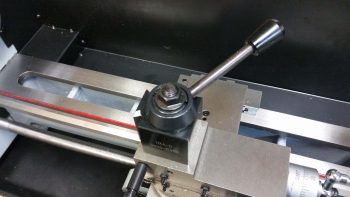
Also upon returning home I found that some packages had arrived, including a digital tachometer and project box (to mount it in) from Ebay for the lathe. Since I had to make a Home Depot/Lowe’s run I decided to do a quick check of the upcoming tach install to ensure I had all the components I would need on hand…. which I didn’t so I ginned up a list. While I was at it I spent another 20 minutes mounting the lathe Quick Change Tool Post (QCTP) onto the lathe compound/cross slide/carriage.
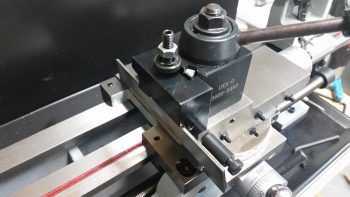
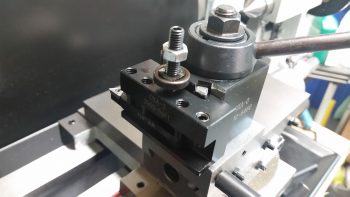
Once the heights of the various lathe turning/cutting tools are dialed in, the QCTP will allow me to swap out tools in literally seconds vs tens of minutes. Below are examples of a parting (“cut-off”) tool [top] and a turning tool [bottom], each in their respective tool holder [the attached tools are from a cheaper carbide tipped “indexable” tool kit I picked up from Harbor Freight, since it had good reviews…. I’ll use these tools as part of my kit starting out so if/when I break them during initial lathe ops, my cost of learning will be cheaper!].
Late this evening I did some final updates on my nose and canopy build task lists and printed those off in prep for starting back on these builds tomorrow.

