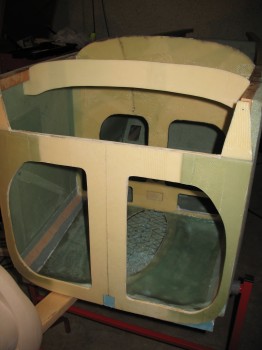
After the bottom cured I noticed that there was a very thin gap between the fuselage bottom foam (at the very front edge) and the aft edge of F22 bulkhead. This was caused by me centering the foam and compromising between getting the foam acceptably placed & centered on the bulkheads and sides, and getting the front edge of the fuselage bottom to make contact (or as close to contact) to F22 as best possible. This small gap, about 1/32″ on the left side to almost an 1/8″ on right side, was in part caused by the nose being slightly askew, and the more extreme curvature (football shape) of my fuselage.
On a normal fuselage, F22 sits a lot more square (perpendicular) to the fuselage sides; whereas on my build, the foam sides needed to be beveled to an angle for F22 to sit (or mount) to them squarely. In retrospect, mine weren’t beveled nearly enough to keep F22 mounted straight across the front. Since the fuselage sides were beveled/angled (by virtue of them being pulled inwards so much), it created a very slight inward bow of F22 at its midpoint/centerline.
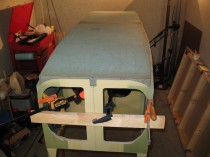
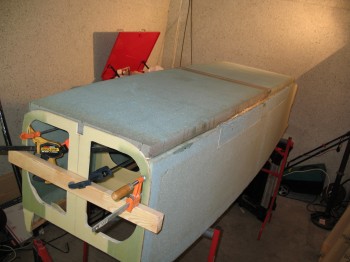 I sanded a thin wedge of foam, and micro’d it to the fuselage bottom foam on one side and floxed it to the aft bottom face of F22. I then clamped F22 tight against the foam wedge insert and the fuselage bottom’s front edge. I also added some flox into some very minor gaps between F22 and the bottom triangular longerons.
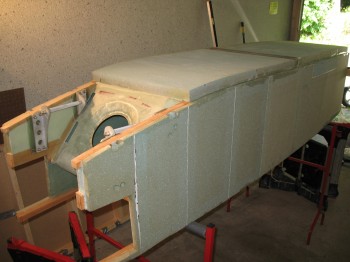
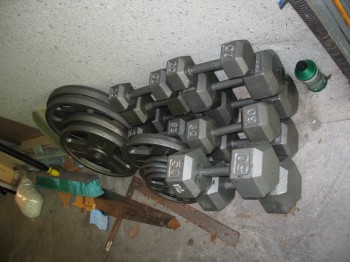
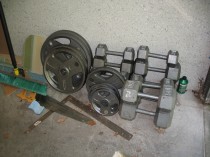
I took a couple shots of some of the 655+ lbs in weights that were piled up on top of the fuselage. To think that the fuselage components now are essentially foam with a couple plies of glass on ONE side of each foam piece, GLUED together… without even the outside sides glassed! Wow! This is some pretty STRONG stuff!
Once the flox holding the fuselage bottom to the sides and bulkhead cured fully (I cleaned all the excess flox off all the joints), it was time to actually connect the bottom to the sides and bulkheads with fiberglass. I would employ the “Poor Man’s” pre-preg method with 1-ply of BID, as called for by the plans. Note: When laying up epoxy in an inside corner, one must use a flox fillet (like how you would apply caulking in a corner) so that the glass curves around the inside corner on a radius, and doesn’t have its fibers jammed into a 90° corner. A fillet allows the natural strength of the fibers to flow undisrupted (ie not crushed).
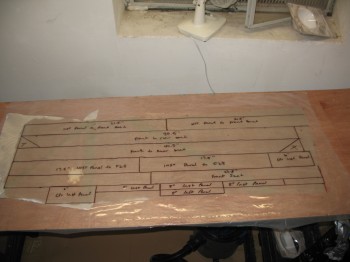
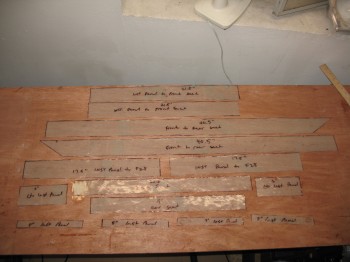
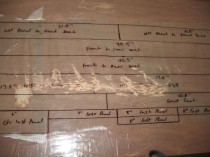
I laid up the pre-preg using a few BID scraps. Remember, a 1″ overlap provides plenty of glass tensile strength in a layup. I then sandwiched the BID between two pieces of plastic, wet out the BID with epoxy, and then squeegeed all the excess epoxy out. I could then draw out my BID tapes with a Sharpie, and annotate the description of each one.
Of course I sketched this all out beforehand so I had a good idea of the size of the pre-preg setup I needed. And once I drew out all the lines, I simply cut the pre-preg with scissors to get the individual 1-ply BID glass tapes that were used in the corner junctions between the fuselage bottom and the fuselage sides & bulkheads.
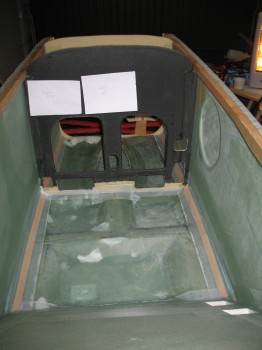
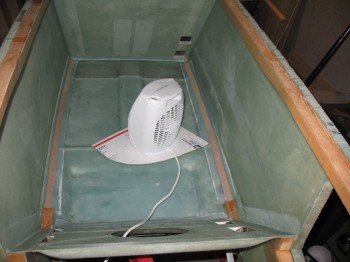
After I laid up all the glass pre-pregged tapes, I went around with my peel ply “tapes” and covered the corner glass with a layer of peel ply so that all the BID tape corner layups would have nice smooth edges and clean glass transitions.
As per plans, I also filleted in a flox joint between the bottom of the fuselage and the very bottom aft edge of the front seat bulkhead.
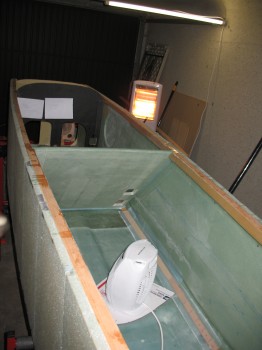
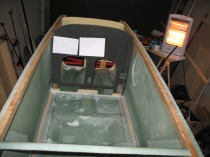
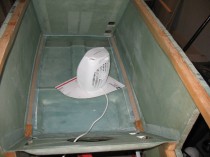
From the pics you can see that essentially the entire triangular longerons—which now make up almost a beveled curve in the bottom left and right interior corners of the fuselage—are covered with fiberglass that overlaps onto each side to connect the fuselage bottom, to the longeron, to the side. These BID tapes make for some very strong joints.

