I removed the peel ply from the fuselage bottom final layups. Since I laid up the front just a tad more wet than I normally would (just a bit!), I sanded it heavily to remove any excess epoxy & rough spots, and smooth out any of the glass transition edges.
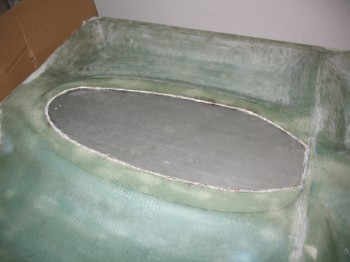
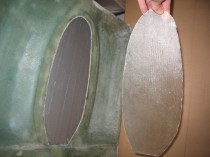
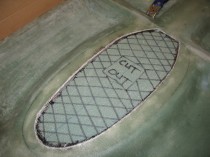
I cut around the edge of the nose wheel well outline with the Dremel tool, exposing the duct tape underneath after I pulled off the glass piece. BTW, this isn’t per plans. The plans say to cut out the wheel well area first, then lay up the fuselage bottom glass to the edge of the cutout. I thought it seemed easier to do what’s done in Chapter 7 with the landing brake, by just laying down a layer of duct tape. Once I did that, then I didn’t have to concern myself with another edge, I simply just glassed the area as a normal layup.

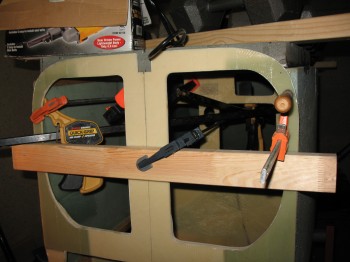
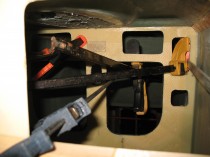
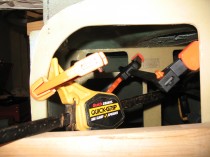
After I removed the glass overlaying the nose wheel well area, I then spent about an hour clamping the front of the fuselage to ensure the entire fuselage was straight. For some reason my F28 bulkhead was almost .2″ off center and the instrument panel was about .07″ off center as well. So I had to put expanders in to push them over to center before the fuselage bottom was flox-mounted to the fuselage sides.
After the F22 and instrument panel bulkheads were measuring straight, I whipped up a bunch of flox and mounted the fuselage bottom to the fuselage sides…. FINALLY!!
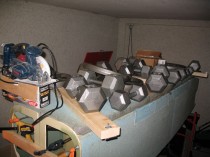
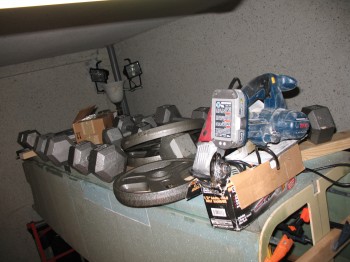
Once again, to minimize excess flox weight and to get as tight of a bond as possible, I weighed down the fuselage bottom. By the time I was finished, I had piled up over 655 pounds on the top (technically the bottom) of the newly assembled fuselage!