
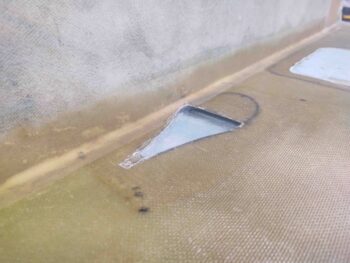
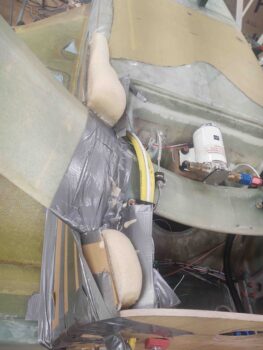
Today I started out by removing the NACA shaped plug from the NACA scoop I glassed last night with 2 plies of BID. I also razor trimmed the glass and pulled the peel ply up.
As with many things on this build the scoop isn’t perfect, but I’m thinking it meets the minimum design criteria and will work fine. Its appearance of course will look much better after some micro finishing.
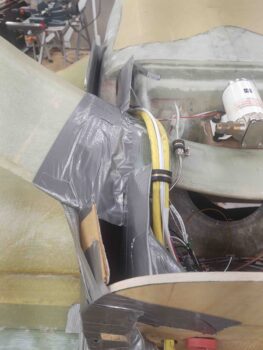
I then turned my attention to the strake/wing junction layup that I also knocked out last night. I secured a long straight edge to the marked intersecting line with a clamp and tape.
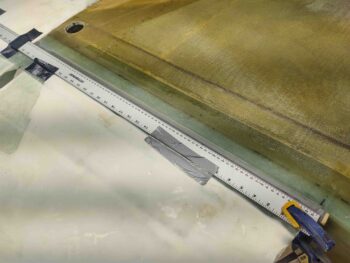
And then cut the line with the Fein saw. I was able to remove the tape and foam from the first 10″ or so, which provides a pretty good view of how the entire intersection will look. I’ll add a ply or two of BID on the inside to reinforce these flanges once I remove the wings.
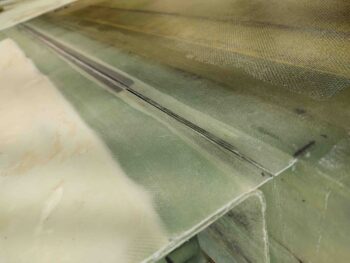
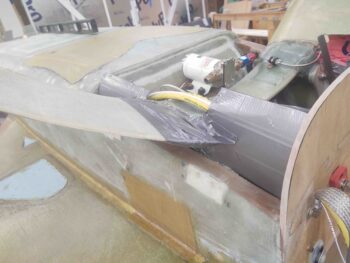
With the strake/wing intersections glassed and gap minimized to about 1/16″ I then pressed forward with filling in the lower aft fuselage and hell hole.
I’ll state that of course there is no one right way to do this, and I’ve seen a lot of builders simply create dams and pour all the foam virtually at once and then start carving. I would probably do this normally, but in my current mood I decided to attack it with a bit more precision. Which of course will take a bit longer.
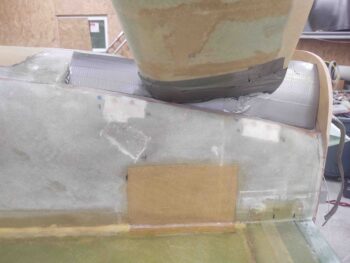
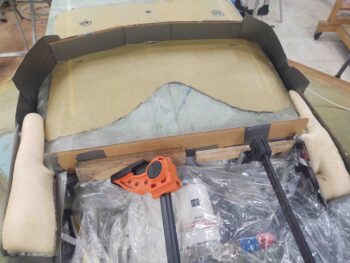
I started on the right lower sidewall, just above the gear leg, to create the lower fuselage wall. My goal is to create the wall about an inch thick that will then allow me to roll right into glassing the interior surface of the hell hole.
I also want to get the requisite gaps in place on the top of the gear leg (underside as situated here) taken care of right off the bat, then get the lower gaps (topside here) taken care of in short order following that.
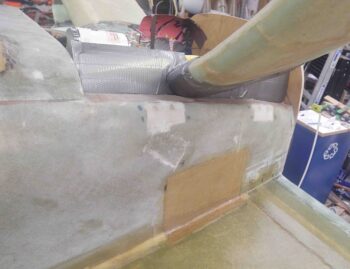
Another shot of the right internal lower fuselage/hell hole wall forms.
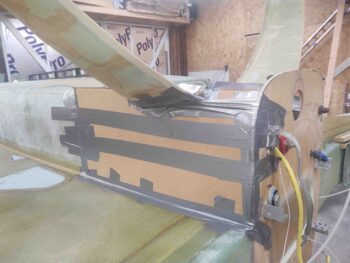
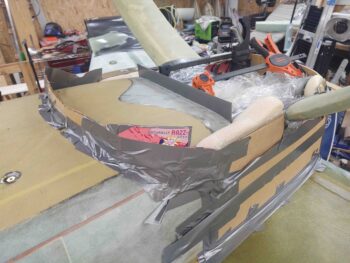
I then created an external side form for the lower right fuselage. Not surprisingly, it took a bit time –trial and error– to make these forms.

I then taped the external lower right fuselage form into place.
Here’s a view from the “top” side . . .
And a shot after I poured the first batch of foam into place on the lower right fuselage.
Here’s a shot a bit later, with the lower left fuselage foam poured in place.
Also you can see where I determined the point of conversion on the lower fuselage with a straight line coming from the firewall bottom edge. I marked these convergence points — left, right and center– on the lower fuselage (abound mid-point on the Kevlar) and then built a dam just a bit forward of the convergence marks.
Here we have the front area –on the lower aft fuselage– all dammed off and ready for pour foam.
It was quite late at this point, and since pour foam cures fairly fast I decided to call it a night and start fresh tomorrow.