
the glassing continued on well into the evening . . .
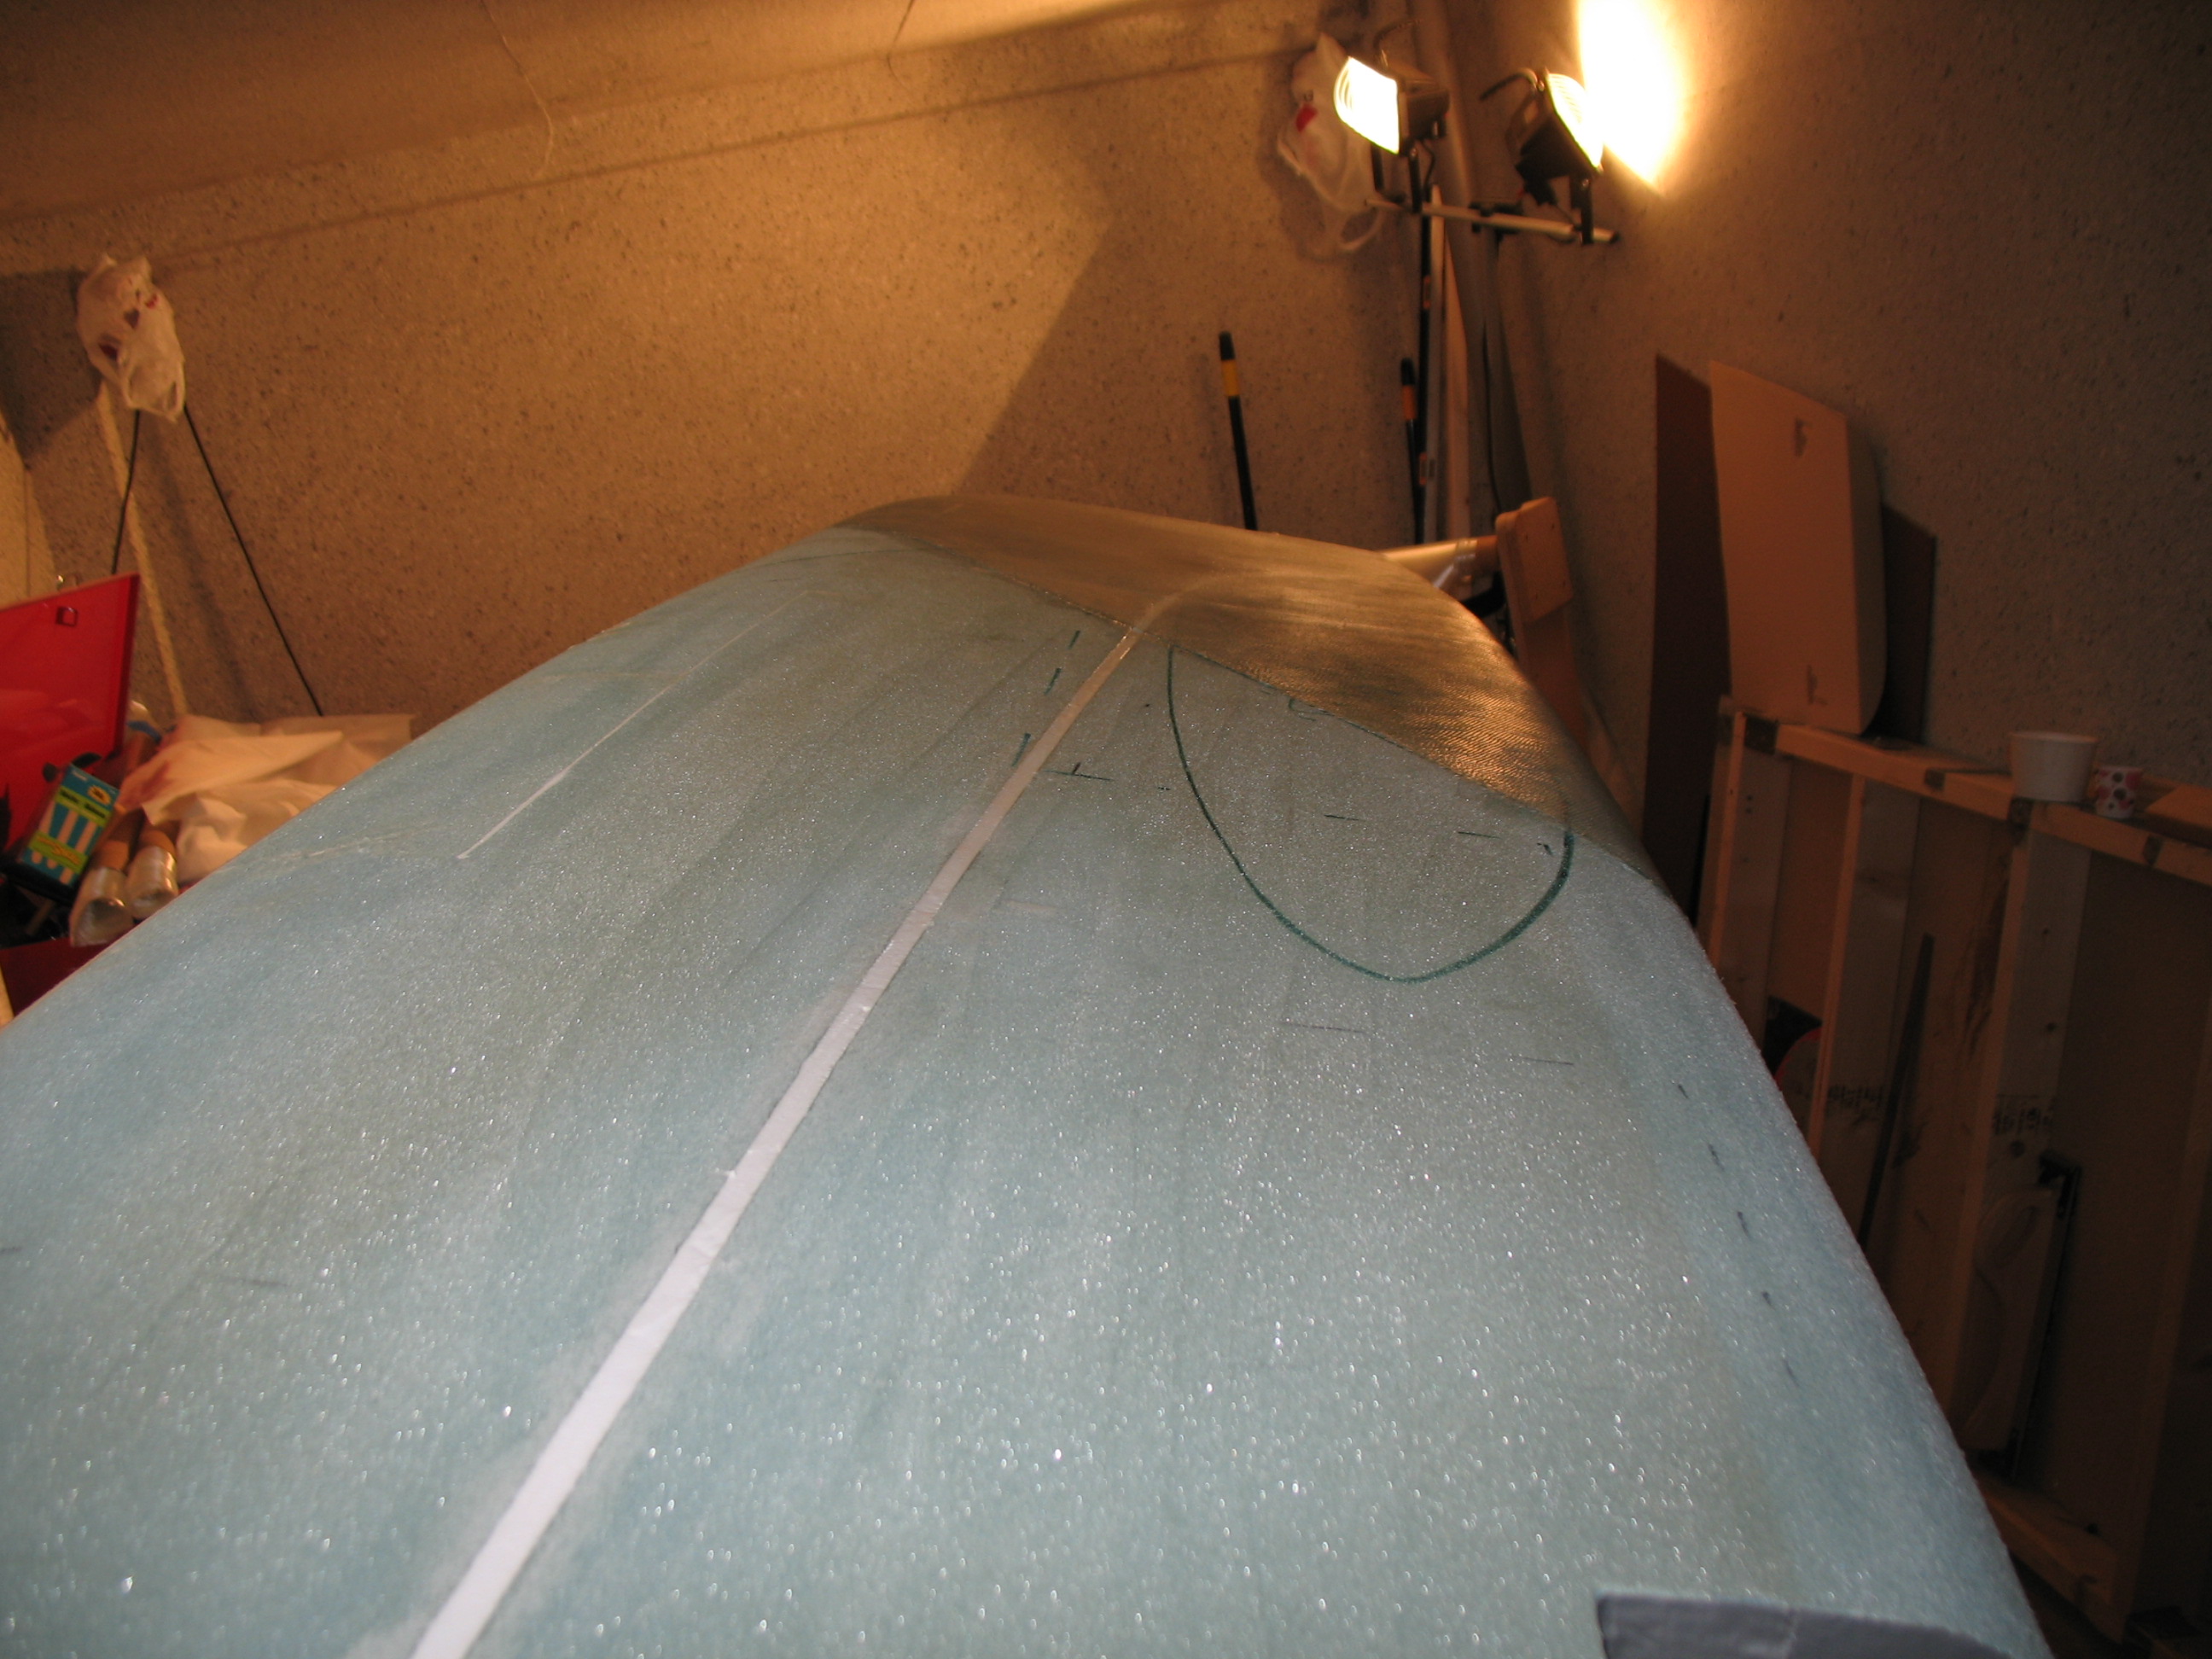
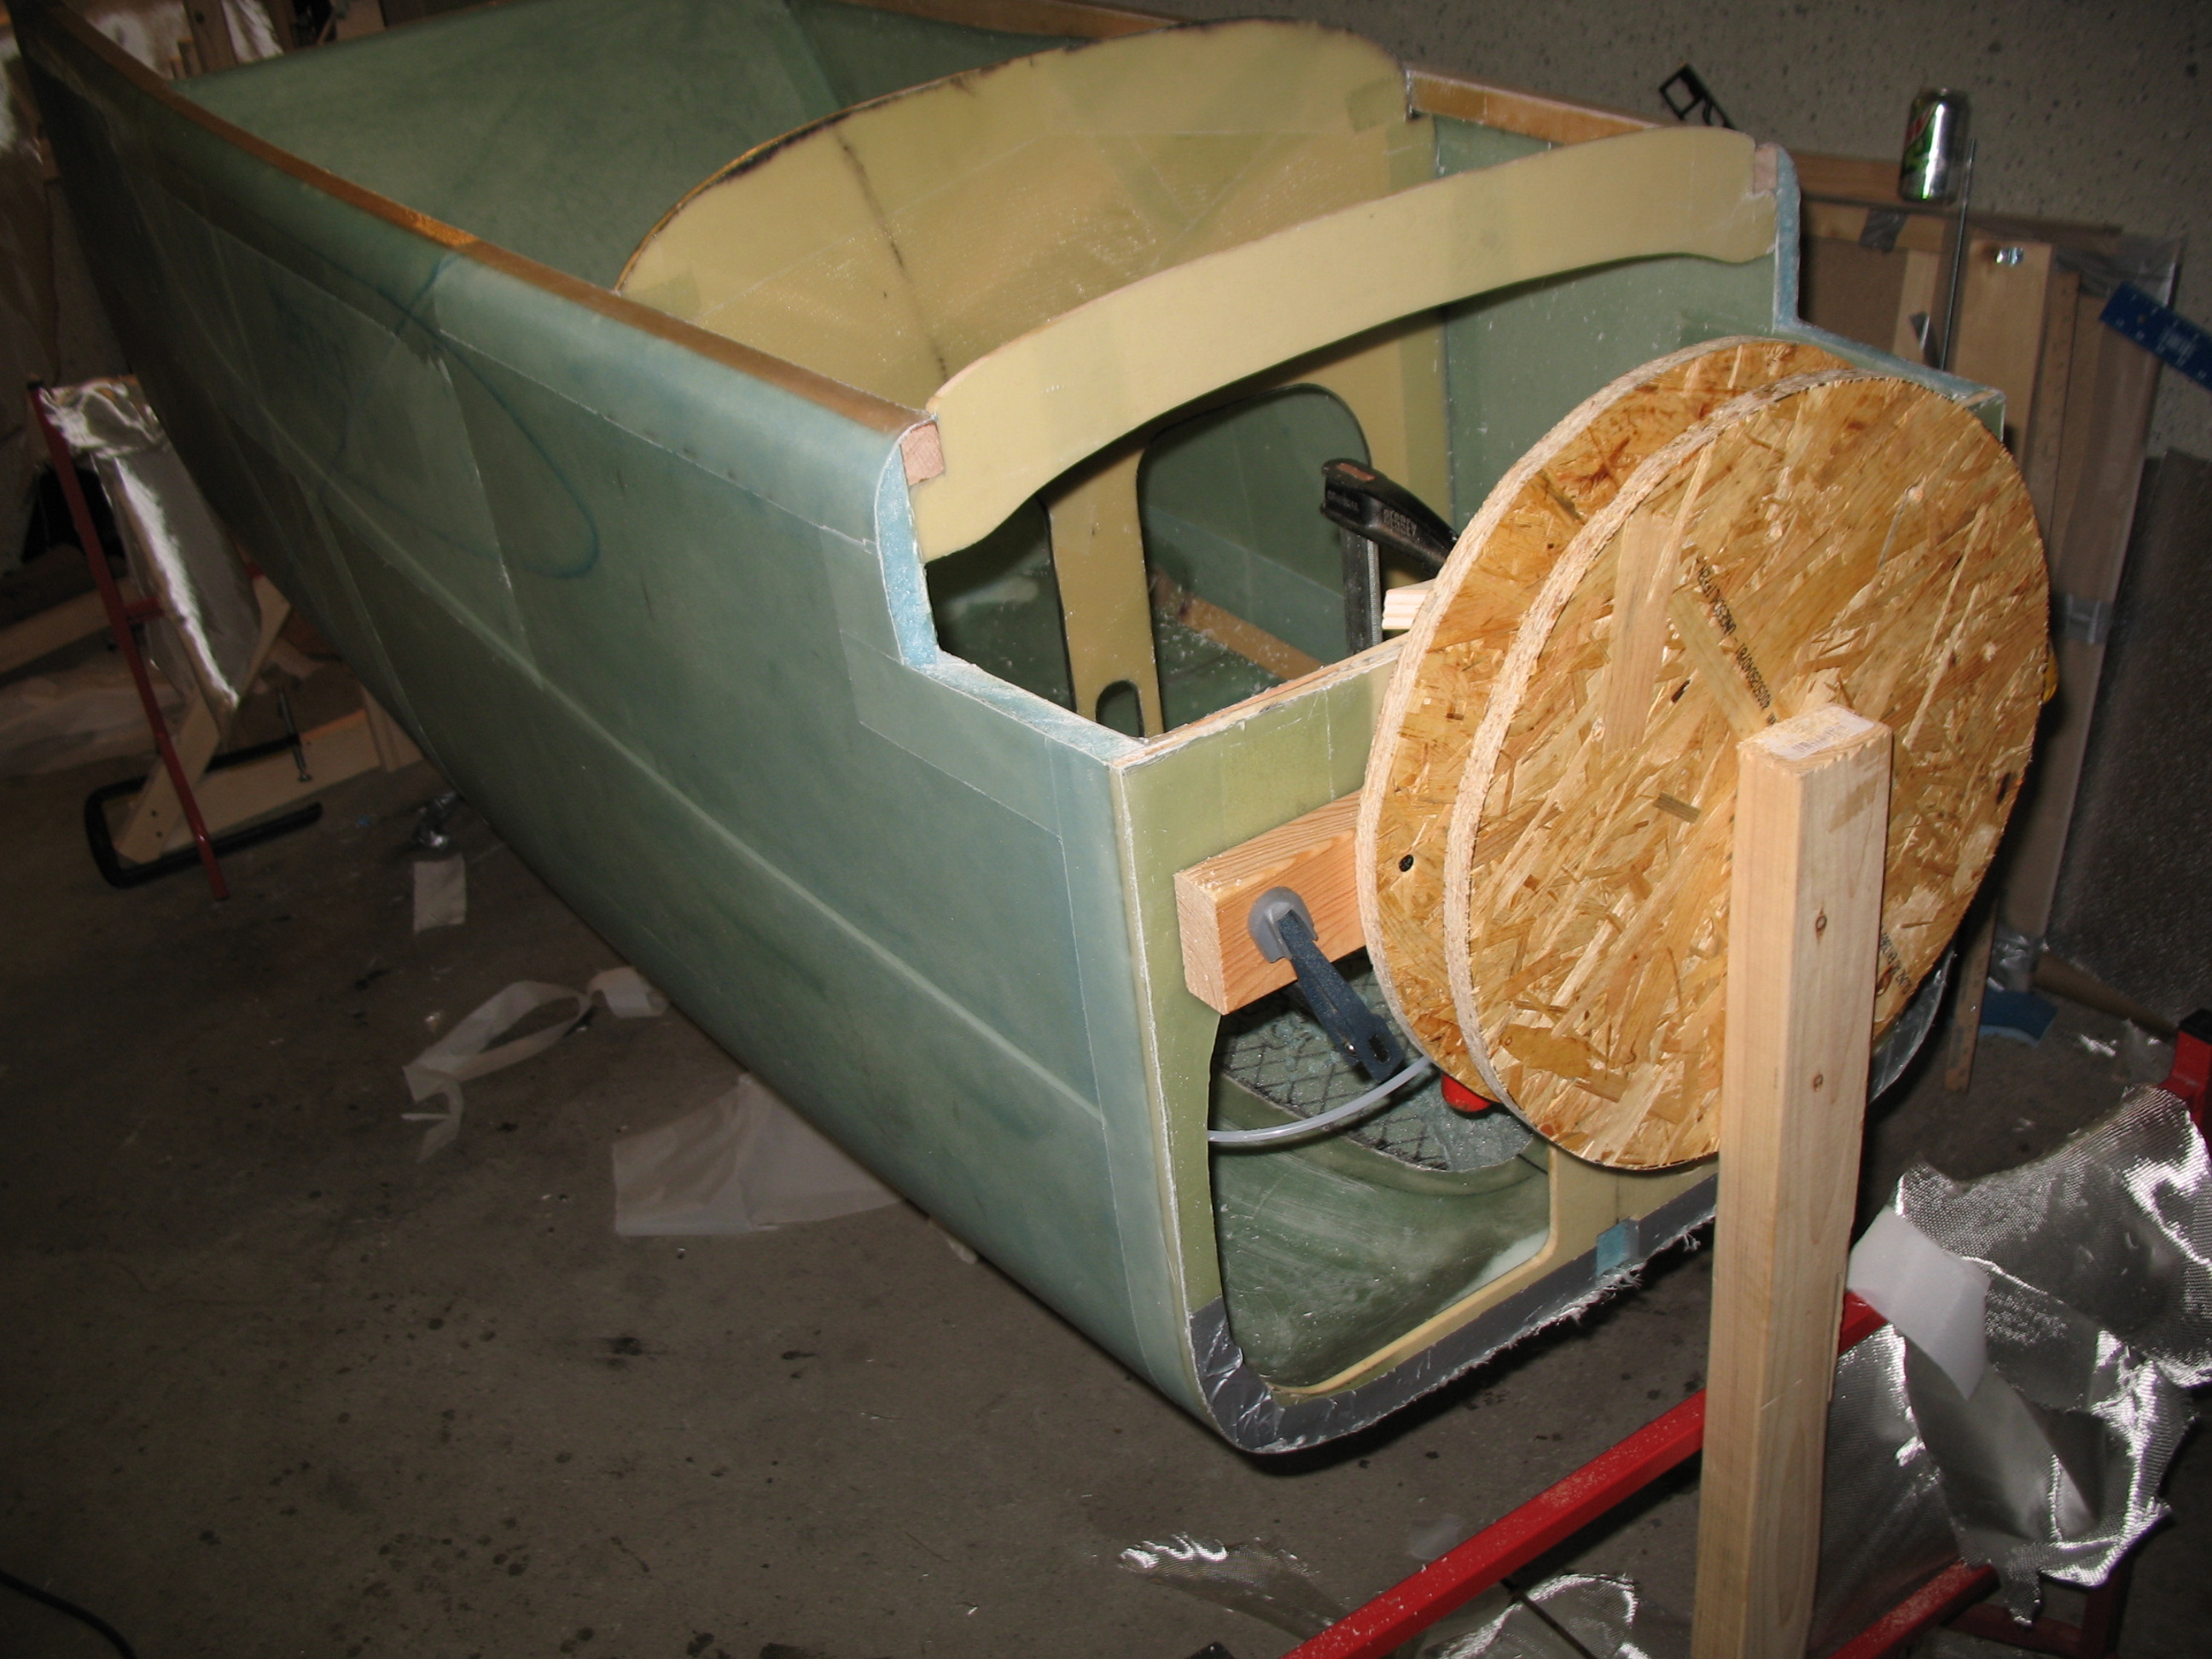
 The outside of the seatbelt brackets, under glass, came out very nicely. I’m very happy with my decision to install them first and glass afterwards, and keep from drilling holes through my freshly glassed fuselage skin!

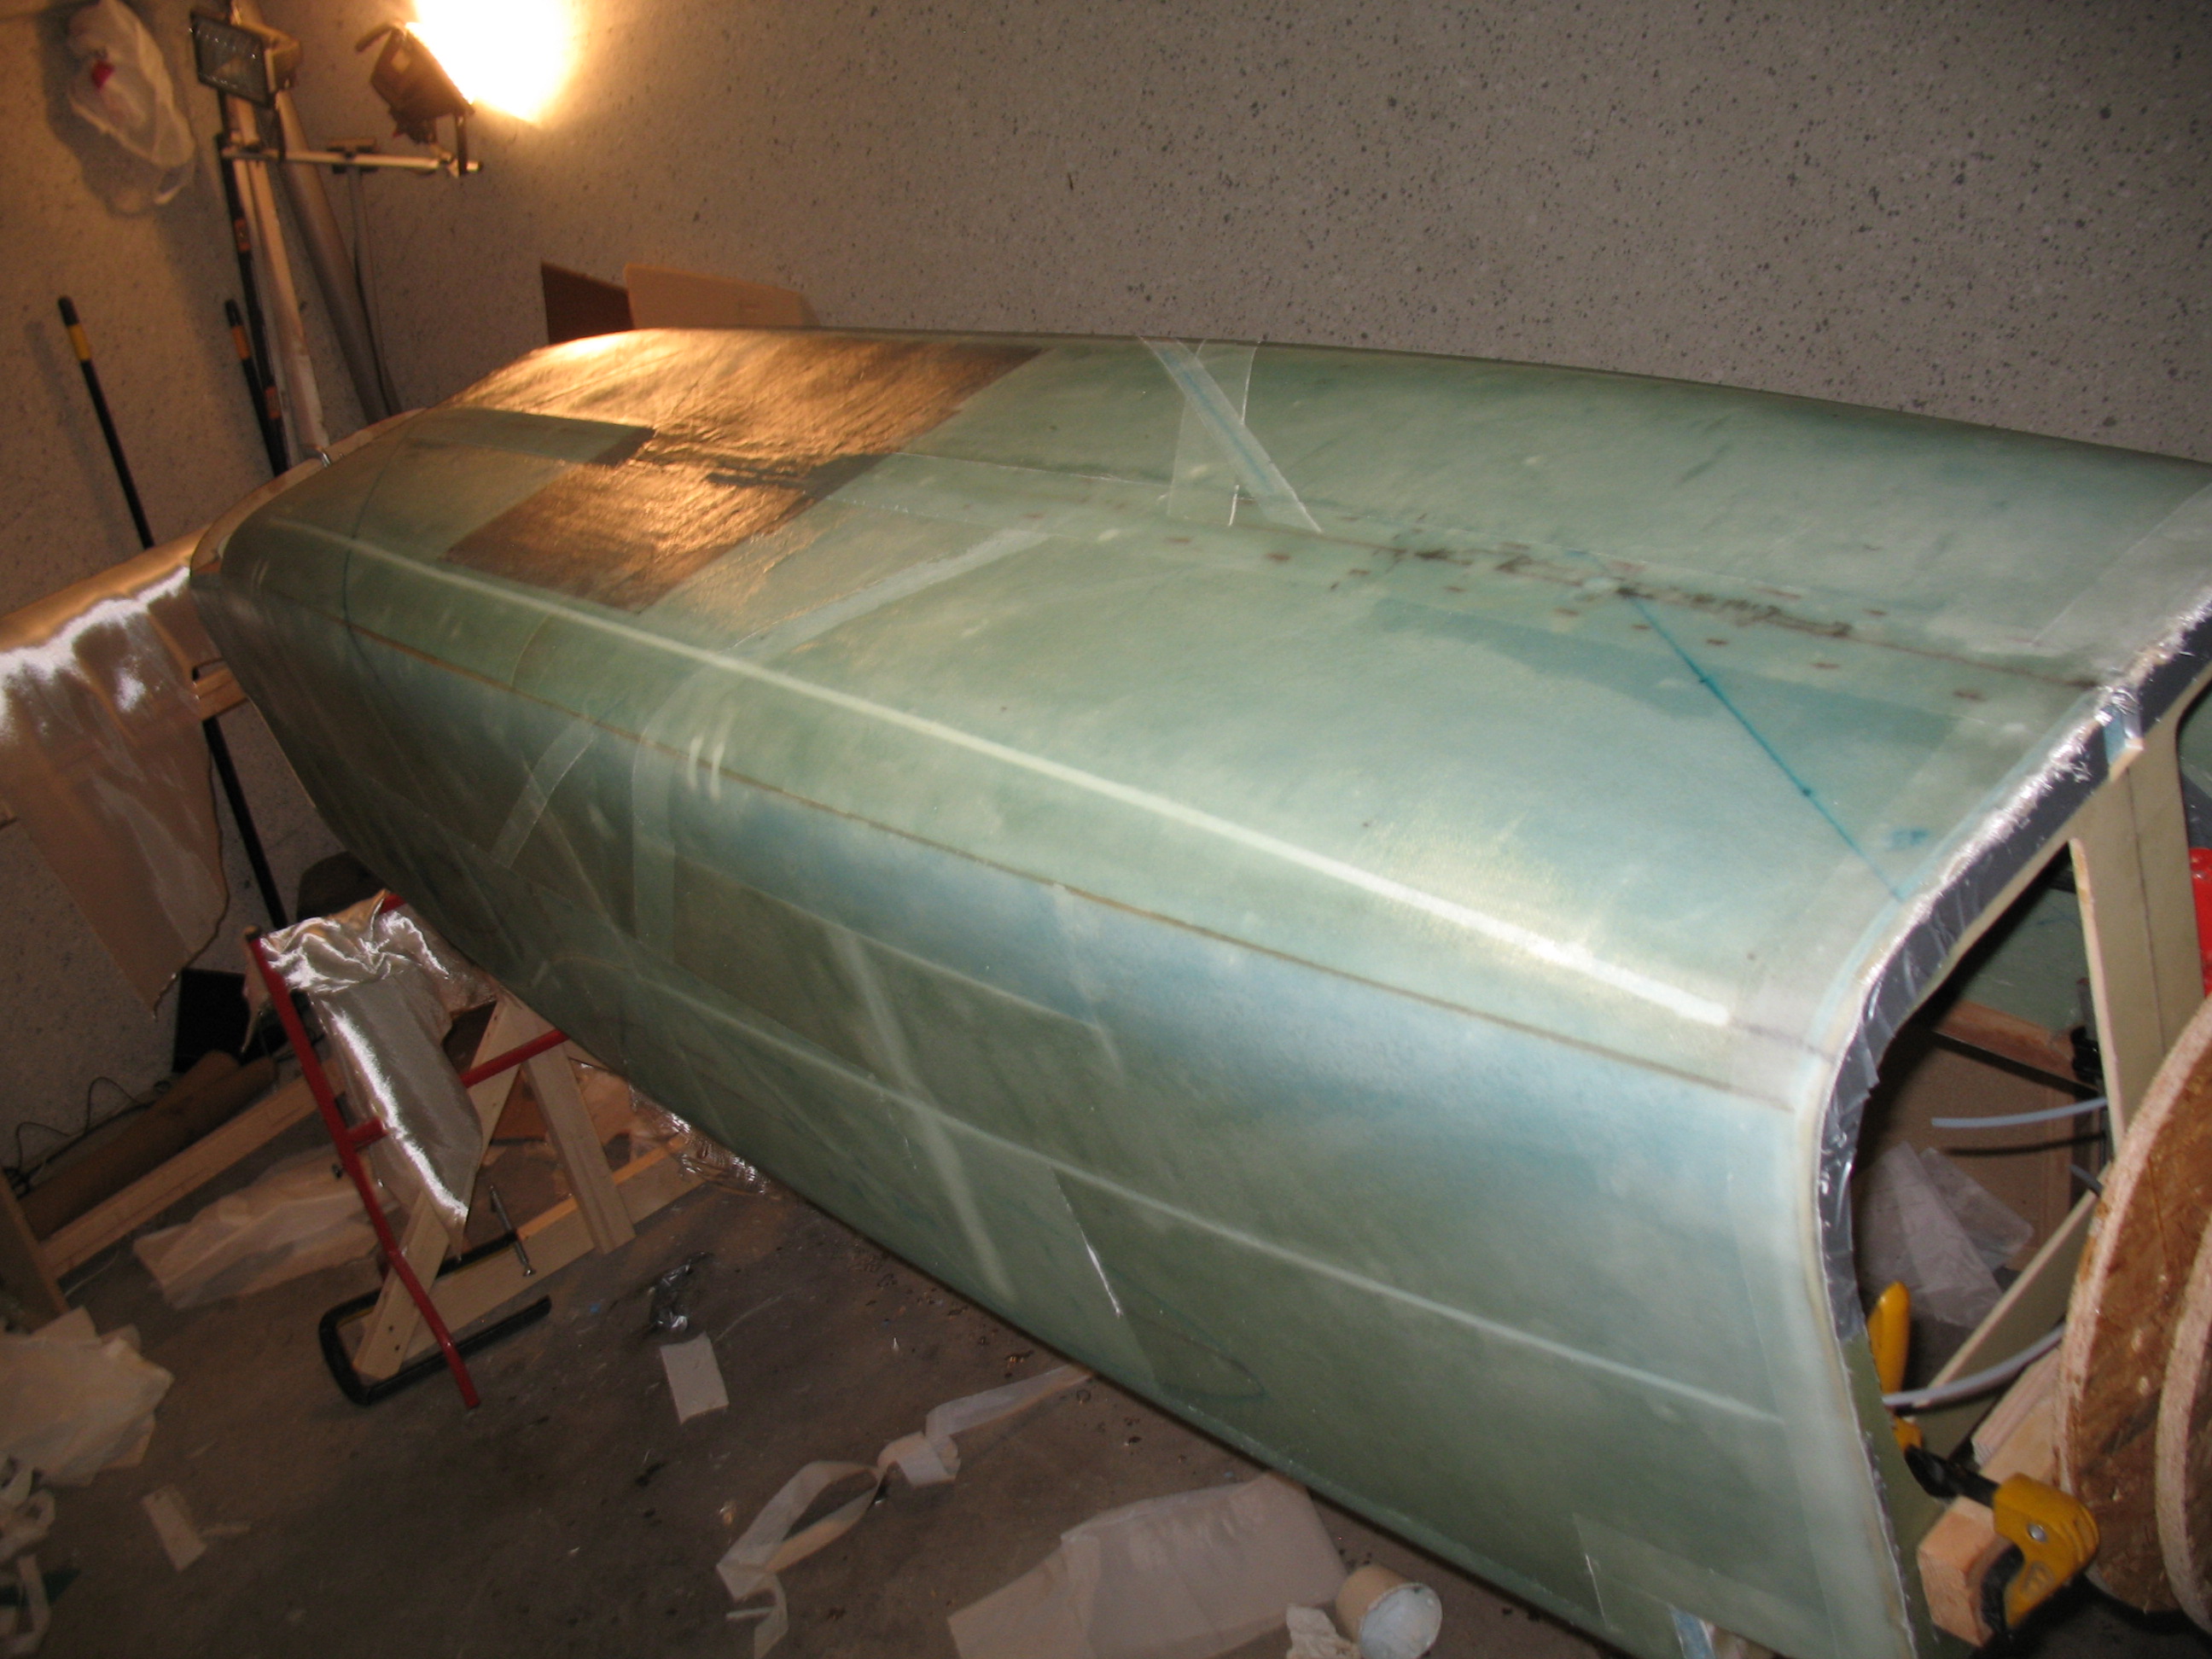
After I crashed for about 5 hours, I got up and checked the fuselage layup. Thank God I was using the ever-forgiving MGS 285 system! There were times where the bottom 30° UNI ply was getting fairly tacky by the time I laid up the opposite 30° UNI ply, but still took the next ply without balking. After a number of hours it all looked PDG! Definitely not perfect, and not an award-winning performance for certain, but the layups looked good, with enough epoxy that they don’t look starved at all, but not too much either… I think it’s a nice, strong fuselage!
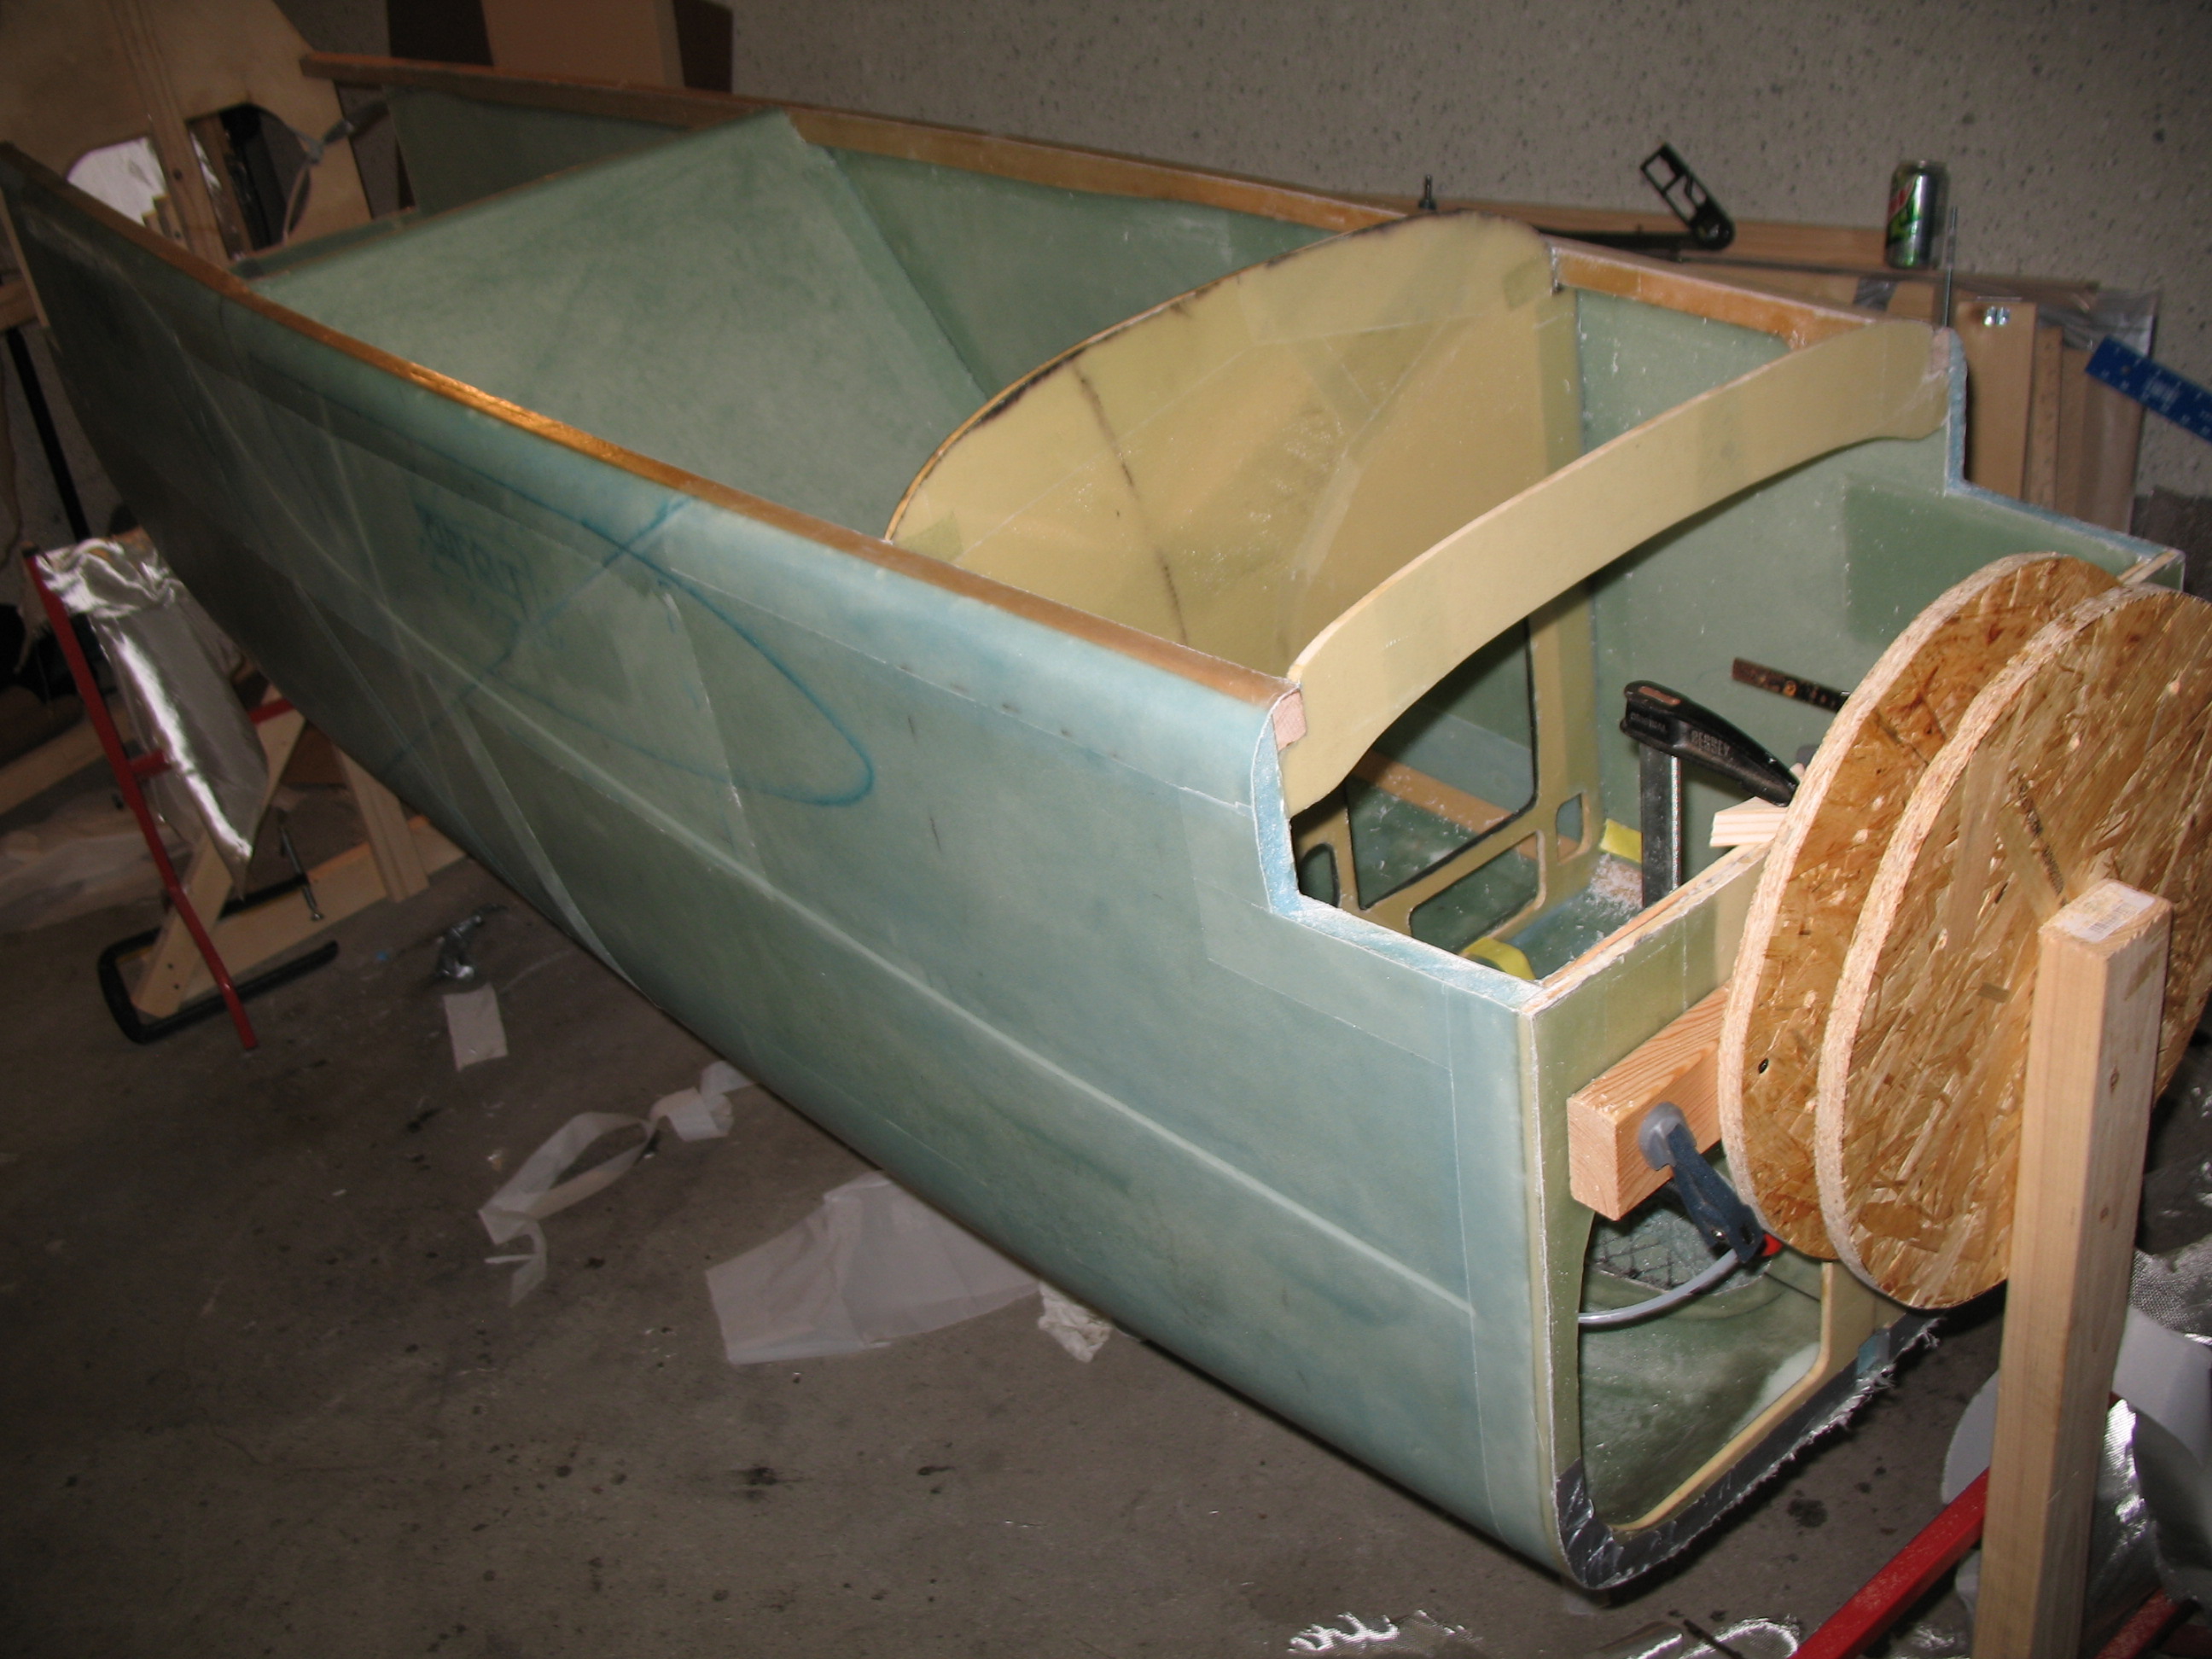

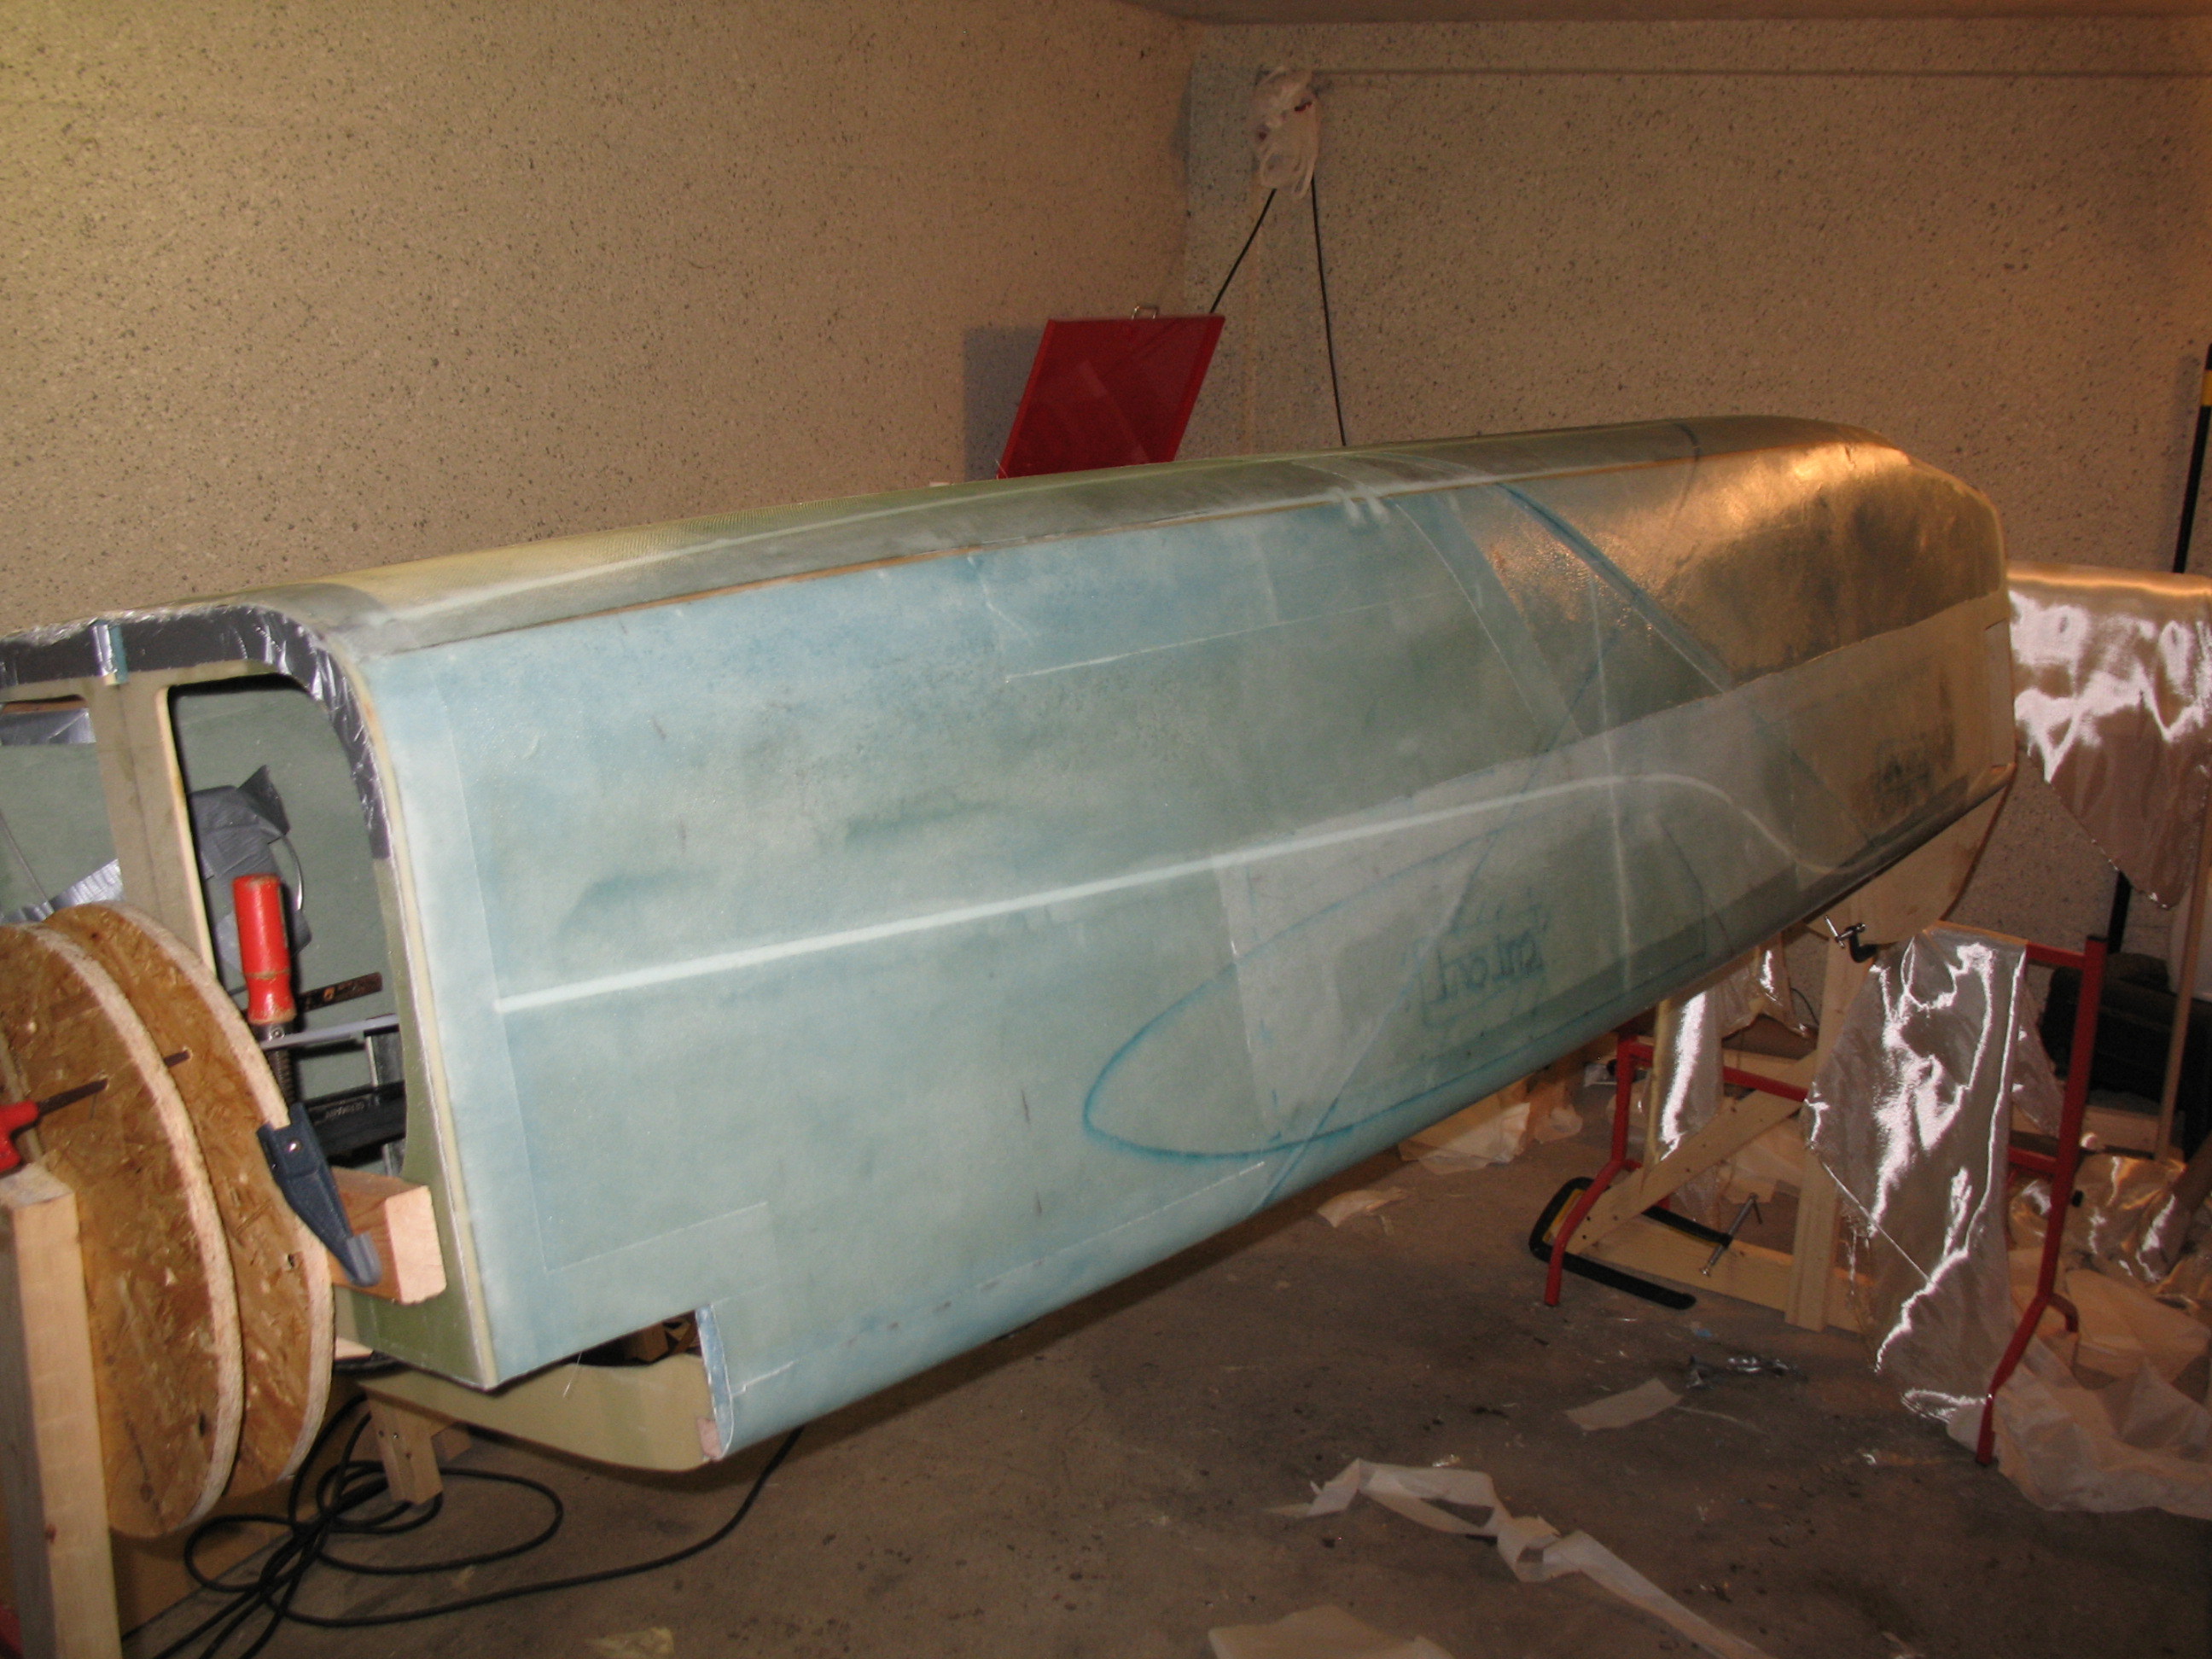
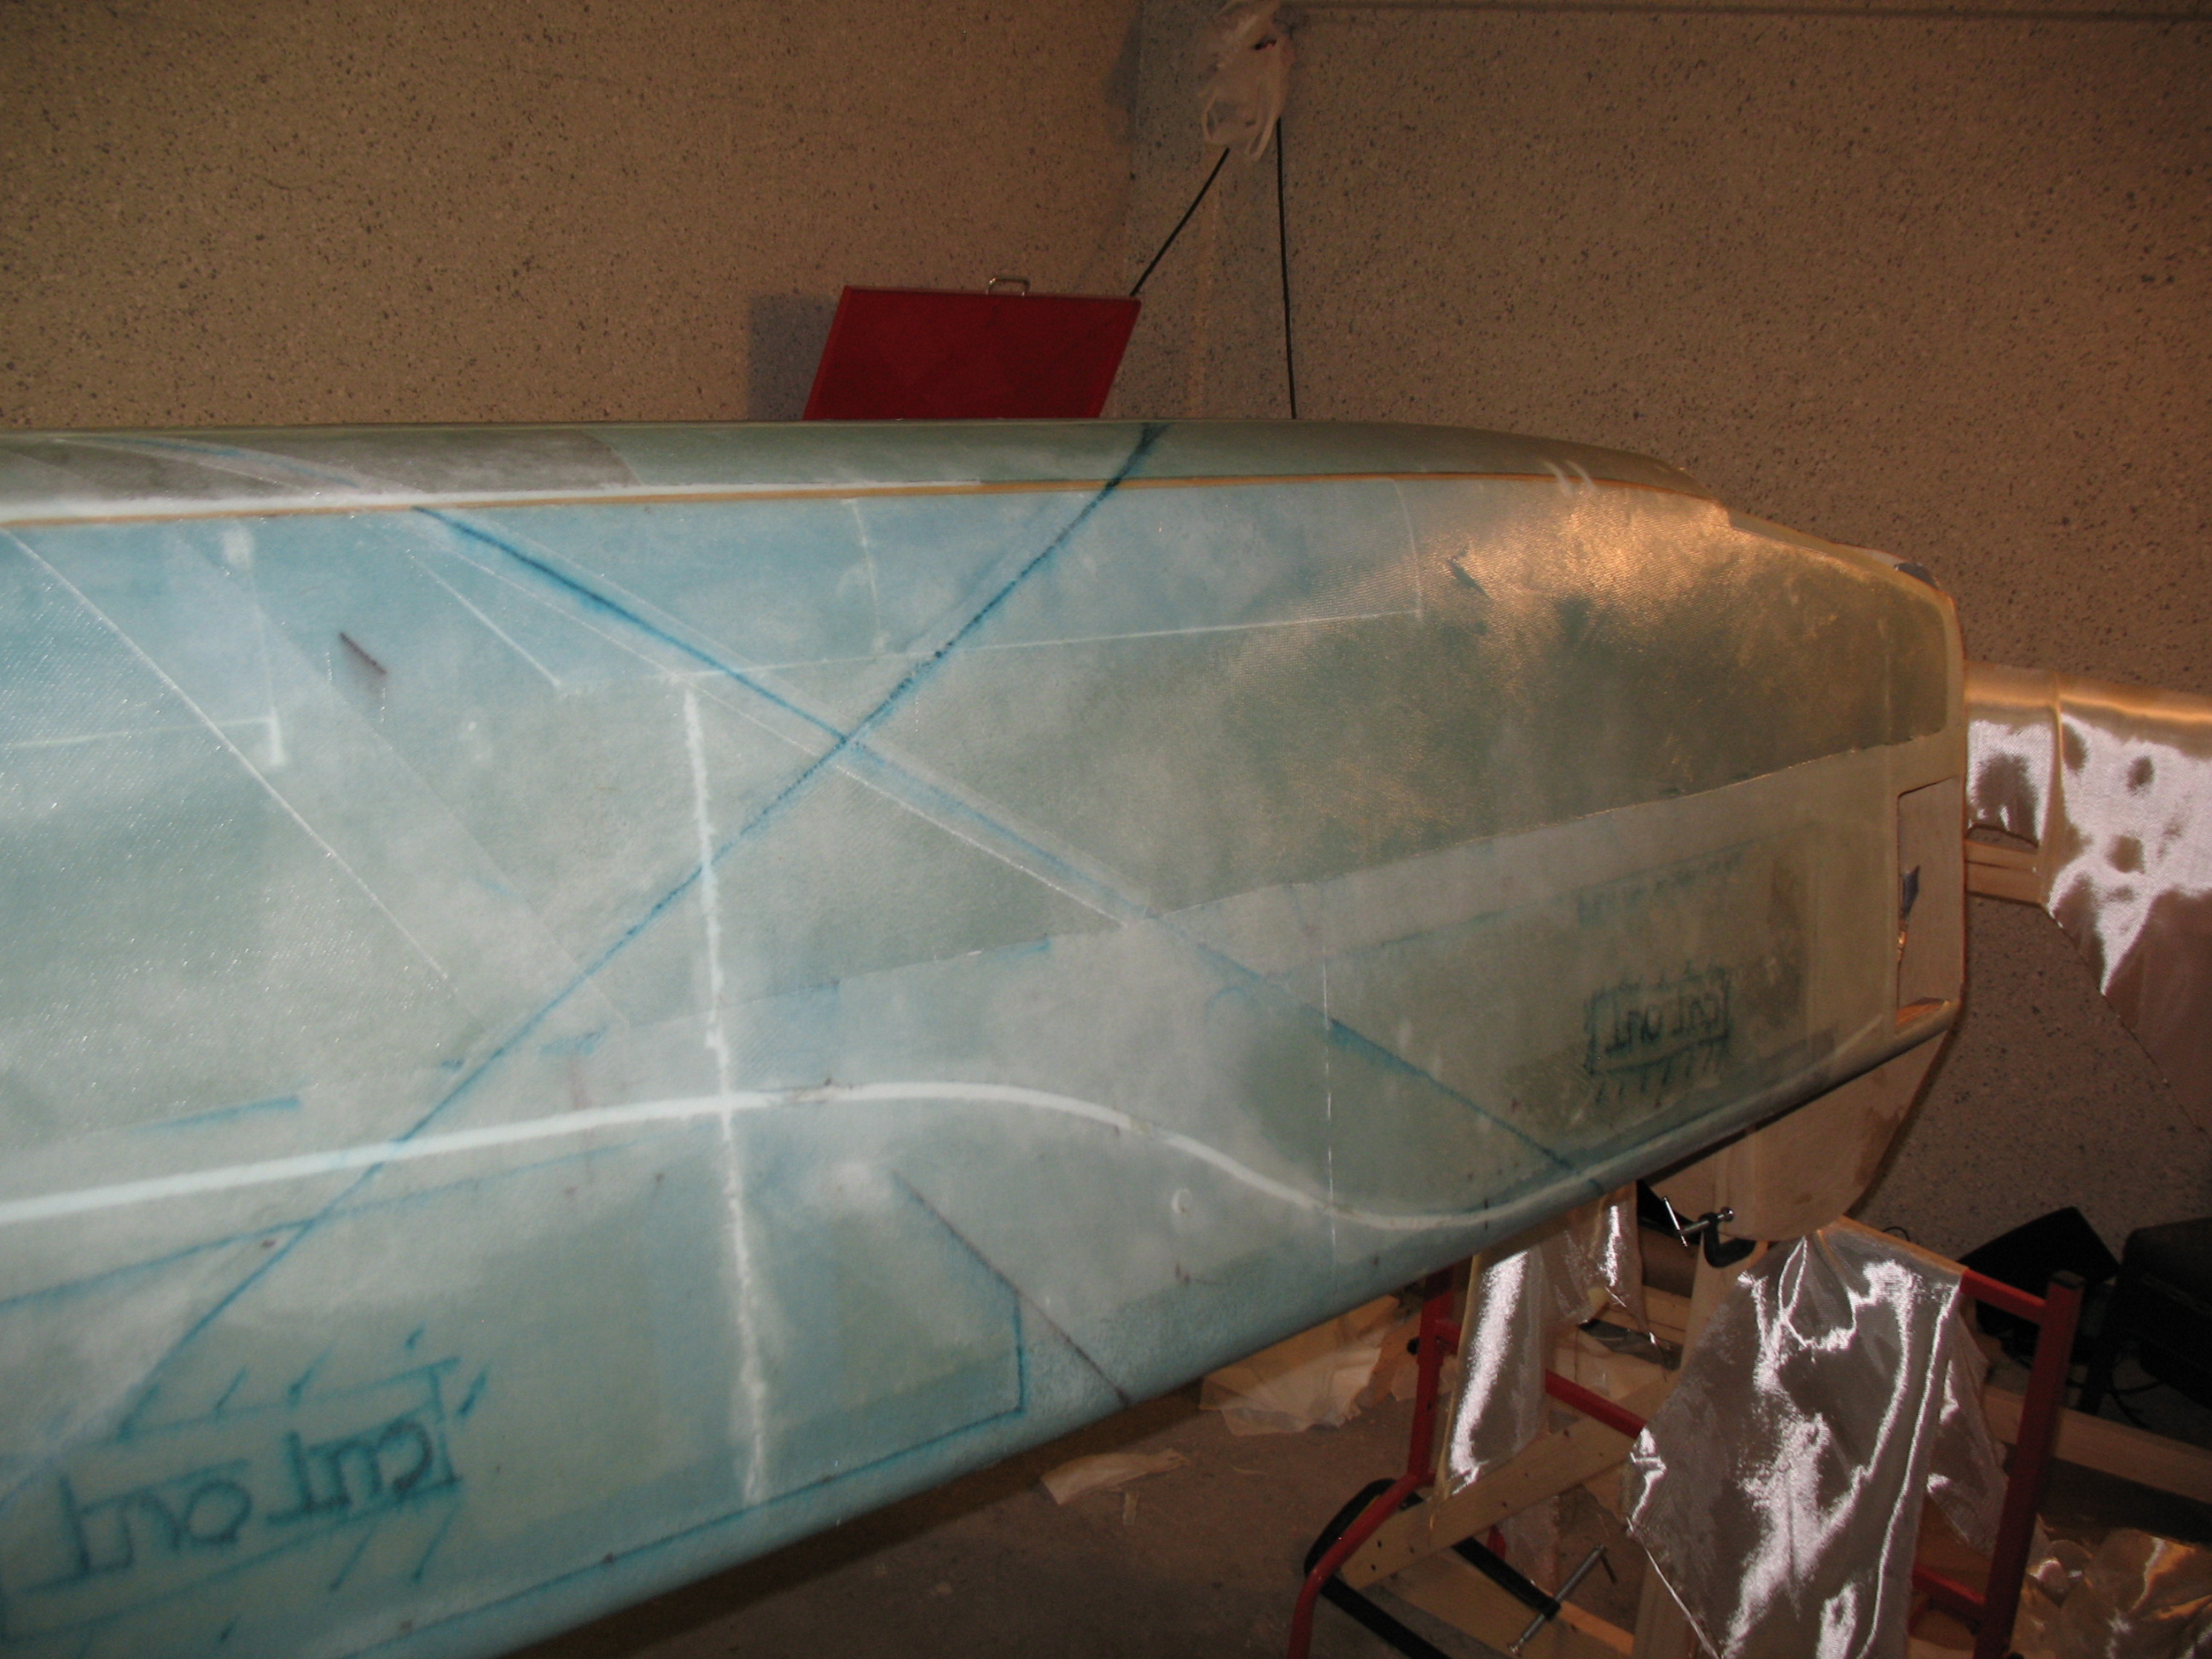
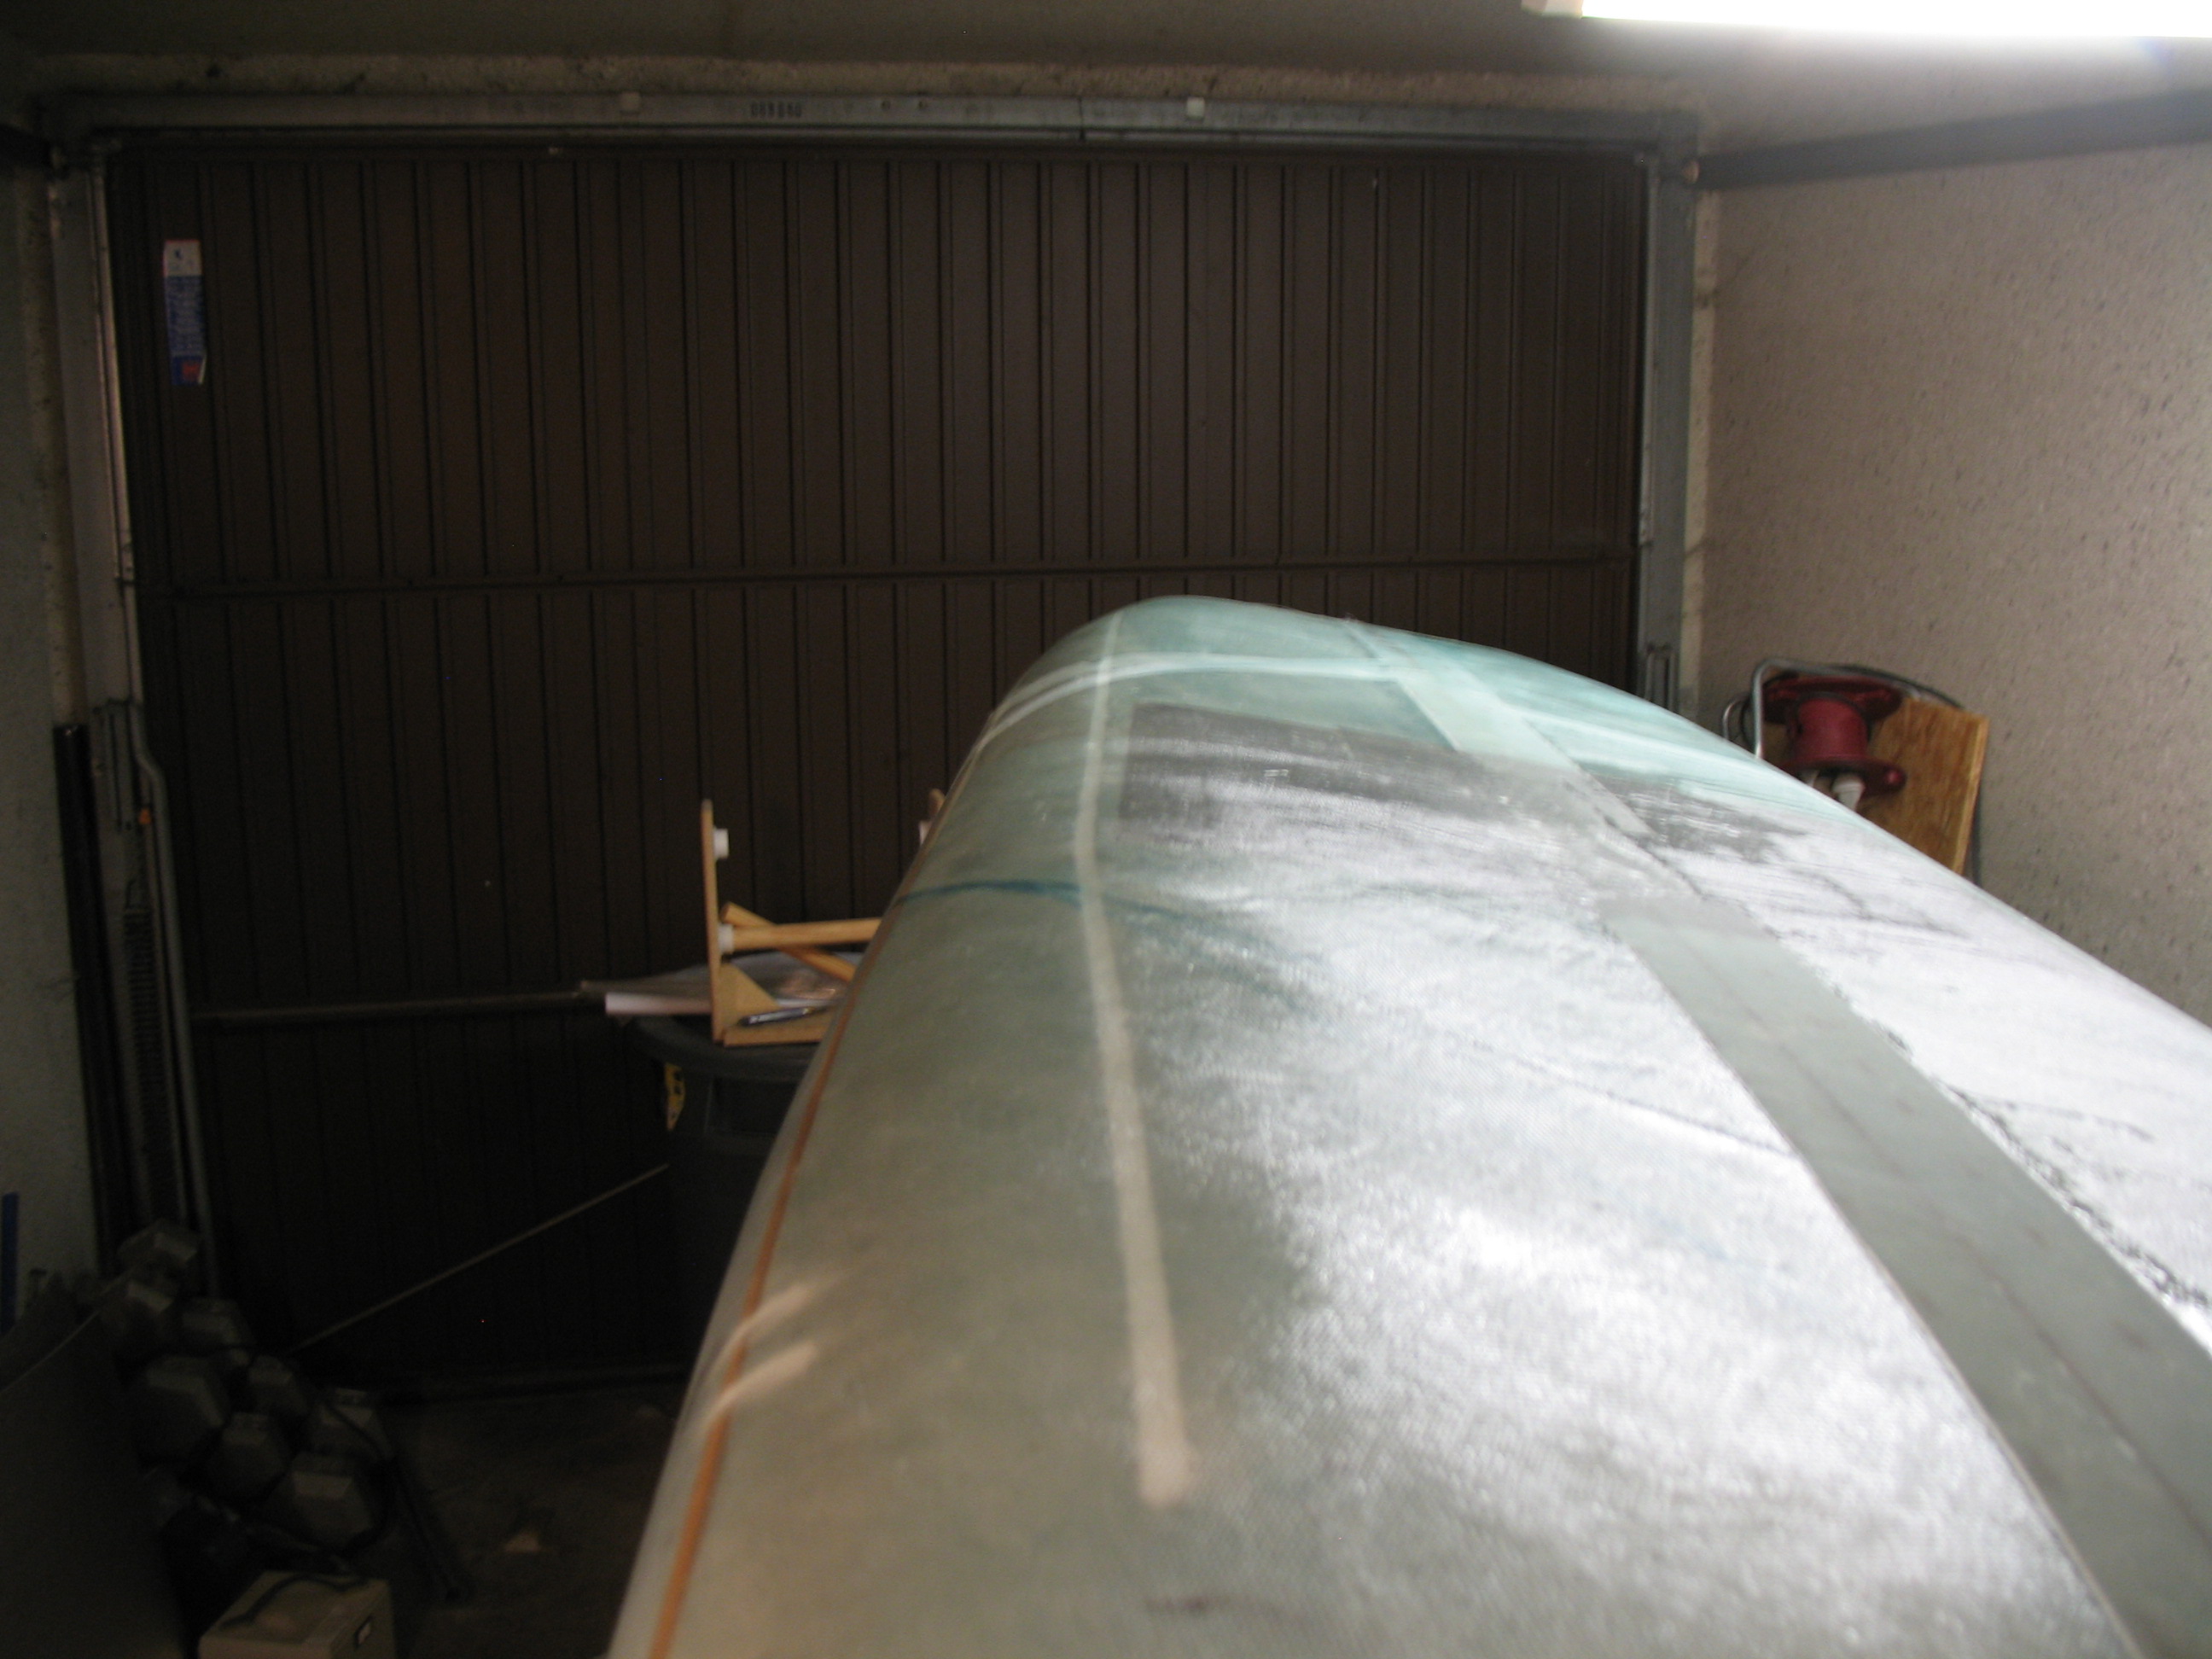
Late Saturday evening I pulled the peel ply, cleaned up some of the threads, and knifed trimmed a few more areas I had missed.
I poured myself a Jack & diet, fired up a cigar . . . and then sat back and enjoyed the site of my freshly glassed fuselage!