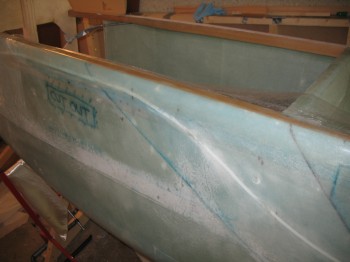
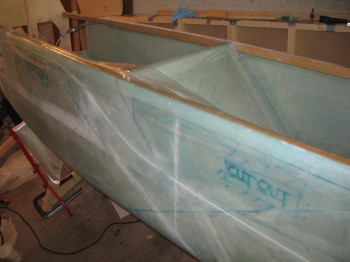
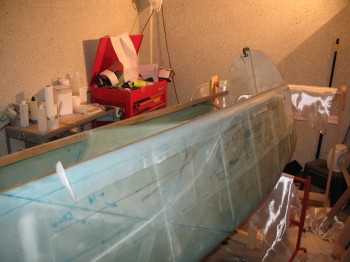
Today I started a massive multi-hour campaign to clean up “peel-ply snot” from the areas left from pulling up peel ply. Peel ply is great, but the raw carnage it leaves behind is something I think we plastic airplane builders forget over time. Anyway, with a fairly string-free fuselage I proceeded to prep for laying up the two sets of 3-ply 3″ UNI “tapes” (cut UNI cloth) along the top of each of the upper longerons.
Before I could layup the UNI tape sets, I had to take care of few air bubbles that insidiously crept into my fuselage glassing layup, mainly over the upper conduit areas. I used a hand drill to make a couple of holes in the glass and syringed in some epoxy. They weren’t that large, maybe .2″ to .4″ at the most (oblong, not round) here and there, but since they were right under my UNI reinforcement tapes, I wanted as much strength as possible.
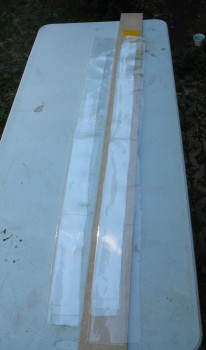
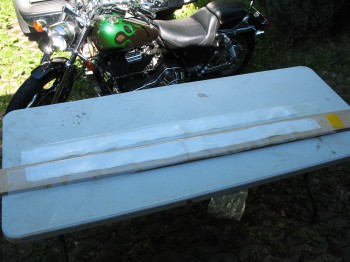
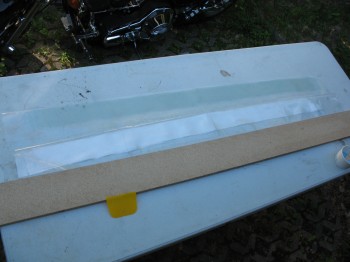
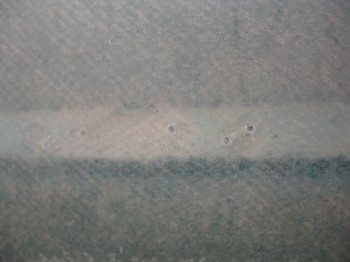 After removing the offending air pockets with injected epoxy, I started prepping for my 3″ UNI reinforcement tapes layup. I set-up my portable table and got a length of scrap particle board to use as a base for my squeegeeing activities. I then grabbed my 3″ UNI tape prep-preg set-ups and went to town.
Remember, since I’m removing a little bit more fuselage side material for a longer strake opening on each side, I added 2″ to each end (4″ total) of the 3 UNI tapes for final lengths of 54″, 52″ and 50″. I wet out one set of the UNI pre-preg and laid it up on the Right longeron. Once I had the Right-side longeron layup good & peel-plied, I moved on to the Left longeron.

