
Today I started out by setting up the vacuum pump outside the house and running a hose down into the downstairs work shop. I tried my hand at a patented Cozy Girrrls lo-vac layup on a 3/8″ thick, 32″ x 48″ piece of foam. Since a fair amount of the panels coming out of this foam was going to be for the armrest consoles, I tried some lighter weight cloth on top of about half of the BID ply I was laying up.
I finished up Chapter 7 (technically Chapter 6… but who’s counting??) by cutting out the nose gear well. I started by cutting a non-symmetrical shape from the inside, since I could see the actual shape outline and then grabbed the original fiberglass nose gear hole cutout from when I Dremelled it out earlier (that was after I mounted the fuselage bottom to the sides). After I cut the weird-shaped nose gear hole through the bottom of the fuselage, I set the cutout fiberglass piece back into place and taped it. Once it was securely in place and back in its original spot, I traced the shape of the newly cut hole.
 Once I had traced the outline of the hole, I removed the fiberglass cutout piece and moved it to the outside of fuselage to transfer the shape of the landing gear hole. Once I transferred the nose gear hole outline, I simply grabbed the jig saw and cut out the front nose gear hole.

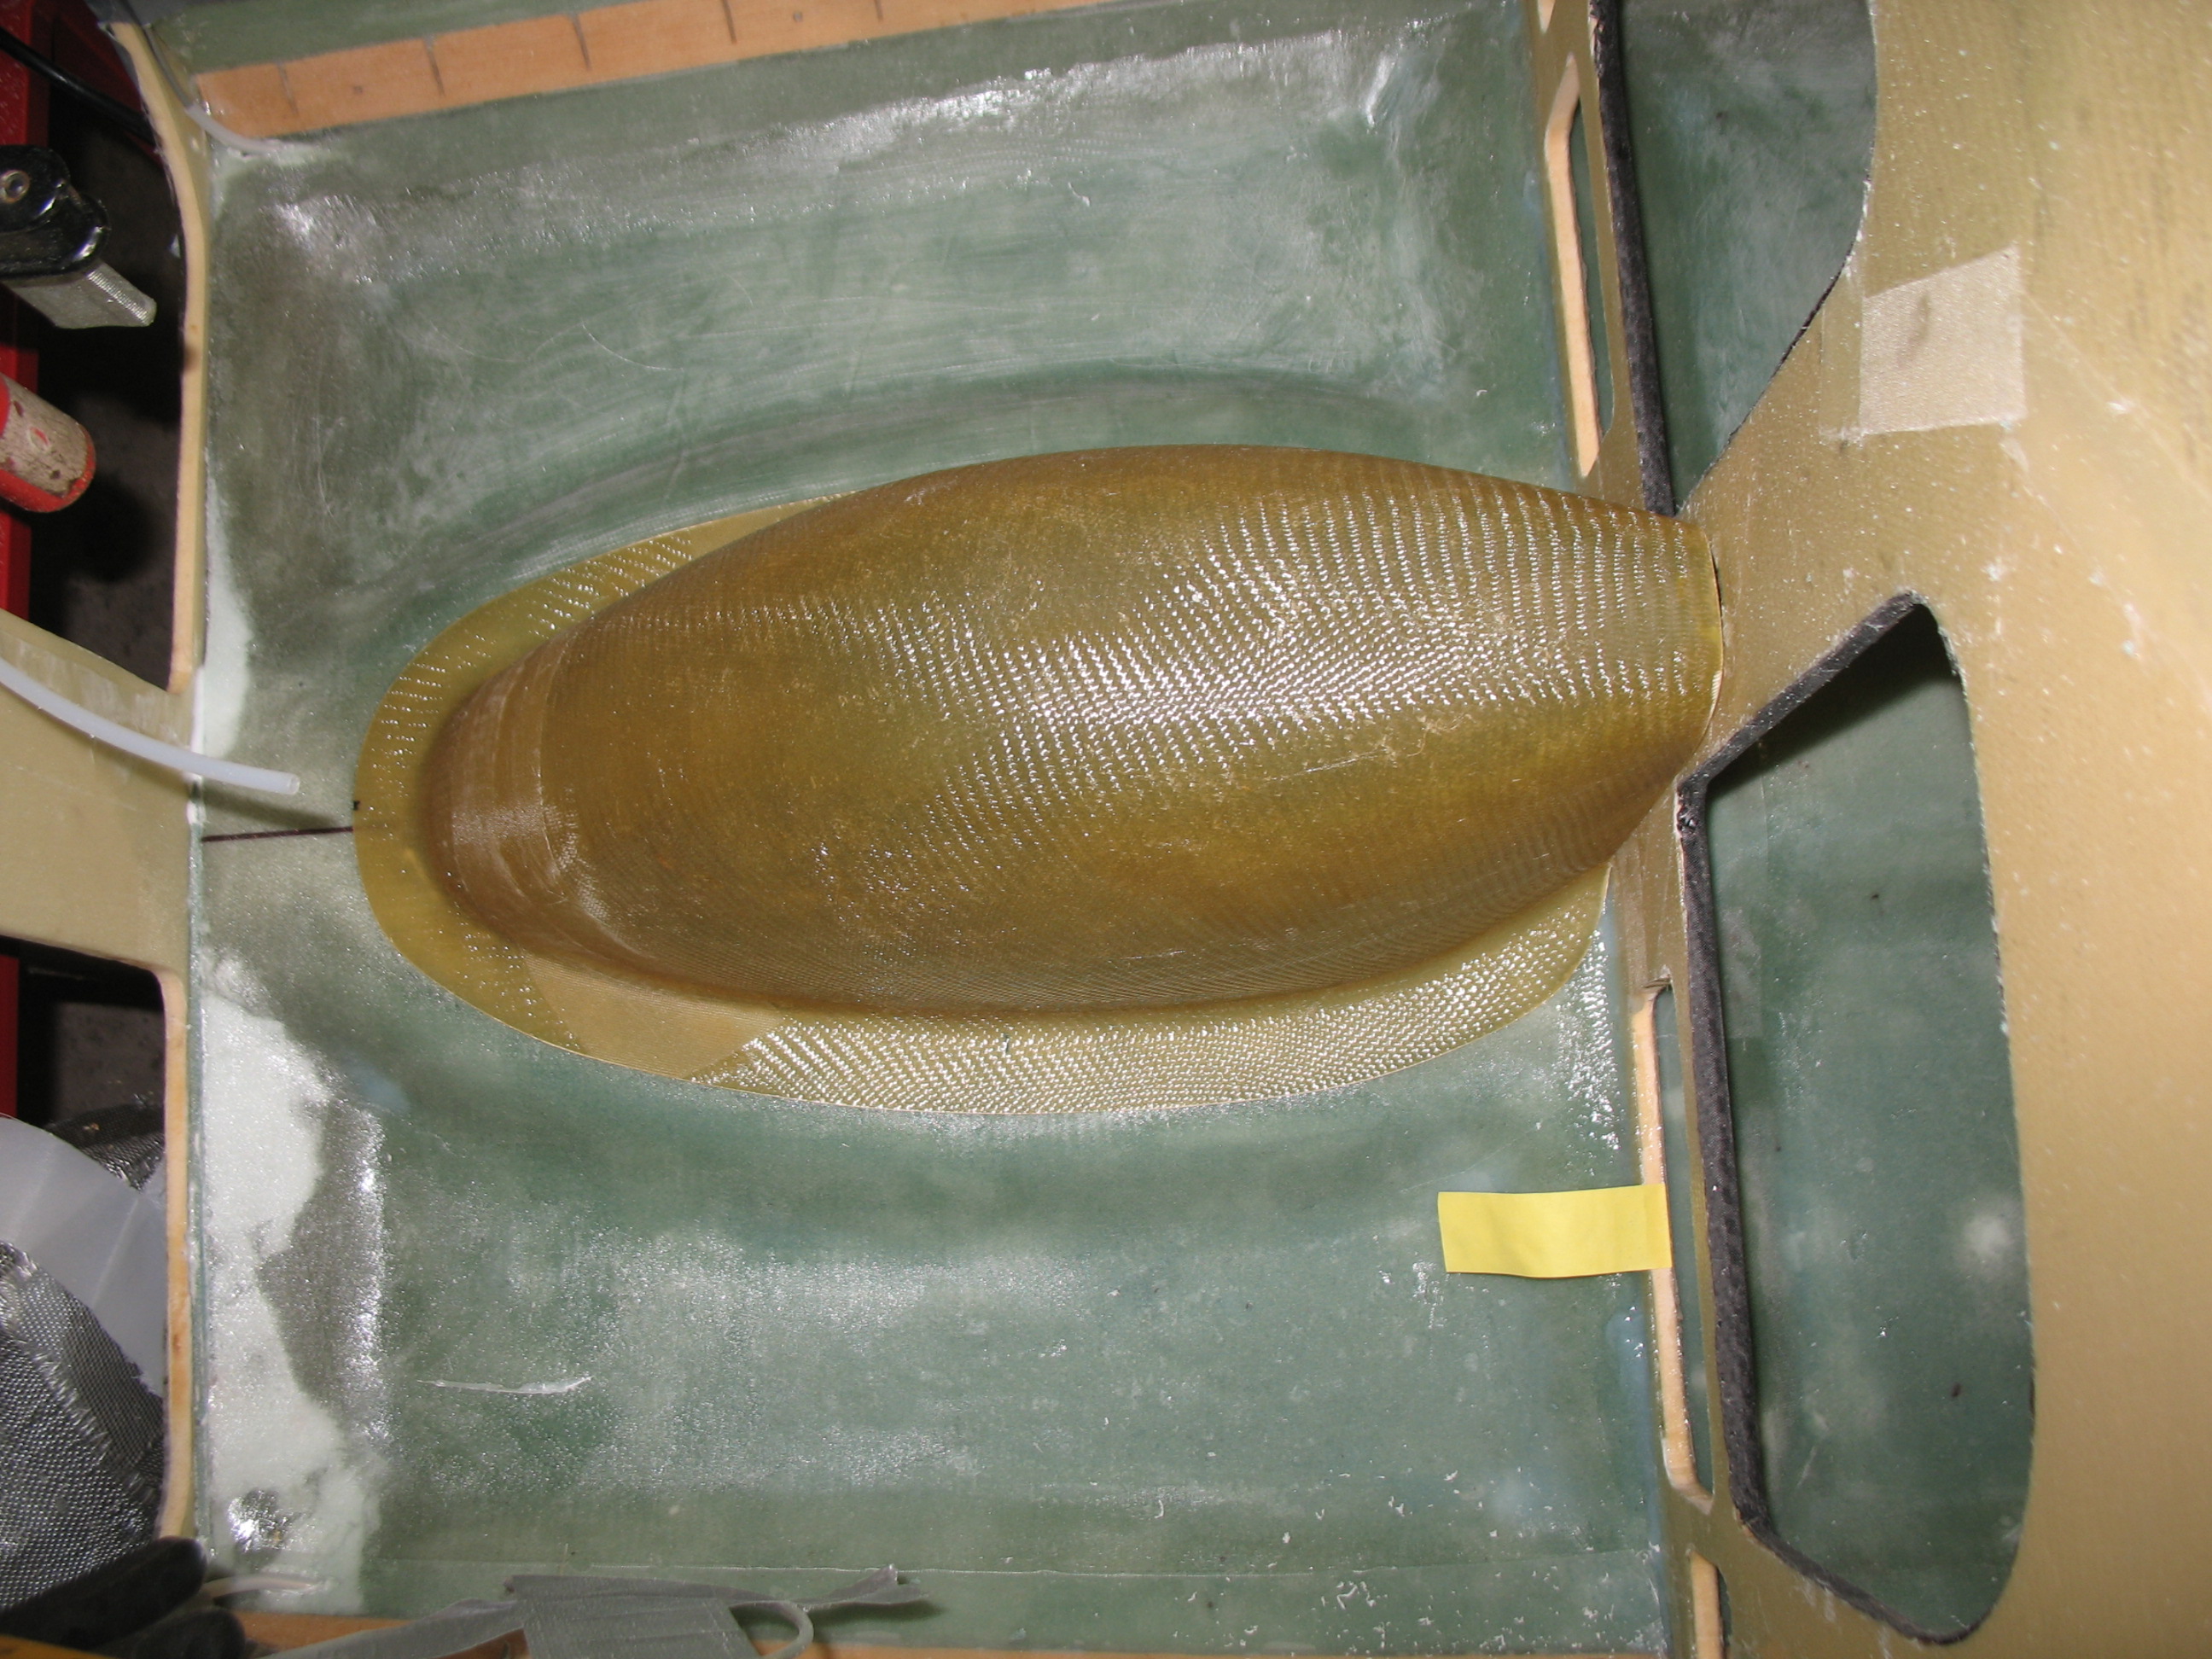
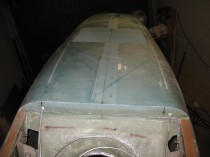
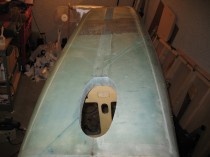
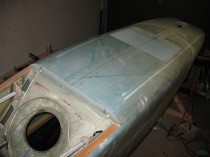
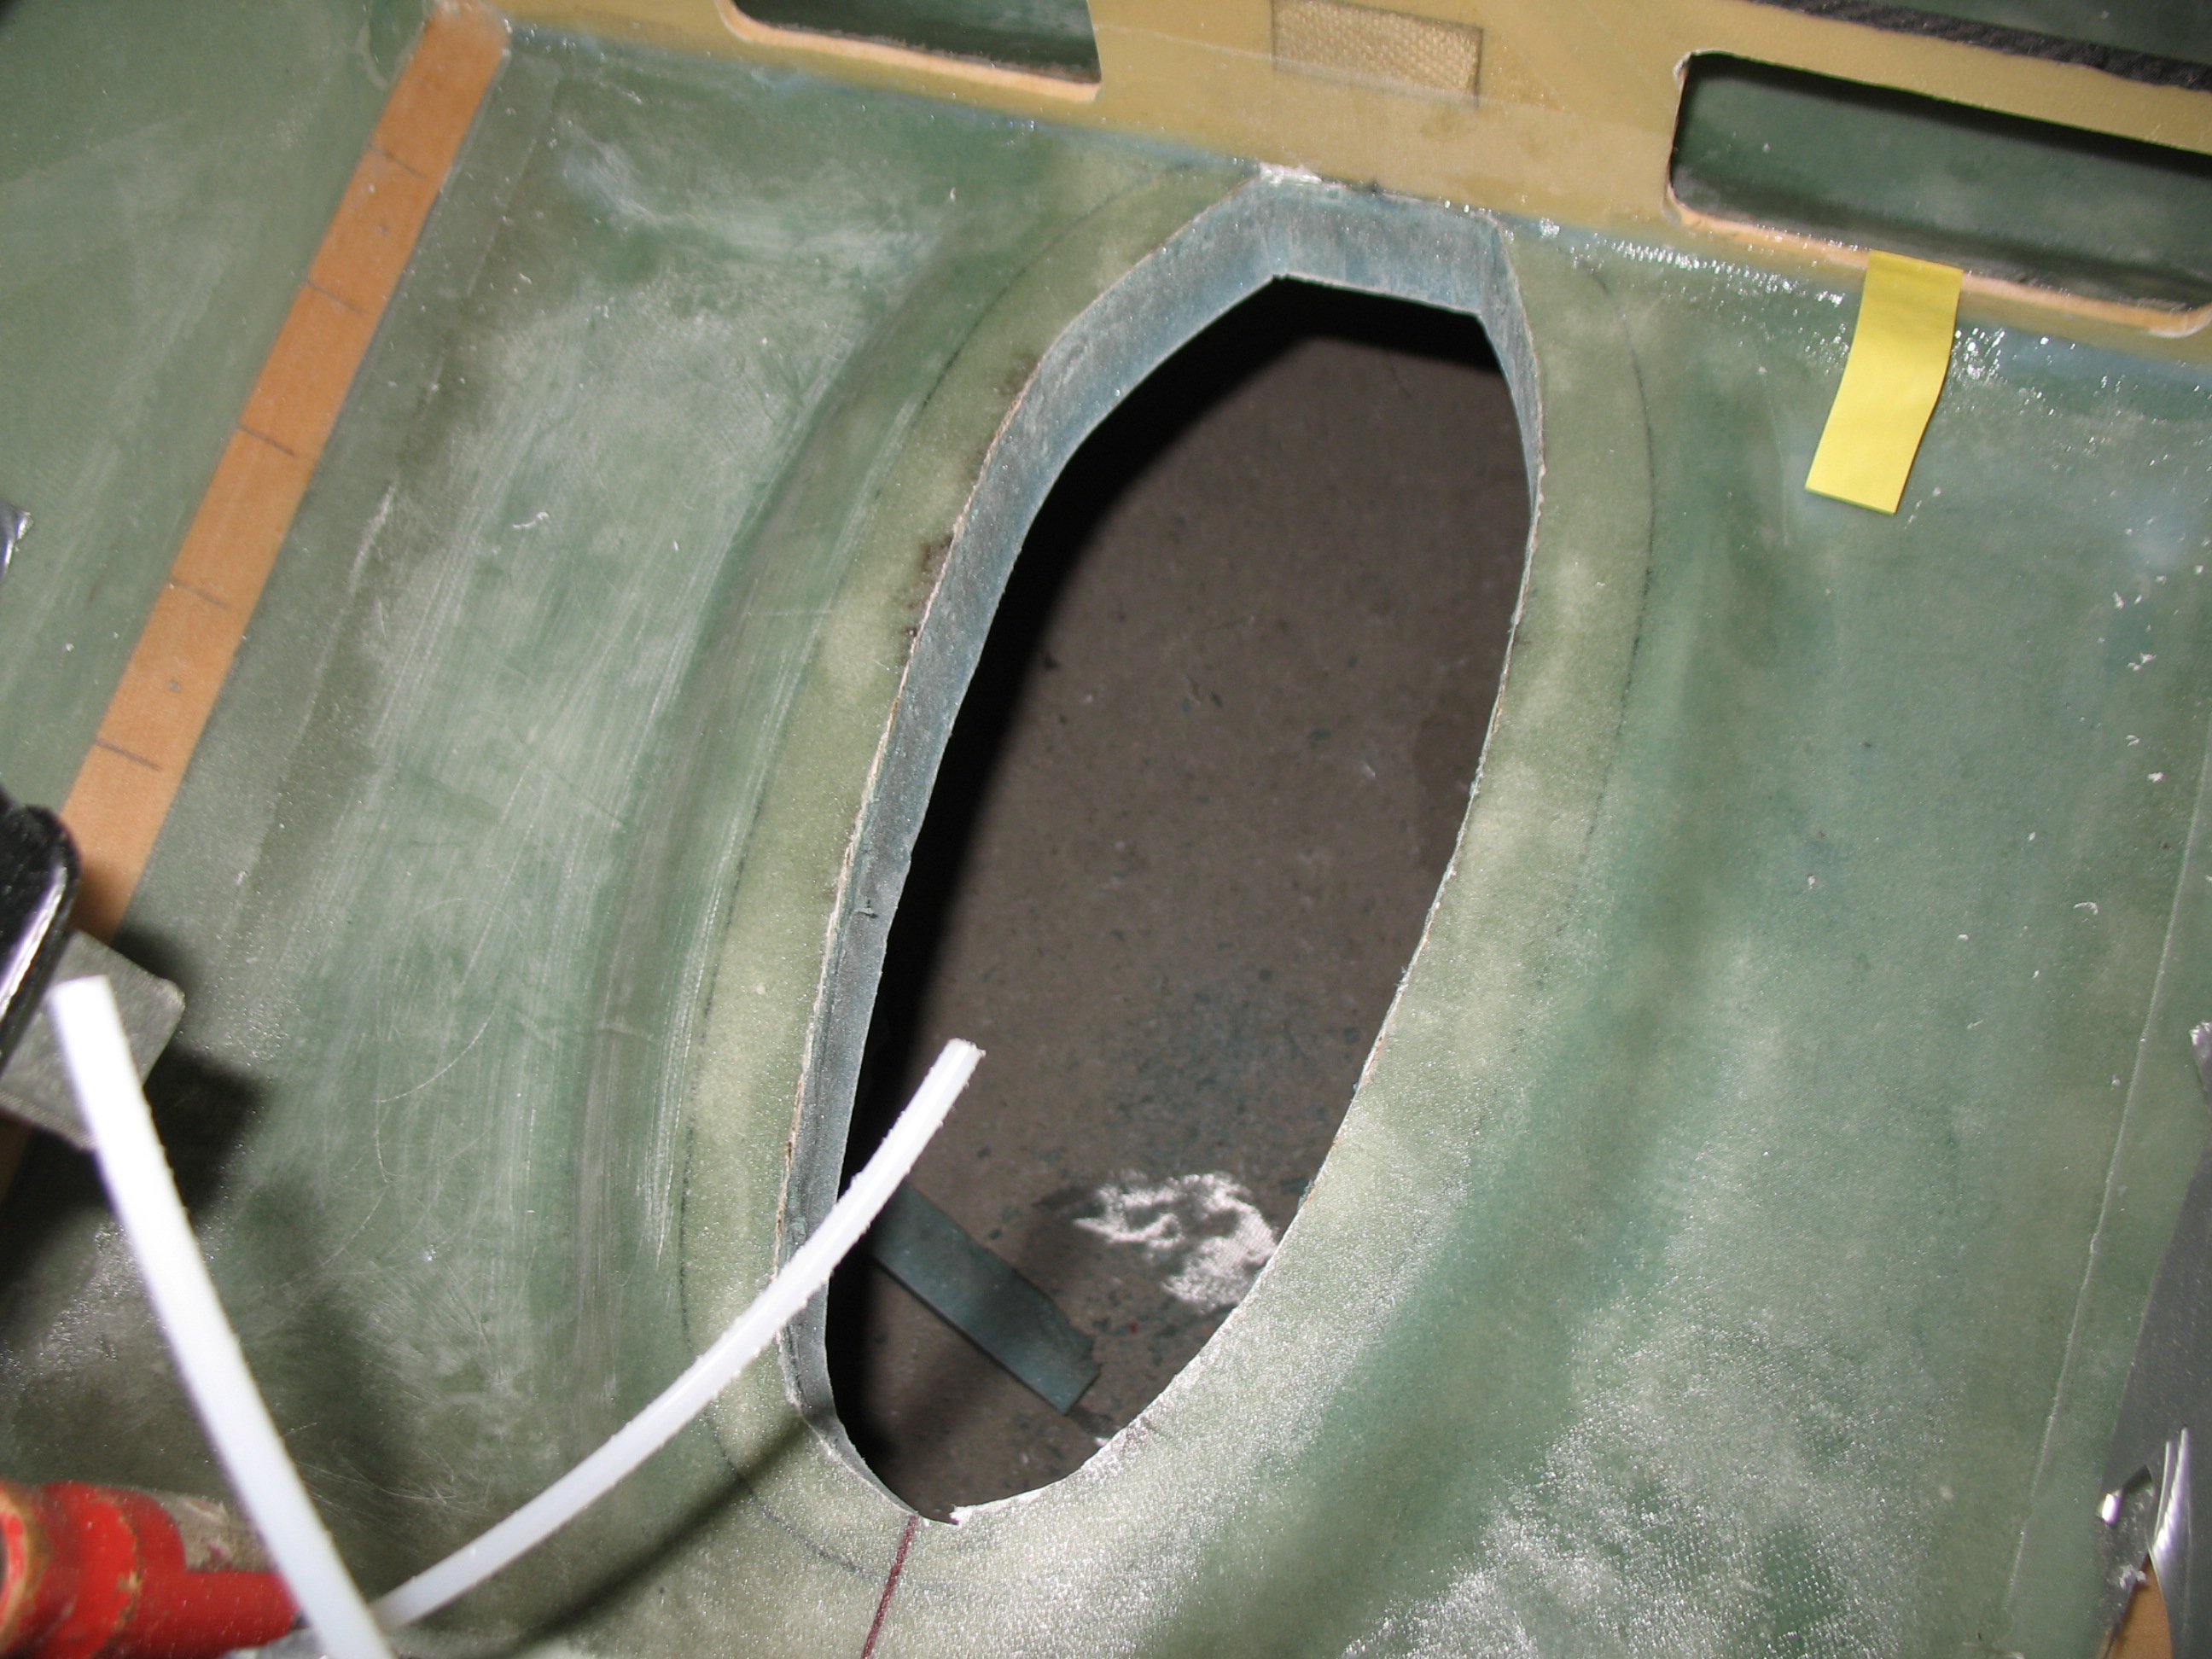 If the nose gear hole looks a little non-symmetrical and uneven, it’s because it is. Since the plans have you cut it to shape based off the nose gear cover (NB), which is a purchased part, there’s not much you can do since it comes that way! However, once the nose gear cover was set into place the lopsidedness of the hole was fairly obscured. And once gear wheel doors are built and set in place, the irregular hole will be virtually invisible.
Section VI – Landing Brake
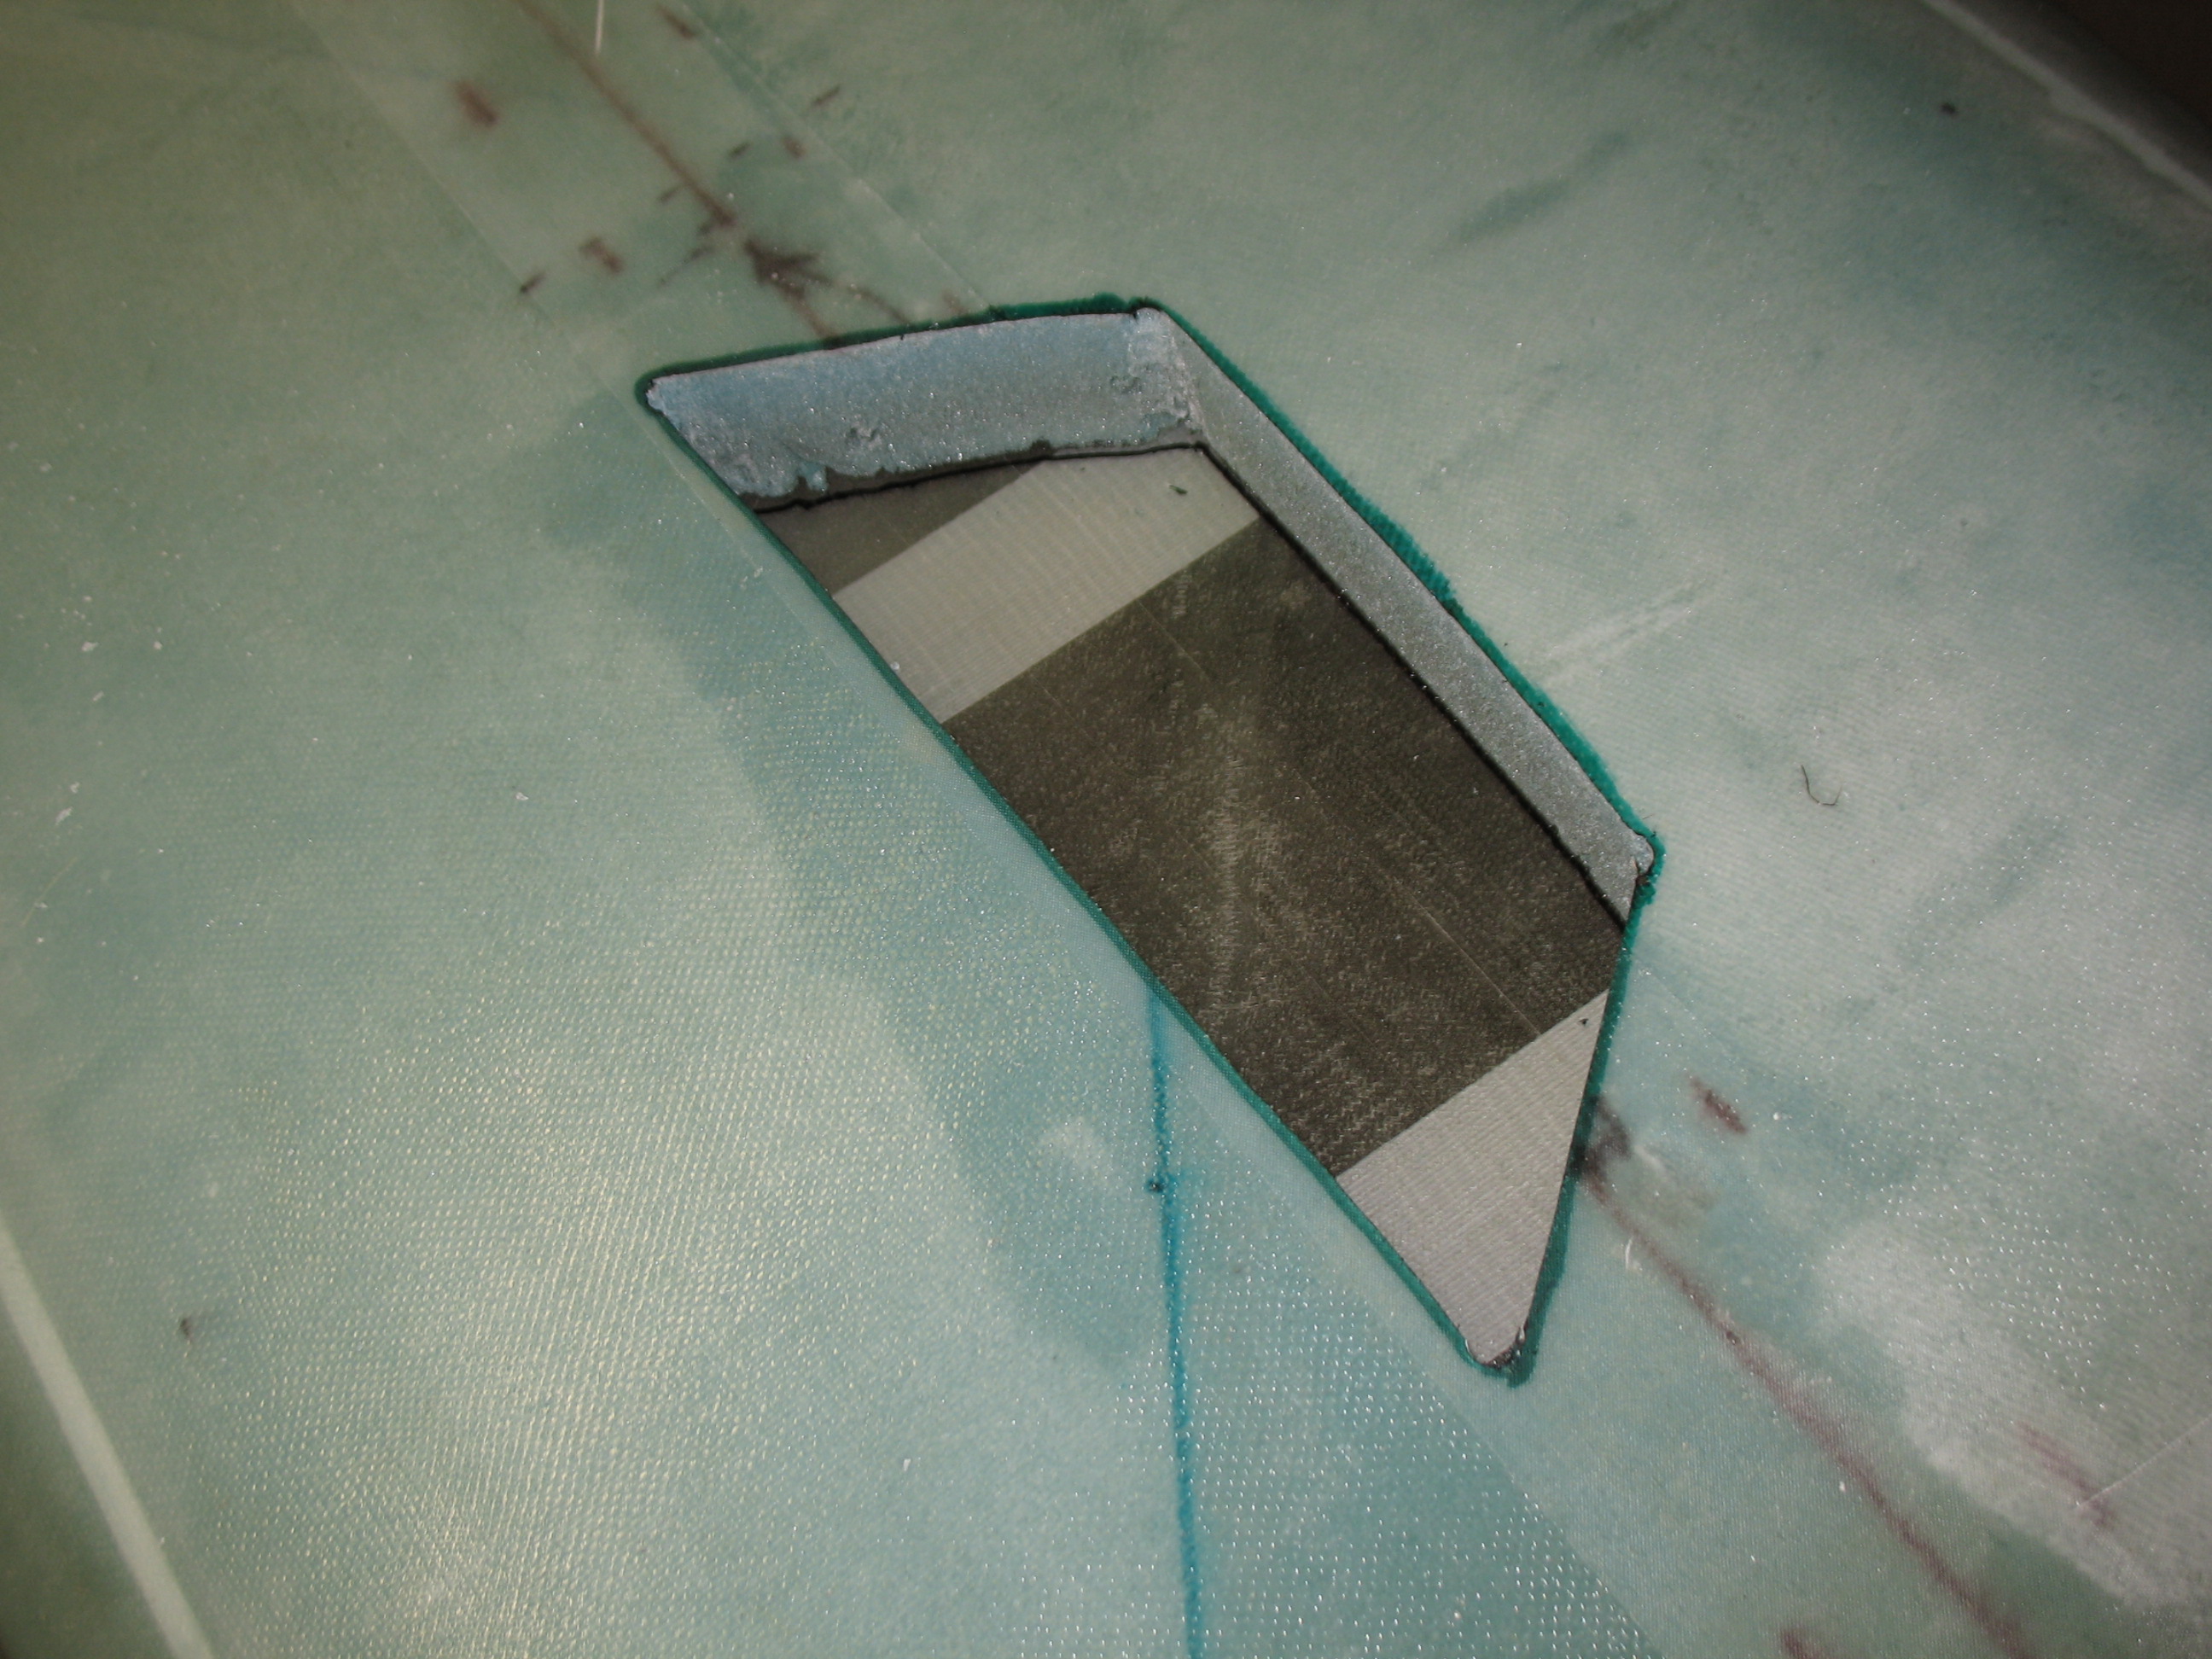
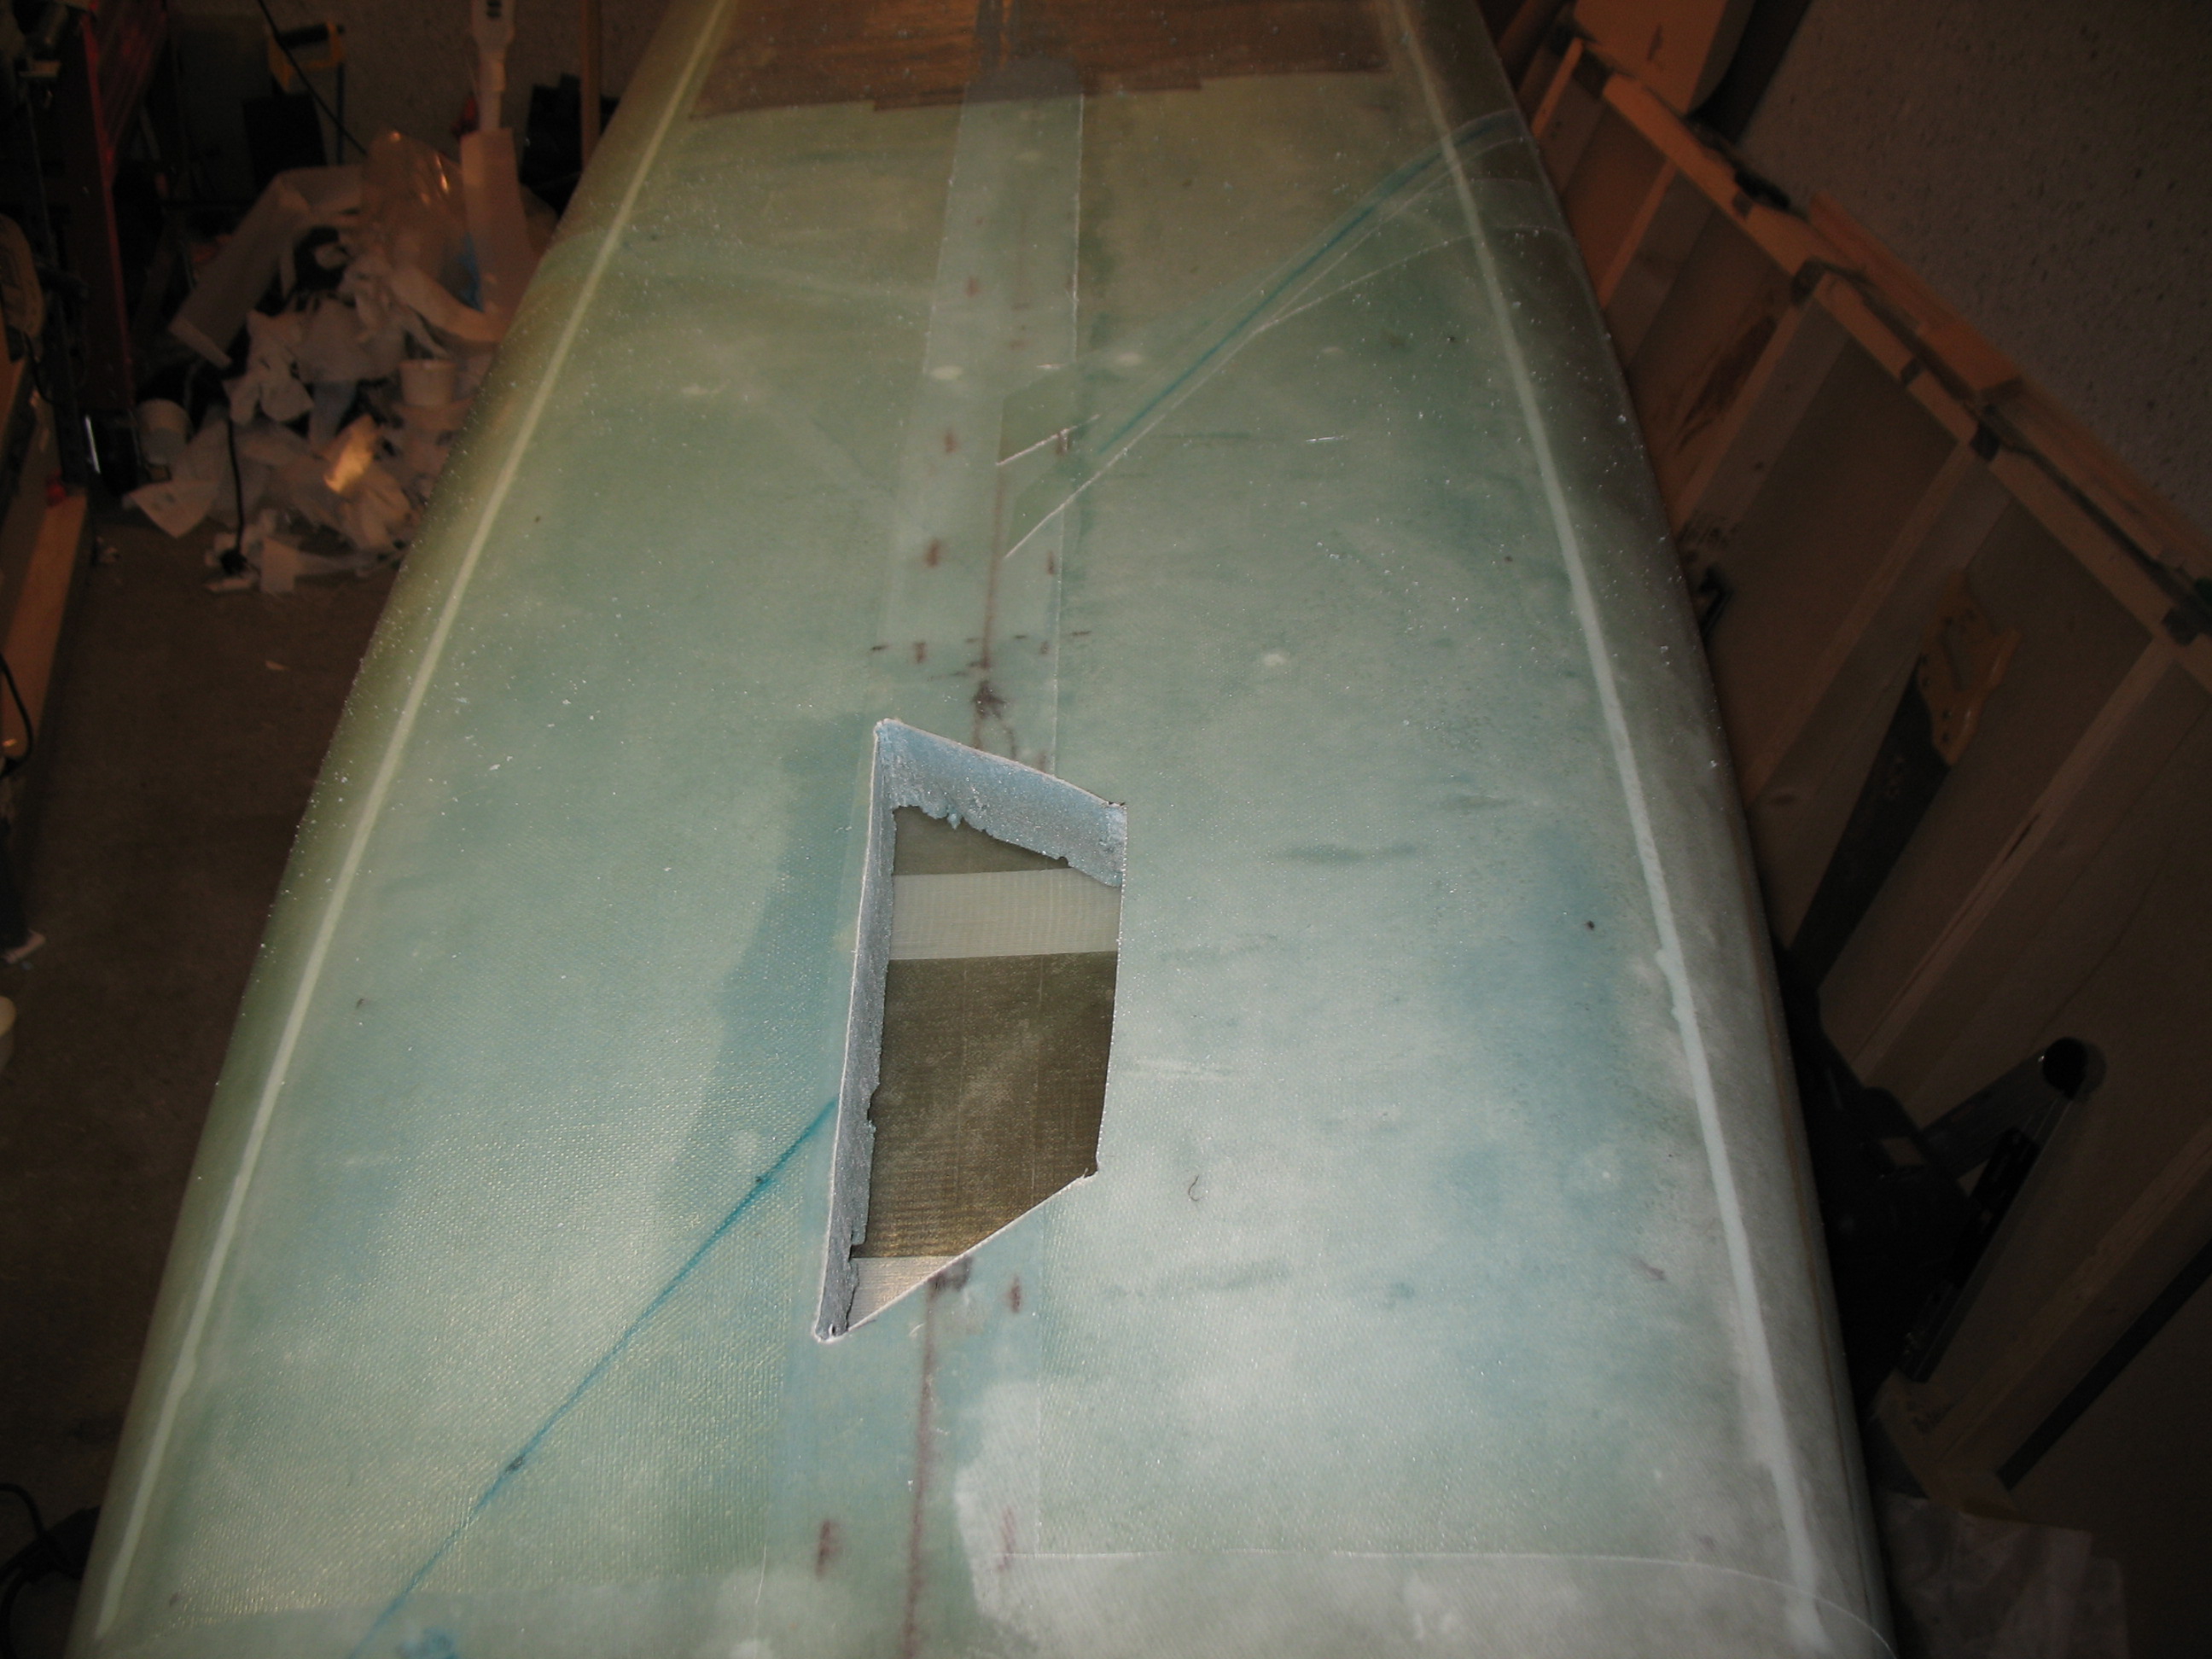
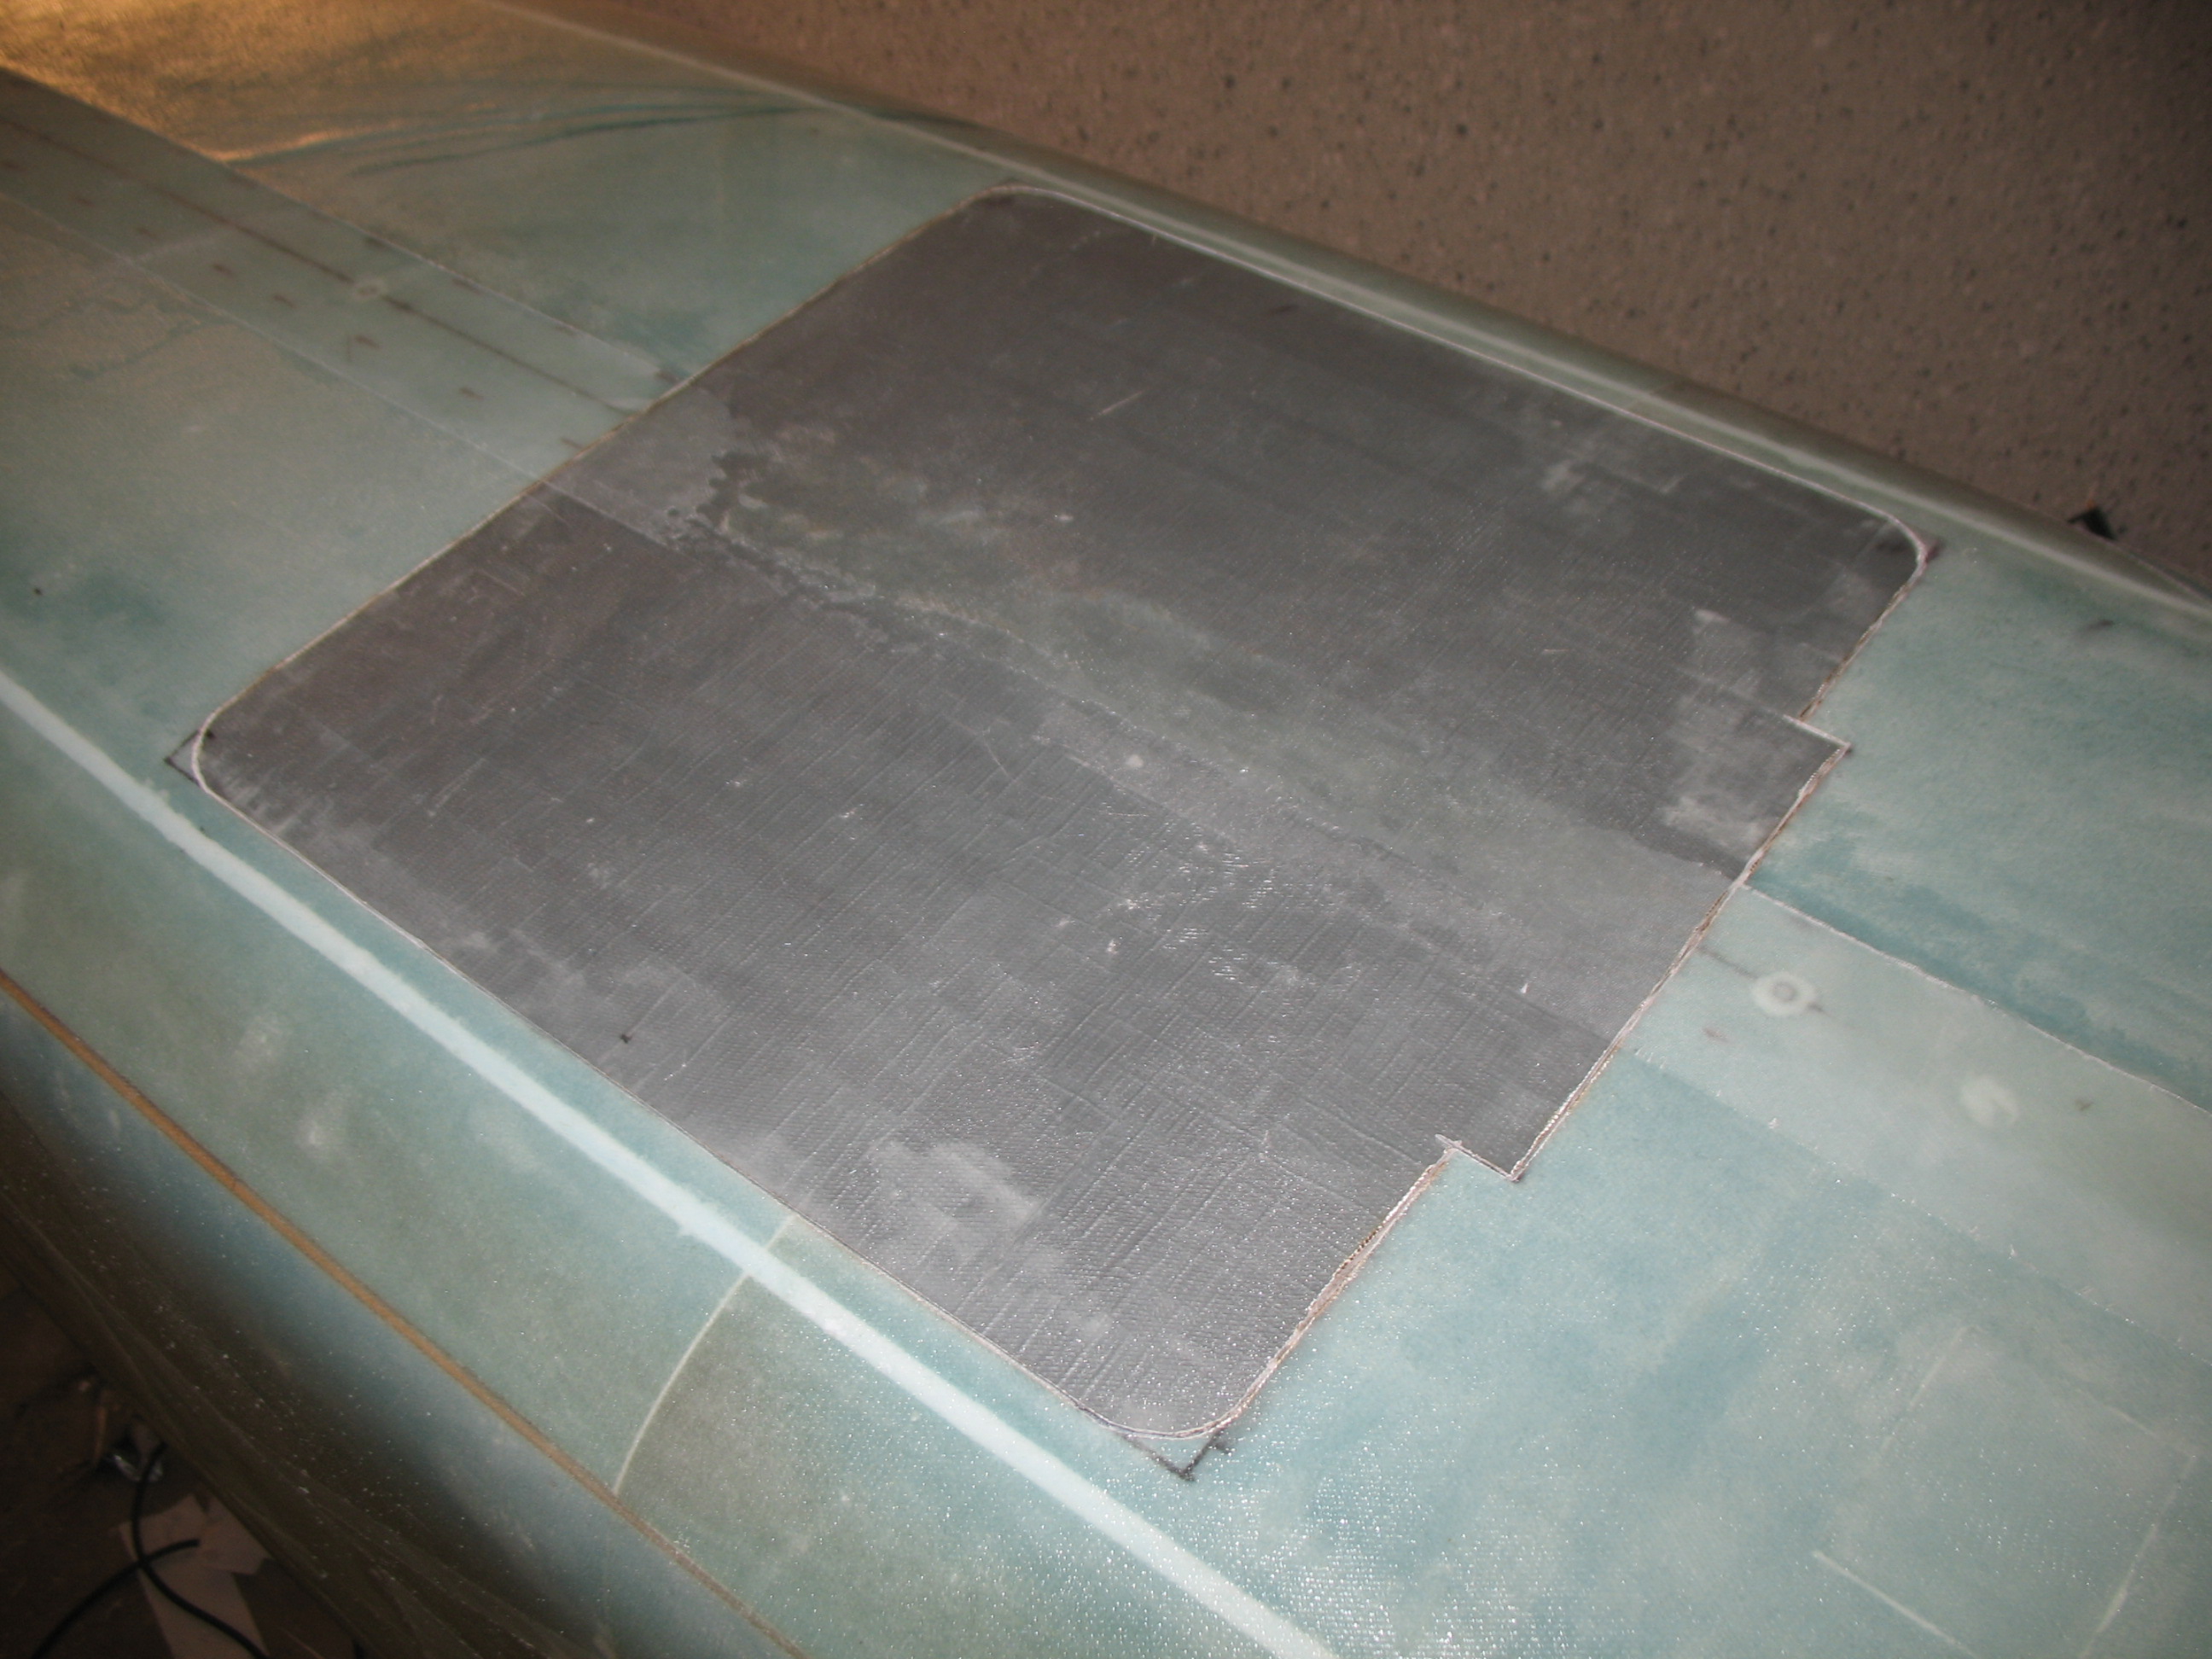
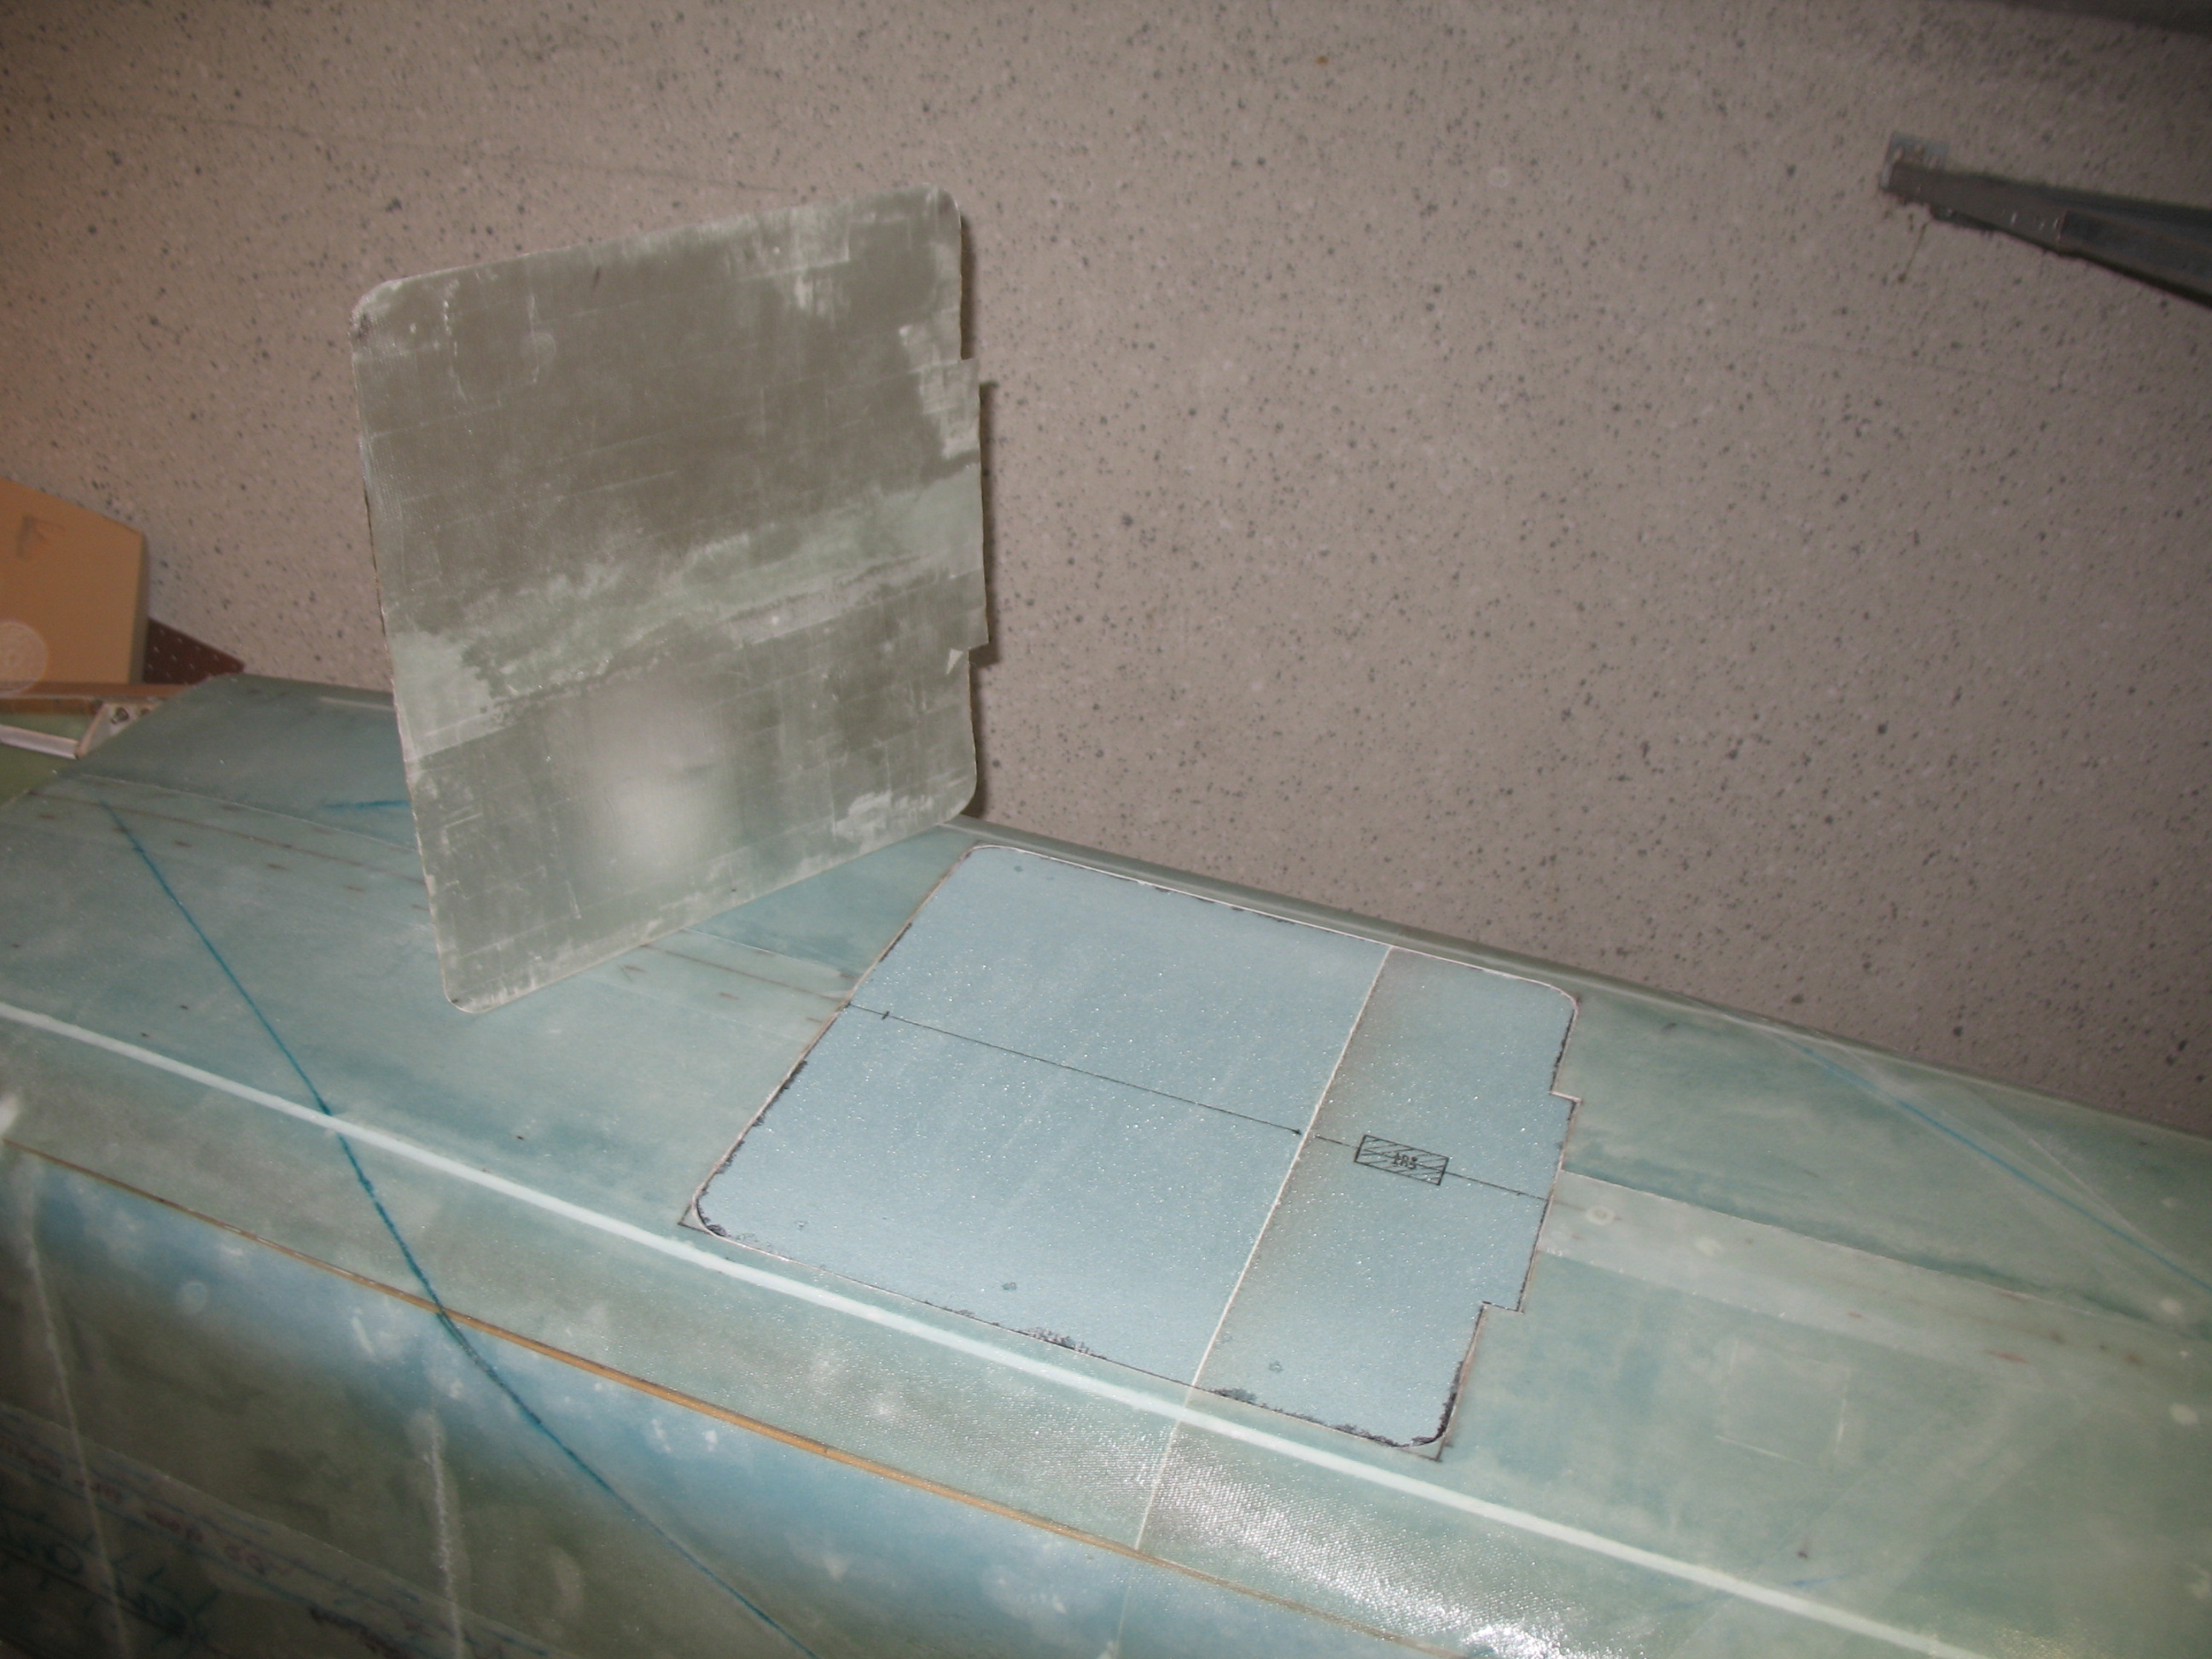
After I got the nose gear hole cut out and test-fitted the nose gear cover, I started to work on the landing brake. If you remember, well before I skinned the fuselage I covered what would become the landing brake area with duct tape. Now with the fuselage glassed, I took the Dremel and carefully cut the outline of the landing brake and removed the fiberglass brake outline and duct tape.

Finally, I got the CSA “Wortmann Gear Fairing” information from my buddy Marco, which I then incorporated into my gear planning.