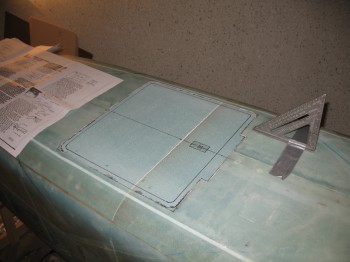
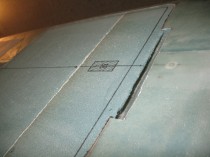
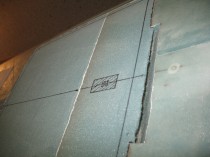
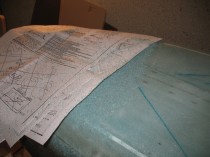
Today was all about the landing brake. I got all my tools and the Section VI plans together and deployed to the workshop, where I started in on some serious foam-work.
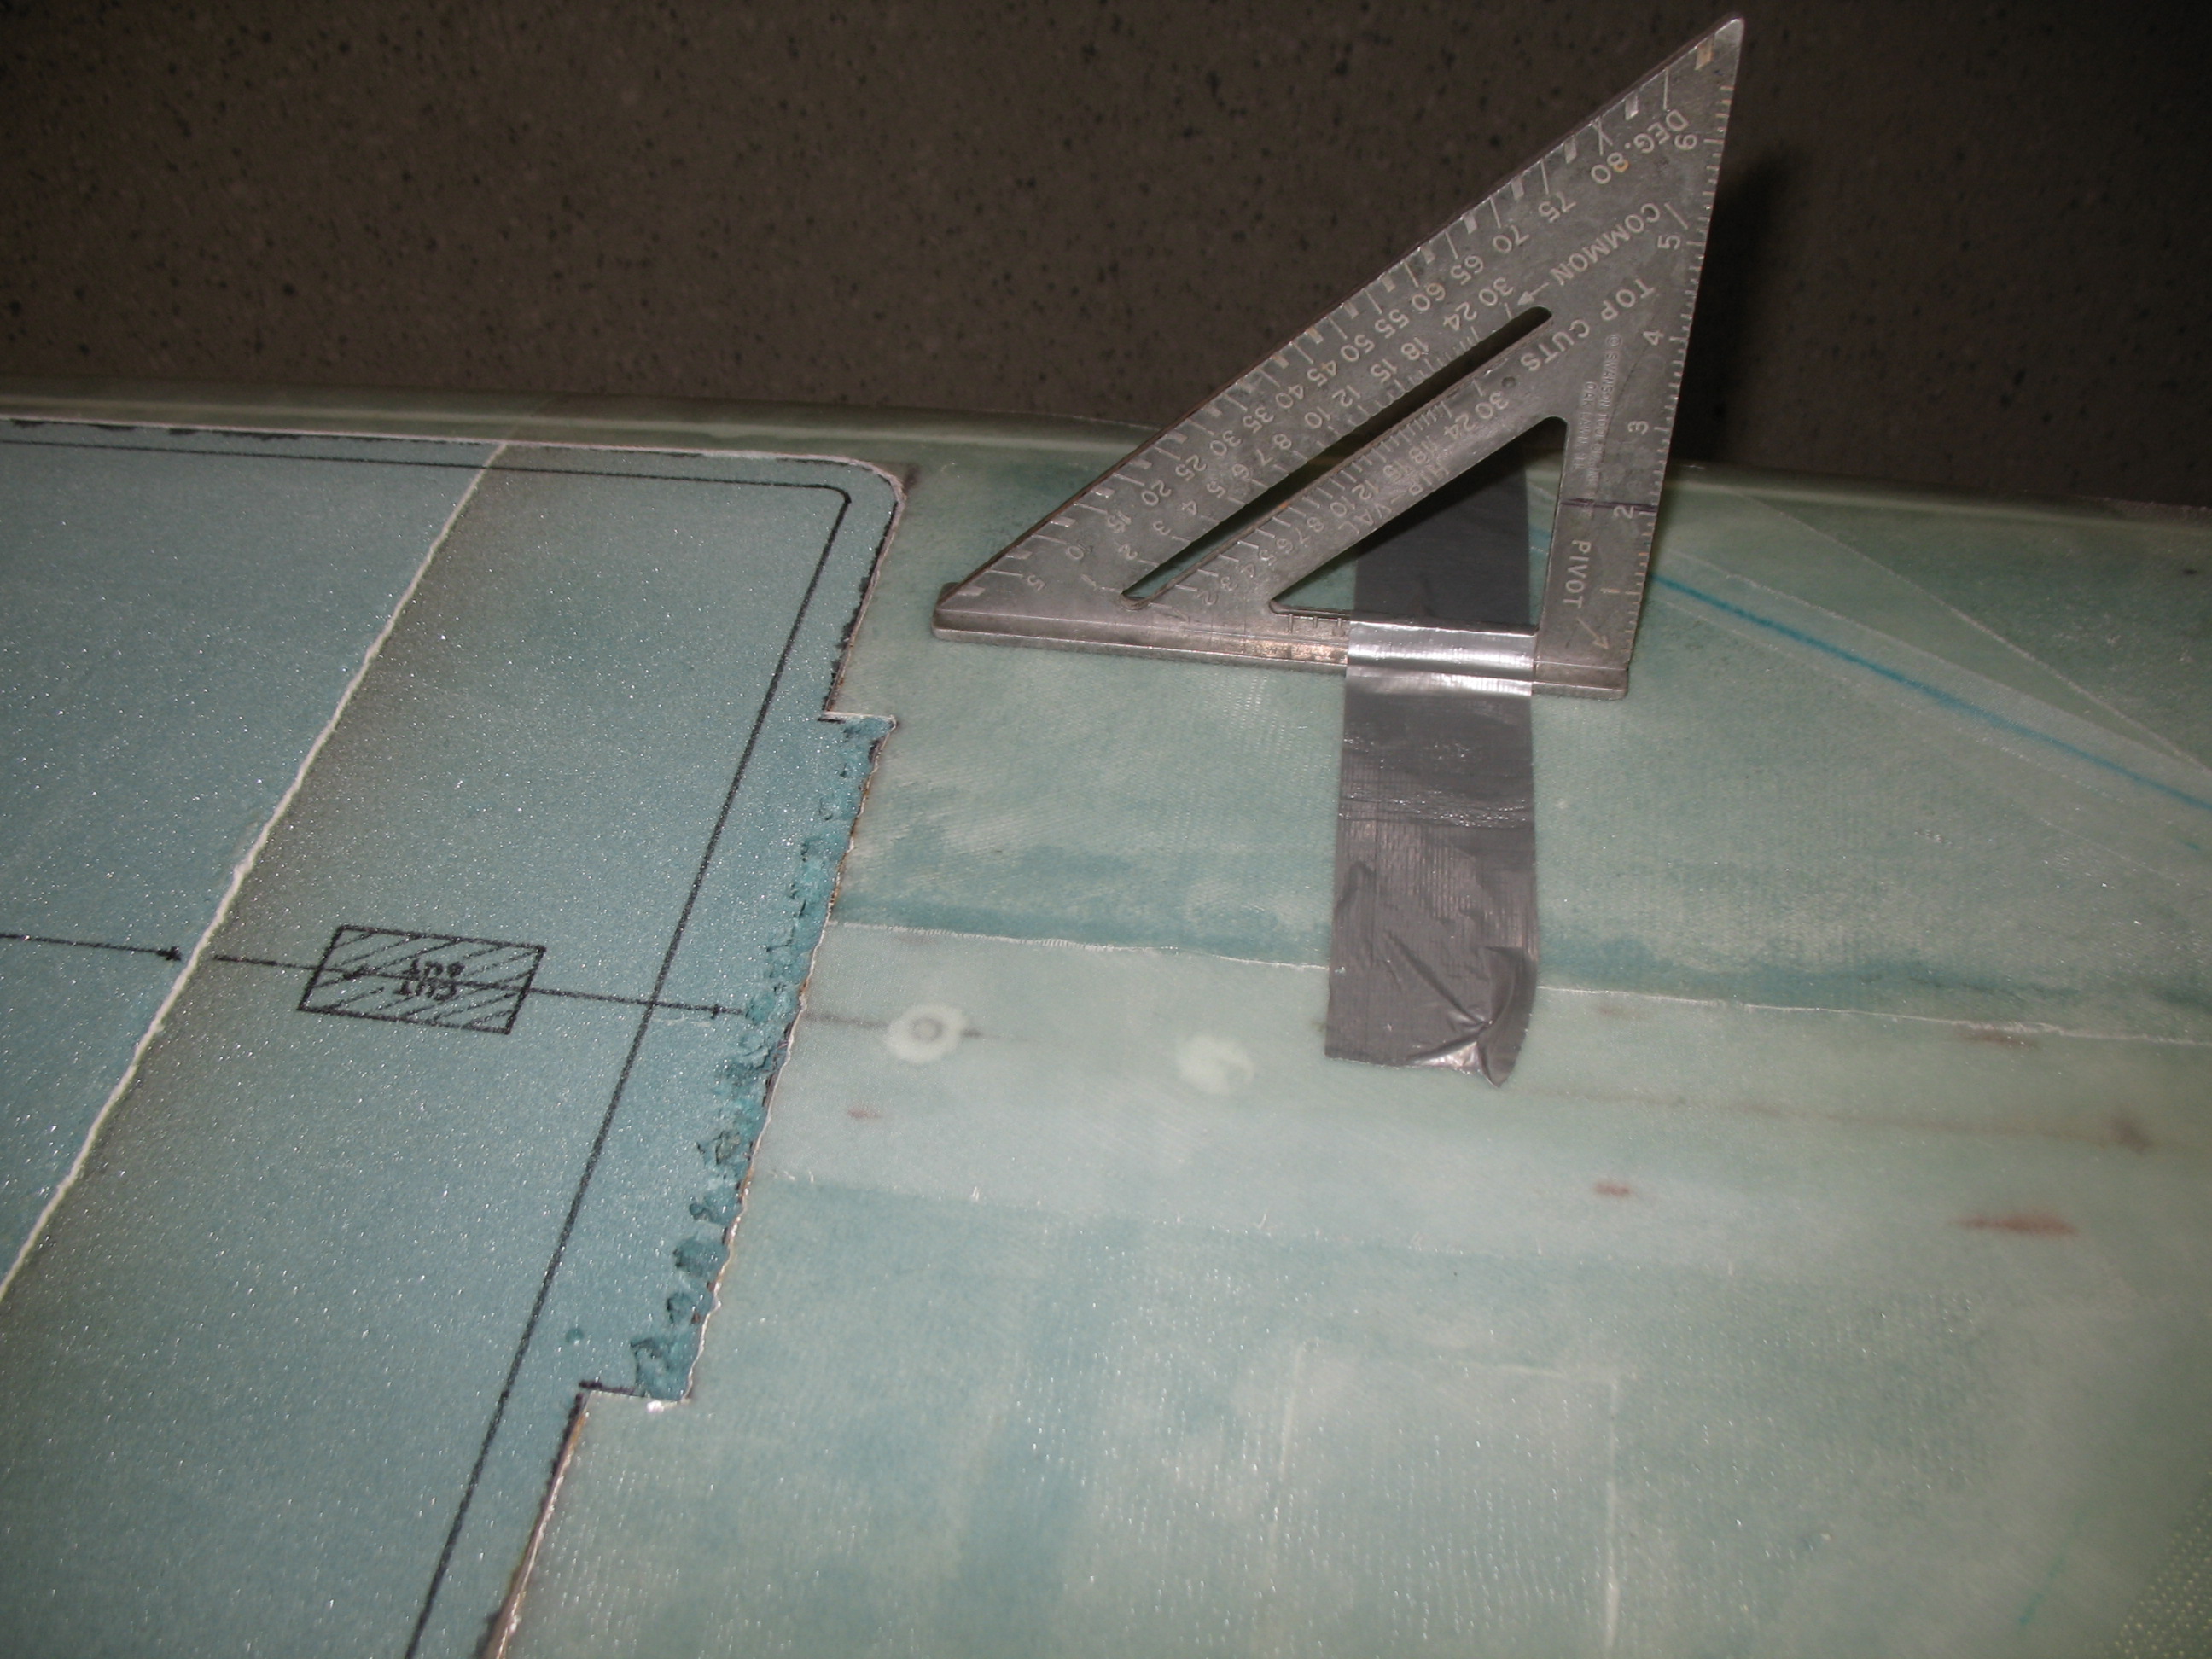
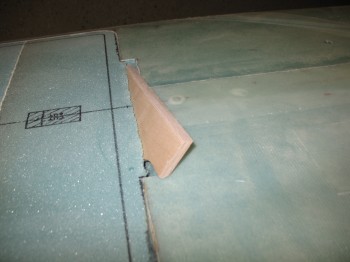
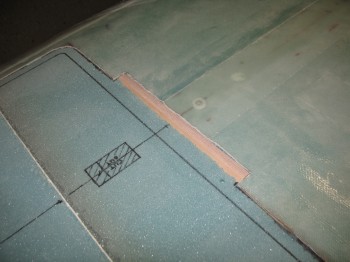
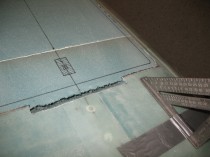
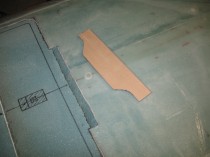
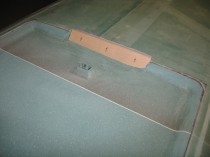
The first task out of the gate was drilling a 45° channel for the landing brake hard point, a piece of 1/4″ Finnish Birch (same stuff as the firewall), to be embedded. This hard point, or LB23, is where the 3 bolts that attach the fuselage-side landing brake hinge will be mounted. Quite a number of builders put 4 bolts in—why I’m not sure since I haven’t read anything stating that 3 bolts are not doing the job—so believe or not I listened to Burt and didn’t change the number of bolts (just how they were mounted! HA!)
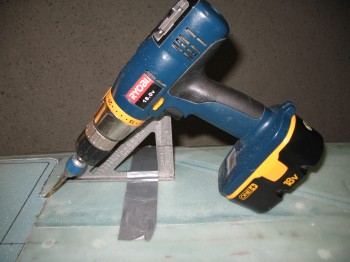
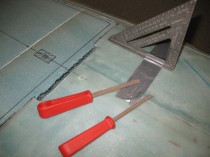
The channel is made by simply using a drill with a 1/4″ bit to “router” out the foam. Not the most elegant of ways to get the channel made, but effective (and per plans… just saying!). I also used my perm-grit tools to clean up the channel and then shop-vac’d the bits of foam out.
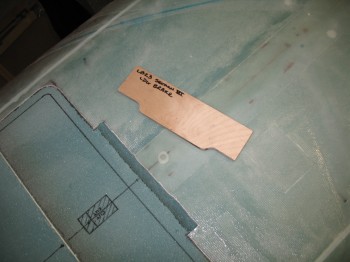
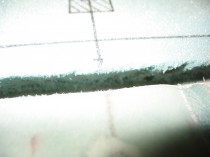
Since the landing brake sits just to the rear of the front pilot’s seat, the 45° at which the channel is cut puts the landing brake hard point right over the hump that runs down the middle of the GIB’s Left & Right foot “trays” (depressions). Thus, the shape of LB23 could no longer stay in its initial rectangular shape (due the depressions) and required some major modifications. LB23 had to be “dog-eared” on each side and the top and bottom edges had to be beveled at 45° so it would fit.
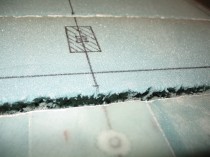
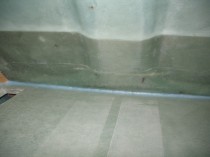
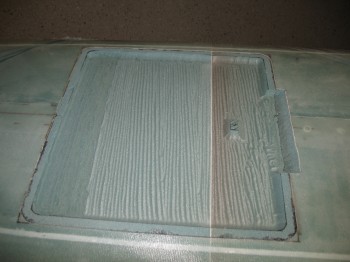
After LB23 was snuggly emplaced into its channel, I started the process of removing foam out of the entire landing brake area to create the depression needed for the brake “flap” (or door) to sit flush with the fuselage when it’s in the stowed (up) position.
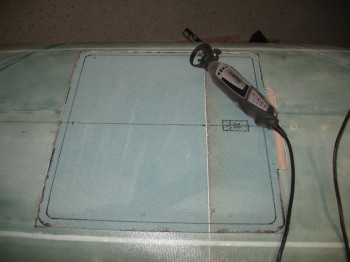 I started off using the Dremel tool, but it was taking way too long with its small bit so I quickly switched to the plunge router…. which of course went a lot quicker! Like butta!!
After I had made a rough depression by ‘masterfully’ extracting foam from the bottom of the fuselage, I sanded it with an orbital sander. I then used a sanding block to knock down & curve the sides so it all flowed some what smoothly together.
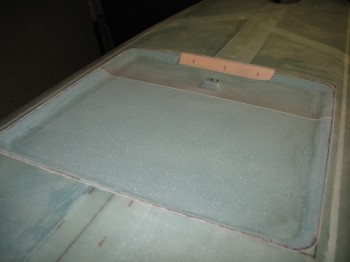 I finished up by marking the bolt locations in LB23 (the 3 crosshairs on the wood piece).

