
As I physically install hardware on the wheel pants (will discuss in following post) my goal is to get some tasks requiring floxed parts completed so they’ll be curing as I go about my wheel pant install business.
Well, getting back into the plane building game after the big move is proving somewhat challenging just in finding tools, components, hardware, build notes, install instructions, etc. Believe you me there’s a lot more searching for stuff going on than building at this point. But of course as I find and organize stuff I’m slowly getting back into the groove of things.
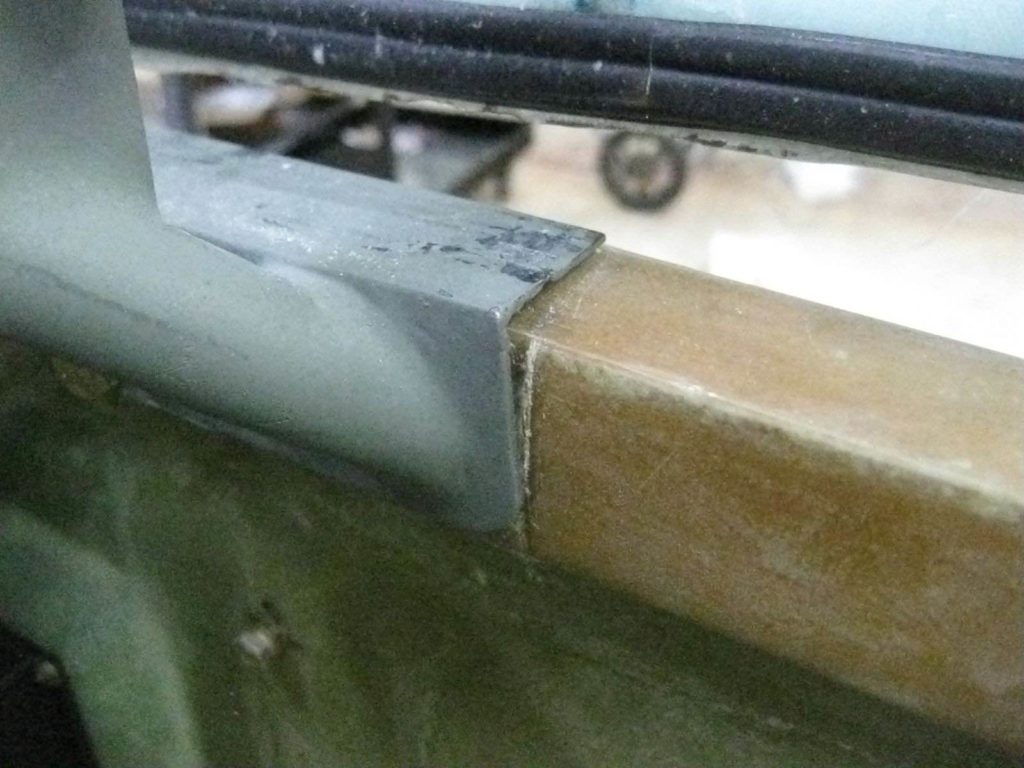
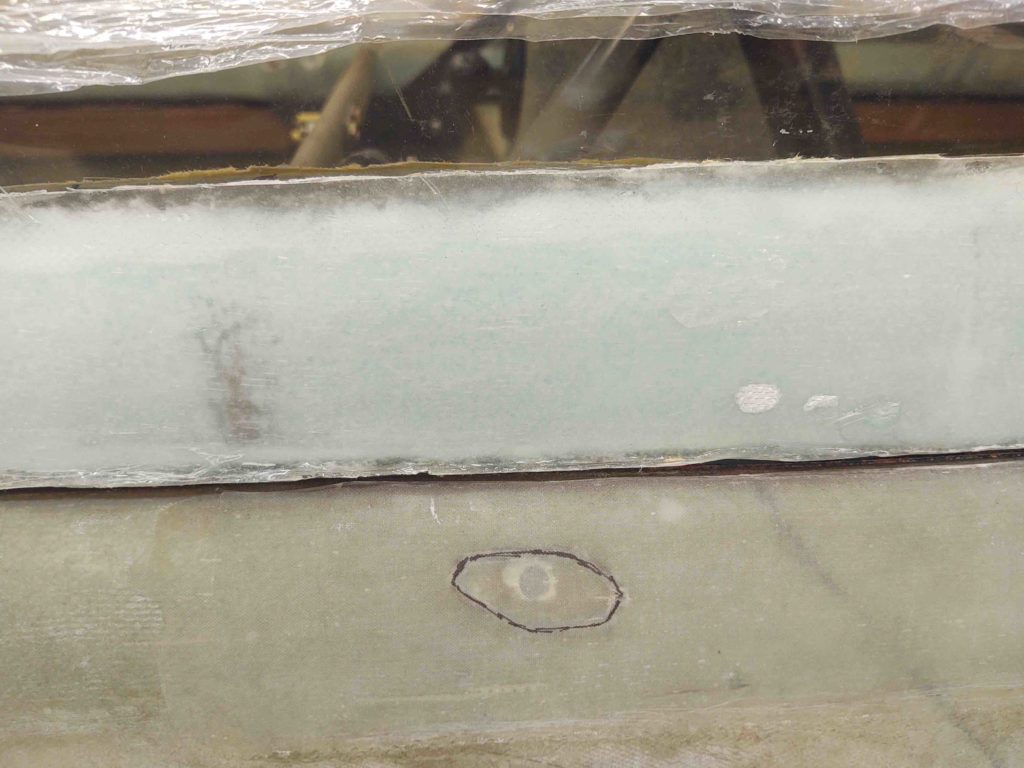
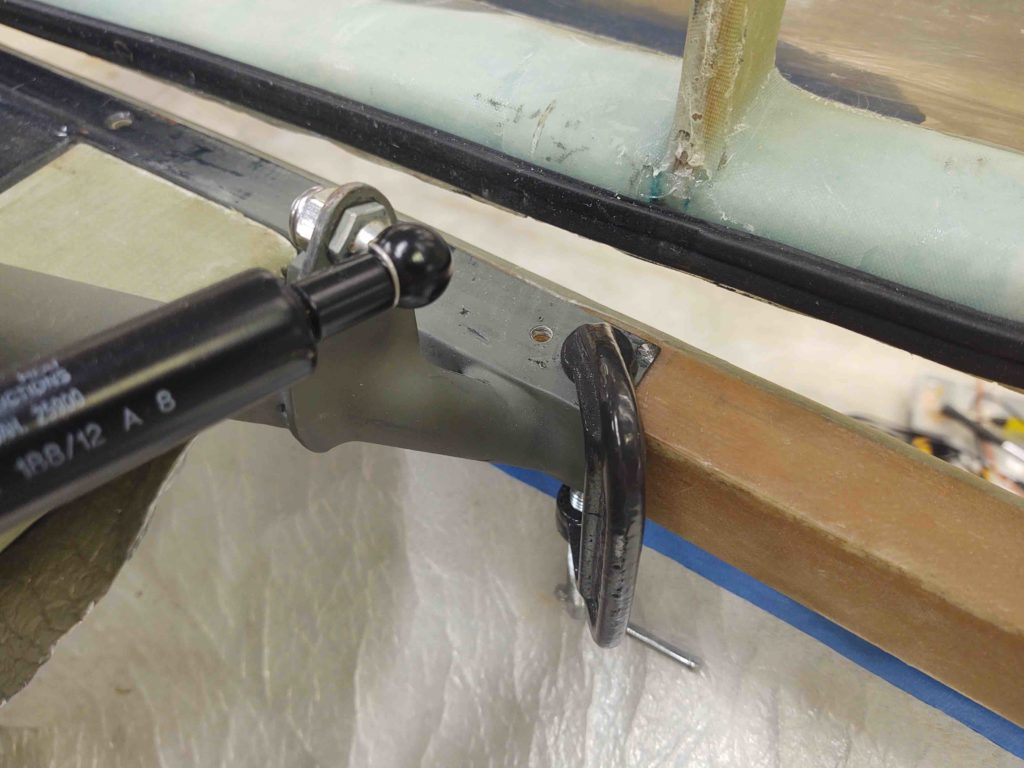
One such flox task is the minor issue I’ve noted with the canopy gas spring attach point. Not an issue with the gas spring or geometry or operation itself, but the fact that the hefty mo-jamma canopy is pulling the back end of the rollbar rail up slightly when the canopy is open. Note the visible gap I have the red arrow pointing to in the pic below.
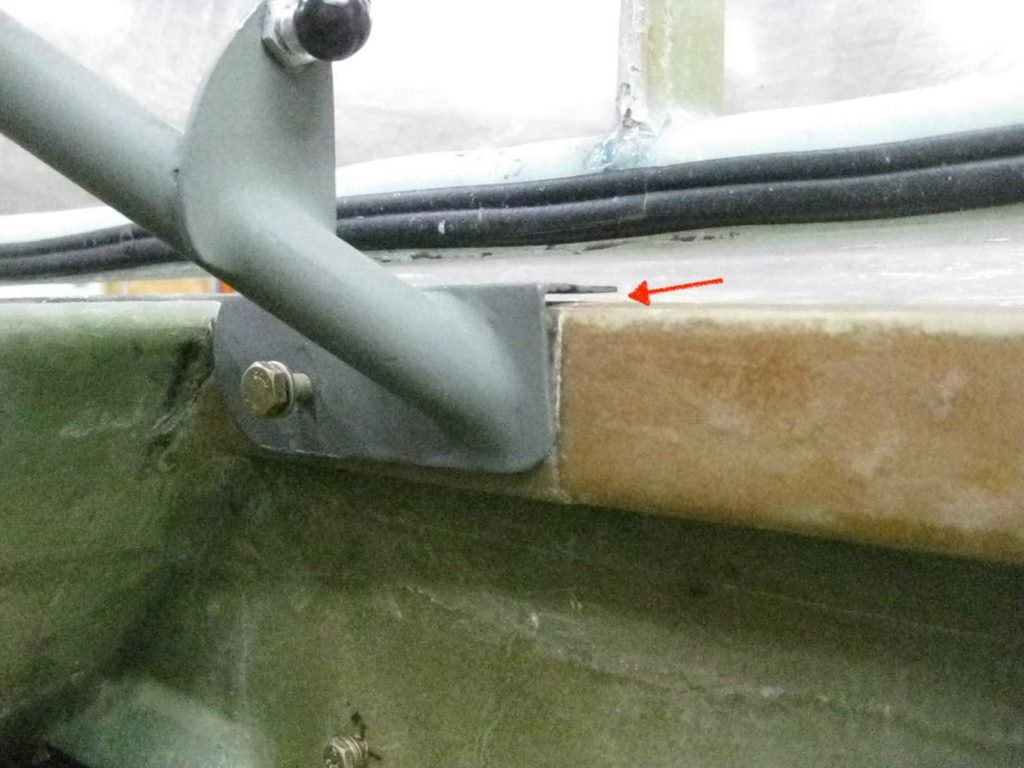
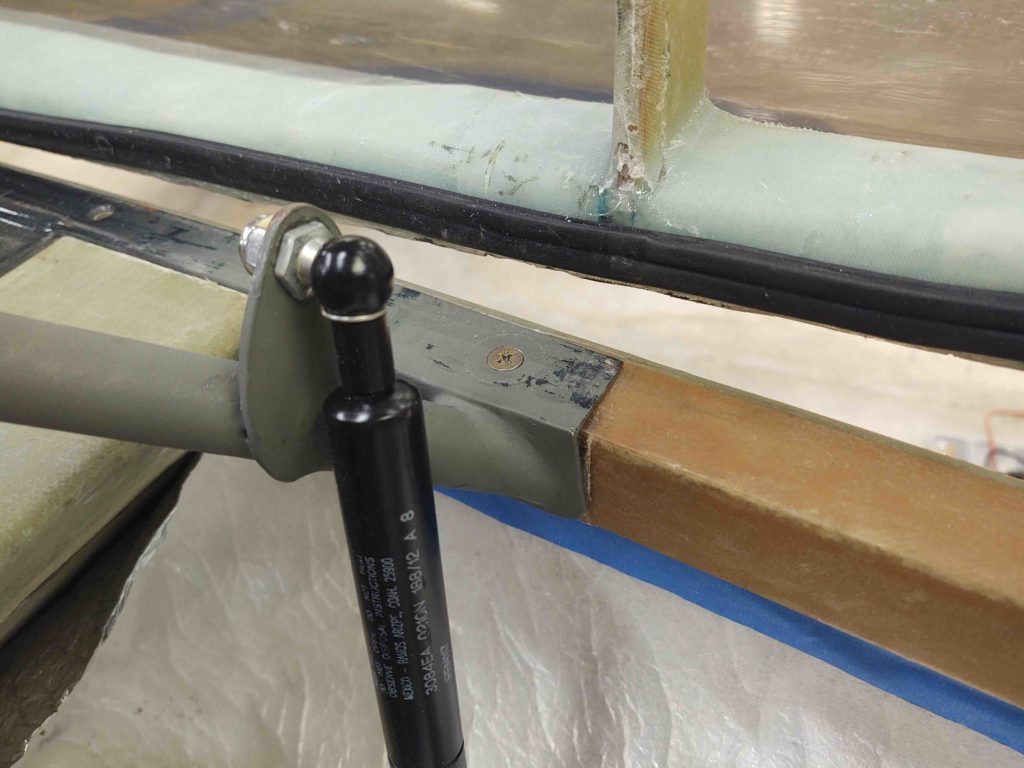
Here’s a view of the top of the rollbar attach rail, aft end,
Now, Murphy always seems to extract his commission on what appears to be a simple screw installation on the rollbar rail…. But here’s where protracted builds start showing their ugly side.
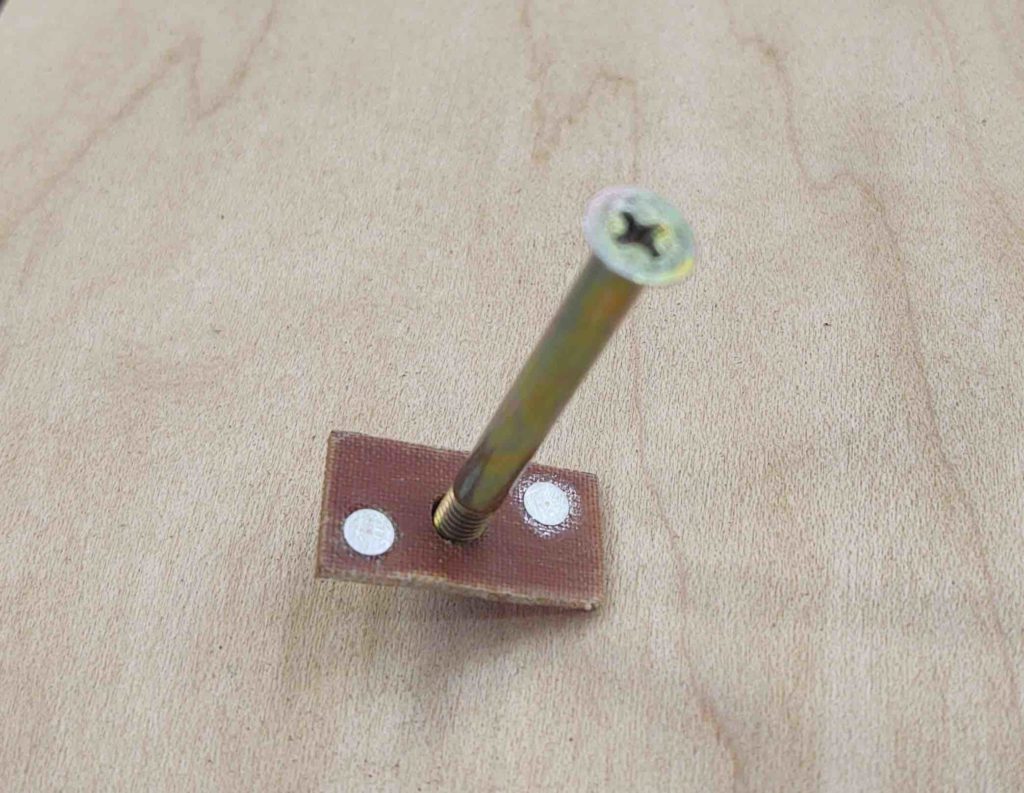
My thinking was that before I drill a hole DOWN through the longeron I wanted to ensure the roll bar rail was installed SNUGGLY to the longeron with all the bolts in place. I had on hand some fancy stainless steel hex-drive cap screws for the final install of the rollbar. I even had 4 of them (2 front, 2 aft) in a baggy marked for that purpose.
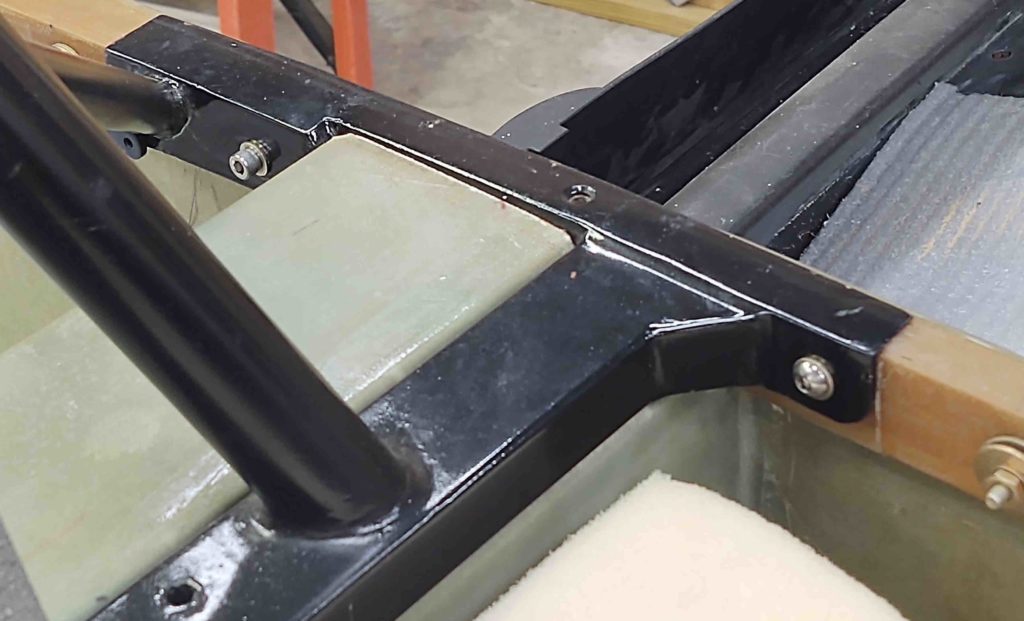
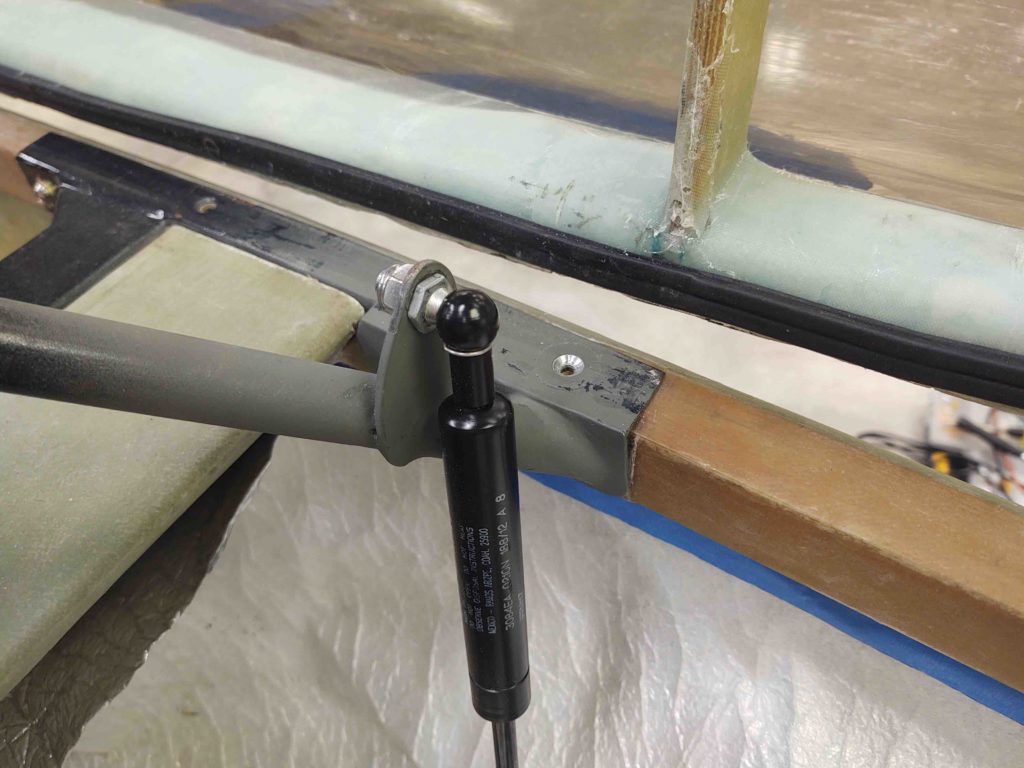
I’m going to jump ahead here pic wise to show the bolt configuration of my rollbar: one 1/4″ bolt on the front side of each rail, one 1/4″ bolt on the back side of each rail, and one 3/16″ CS screw in the middle area going vertically down into the longeron.
Note different style bolts… key to the story later on.
Well, as I kept trying to completely thread in the existing bolt (I had in “finger” tight) and then one of the pre-identified cap head screws into the aft rear bolt hole, I was getting it to thread in, but then at the point to tighten it appeared to be stripped. The bolt would just spin.
I compared the length but must have justified it as correct in my mind since I had identified these bolts as the correct ones. I had used a 1/16″ aluminum plate with the nut plated attached buried into the foam on the external side of the longeron… had it failed?
After messing around with it I knew I had to confirm the rollbar mounting point nutplate was good, had not broken loose or was somehow stripped.
So I marked the spot, and then opened it up (sorry, no pic of that).
After messing about for awhile what I found was that the nutplate rollbar attach hardpoint was perfectly in-tact and strong… no failure. It hadn’t stripped out either. So what was the culprit?
The bolt was simply TOO SHORT! It was “threading” into the wood of the longeron, making me think it was engaging the nutplate, when it fact it was short of it.
As I point out above, the cap head bolts are 1-1/4″ long for the front. Almost a perfect length (one side was about 1/16″ too long), while the aft bolts required are 1-1/2″ long. This info is probably buried in my notes somewhere, but I found out the hard way.
At least now –after having opened one up after years of use– I have renewed confidence in my rollbar attach hard points though!
Back to my original issue at hand . . .
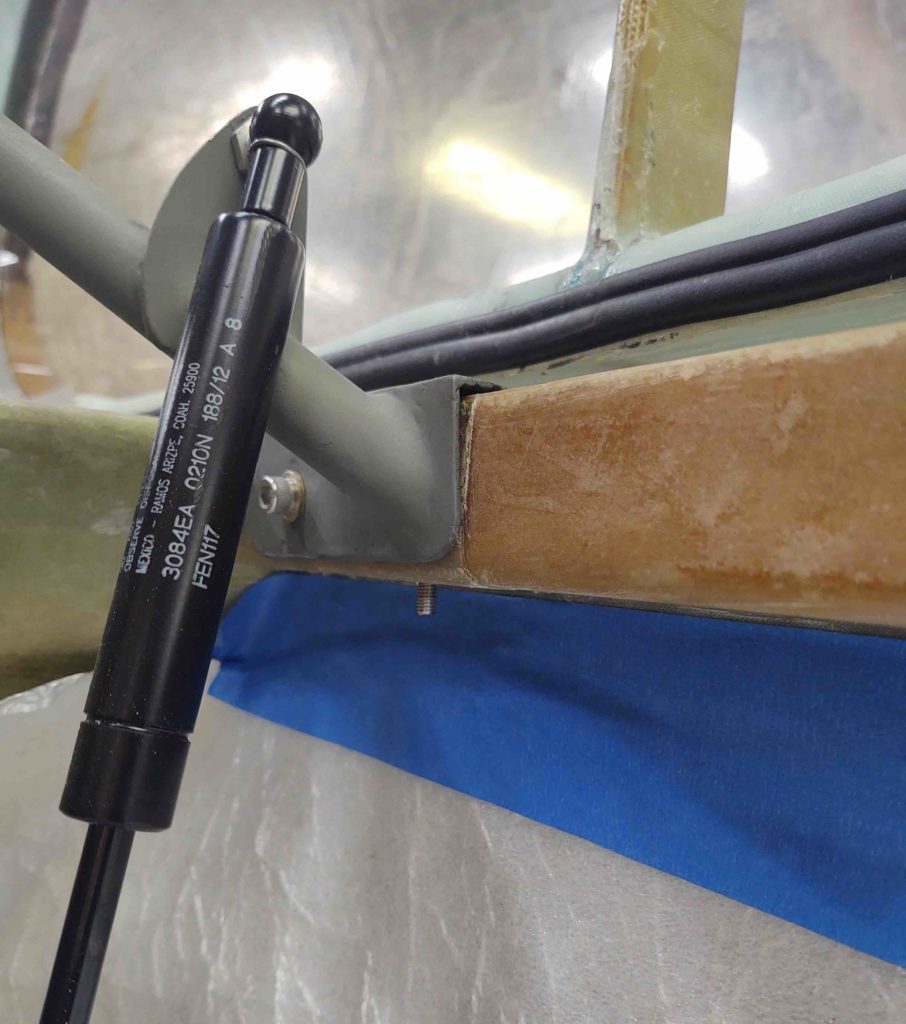
I gathered up all my nutplate assembly tools and ginned up a phenolic nutplate for a 3/16″ screw.
I then clamped down the aft end of the right side rollbar attach rail.
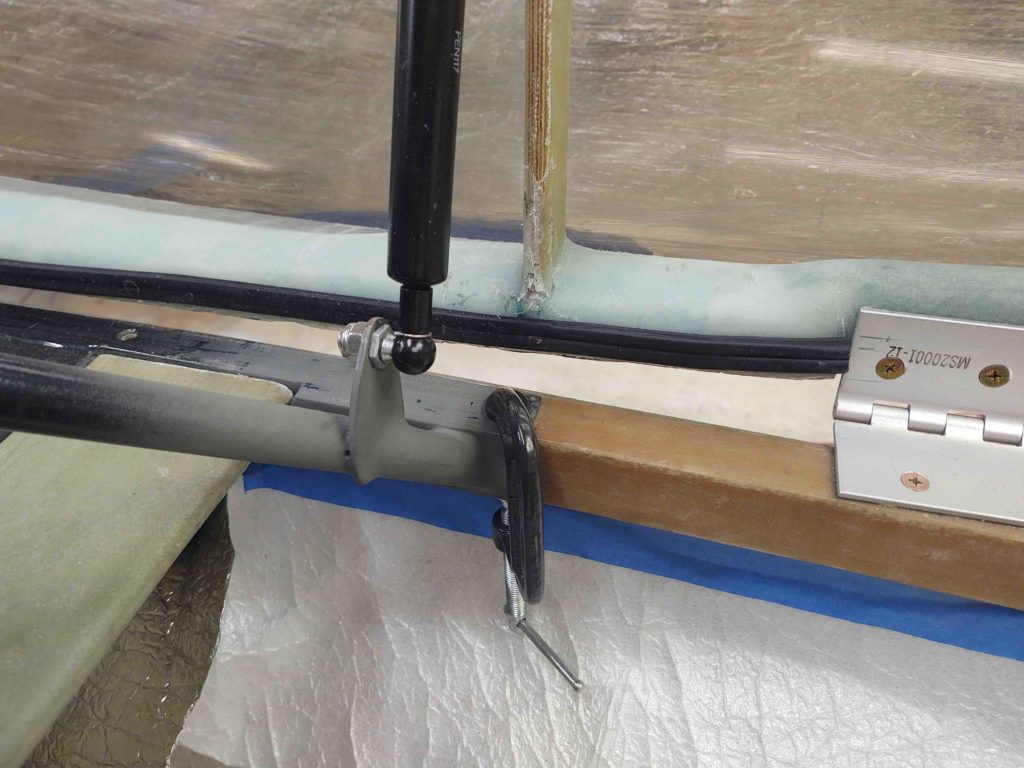
After securing the canopy with a tie down strap so I could get access behind the gas strut, I then drilled a #10 hole down vertically into the longeron, through the top plate of the rollbar attach rail.
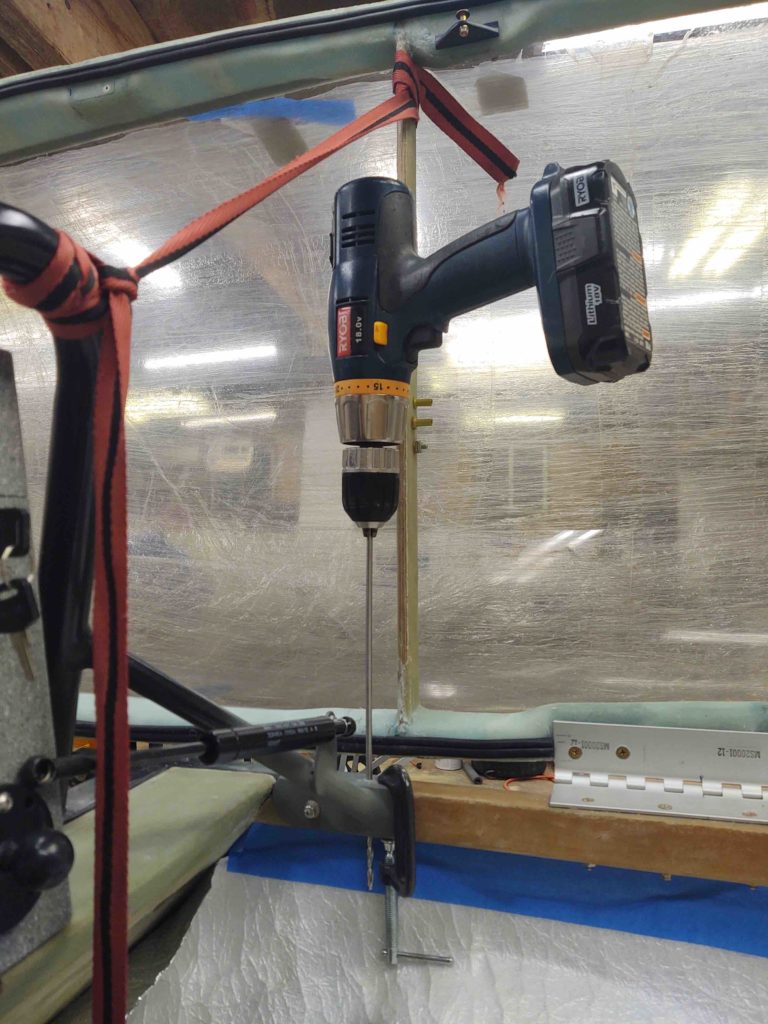
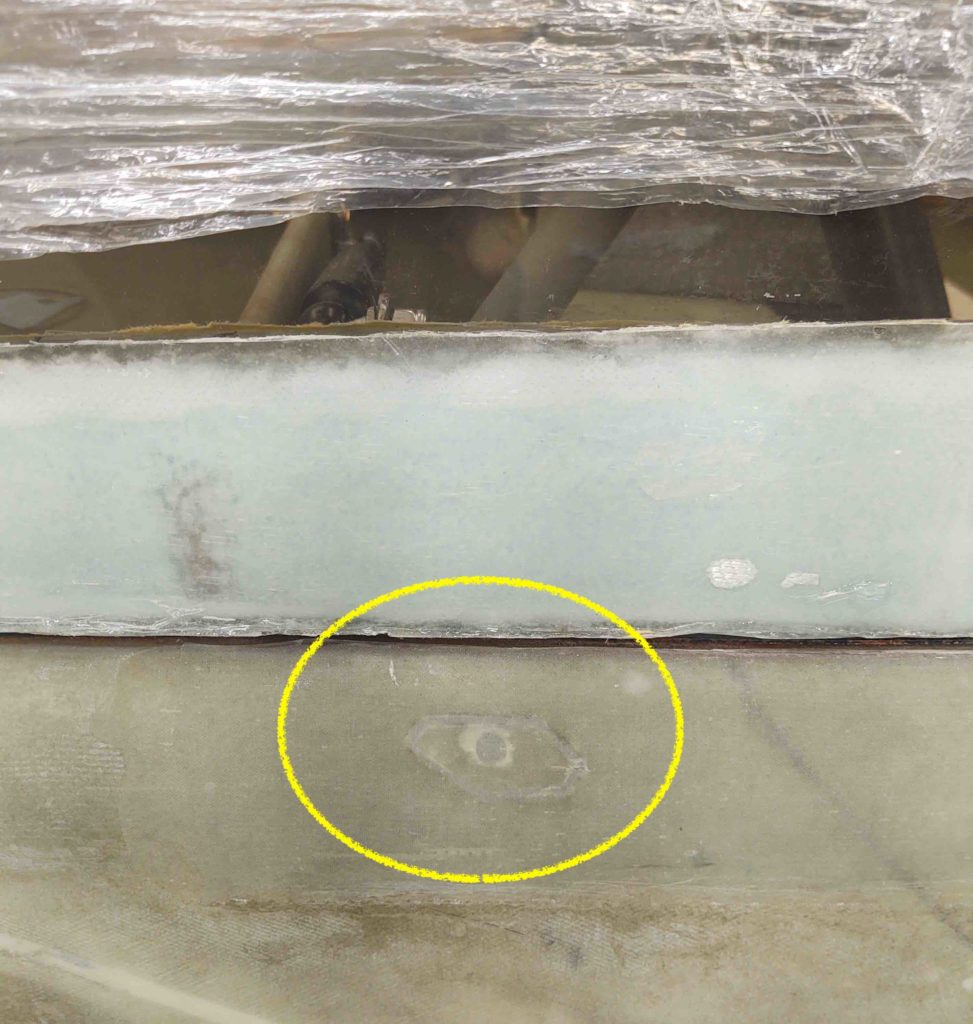
Here we have the resulting #10 hole . . .
After which, I countersunk the hole.
And then test-fitted the screw.
Here you can see a good amount of the screw poking out below the longeron.
Since I didn’t have my epoxy station operational just yet, along with wanting to mix up flox for multiple component installs, I stopped at this point and moved on to working on the wheel pants, organizing the shop more, and spending another good 45 minutes cleaning dead tape and bondo off the fuselage.
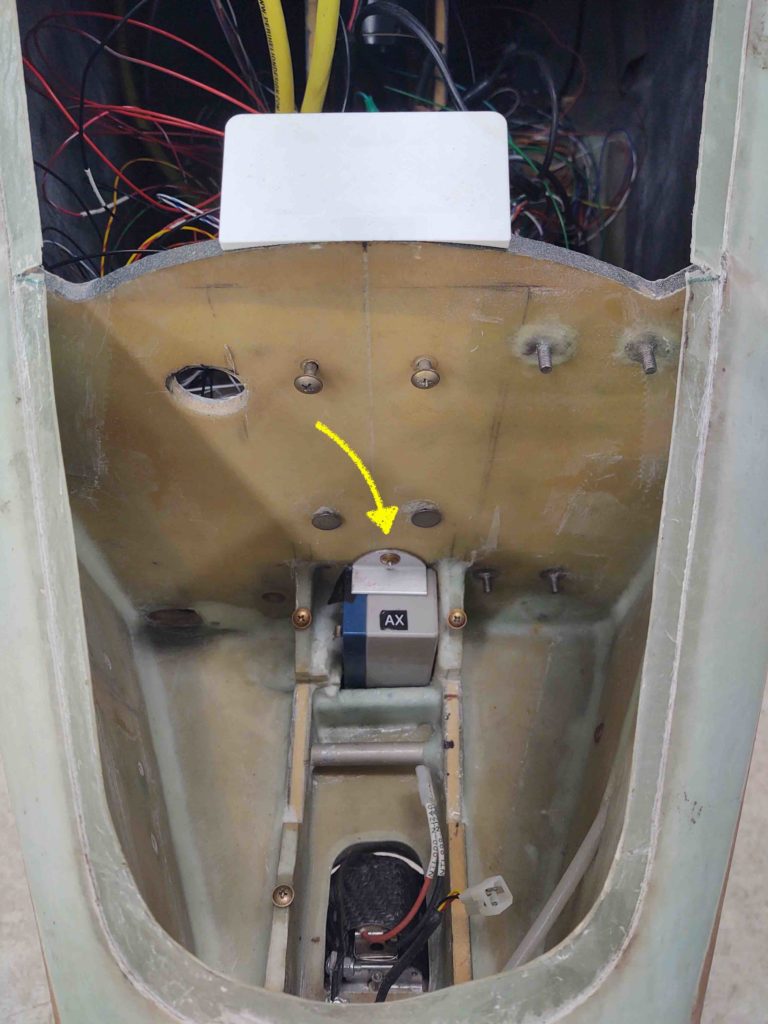
In part of my cleaning spree, I started working on the inside of the plane as well, starting with the nose.
I figured I should remove the small nose gear back-up battery and charge it…. well, a frozen button-head screw retaining the battery bracket had other ideas about that.
I even hit it with PB Blaster a couple of times and let it soak for about 30 minutes, then tried my cordless impact drill to remove it. This resulted in nothing more than a now stripped button head screw (they suck BTW!), so I hit it again with PB Blaster and let it soak overnight.

I’m hoping tomorrow I’ll spend more time working and less time hunting for stuff!