
A couple of things before we get to the wheel pants, since I’m going chronologically here.
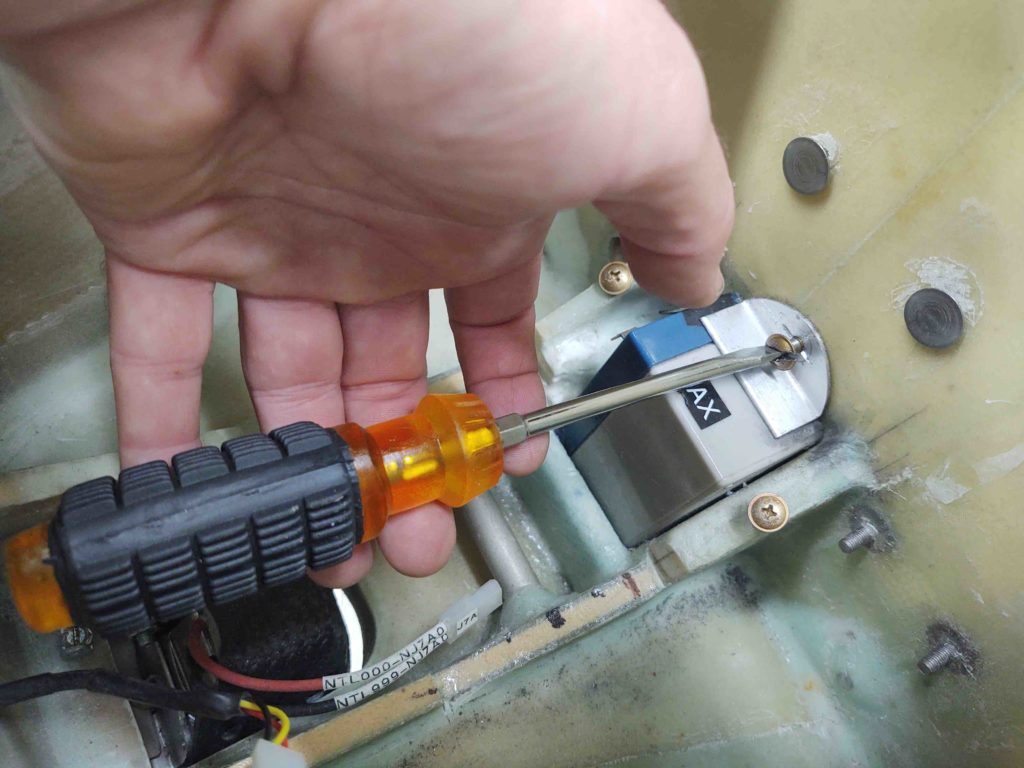
Realizing I wasn’t getting that darn button head screw out in normal fashion, I had to resort to using the Dremel Tool to turn the phillips head screw into a slotted one.
With even more PB Blaster, it was still quite a pain to finally get it to budge. But then it finally gave up and came out.
Here’s the destruction of the screw….

I even nicked the battery retaining bracket a bit . . .
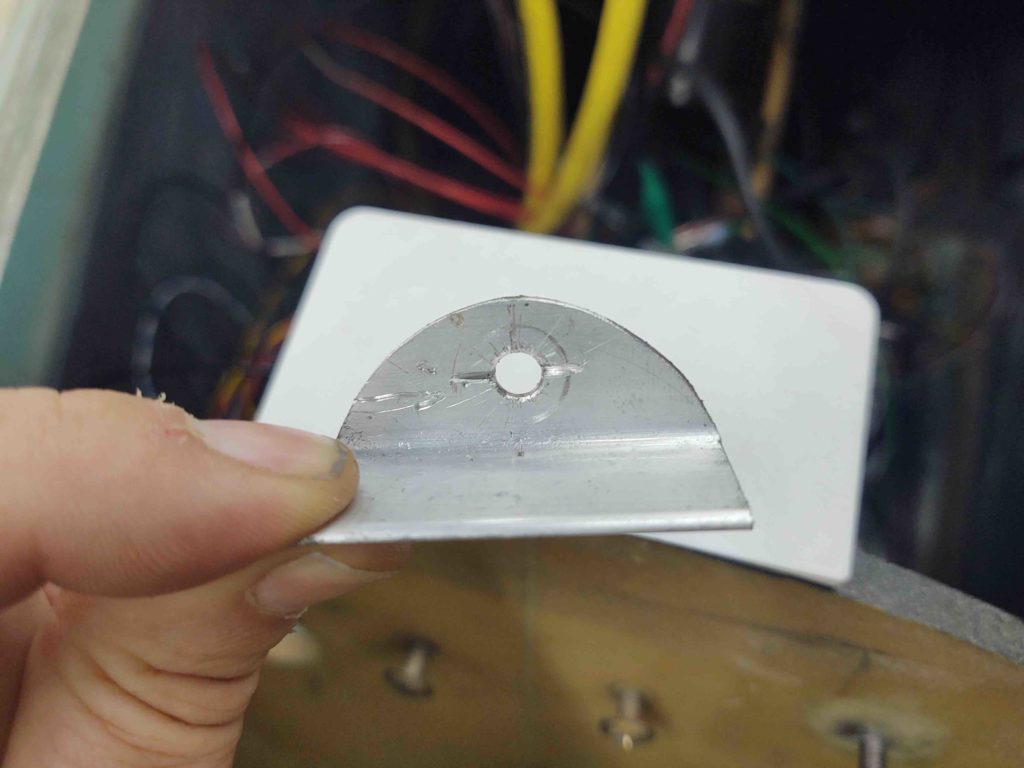
Yep, lesson learned. Although there are a couple button head screws in this pic, they will be from here on out greatly minimized in my plane!
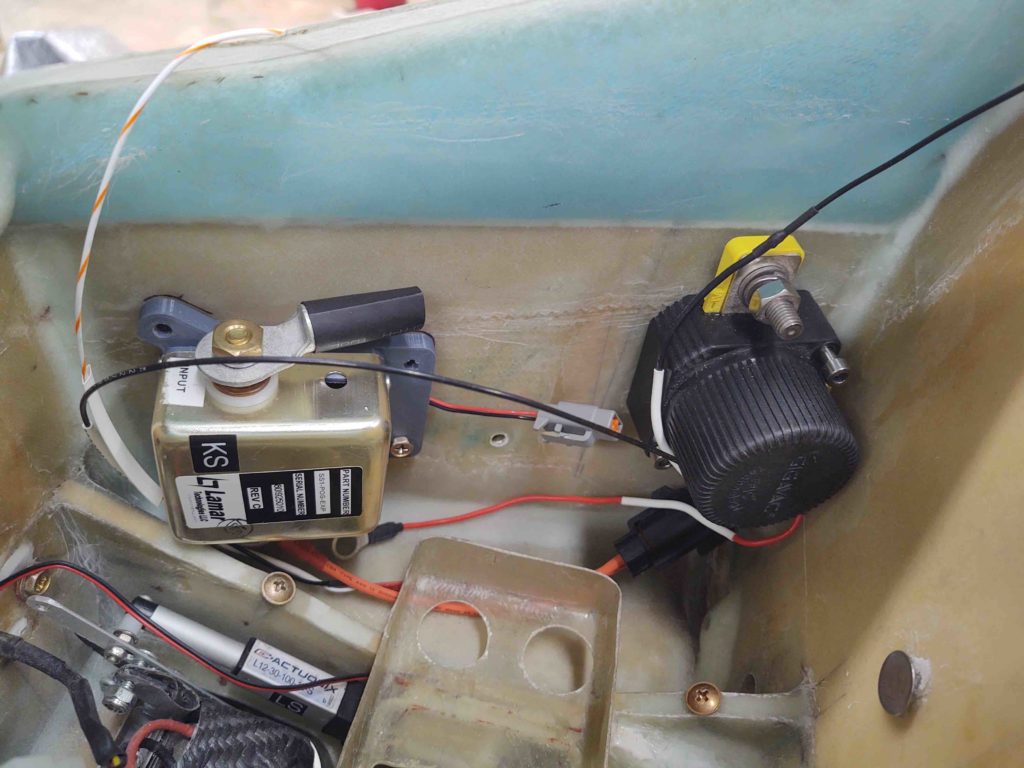
With the nose gear backup battery getting charged, I then set my sights on the battery compartment. I assembled the starter contactor (attached to its 3D-printed mount), the battery contactor, and the battery. I mounted them in place (repurposing one cable clamp hardpoint for the starter contactor) and then assessed cable runs and configurations to ensure all would fit.
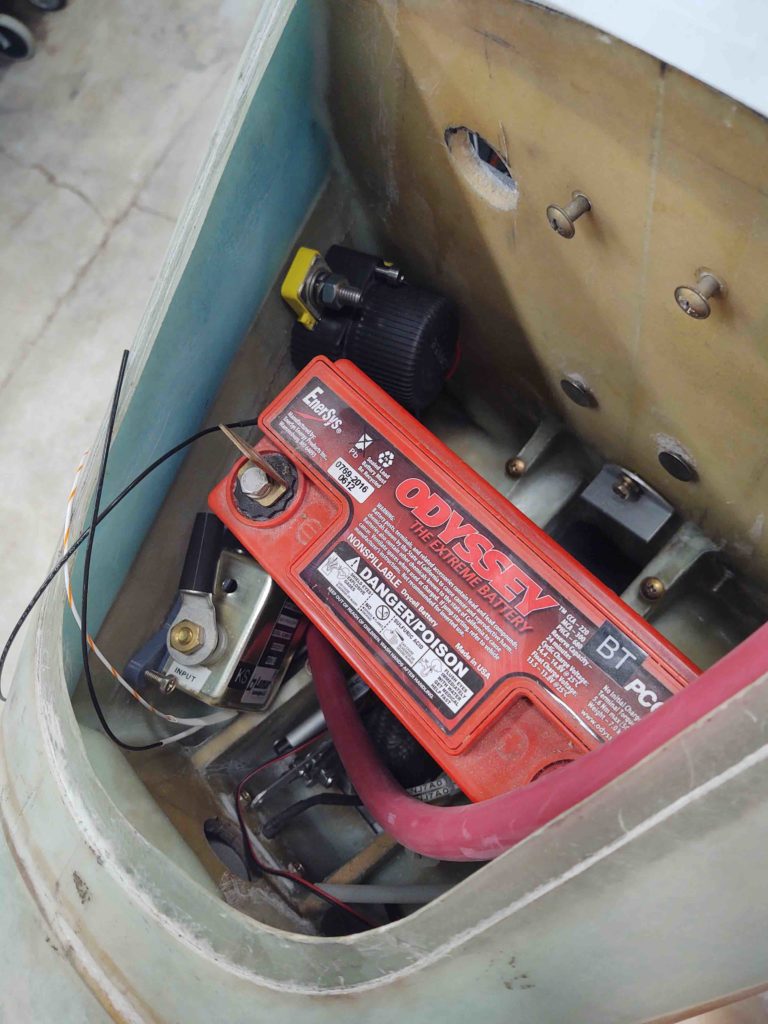
After figuring out the big cable runs, I then zeroed in the final position of the starter contactor (I also dialed in the position of the ANL40 alternator fuse bracket — not shown).
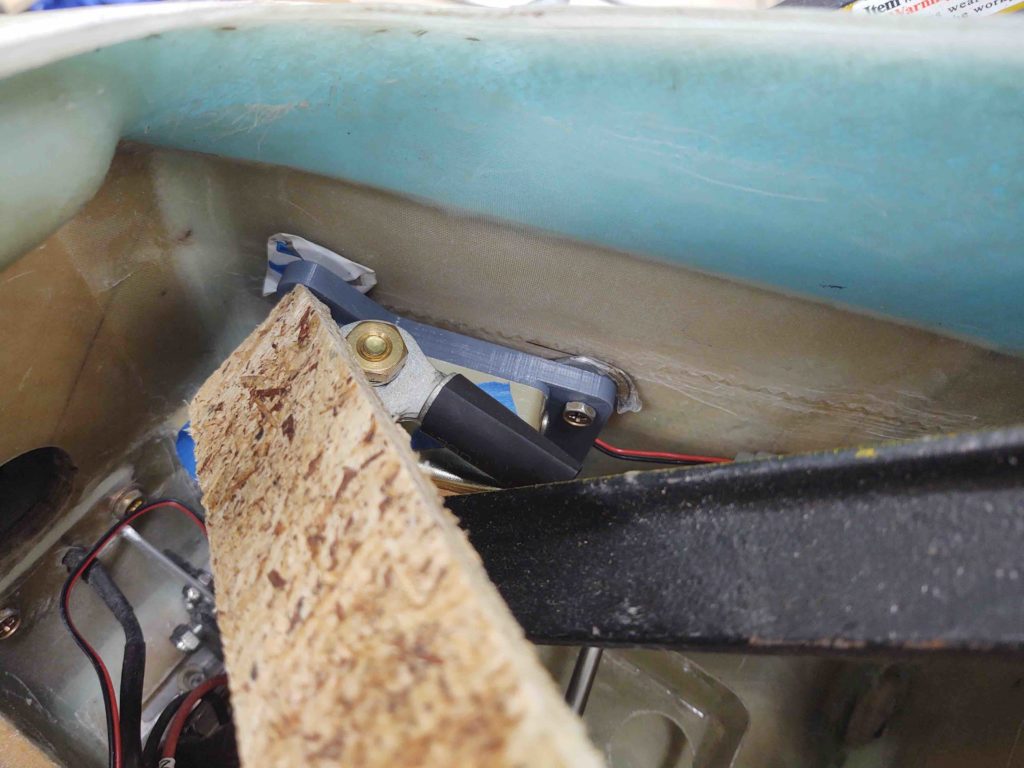
I drilled holes for the starter contactor mount bolts, prepped some RivNuts and floxed them into place on the front right sidewall of the battery compartment. The wood strip wedged into place and black steel part of a clamp are holding it all tightly into place as it cures.
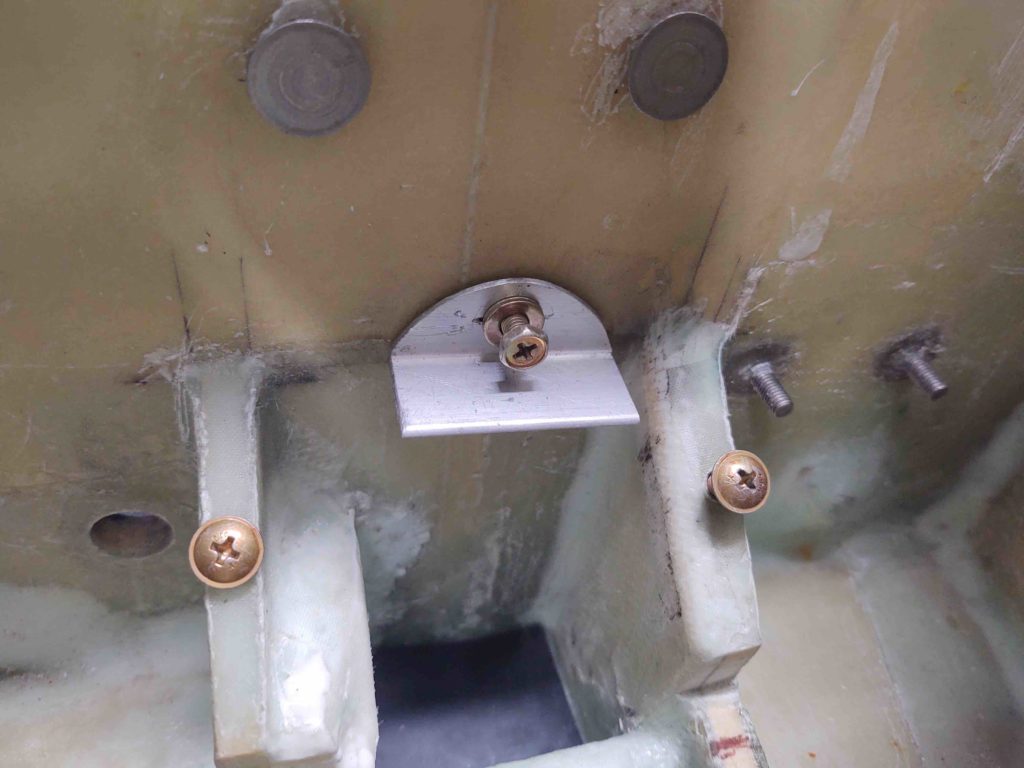
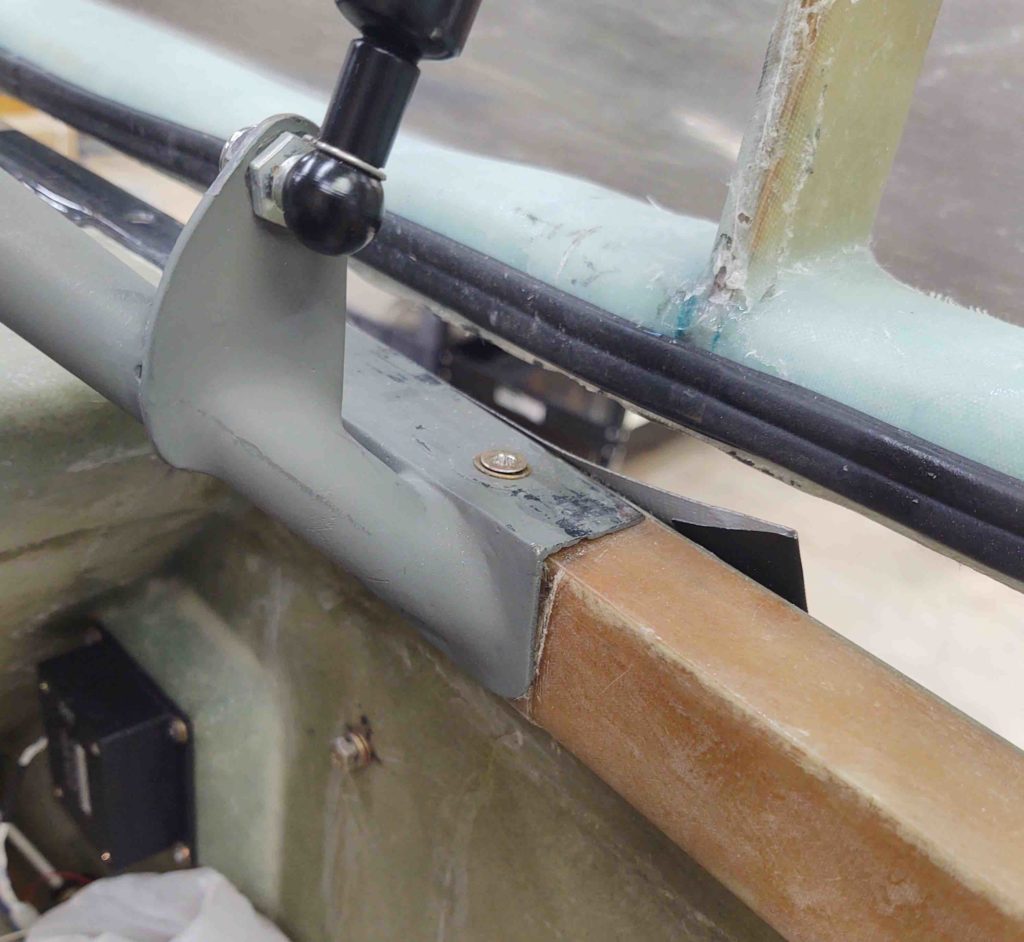
Using flox from the same batch, I then floxed in the phenolic nutplate assembly onto the bottom of the longeron for the aft RHS rollbar frame reinforcement screw.

I used a thin washer under the screw head to ensure I could get the screw out after the flox cures, although I did apply a thin coat of grease to the end of the screw threads.
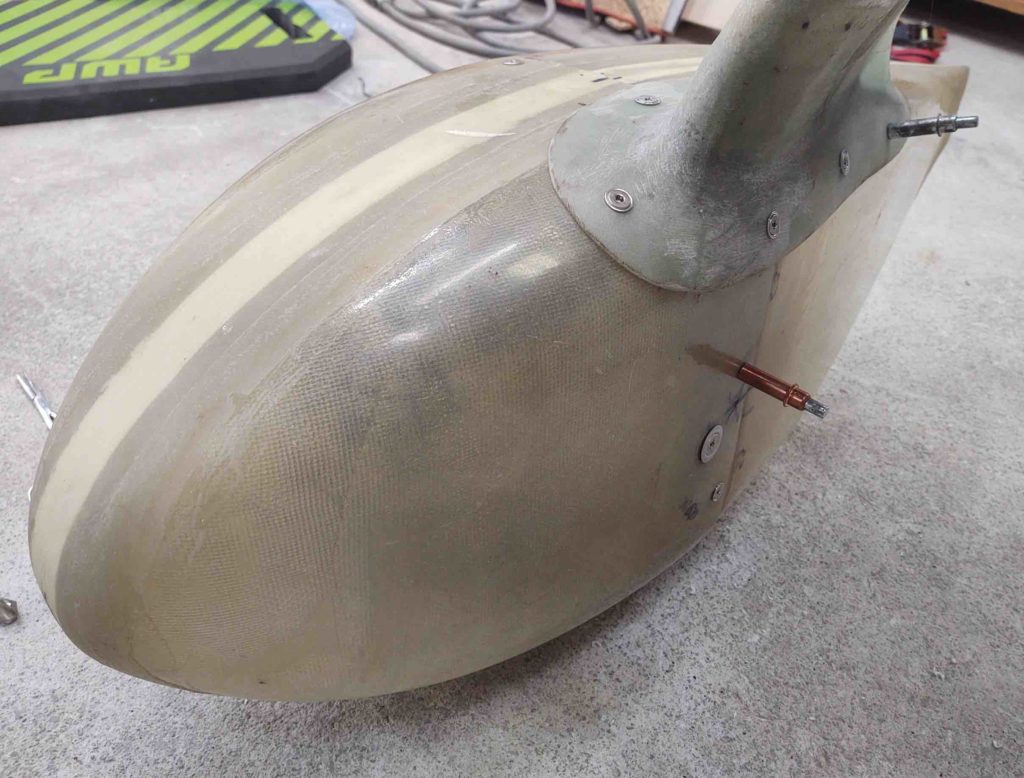
Finally having some flox components curing, I got back to working on the right wheel pant. I’ve been slowing averaging a couple of hardware (screws or CAMLOCs) installs per day over the past few days.
My method has been to install the hardware points in pairs, with one high on one side and one low on the opposite side, then switch the next time around. Shooting for around 180º as if tightening bolts in a radial pattern.
Here you can see I only have 2 positions remaining to complete on the outboard side.
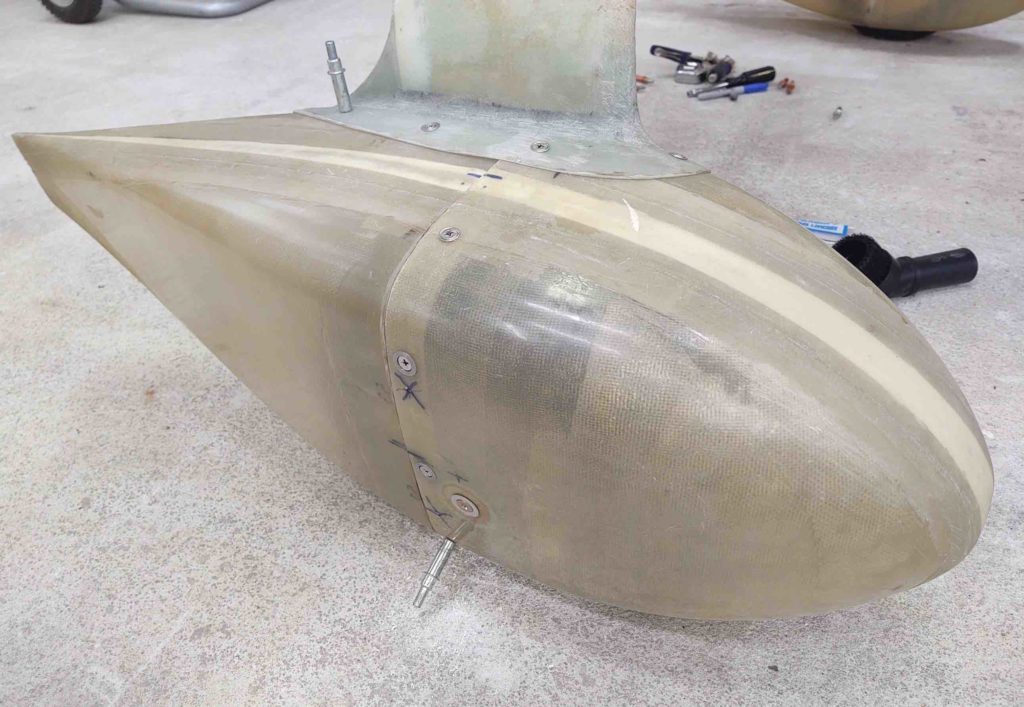
And 2 positions remaining on the inboard side.
I know I’ll be short hardware for the left wheel pant, but I want to go as far as I can before placing an order with ACS simply to ensure I account for all the hardware I’ll need for both the wheel pants and possibly other components.