
But first…. a few things.
As I mentioned before, as I go about the wheel pant install I’m trying to get some components installed… preferably ones that require epoxy/flox to secure them in place. That way as I continue my wheel pant install machinations –which can be a bit slow and tedious– I’ll have something “baking in the oven,” if you will, concurrent to my specific efforts.
Well, today was a setup for that, but I didn’t get to the flox part just yet.
However, I did get a couple of electrical components installed, and as benign as that seems, anything mounted and placed (typically) is another item off the list for mounting, and one less decision that has to be made (admittedly, this is mounting #2 for the ANL40 fuse device… previously mounted in the Hell Hole).
So the goal is to flox in a couple of RivNut hard points to mount this guy here, a mini ANL15 slow blo fuse that protects the Battery Bus-to-E-Bus circuit if the SD-8 backup alternator is feeding the E-Bus directly. Incorporating this was one of the latest significant changes I did to my electrical system and was based on a fairly new system architecture that Bob Nuckolls devised.
BTW, looking up the circuit configuration for this device on my Charging System wiring diagram highlighted that I hadn’t updated the diagram with this new mod…. so I did so before heading to bed.

Back to it.
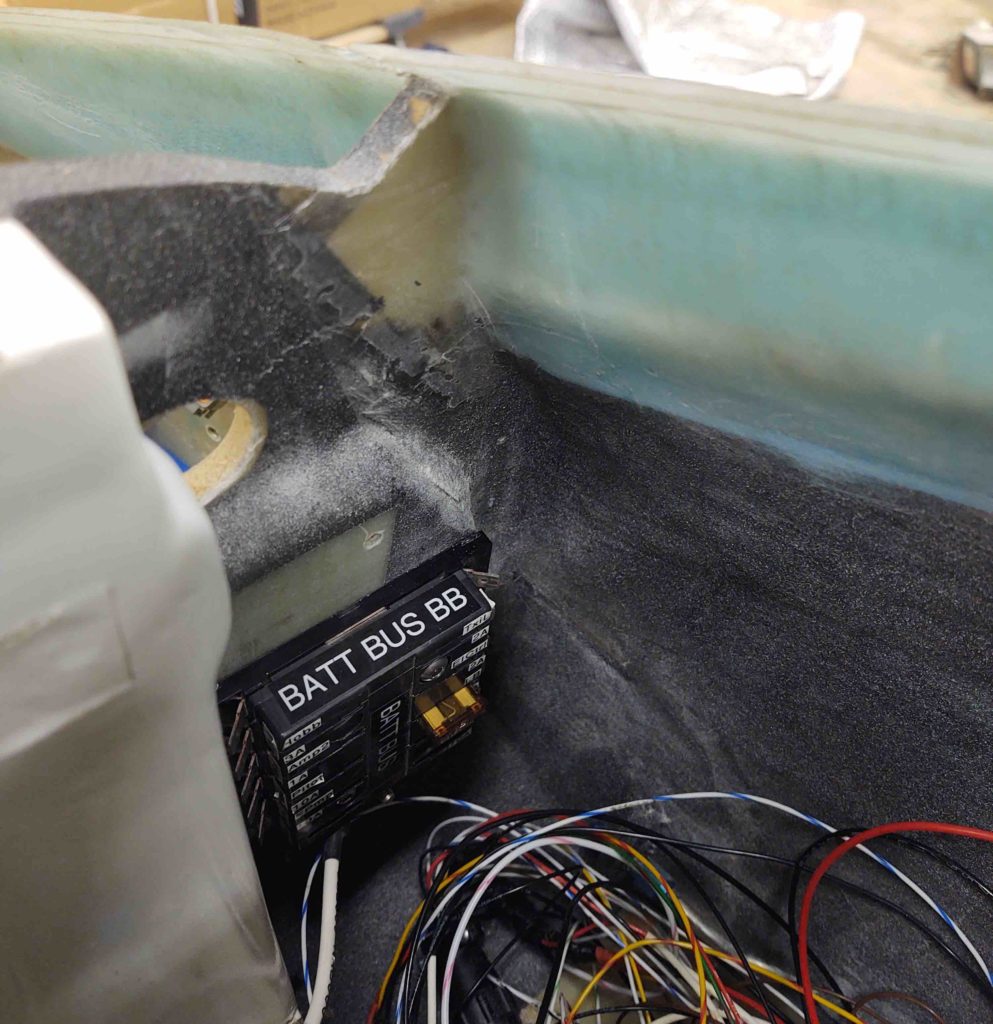
To figure out where to mount the ANL15 fuse above, I would need to understand my spacing requirements. I plan on mounting it on the right nose sidewall just aft of the Battery Bus.
So I rounded up the Battery Bus and temp installed it.
Since I am once again using a S704-1 relay to control the SD-8 straight power feed to the E-Bus (I had removed it on the advice of Bob Nuckolls when he reviewed my electrical system architecture), since it is now back in play with this new E-Bus feed schema.
So I needed to mount this relay for two distinct purposes:
A) Since this relay controls the E-Bus power feed (AKA on/off switch) it connects directly to the ANL15 fuse. Thus I need to know the relay’s required distance from the ANL15 as determined by the length of the pre-existing power wire (big red wire) that will run between the two devices.
B) Since I’ll be mounting the ANL40 fuse base on the front side of the Napster bulkhead close to opposite the position of this relay, this relay getting mounted is a prerequisite task to then mounting the ANL40 base… since screw clearances through the bulkhead can be maintained.
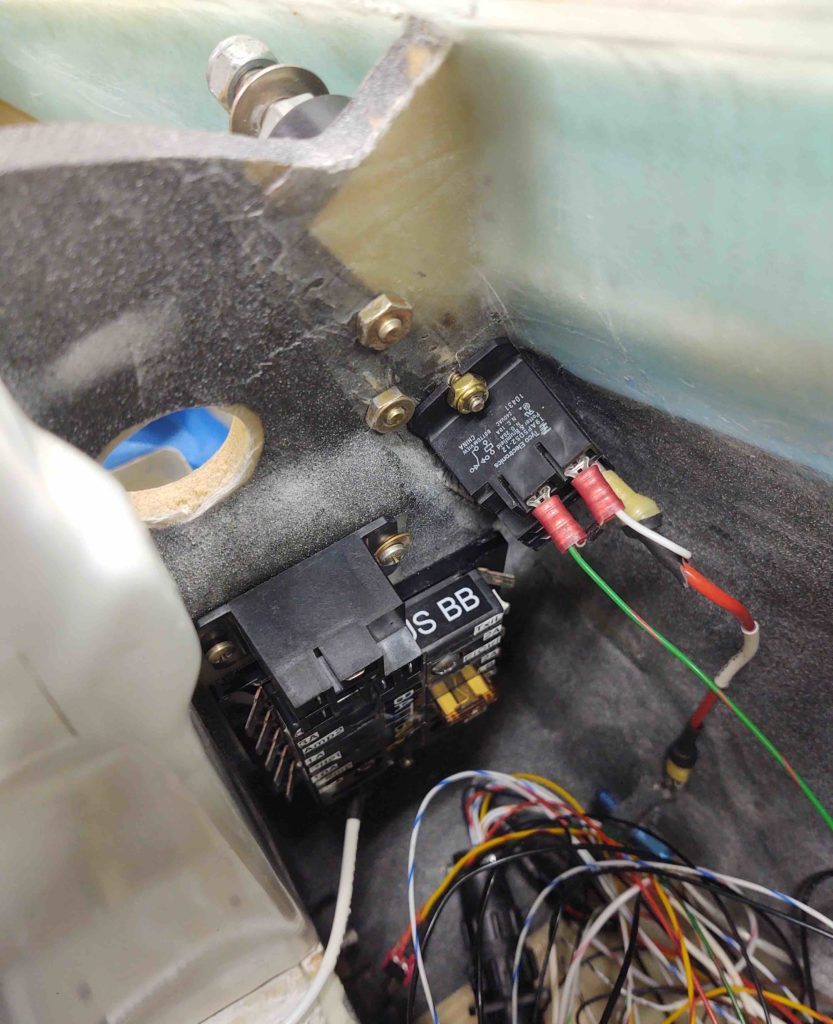
As you can see below, I then proceeded to drill & countersink (front side of bulkhead) the required holes and then mount the S704-1 relay.
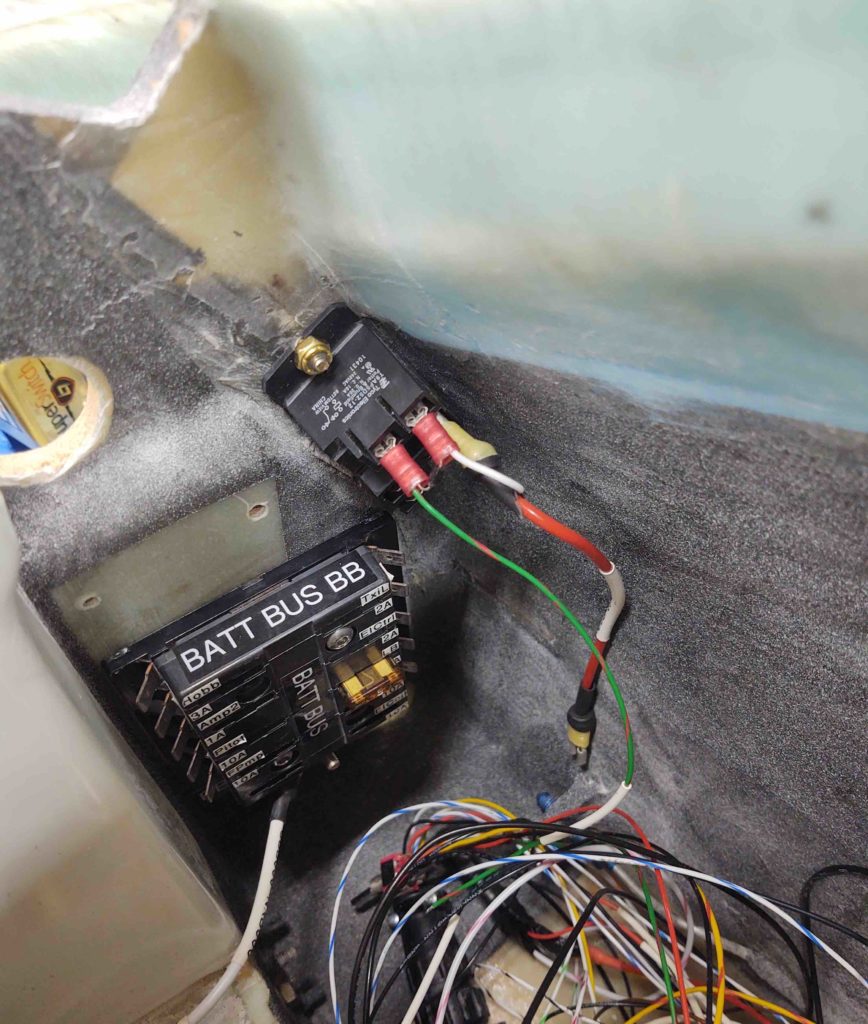
Since I had the Heated Pitot Tube S704-1 relay on hand I went ahead and temp mounted it in place above the Battery Bus.
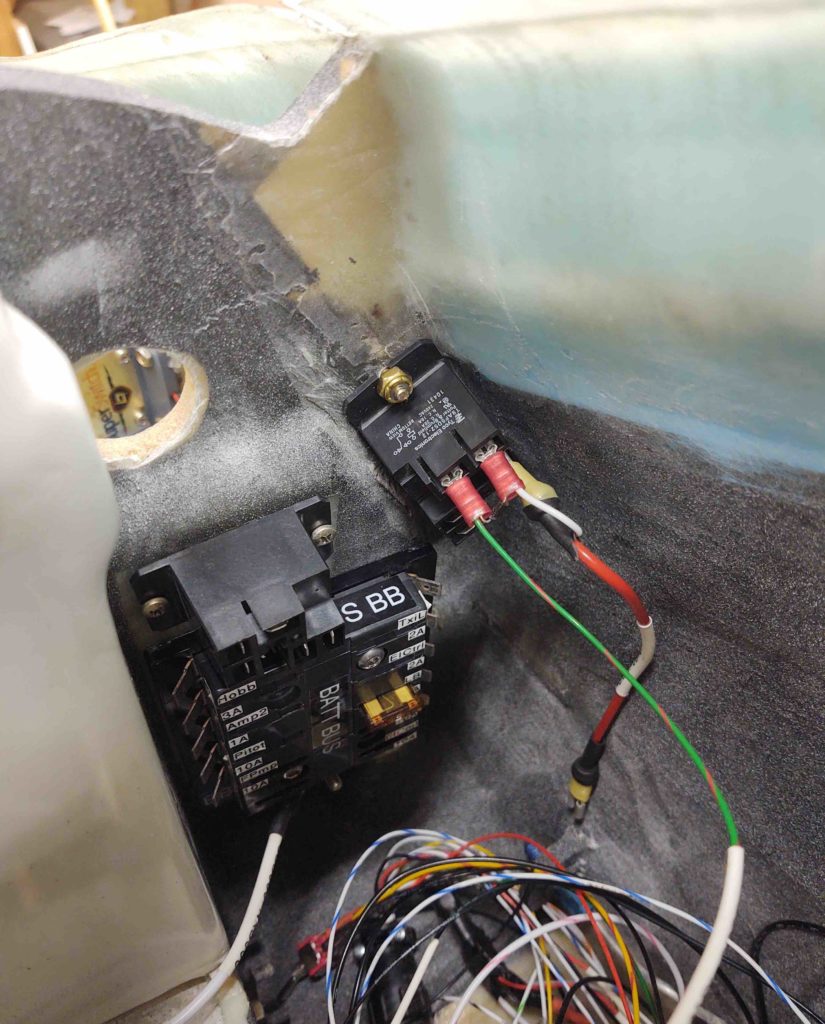
With the E-Bus feed relay mounted in place, I then mounted the ANL40 fuse base on the front side of the Napster bulkhead while ensuring its mounting screws missed the components on the back side of the bulkhead.
As you can see here with the two ANL40 fuse base screws poking through the backside of the Napster bulkhead.
With this all done, I will cut off the red wire’s Fast-On connector, re-lable the wire and then terminate with a ring connector. I’ll actually fasten the ring connector to the ANL15 fuse block and leave it connected as I mount the ANL15 on the side wall.
Yes, all this fuss for pretty much simply drilling 2 holes and flox-embedding a couple of RivNuts into the sidewall for a fuse block!
Ok, now for the fun stuff!
I finished mounting the CAMLOC hardware on the right wheel pant. It really is a time-consuming process, but I’m really happy with the results.
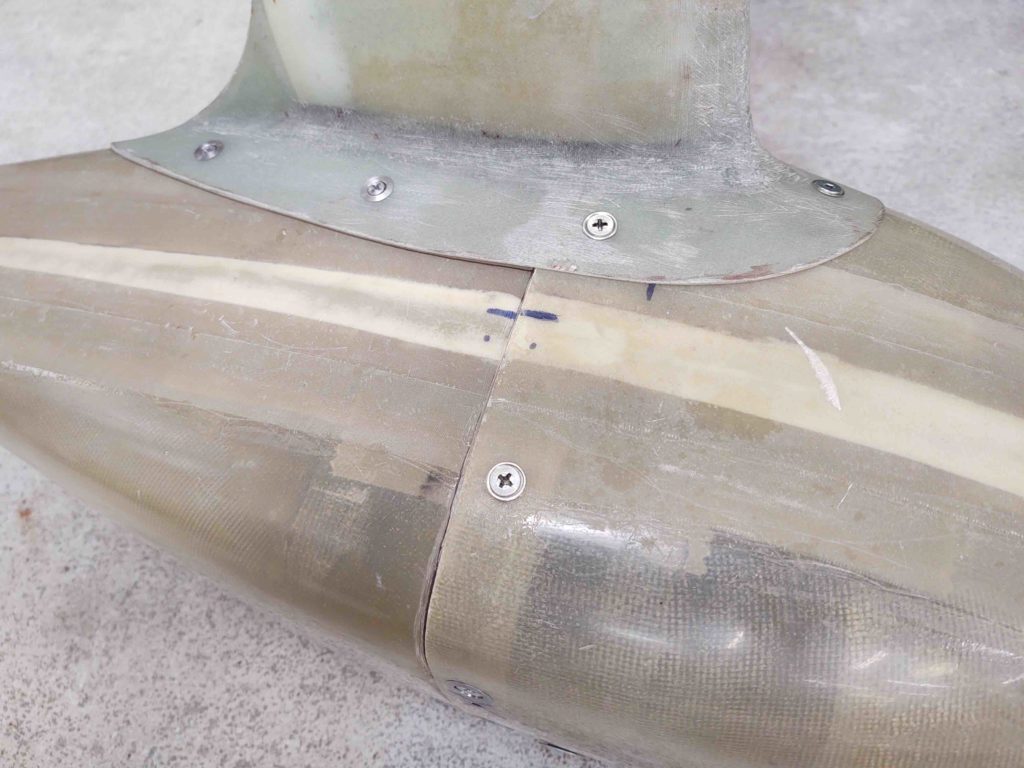
Here’s a shot showing some of the interior hardware on the back half of the wheel pant, and the through holes in the front of the pant.
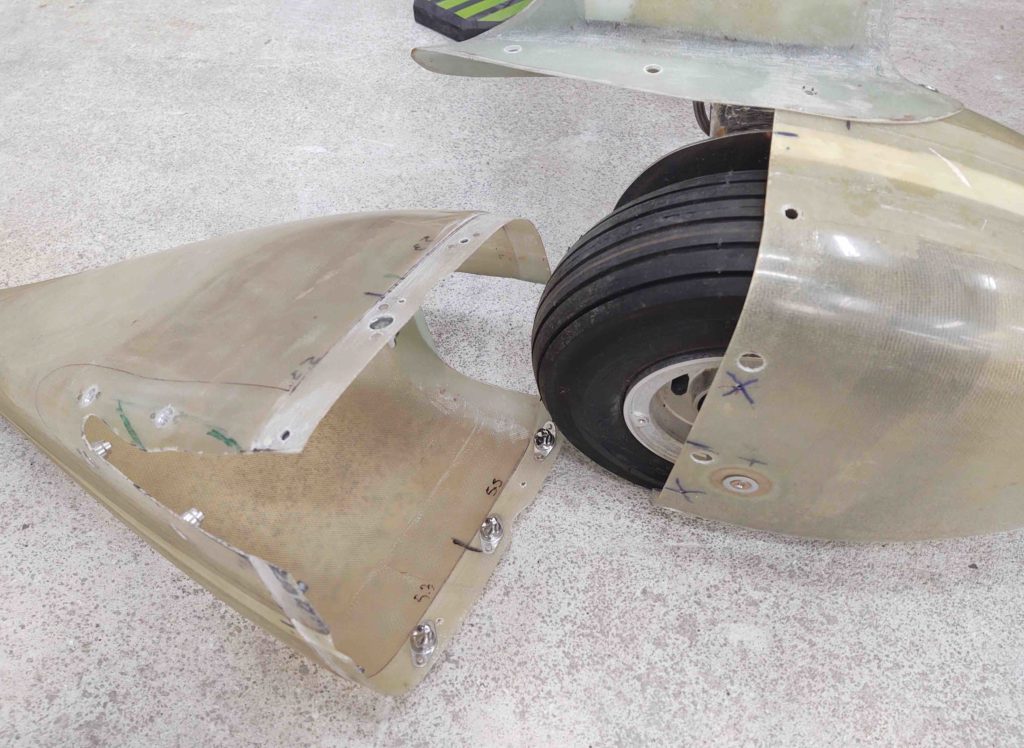
And same here on the inboard side.
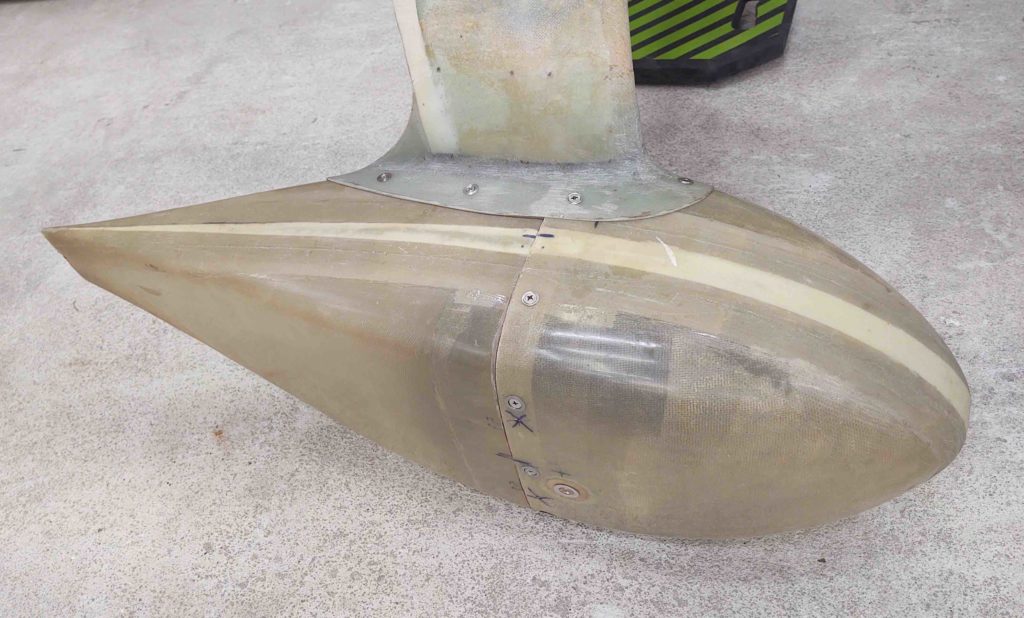
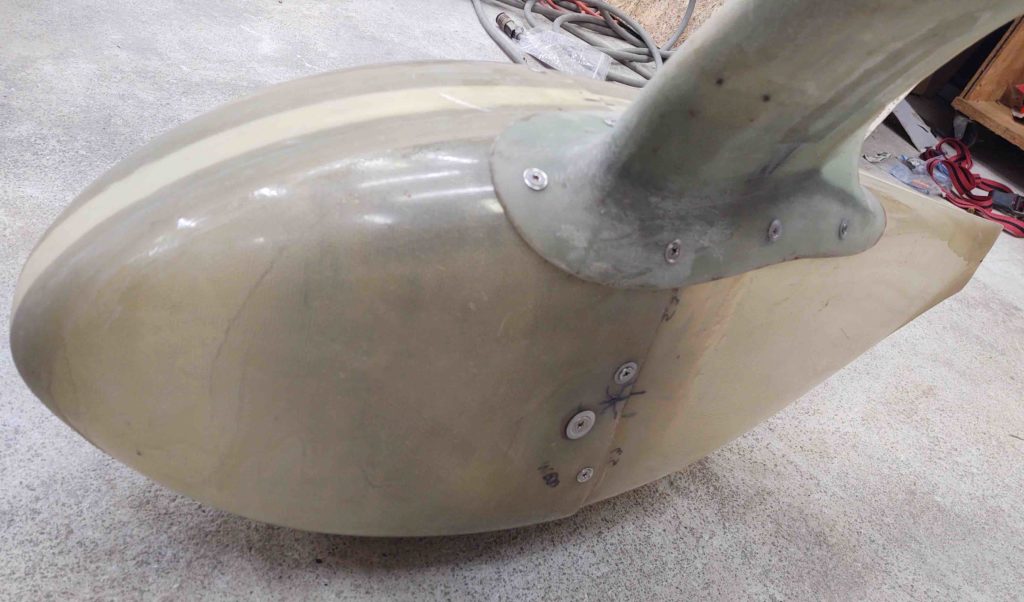
Here’s the right wheel pant in all its mounted and finished glory!
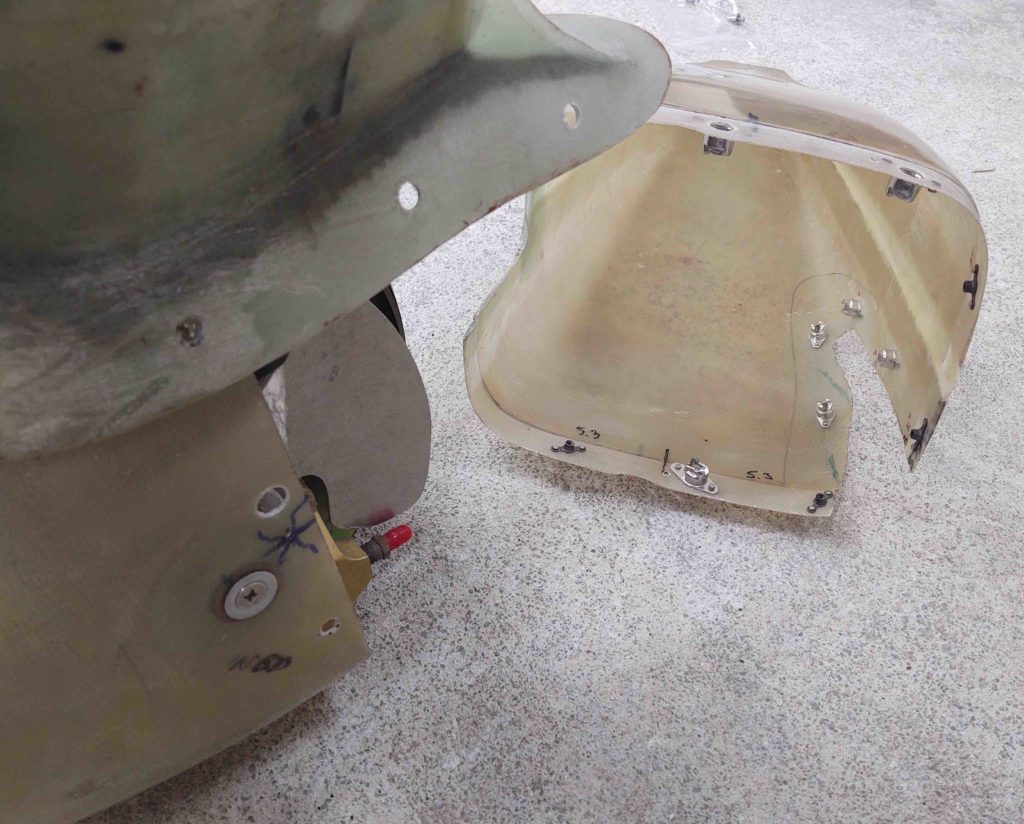
A closer-up shot of the hardware. Again, all told to take off the aft pant section to gain access to the wheel requires removing 4 screws and 8 CAMLOCs.
The outboard side of the right wheel pant showing 3 CAMLOCs.
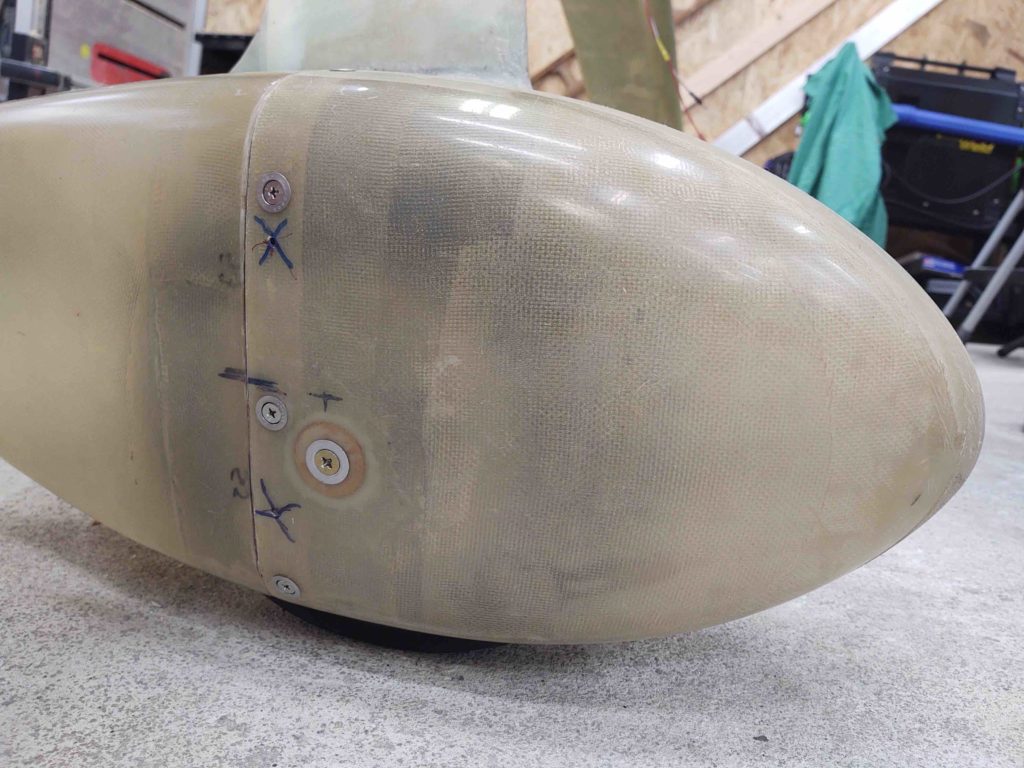
And a closer-up shot of the inboard side, with 2 screws (top/apron & bottom centerline) and 3 CAMLOCs (one midpoint centerline, and 2 on the aft apron).
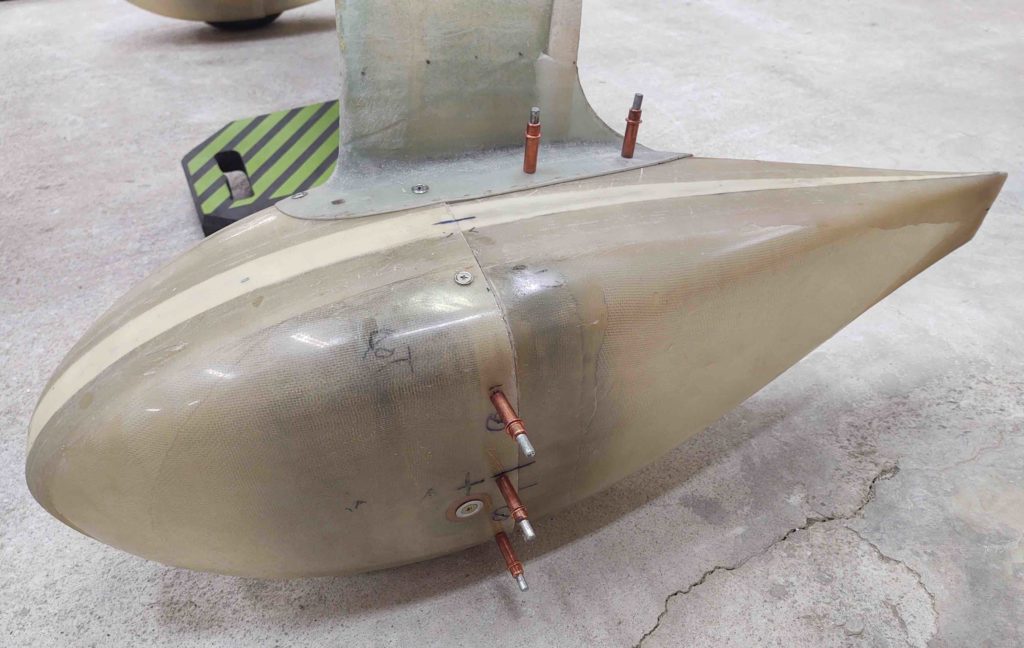
Entire inboard pant view.
I then relocated and re-drilled the screw/CAMLOC attach points on the left wheel pant, following the same pattern I implemented on the right wheel pant. Again, this adds one more securing point on each side of the pant.
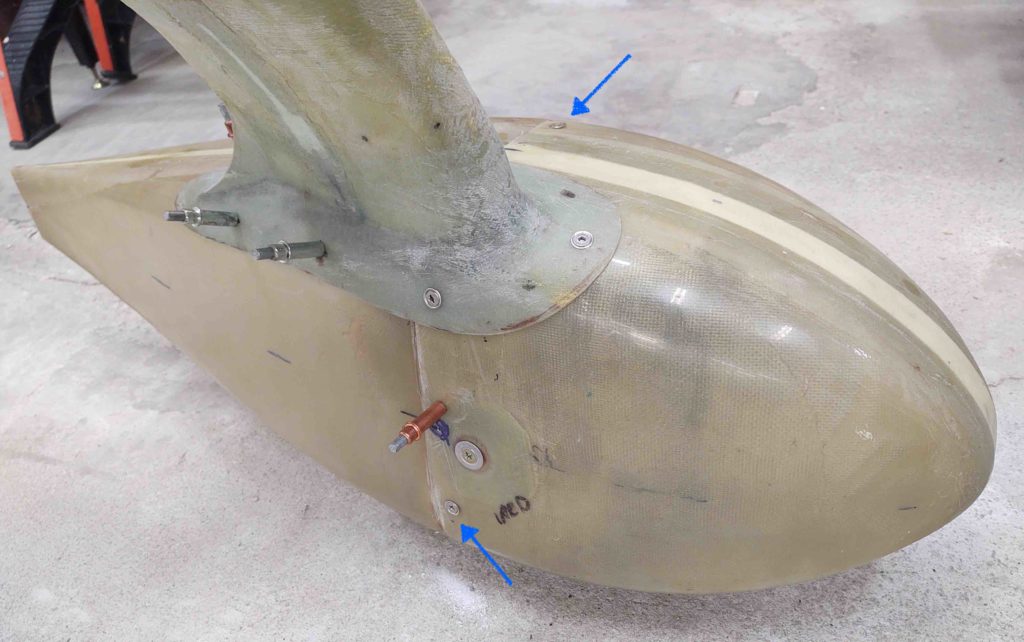
To close out the evening, I drilled and riveted 2 nutplates in place to add the last screws that will be installed on these wheel pants {blue arrows}. The remaining installs will all be CAMLOCs from here on out.
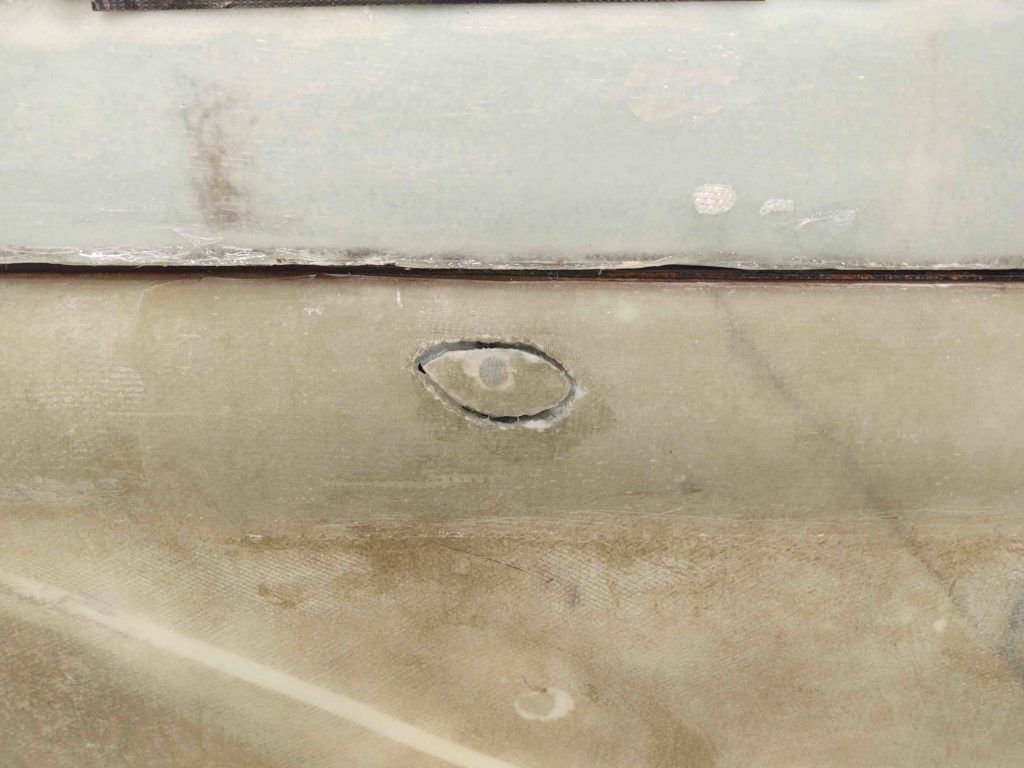
Since I was remiss in not showing the removal of the access plug I made to assess the rollbar bolt securing nutplate, here’s a shot of it after I floxed it back into place. I’ll fill the gap in with micro and glass over it with BID tapes when I build the strakes.
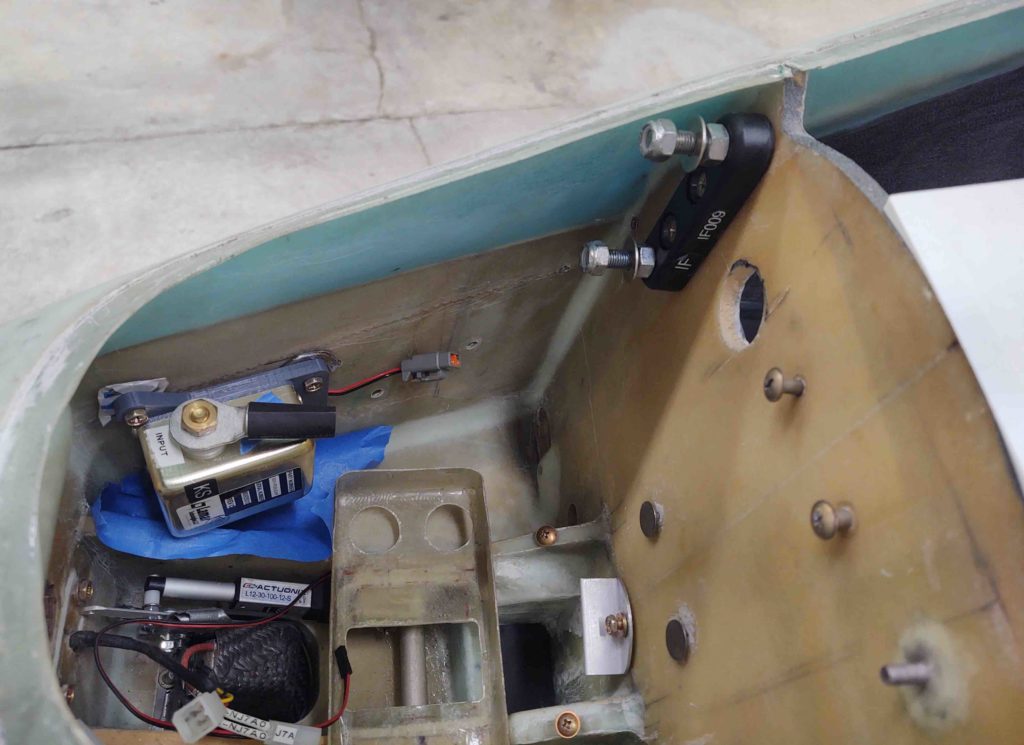
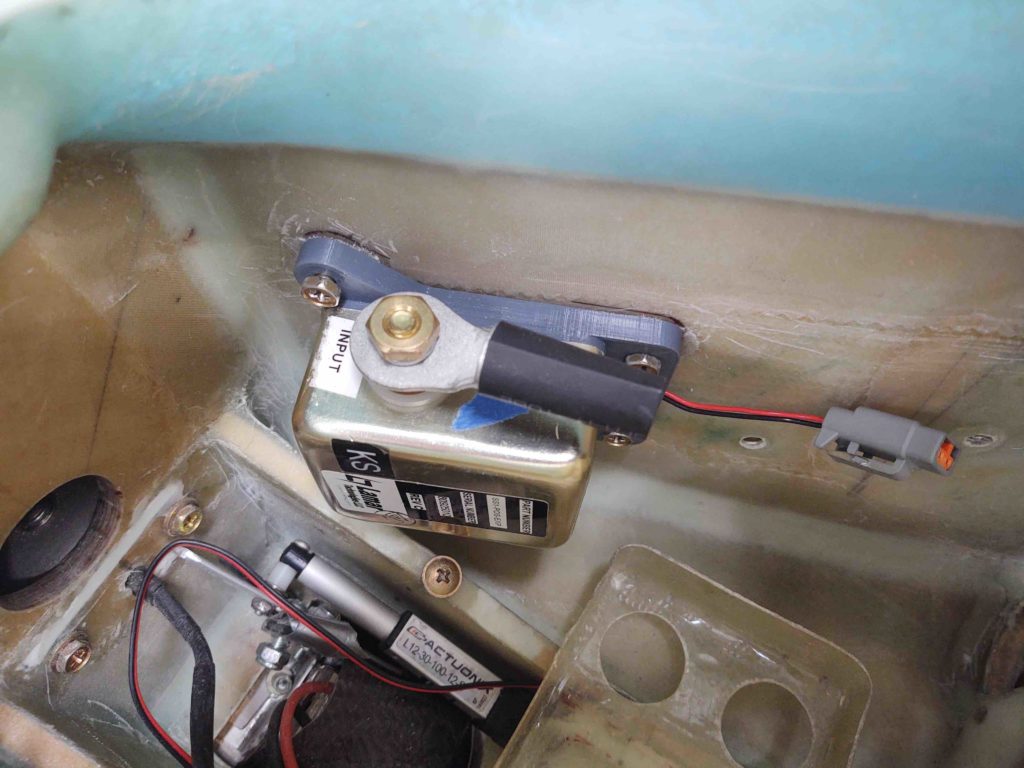
Here we have the Starter Contactor installed. The embedded RivNut bolt hard points came out nicely and I can check this component off the list as positioned and installed.
I will continue my madness of wheel pant install intermingled with other odd tasks for the upcoming week. I plan on working essentially the centerline of the plane, and specifically the GIB area before I build the strakes (note, first will come winglet installs).
As a point of note, I finished off my time in the shop this evening with another 45 mins of cleaning duct tape residue off the very inboard area of the right CS spar and fuselage. I’m thinking 1-2 more cleaning sessions and I’ll have all the tape residue, etc. removed from the bird.