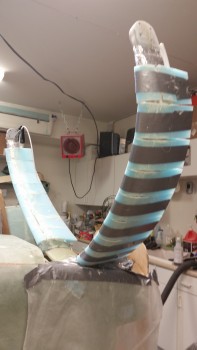
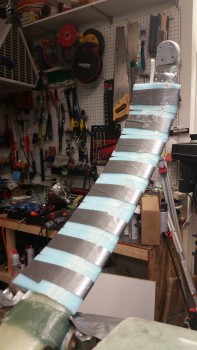
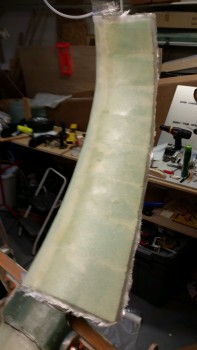
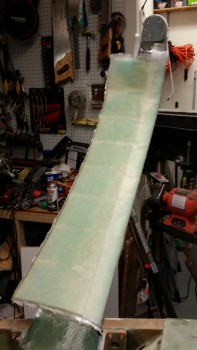
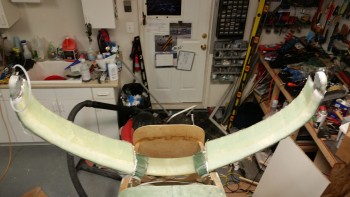
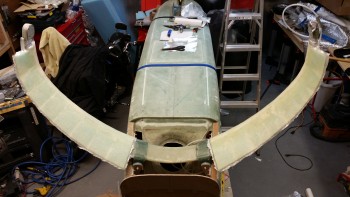
Well, at least the underside of them.
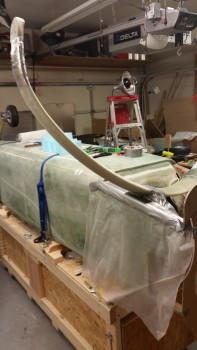
I started out by prepping the right gear leg for attaching the gear fairing foam pieces.
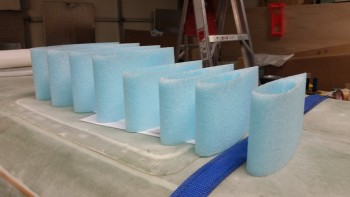
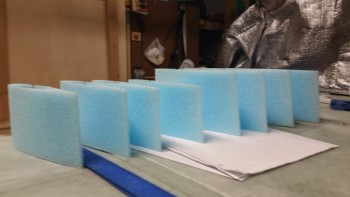
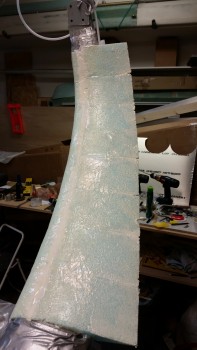
I figured I would snap a couple of shots of the gear fairing foam pieces ready to install.
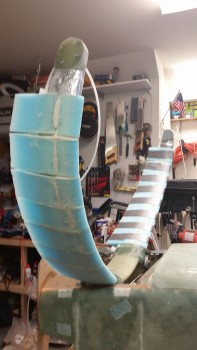
I then slathered up the right gear leg with micro as I did the left site and attached all the foam fairing pieces to the gear leg.
Here’s another shot of the right side gear fairing.
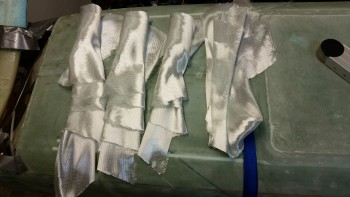
I then cut 2 pieces of UNI at a 30° bias for each side, for a total of 4 pieces of UNI each measuring 11″ wide x 32″ long.
After getting all the UNI cut I mixed up some micro using MGS 335 and applied it to the bottom surface of the left gear fairing.
I then laid up 2 plies of UNI, with the 30° bias going in opposite directions.
I then micro’d the surface & laid up 2-plies of UNI on the bottom side of the right gear fairing.
Here are a couple of shots of the glassed bottom side of the gear fairings. Again, I’ll layup the top side of each gear fairing after I flip the fuselage over back upright.
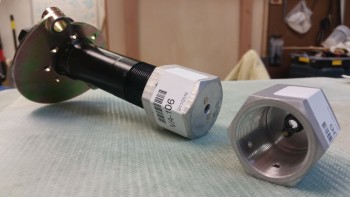
I’ve also been meaning to take a pic of these. They’re end caps for the Matco axles from VANs aircraft that have a nutplate in the end to allow for mounting the outboard side of the wheel pants. This eliminates the requirement to drill & tap the end of the axle, which with Matco axels can be a little problematic.
Tomorrow I’ll clean up the gear fairing layups & then assess the bottom fuselage extension.

