
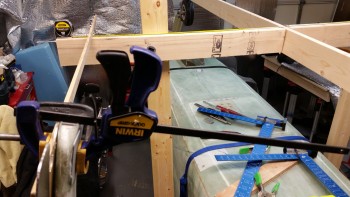
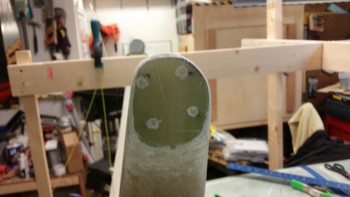
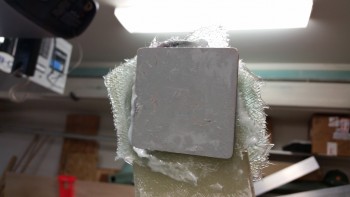
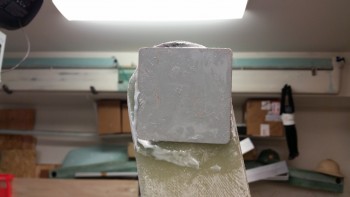
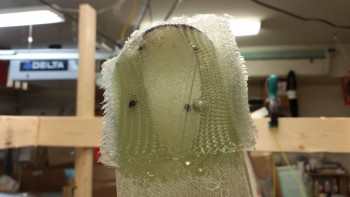
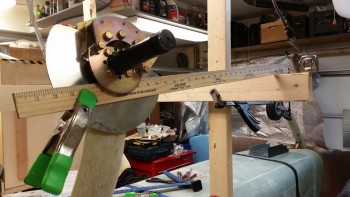
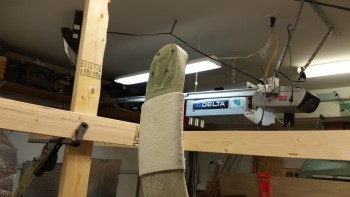
I thought I’d start off this post with a couple of pics showing my toe-in efforts from the top side looking down. In the top pic you’ll note the 2 blue aluminum squares, which, of course, I didn’t even end up using.
With the BID pads cured on each side of both lower gear legs, it was time to assess the damage. I popped the heat shield off each side, and the first item of note was that I was going to have to remove the epoxy nubs that resulted from some of the epoxy squeezing through some of the heat shield bolt holes. This wouldn’t have been an issue if my heat shields had stayed put and weren’t off from the marked bolt hole locations, since I would have simply drilled right through the nubs.
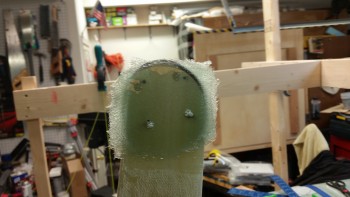
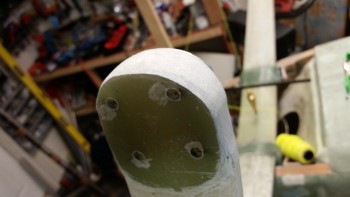
I decided to organize the pics in progression (vs. true chronological steps), at least initially, for each item. Thus, below you can see the transformation of the left side outboard lower gear leg as I sanded & shaped the 9-plies of BID. [NOTE: What appears to be bolt holes drilled into the face are not holes, just areas where I removed the “nubs” I mentioned above.]
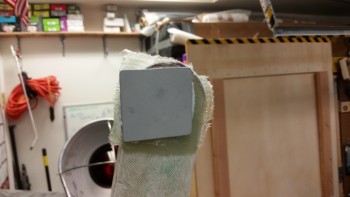
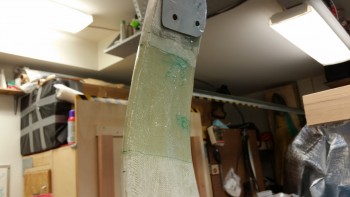
Here’s the back axle plate on the inside left lower gear leg. The left side held decently, even though it was the side that gave me the most fits.
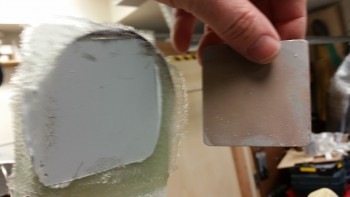
But the right lower gear leg was jacked up on both sides, although I didn’t realize the outboard side had any real issues until I went to mount the axle & heat shield later (more below). Basically, you can see the flat spot in the middle which looks like the pupil of a cat’s eye, with the unpressed BID to either side.
In addition, the back axle plate had slid way aft on me during the night. The way the axle mounting bolts would align, there would be no other option than to knock the plate off & start over again.
Which is what I did. Note that to the left is the flox base, which decided that it liked the grey primer better than the back axle plate. Thankfully, since the surface of the plate was fairly smooth, it took one really sharp rap with a hammer & chisel to send the plate flying across the shop… but it was off!
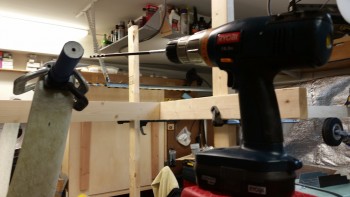
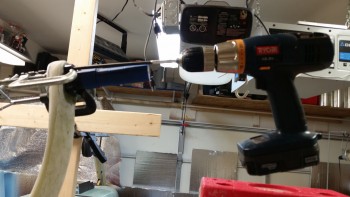
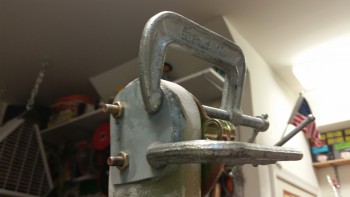
I then set my sights on mounting the left axle. Using my previous marks as hole guides, I clamped the axle firmly in place with 3 C-clamps. Then used the long 1/4″ bit to drill the holes.
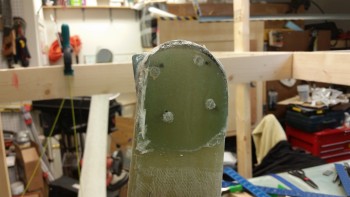
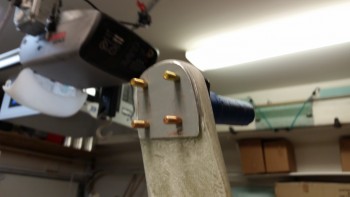
And here’s the results on the outboard side.

And the 4 AN4-22A axle bolt threads showing on the back side. As per usual, I think AN4-20A bolts would be a better fit, maybe even just a tad shorter.
With the axle bolts drilled, I could determine just how much material needed to come off the lower gear leg to allow clearance for the brake caliper. The plans throw around 1/16″ and 0.1″ as a number, but by using the Matco mounting & mocking up the brake assembly, I determined that the clearance between the Matco wheel/brake/axle mount and the brake caliper assembly is about 3/32″ (0.93″), so that’s what I used.
As you can see, I used a blue Sharpie to mark the areas that needed to be removed for brake caliper clearance.

And for the job, I took my ol’ mojamma belt sander out of retirement and threw a new 32 grit belt on it. I say out of retirement because it took a good bit to dig it off the top storage shelf in the garage.
The belt sander worked like a champ! Here’s the end result:
I then bolted on the axle along with the heat shield and the brake assembly. The bolt fit was tight, and needed some persuasion, but it all went together fine.
I removed the blue painter’s tape off the axle in preparation for mounting the wheel, but before I stuck the wheel on I wanted to use the heat shield to check the toe-in angle quickly before proceeding. The toe-in was still right at 0.1″ difference between the zero measurement & the 24″ measurement. With that bit of info, I was ready to mount the wheel & brake rotor.
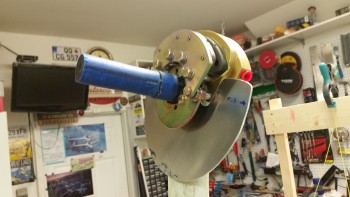
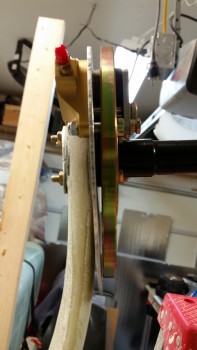
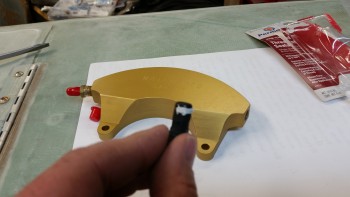
Here’s a side shot of the axle, brake assembly, and heat shield just prior to mounting the brake rotor. The 6 bolts you see in a half moon shape encircling the top part of the axle had to be removed in order to remove the brake caliper assembly, which is a prerequisite step to allow the rotor assembly to be installed.
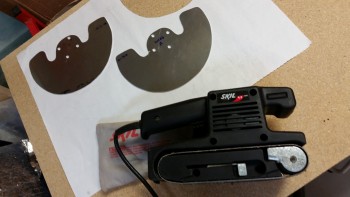
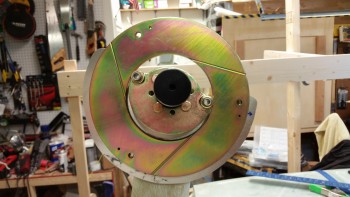
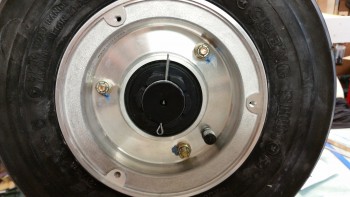
With the brake caliper assembly removed, I then mounted the rotor. If you look at the outer circumference of the brake rotor you’ll note 3 screw holes. These holes are what attach the brake rotor physically to the actual wheel.
You can also see the 1/2″ overhang of the heat shield beyond the outer edge of the rotor to protect the gear leg from the incredible amount of heat the rotor generates during braking ops.
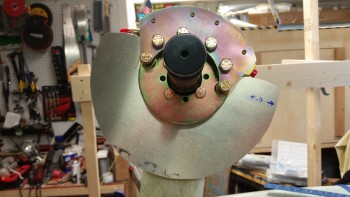
I took the shot below showing how close the brake rotor is to the heat shield. It’s actually a little misleading though since when the brake rotor is bolted to the wheel, the space between it and the heat shield allows for plenty of clearance.
Of course having never mounted one of these wheels before, I wasn’t sure what the rotor- to-heat-shield clearance would be, so I clamped the heat shield tightly against the gear leg to coax it to reside a little closer to the gear strut. Also, in the pic below you can see that I remounted the brake caliper assembly around the rotor. I torqued each end bolt of the 6 caliper bolts to 50 in/lb. and the 4 center bolts to 120 in/lb. as per Matco specs.
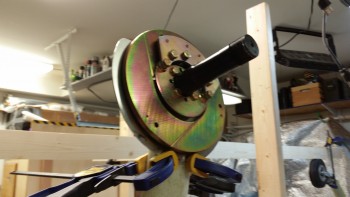
I then mounted the wheel, which in and of itself is an odd endeavor since the sealed axle bearing inside the center hub of the wheel is not allowed to rotate with the wheel, but has to be bolted in tightly so that it is secured to the axle –not spinning– and the wheel rotates around it. As noted by Matco, this makes for a very tight install & the wheel bearings will break themselves in as they seat. What this all means is that initially the wheel is pretty darn stiff in trying to get it to rotate. Kinda weird, but hey, I figure Matco knows what they’re doing & I’m not going against their instructions.
With the left wheel mounted, it was time to start on the right side. The first order of business was to clamp the axle in place & drill the 4 bolt holes (not shown).
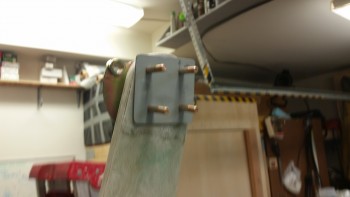
After I got the bolt holes drilled & the confirmed the axle mounted fine, I then took the axle off & mounted just the wheel/brake mounting flange on the outboard side with 2 short AN4 bolts as guides. I then clamped the popped-off back axle plate back into the correct position on the inboard side of the gear leg.
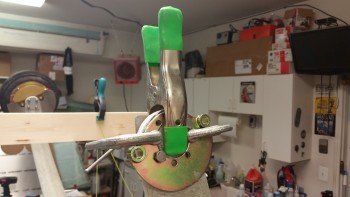
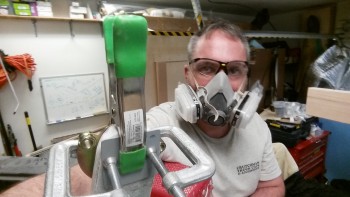
Here’s a shot of the clamped back axle plate… and me!
I then drilled the bolt mounting holes in the back axle plate using the 4 axle mounting holes in the gear leg as a guide. As I drilled each hole, I installed an AN4-22A bolt to ensure it fit.
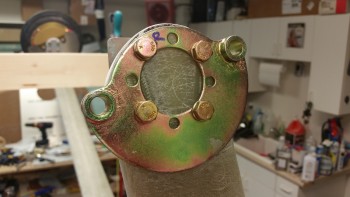
And here’s the back side axle mount plate with the AN4 bolts coming through. Yeah, they aren’t perfectly straight, but I’m confident they’ll do their job.
I marked the profile of the lower gear strut onto the 1/16″ thick back axle plate and then trimmed it down on 3 corners with a cutoff disk on the Dremel tool. I then reattached it with flox since the forward edge of the gear leg underneath dipped down a fair amount since it wasn’t a part of the flox bed that was created when I originally mounted the back plate. I used shorter AN4 bolts to clamp down the aft side of the plate, and used C-clamps to keep the front side of the back plate securely against the gear leg.
After mounting the left wheel, I discovered two important steps that I should have completed before installing the wheel: 1) Attach Fiberfrax to the gear leg since I can’t do it with the heat shield installed, and 2) Install the right angle brake line fitting, which I can’t do … you guessed it! … with the heat shield installed.
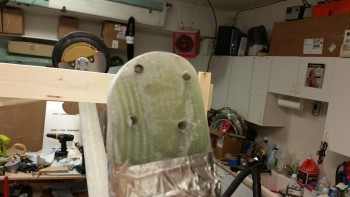
To remedy #1 on the right gear, I broke out the Fiberfrax roll.
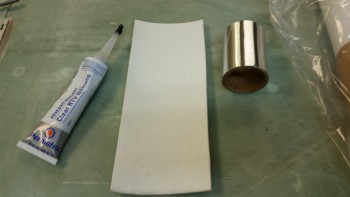
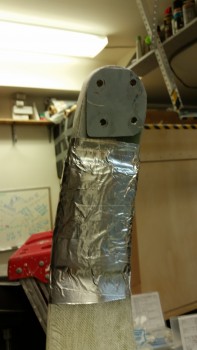
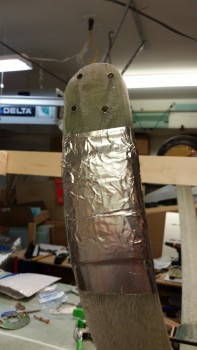
I cut off a piece of Fiberfrax that measured 4″ x 10″, and then rounded up my RTV silicone tube & aluminum foil tape.
I test fitted the Fiberfrax & then marked the upper & lower edges, leaving about a half inch spacing on the top (technically bottom) for the foil tape to attach to the gear leg. I actually did this after setting the wheel pant up next to the wheel & gear leg to get a generally idea of the amount of gear leg requiring cover. I want enough Fiberfrax & foil tape to just exit out the top of the wheel pant and have it secured by the wheel pant mounting flange/fairing that will be part of the gear leg.
After marking it, I spread a film of RTV silicone onto the gear leg in-between the upper & lower marks.
I then attached the Fiberfrax to the gear leg. Since this is 1/8″ thick Fiberfrax, I basically made a tri-fold application, with 1 layer outboard under the heat shield & 2 layers inboard on the backside of the gear.
As you can see, I’m very serious about taking measures to protect the lower gear strut from heat damage from the brakes. In my opinion (ok, and RAF’s too) based on my research, not only should you use the heat shield to protect from the direct heat from the brake rotor, but if using big brakes especially (which I am) and tight fitting wheel pants (sounds like a country song, but I am doing that as well) then the Fiberfrax & foil tape helps protect the gear leg from the heat buildup in the wheel pant long after you’ve parked the bird and started drinking beer & telling war stories, even WITH venting of the wheel pants!
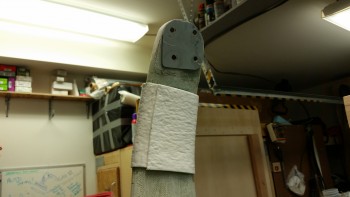
Here’s a shot of the outboard single Fiberfrax layer.
I then wrapped the Fiberfrax with aluminum foil tape, which reading the package I was pleasantly surprised to see it rated for 250° F, which for the tape itself is pretty decent.
With task #1 out of the way, now it was time to proactively accomplish task #2 on the right wheel. I pulled an AN822-3 90° elbow out my tube fitting storage box and located my Permatex thread sealant equivalent of Locktite 567.
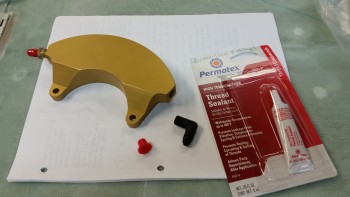
As per instructions, I left the first couple of threads dry & only applied the thread sealant 3/4 of the way around the pipe threaded side of the fitting.
(Oops…. apparently I forgot to get a pic of the fitting installed into the brake caliper assembly, but I’m sure I’ll get a shot of it tomorrow.)
I was planning on installing the second wheel/tire tonight, but when I double checked the toe-in angle I had wobble on the outboard axle mount surface since apparently I didn’t get enough clamp pressure when I was clamping the BID plies down during the toe-in setting. It’s late & I would have to make a real ruckus to sand this down before adding a good bit of flox under the heat shield & then resetting the final toe-in, so it will have to wait until tomorrow.
I did however take a minute to add blue torque seal to the left side wheel bolts.
Tomorrow will be all about finishing up the right axle, heat shield, brake assembly & wheel install. I then plan on backtracking on the left gear side to install the brake line fitting in the brake caliper and Fiberfrax the lower gear strut. Once those tasks are completed, then I’ll officially be done with Chapter 9, but of course I won’t call it until at least the brake lines & the gear fairings are installed.