
I started out today by applying orange Torque Seal to all the gear mounting bolts in the hell hole.
I then mounted a 1×2 vertically on the firewall, offset 3/8″ so that I could then mount a horizontal 3/4″ wide board down the CL of the fuselage. I originally was going to use my German aluminum long boards for the alignment board, but it wasn’t as straight as the 1×4 pine board I had on hand.
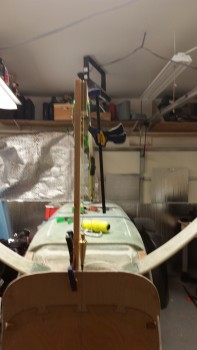
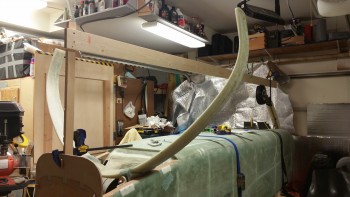
Here’s a shot of the 1×4 CL alignment board. As you can see, completing Chapter 13, the nose gear, allowed me to set the nose gear at just the right height & use it as a mount. Pretty darn handy!
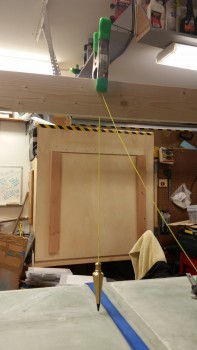
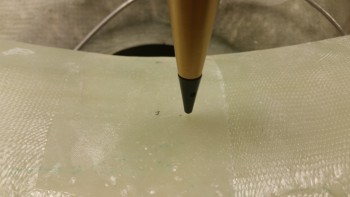
I set & verified the CL alignment board with a plumb bob at a few spots along the length of the board.
Here’s a shot of the installed CL alignment board.
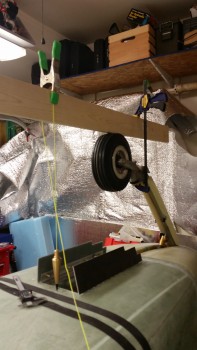
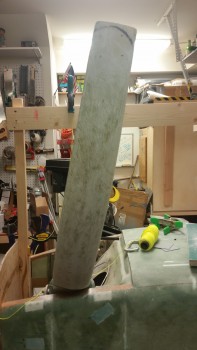
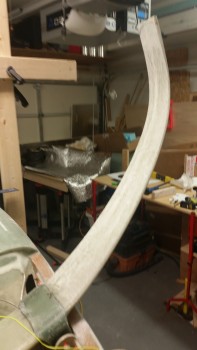
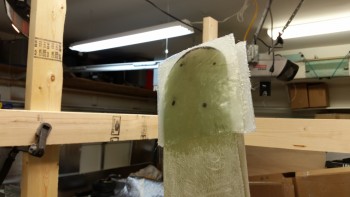
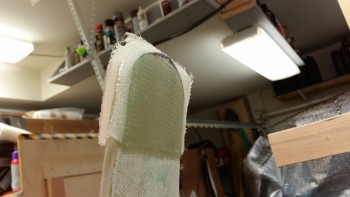
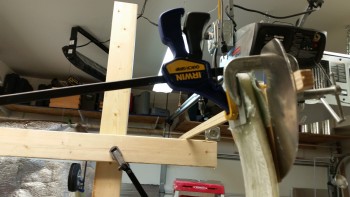
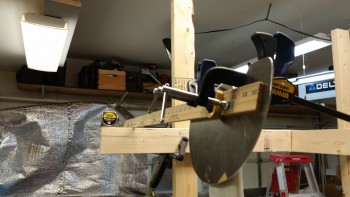
I then clamped my own version of the “Straight Tower of Pisa,” somewhat like my buddy Marco did.
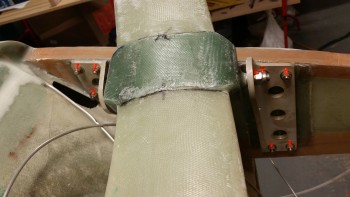
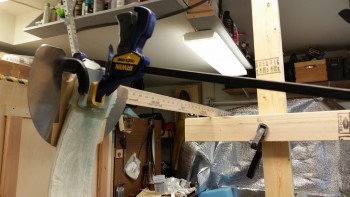
A shot of the left axle clamped in place, with a square attached.to it.
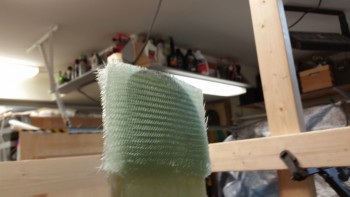
Another selfie for the FAA, right before I started in on all the major sanding of the gear bow.
I sanded the left gear leg down to set the toe-in.
Then, when I started checking the toe-in on the right gear, my measurement at the gear strut came out right about 0.12″ farther outboard than the left side. I strung up my plumb bob over the center mark on the gear bow & confirmed that the gear was set about 0.12″ off center to the right. Not sure how this happened since I had it dialed in while in Germany, but it was definitely an issue that I felt I should deal with.
After some thought, I decided to simply add 6 plies of BID on the exterior side of the left gear to move the wheel out about 0.1″. Really, I don’t think being an 1/8″ off would cause any noticeable issues, but I want to keep the wheels difference from CL under 0.07″ or smaller.
After getting the initial toe-in set for the axles, I sanded down the entire gear legs for both the axle mounting BID gear pads, and the eventual installing of the gear fairing.
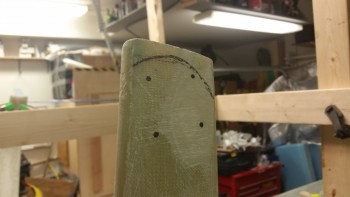
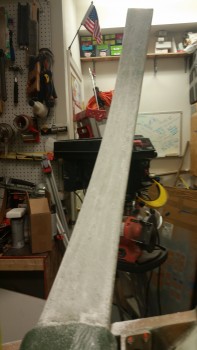
Here’s a shot of the right gear leg after final sanding.
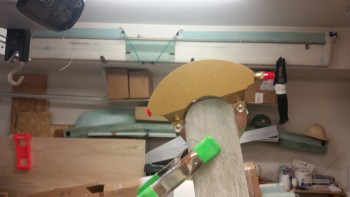
I then double-checked the lower gear leg markings . . .
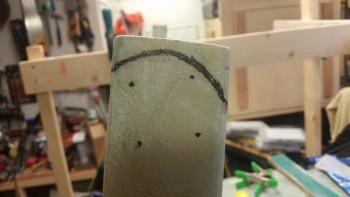
. . . and then initially trimmed the end of the gear legs.

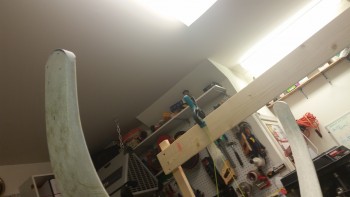
Here’s another shot of the trimmed gear legs.
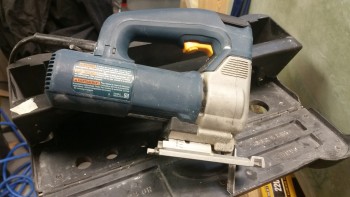
Here’s the specialized gear trimming tool . . . ok, it’s a jig saw!
I then test fitted the wheel assembly onto the end of the gear leg.
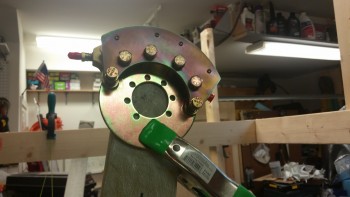
Another shot of the wheel assembly test fit. I still have some lower gear glass to trim, but this is a good start.
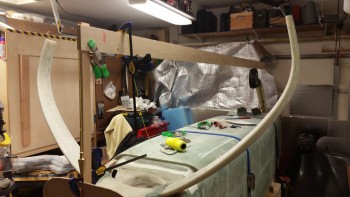
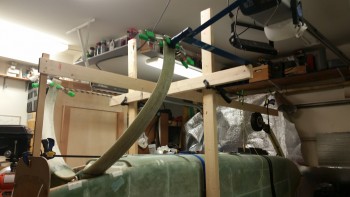
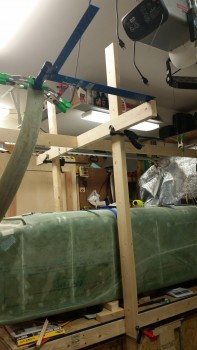
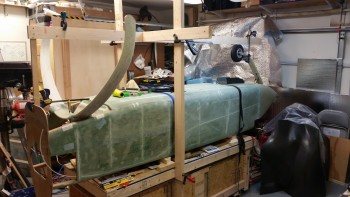
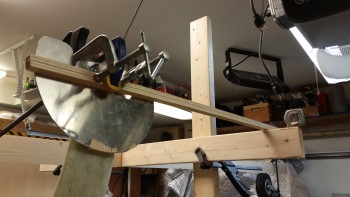
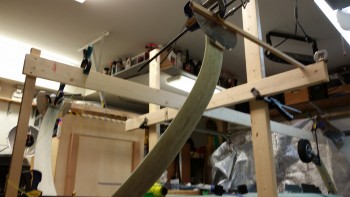
Here’s a wide angle shot of the whole axle install effort.
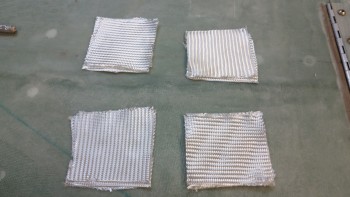
I cut the 3″x 3″ square BID plies for mounting the axles. I cut 2 sets of 3 plies of BID for the right side, and then 1 set of 3 plies and another set of 9 plies for the left side.
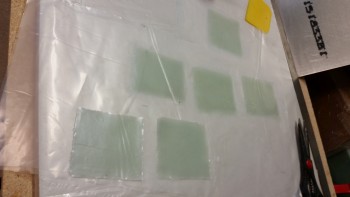
I then prepregged the BID pads in sets of 3 plies,
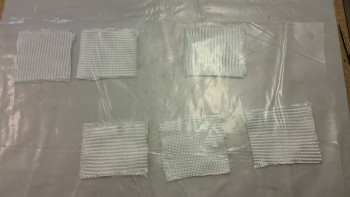
and wetted them out.
I then laid up the BID onto the lower gear legs.
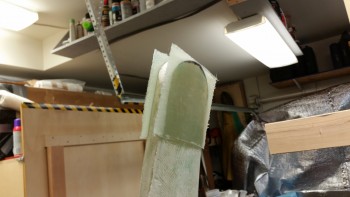
Lower gear legs 3-plies BID (outboard right side)
Lower gear legs 3-plies BID (inboard right side)
Lower gear legs 9-plies BID (outboard left side)
Ok, I then let the epoxy cure for over an hour to set up to just tacky before mounting the axles to minimize the slipperiness & sloppiness of the wet BID. Well, it didn’t make any difference really.
To be honest, I’ve never been more pissed off during this build than this step right here. If ever I should have followed my buddy Marco’s lead & taken a page out of his book and pre-drilled the axle bolt mounting holes it is here. Trying to mount multiple components to a surface with multiple curves on BOTH sides with clamps is, to put it politely, stupid at best. Hats off to other builders that have done it, but as I said it was truly the most infuriating thing I’ve tried to do on this build. It also may be that the Matco axle base is narrower than the other brands, not sure, but it was about impossible (at least for me) to keep so many variables in check.
With the nearly cured glassed getting tweaked by the constant re-clamping of the axles, I eventually chucked them and simply used the face of the heat shields to determine toe-in. For any builders reading this, I would highly recommend this route. That combined with just laying up the BID one side of the gear leg at a time to minimize variables and slop.
I say this because after the sheer ass-pain with the left gear, then of course I spent well under 10 minutes on the right gear side mounting the heat shield and back axle plate.
As for the toe-in figures, my goal was to keep the difference between the 0″ measurement and the 24″ measurement between 0.1″ and 0.15″ to ensure that there is some toe-in, but not too much. I hate to say it, but this is one of those layups that I’m crossing my fingers and hoping on, since it looked good after I was done clamping it all together, and 10-15 minutes later… but it’s late, I’m turning it and who knows what will greet me in the morning.
Tomorrow, I plan on pulling off the tape backed heat shields that are certainly in the slightly wrong position, finalize the clean up the bottom gear leg profile, and then mount the axles & wheels.