
Today, before I changed into my full grunge sanding clothes I ran out to Harbor Freight to pick up some finishing supplies. Instead of using the construction-type wall mud compound taping knife for applying the micro finish, I wanted an applicator with a low profile handle vs. the one long center handle. I found exactly what I was looking for in the automotive section with the Bondo applicators.
Upon returning home, I got to work on sanding the micro’d bottom of the canard. I quickly realized that I have plenty of micro on the surface. I’m fairly certain that I’ve definitely met the “it’s better to have too much micro than not enough” criteria for finishing Long-EZ surfaces. The micro build is fairly thick, and although it may take an extra hour or two to get the surface sanded down to the right depth, in the long run it will be worth it since it will minimize rework & refilling.
The contour sanding block worked well. I can see where another inch in width would make it just a hair more stable in tracking the surface, but the advantage of the slightly narrower sanding block (as compared to Wayne Hicks’ 3-3/4″ wide block) is that I would think that the effort is much less to work it since there’s less sanding surface area. I can see where it would be nice to have a wider sanding block towards the end of the sanding cycle when the finer, higher grades of sandpaper are used.
I taped the small level to the top of the sanding block to give me a general idea at all times how the block is angled compared to the table, and in turn the bottom surface of the canard.
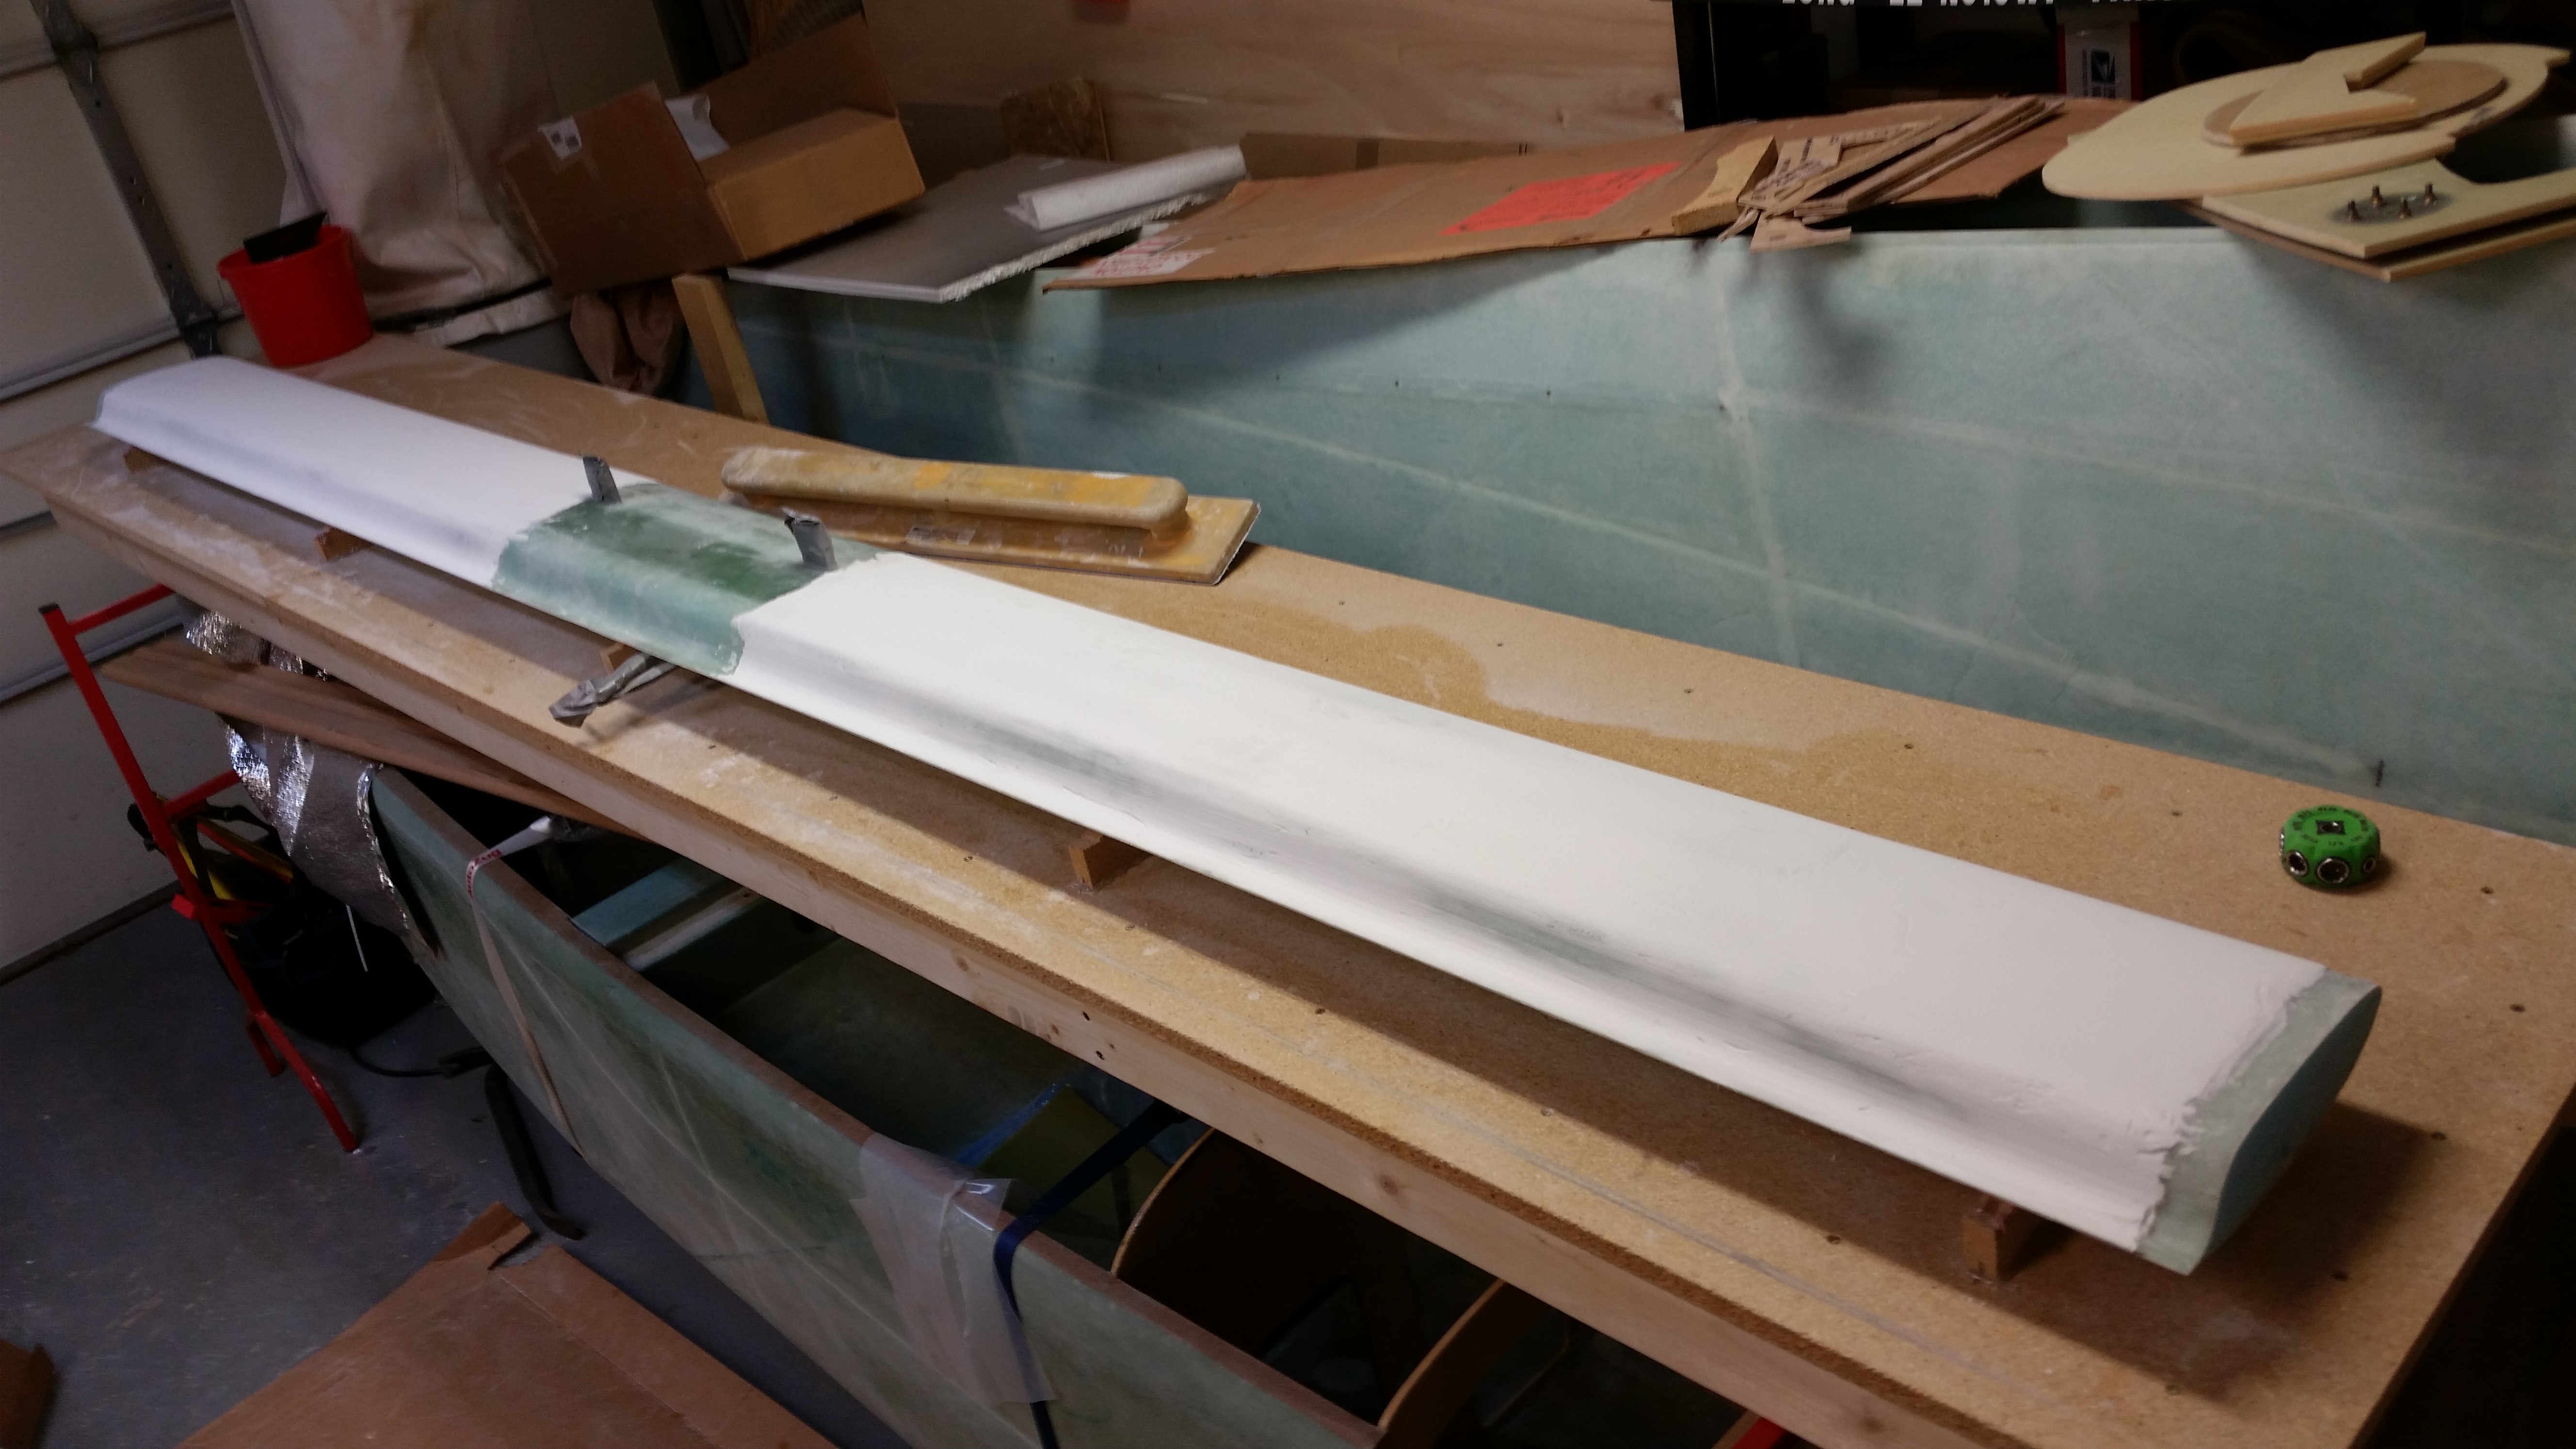
Below is a shot after the first few passes on the lower Left side surface of the canard.

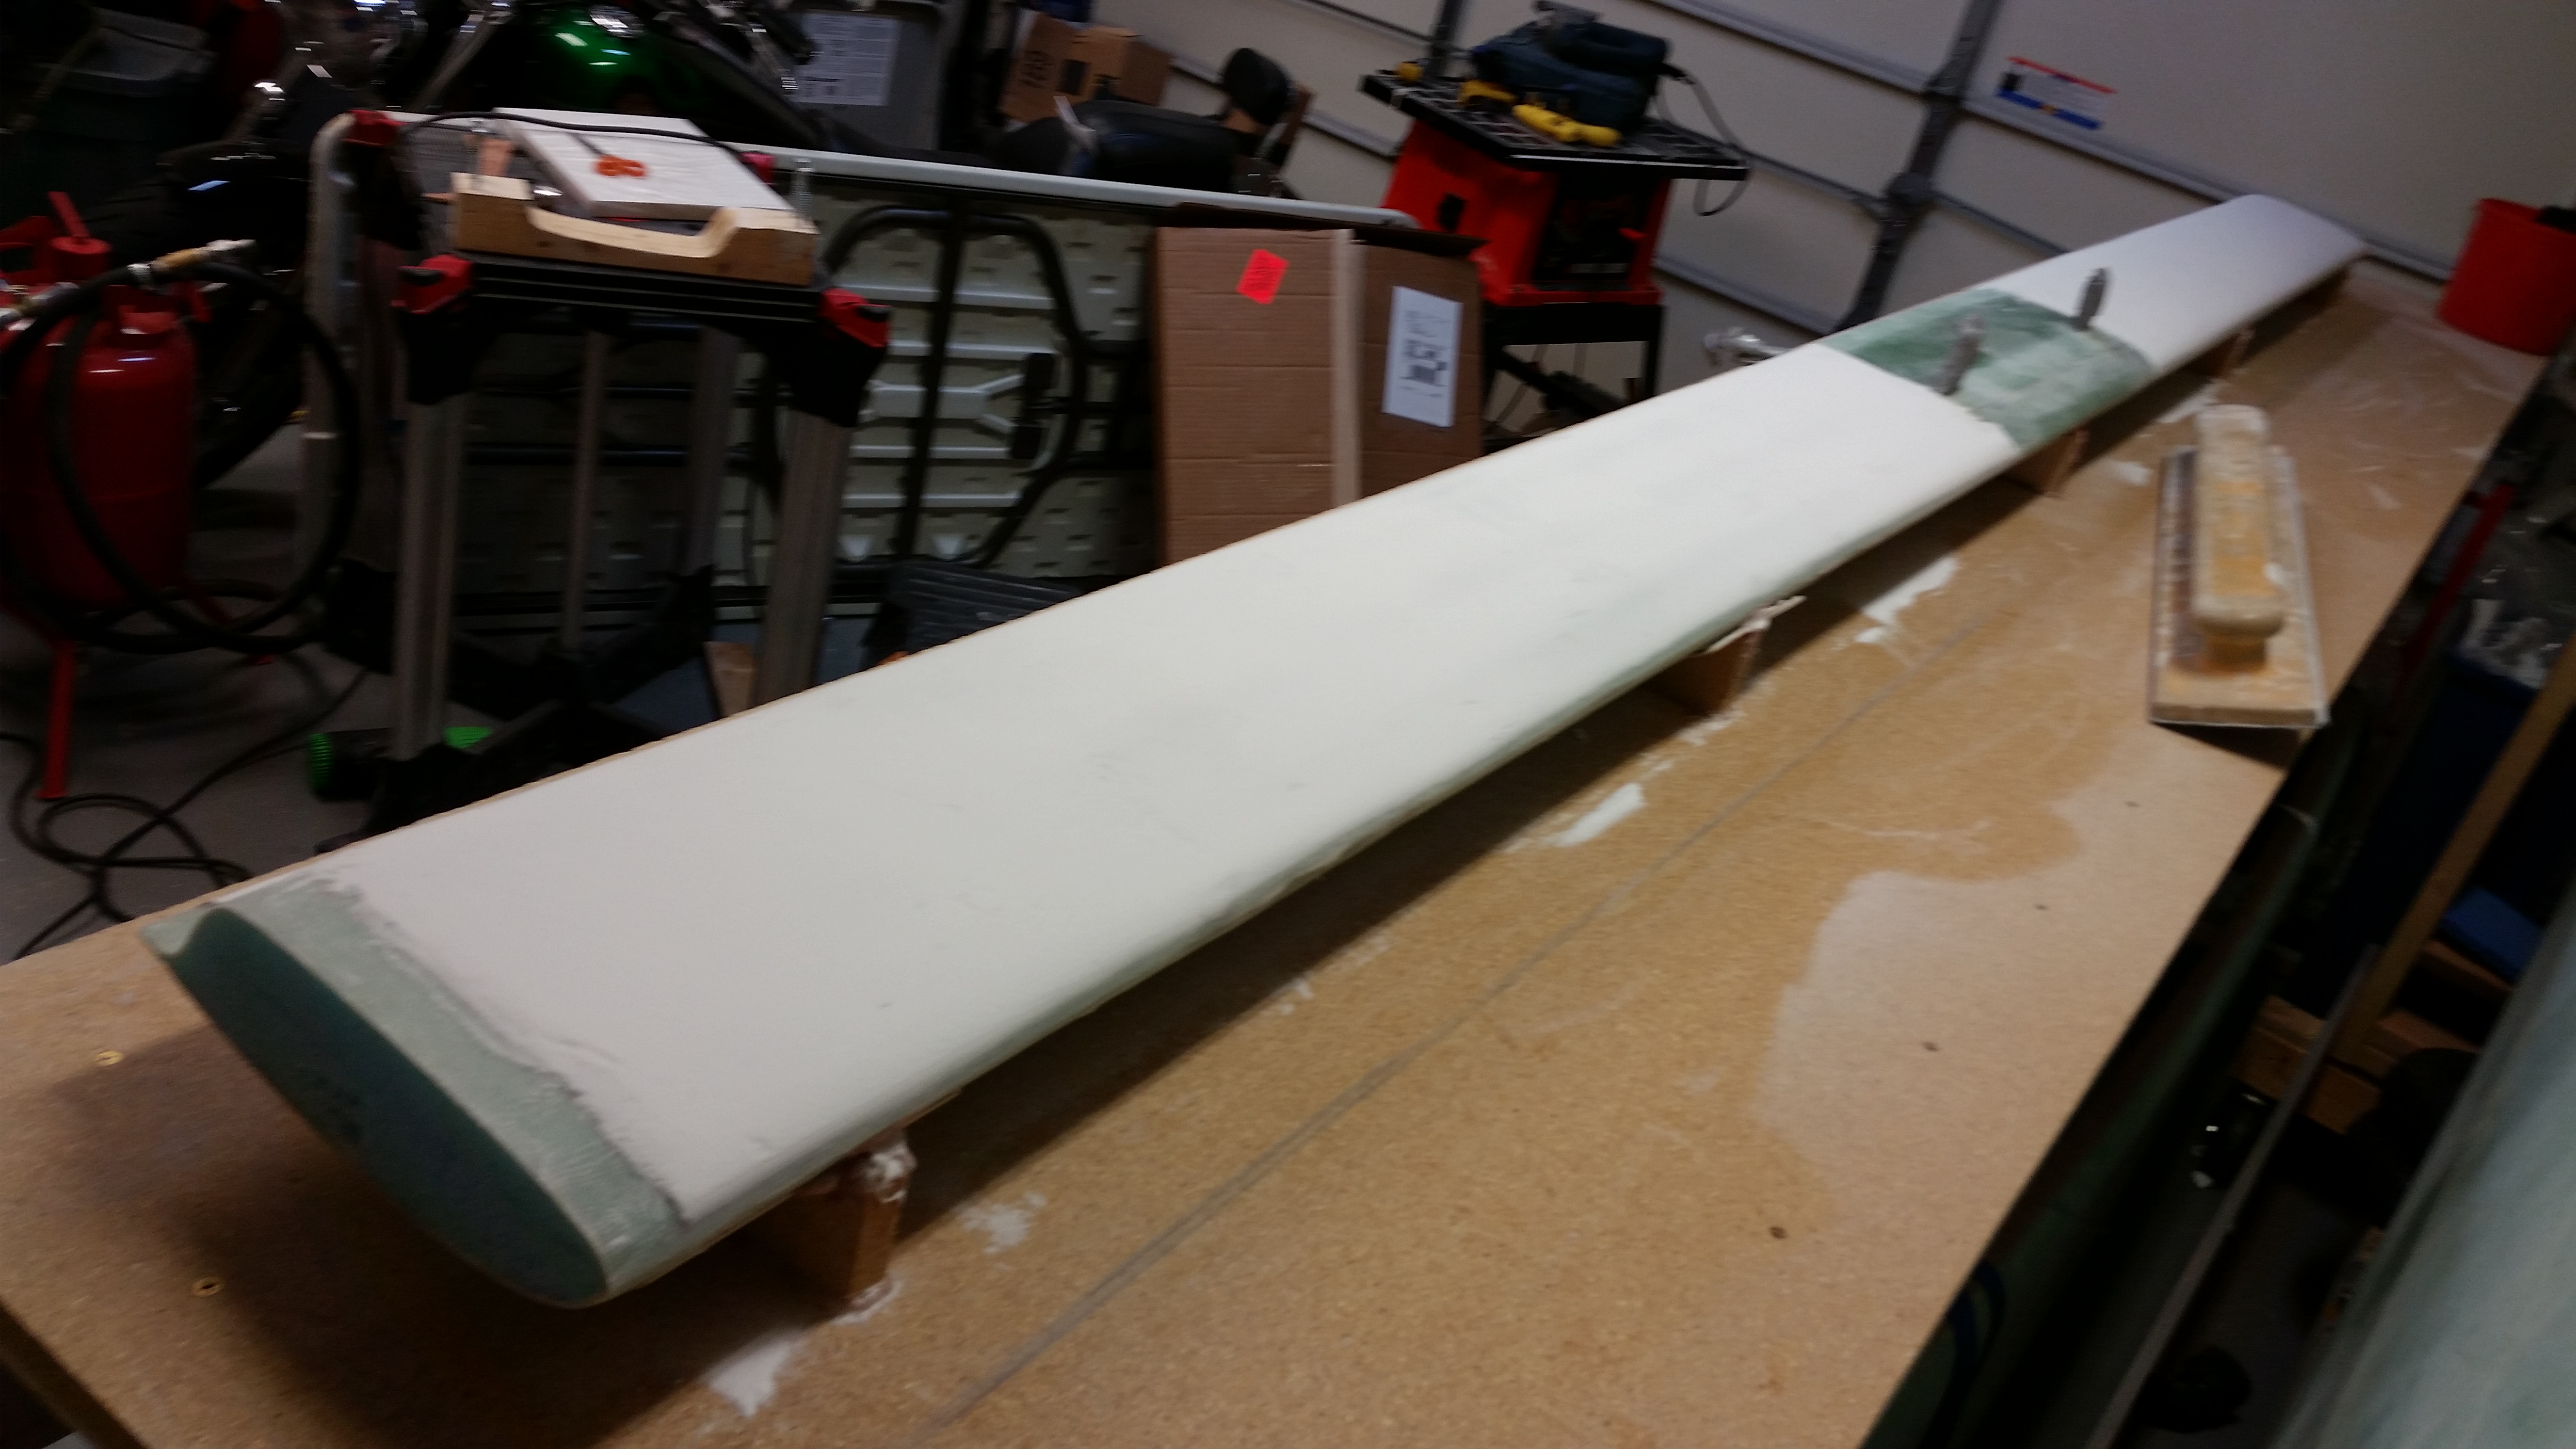
And another shot after multiple, multiple passes and about 4 lowerings of the sanding surface.
I was happy with the progress, but one minor issue I found is with the relatively high build in the fishtail area of the TE as compared to the lower build of micro on the front LE area. This difference in micro thickness resulted in an affect where the natural flow of the contour sanding was resulting in the LE getting more abrasive action initially than the TE. In other words, I was either fairly close or already down to LE glass up front with still a relatively decent amount of micro to remove in the TE area. Part of this issue was the good amount of micro build I had on the entire bottom surface of the canard. I simply have to get through both the bottom surface buildup of micro before the contour sanding block really starts cutting into the micro on the TE’s fishtail trough, thus, alleviating the current unbalanced cutting action of the contour sanding block.
Since I had pretty much killed the first piece of 36 grit sandpaper on my contour sanding block (I should say 3 distinct areas of the paper), I set aside the contour sanding block and decided to call in backup. I pulled out the mo-jamma rigid 30″ x 4.5″ 3M marine sanding block (also recommended by Wayne Hicks) with 36 grit sandpaper. I worked each side for about 15 minutes each in the standard 45° to the left, then 45° to the right pattern.
I used some fairly hard pressure and was amazed at how tough that micro is after its cured. But I could tell by the significant amount of micro powder that I was producing that the long block was doing its job.
All in all I spent about 2.5 hours sanding yesterday, and have at least that much more to do tomorrow to get this thing into the shape I need. I’ll start with the long block again tomorrow to knock down a fair amount more of the micro build and then switch back to the contour sanding block.