
Today I undertook my first official act of finishing a surface on this Long-EZ. As I mentioned before, I re-read the notes & material I had on finishing to brush up on this endeavor that apparently seems to be half science and half art.
I started out the morning by confirming the side-to-side slant of my workbench so I would know how to position the canard to match the workbench surface. My first thought was to simply use cargo straps in the center area of the canard, but after playing around with the whole setup I realized that the “K” mounts weren’t entirely even (how I had placed them, and they were now glued to the table… I believe this is in concert with slight differences with the top surface of the canard as well). This meant that the contacts between the underside (actually the top) of the canard as it lay here was not in perfect contact with the “K” mounts. When I tightened the tie-down straps on each side of the mounting tabs, I was getting all kinds of weird angles due to the force down on the center of the canard, making the outboard areas seat differently on the “K” mounts.
After playing around with the straps for about 30 minutes, I realized that I had to call “no joy” on this method and resort to something I really didn’t want to use: Bondo.
I spent about another 45 minutes working to get the canard to lie naturally on the supports without any stress from the top (technically bottom canard surface) of the canard in this position. Since the spar cap may be higher on the aft side in one area of the canard and then higher on the forward side 2 feet down the canard, there are a myriad of tiny surface variances that affect how the level attached to the “E” template will read. I spent a lot of time figuring out where my “normal” areas were that I was getting good readings, then I found the locations that had weird readings for any surface anomalies rearing their ugly head.
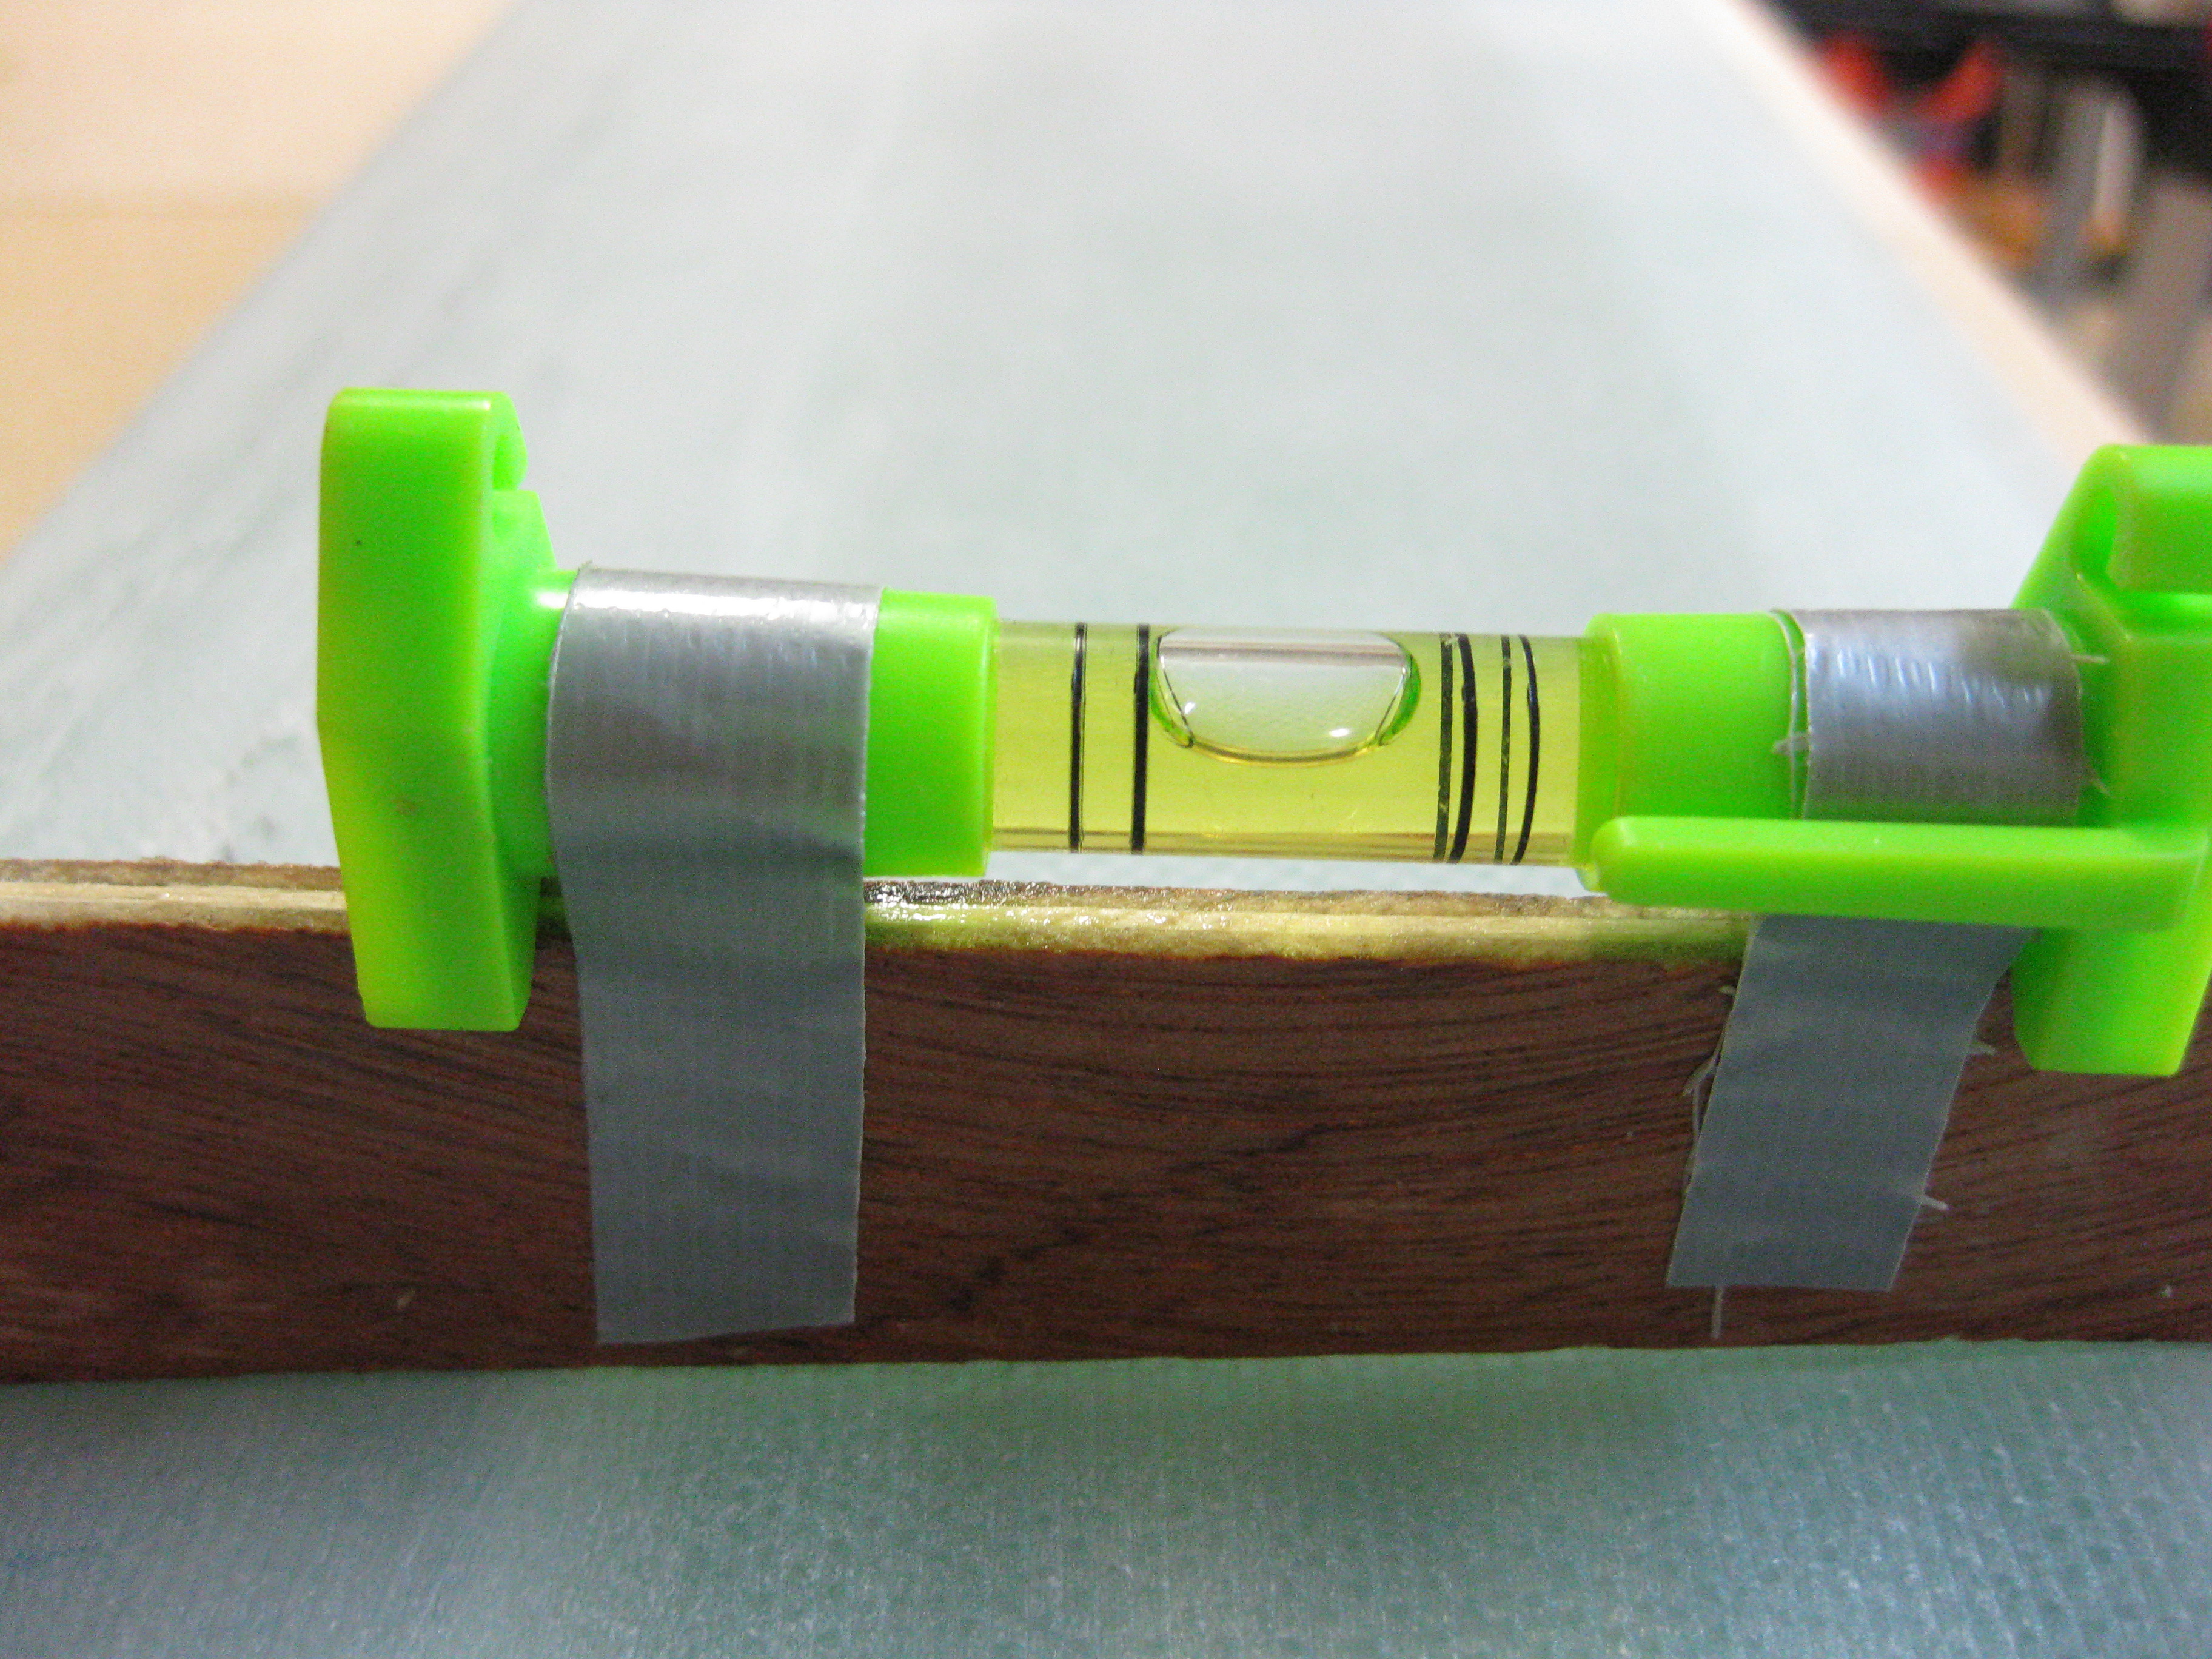
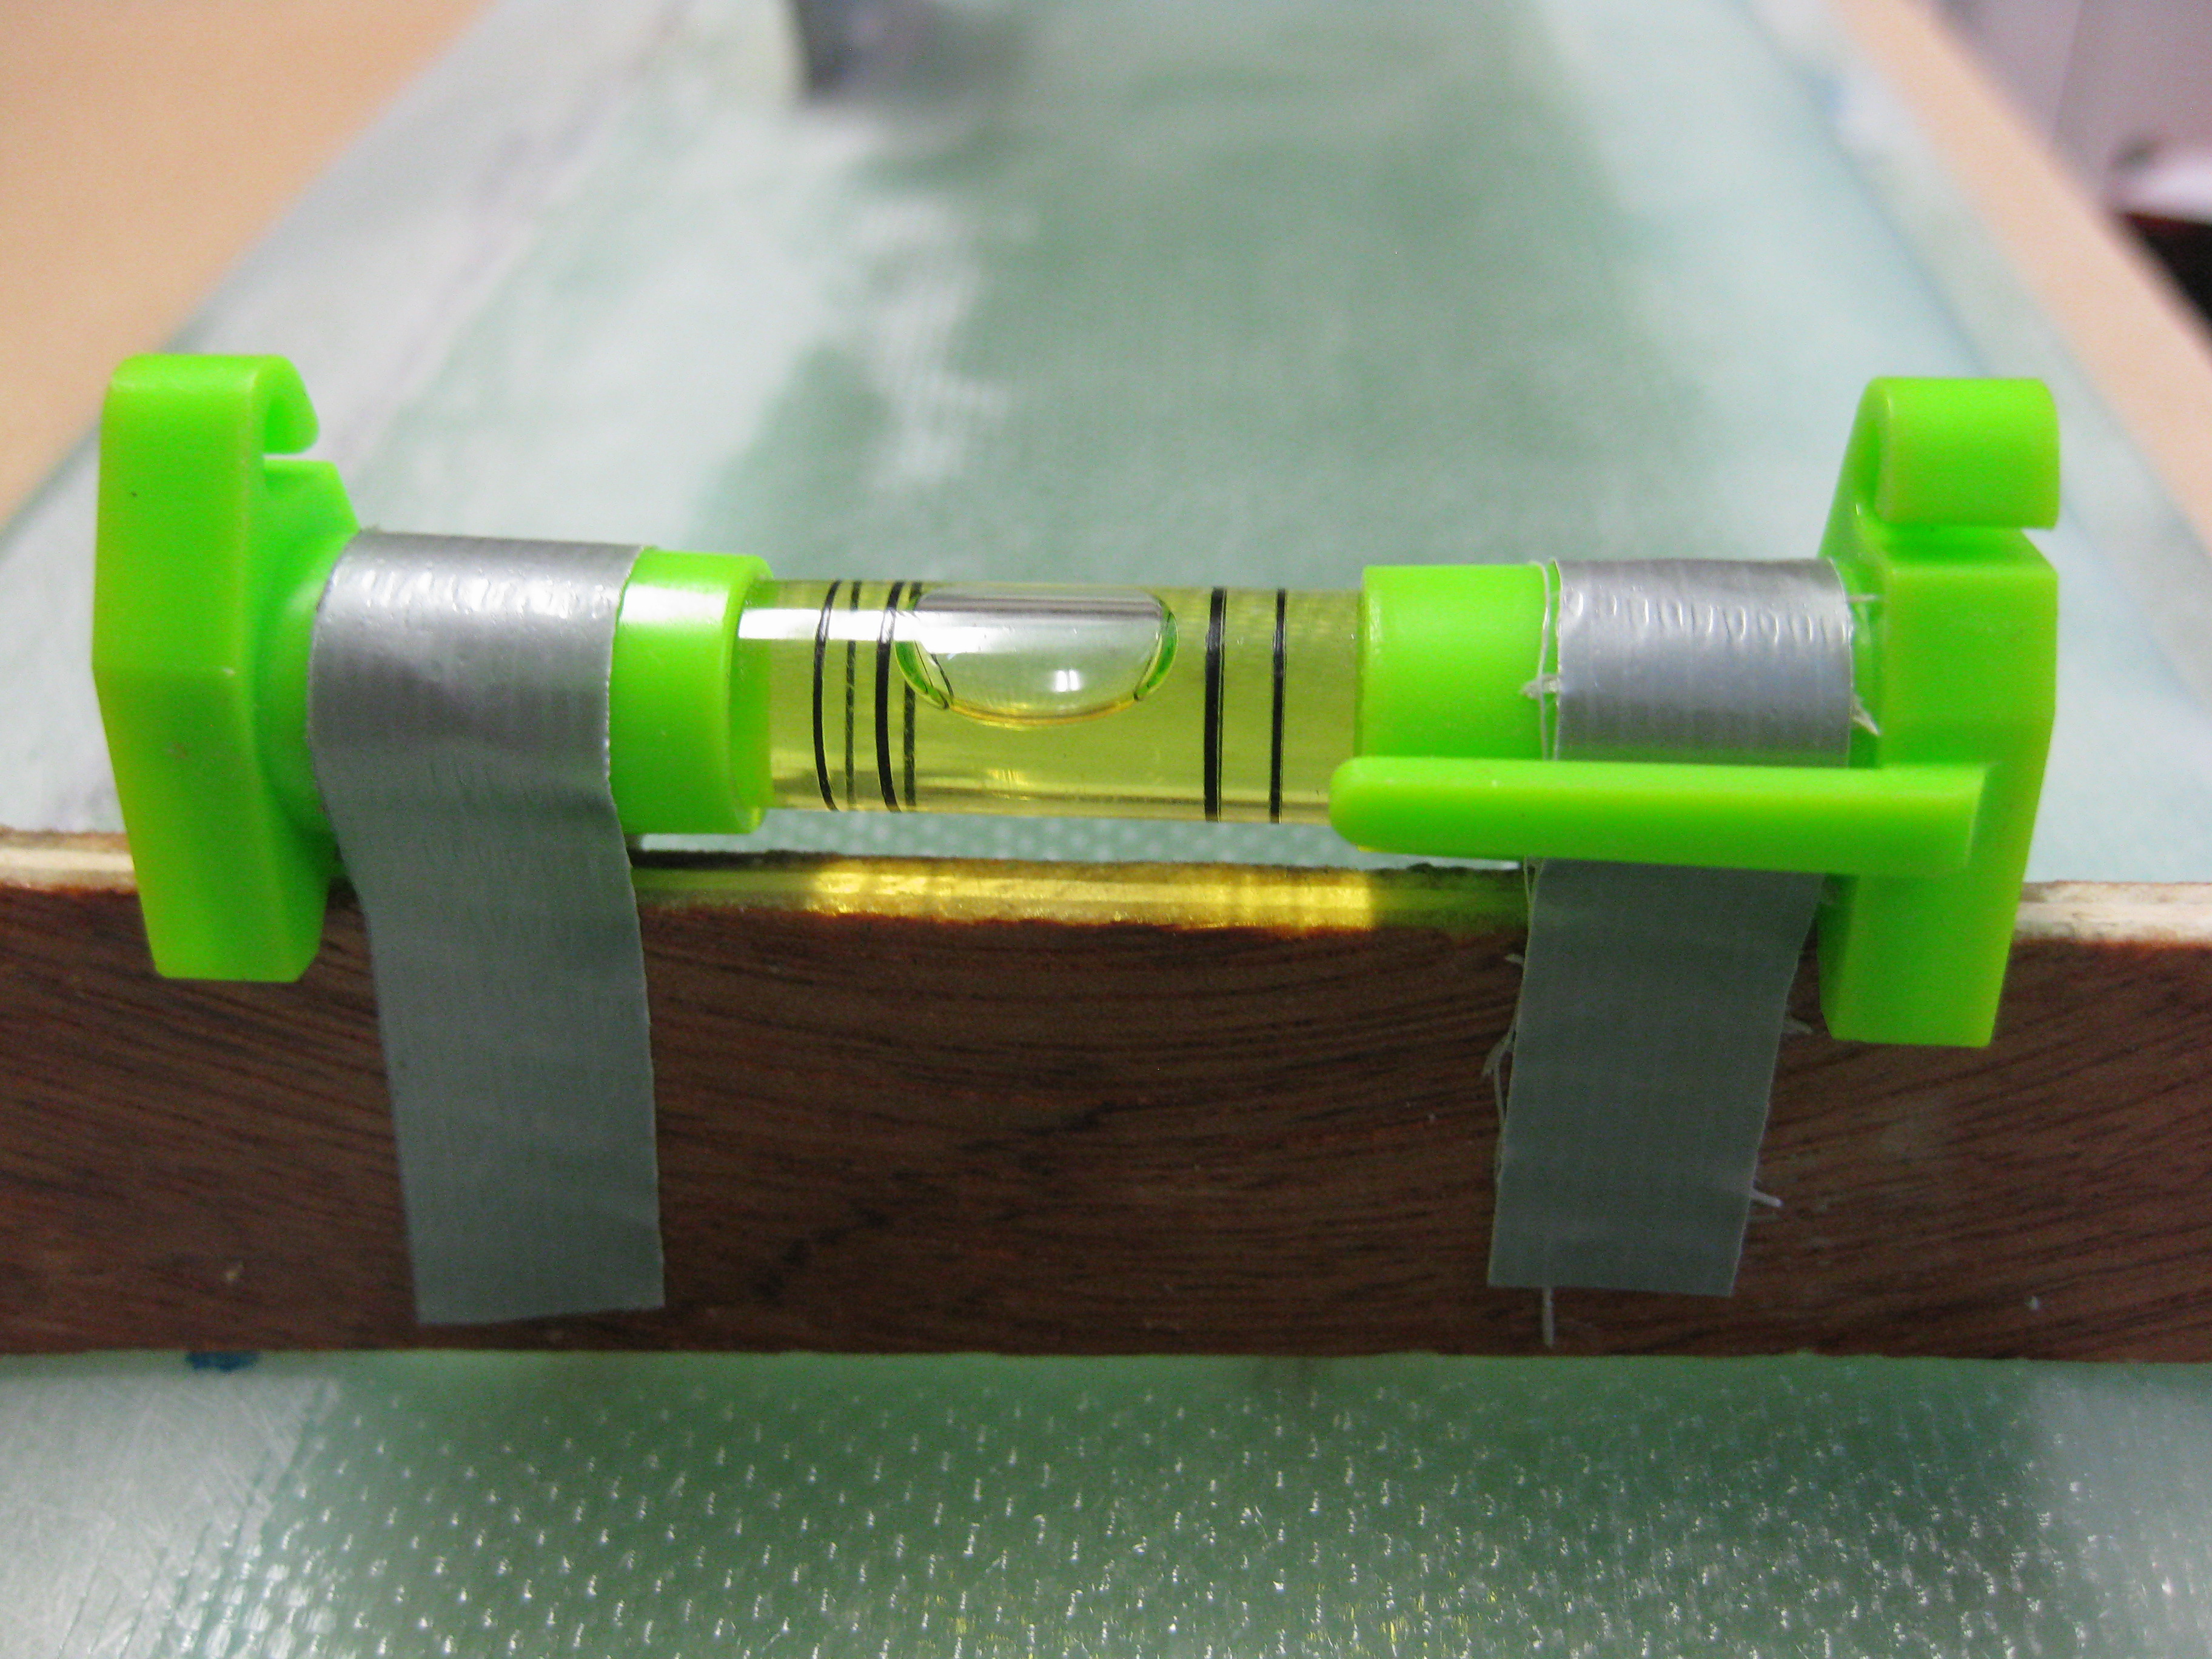
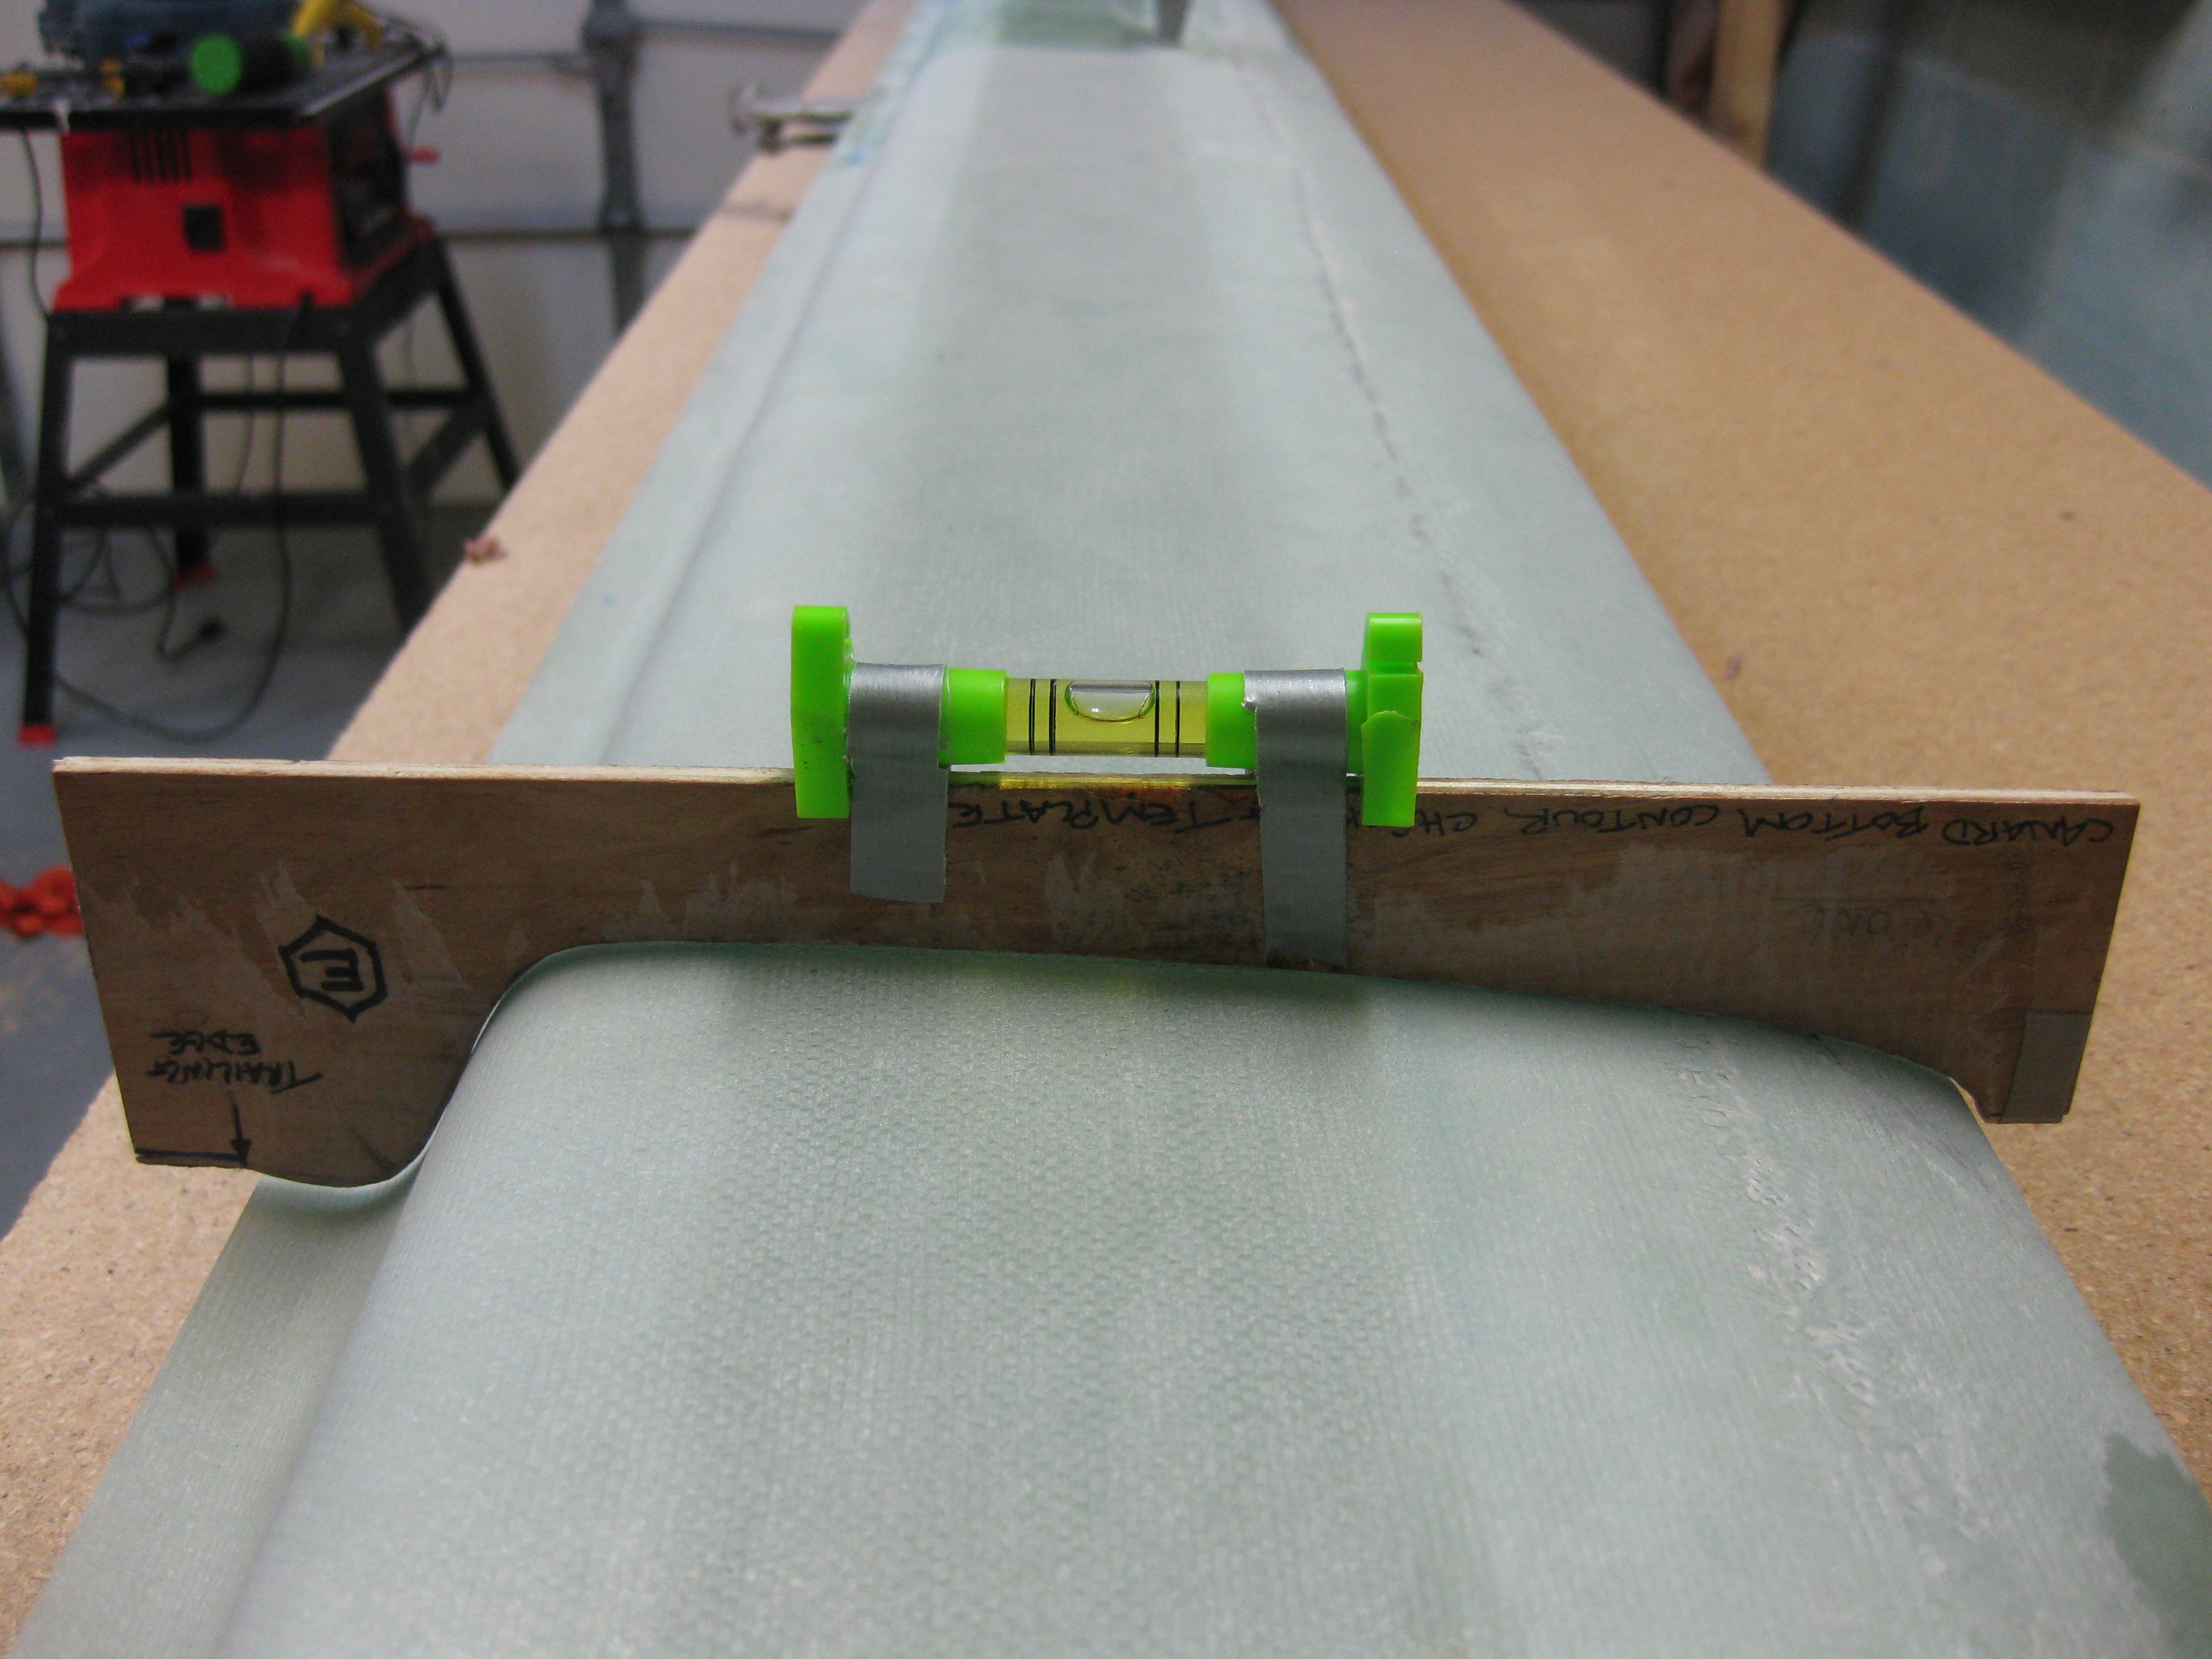
Again, I started with my digital level crossways on the table, as well testing my little bubble level that I taped to the top of the “E” template.
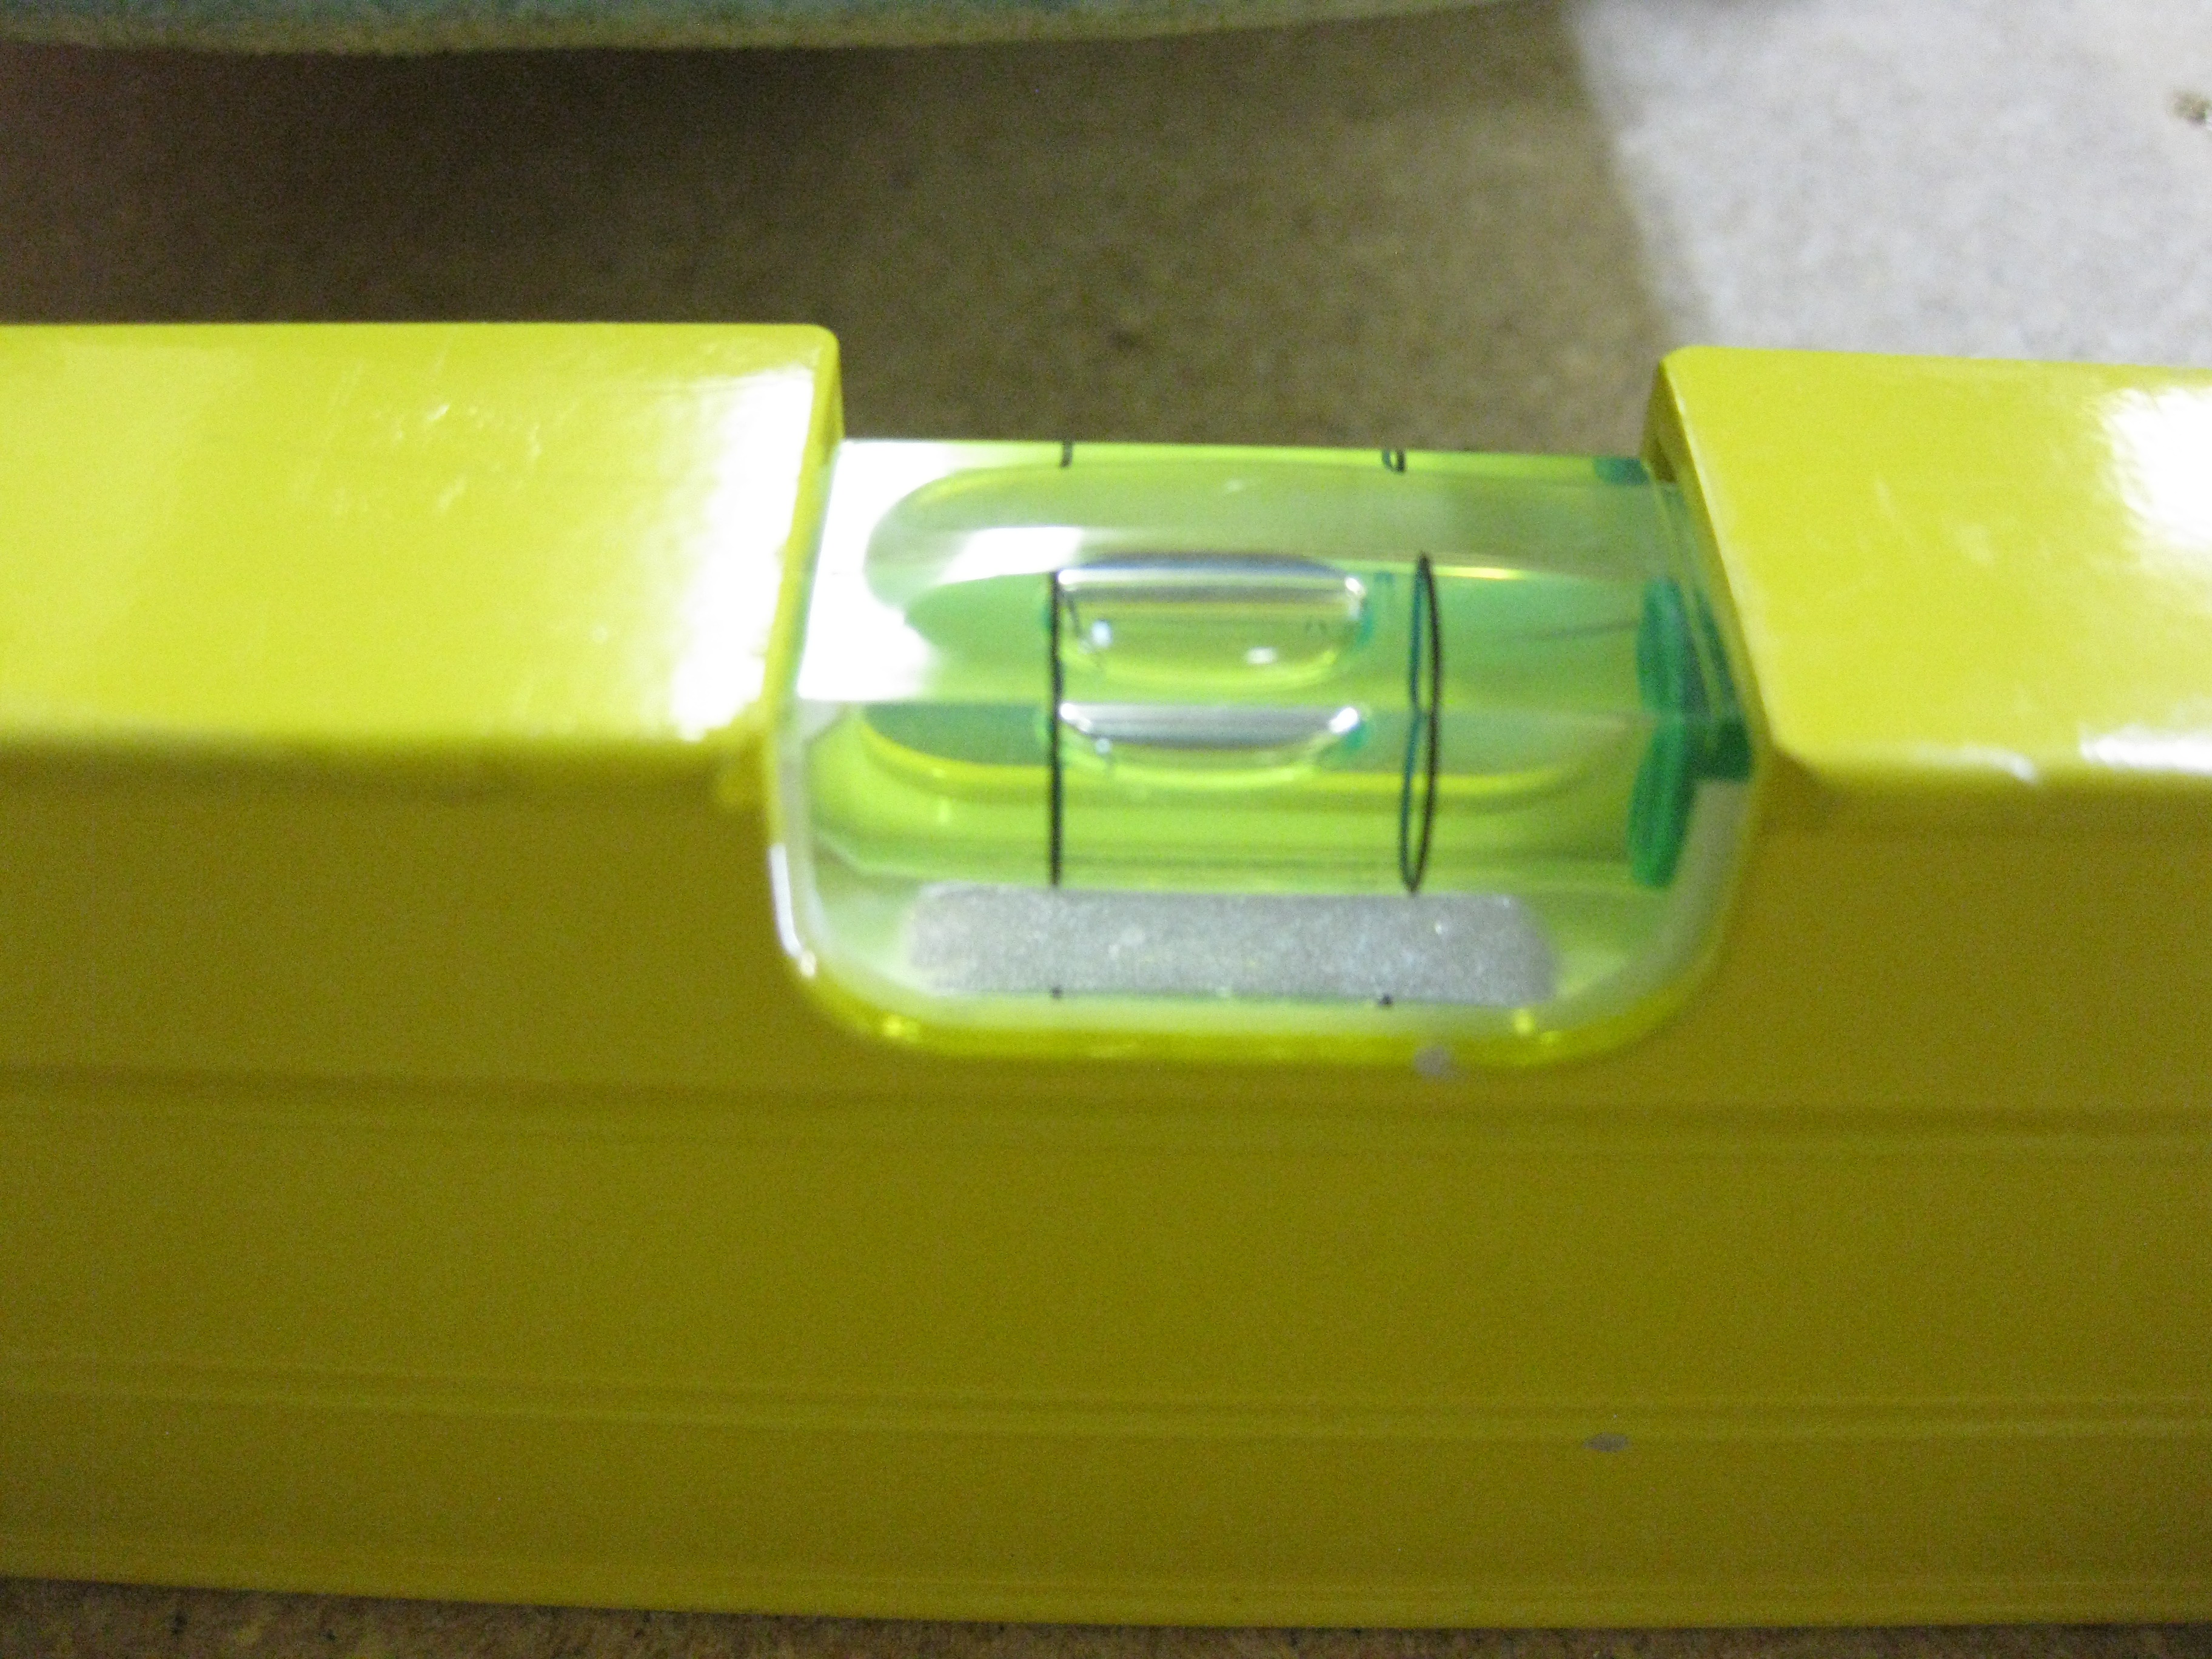
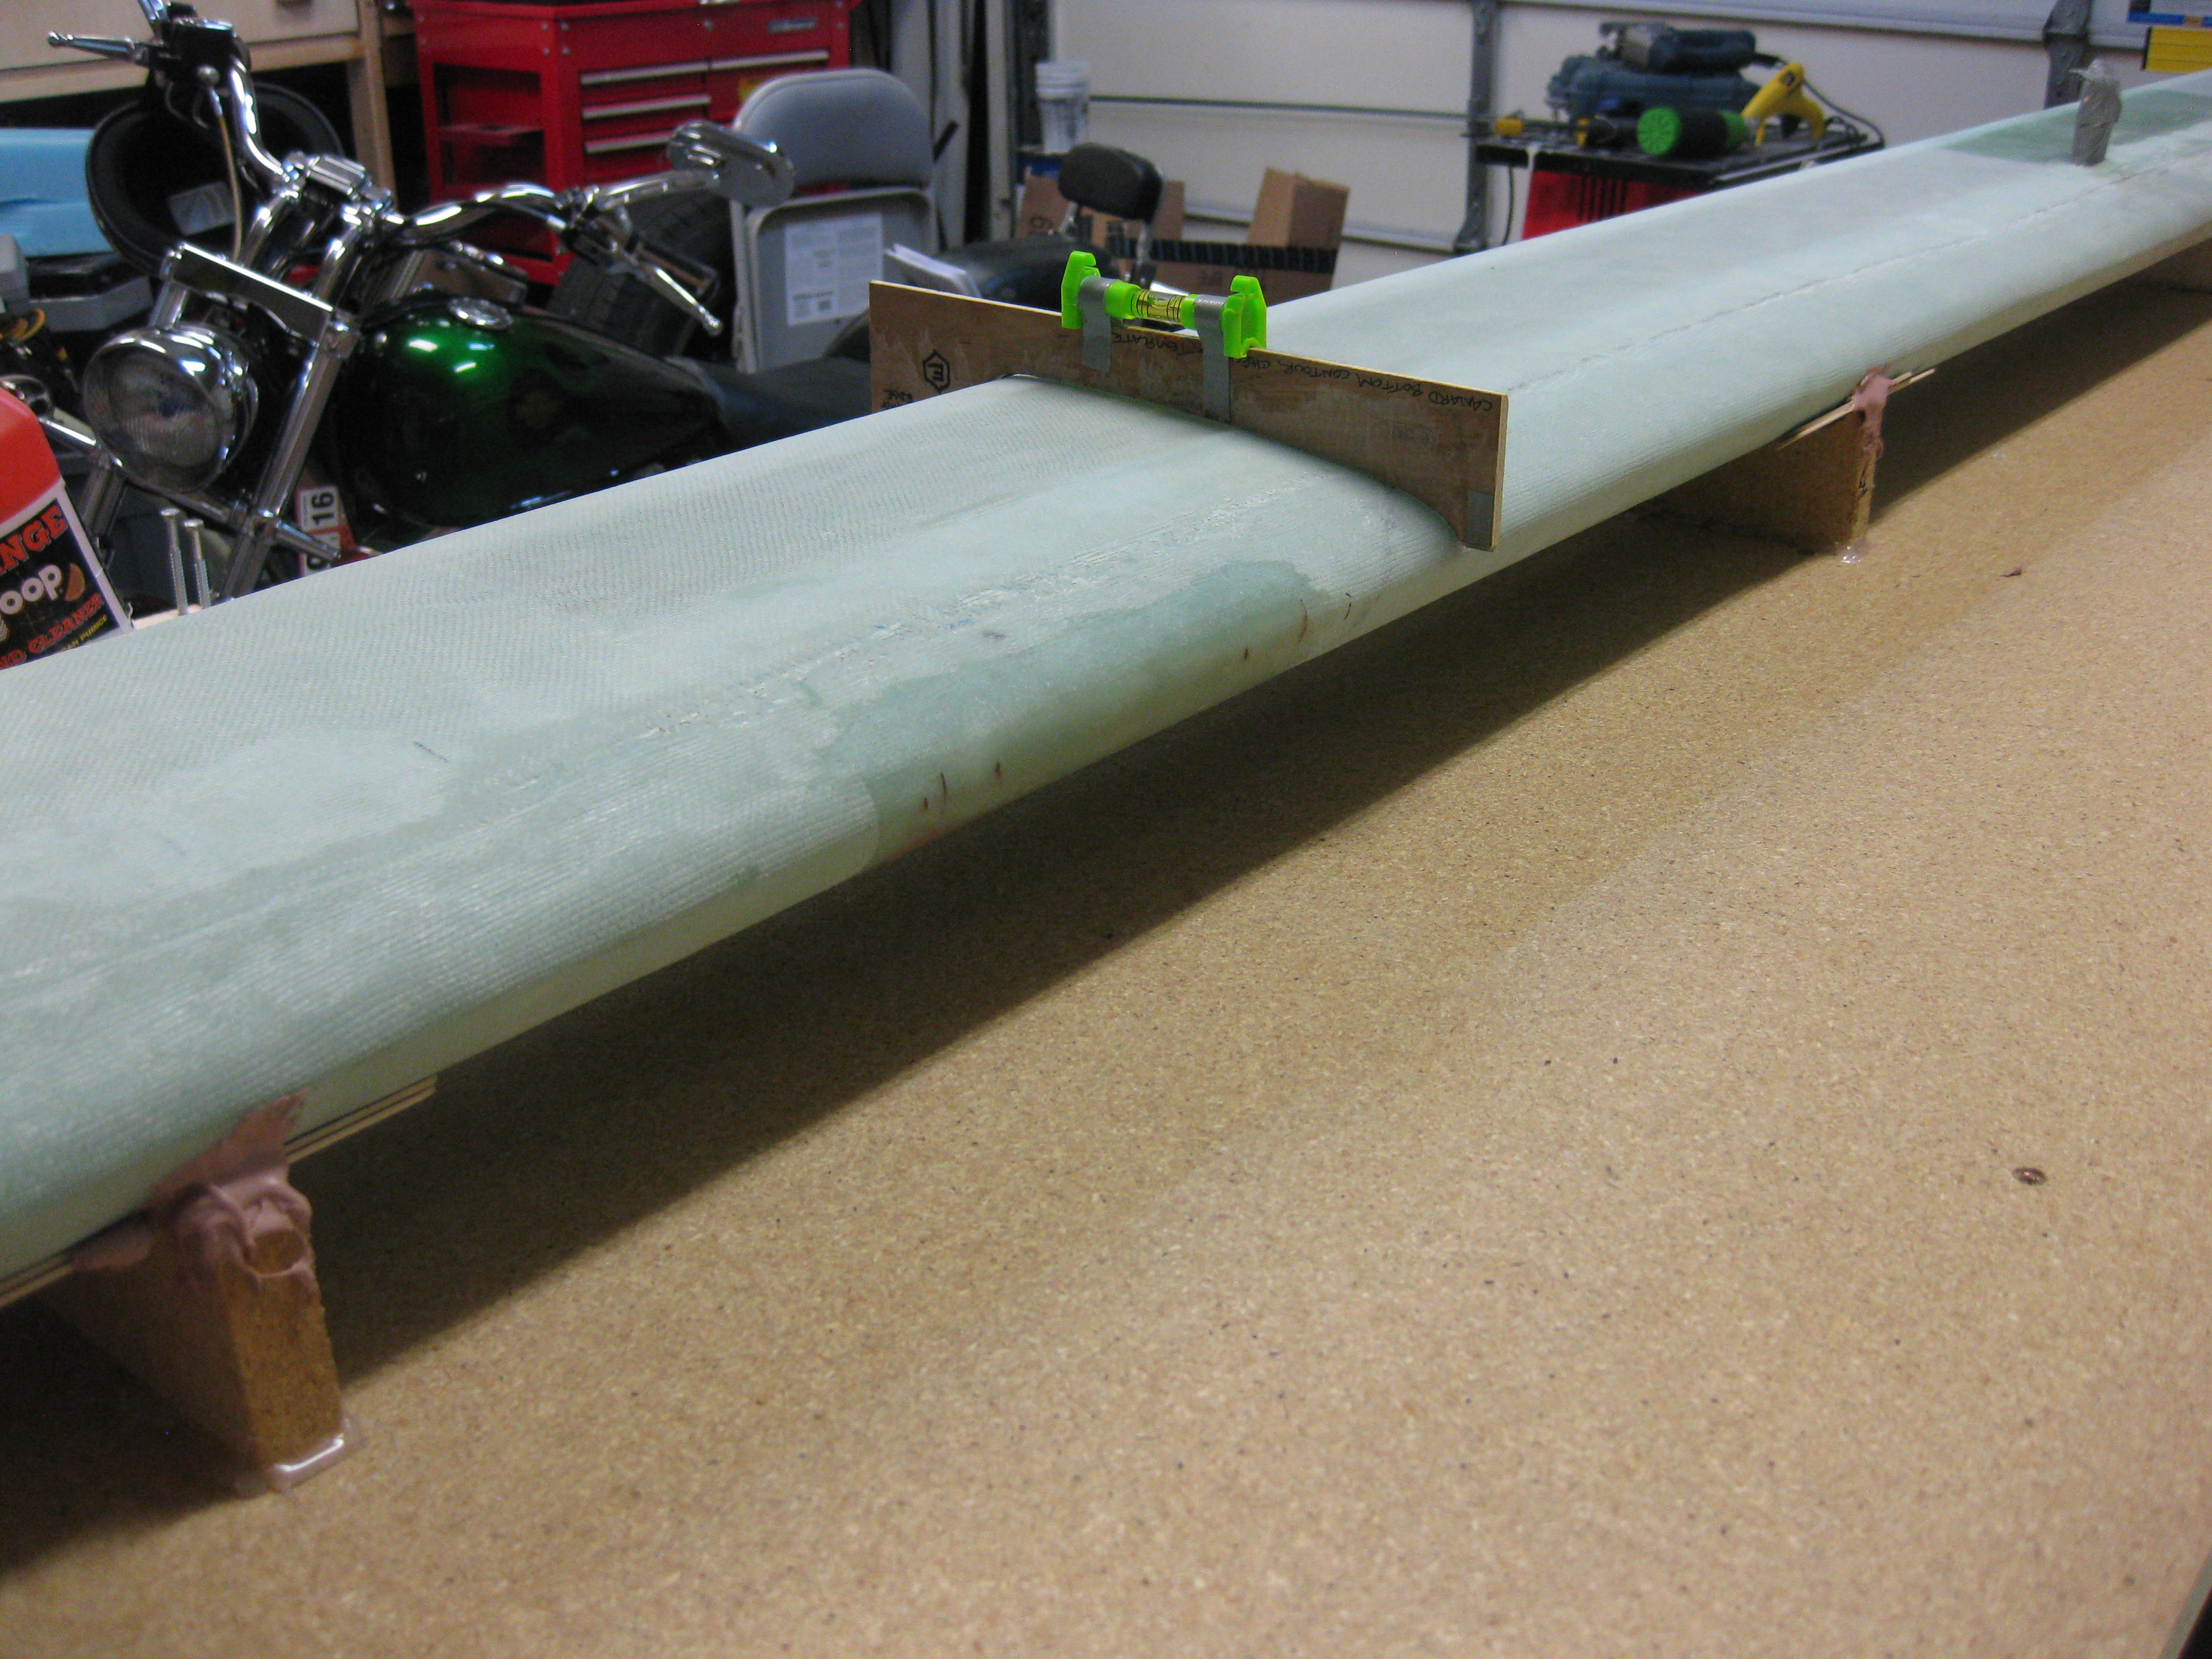
Below is the “E” template at the far Right side of the canard, the middle of the canard, and on the Left side of the canard (of course all underside), respectively. As you can see, the bubble is situated in pretty much the same spot on all of these.

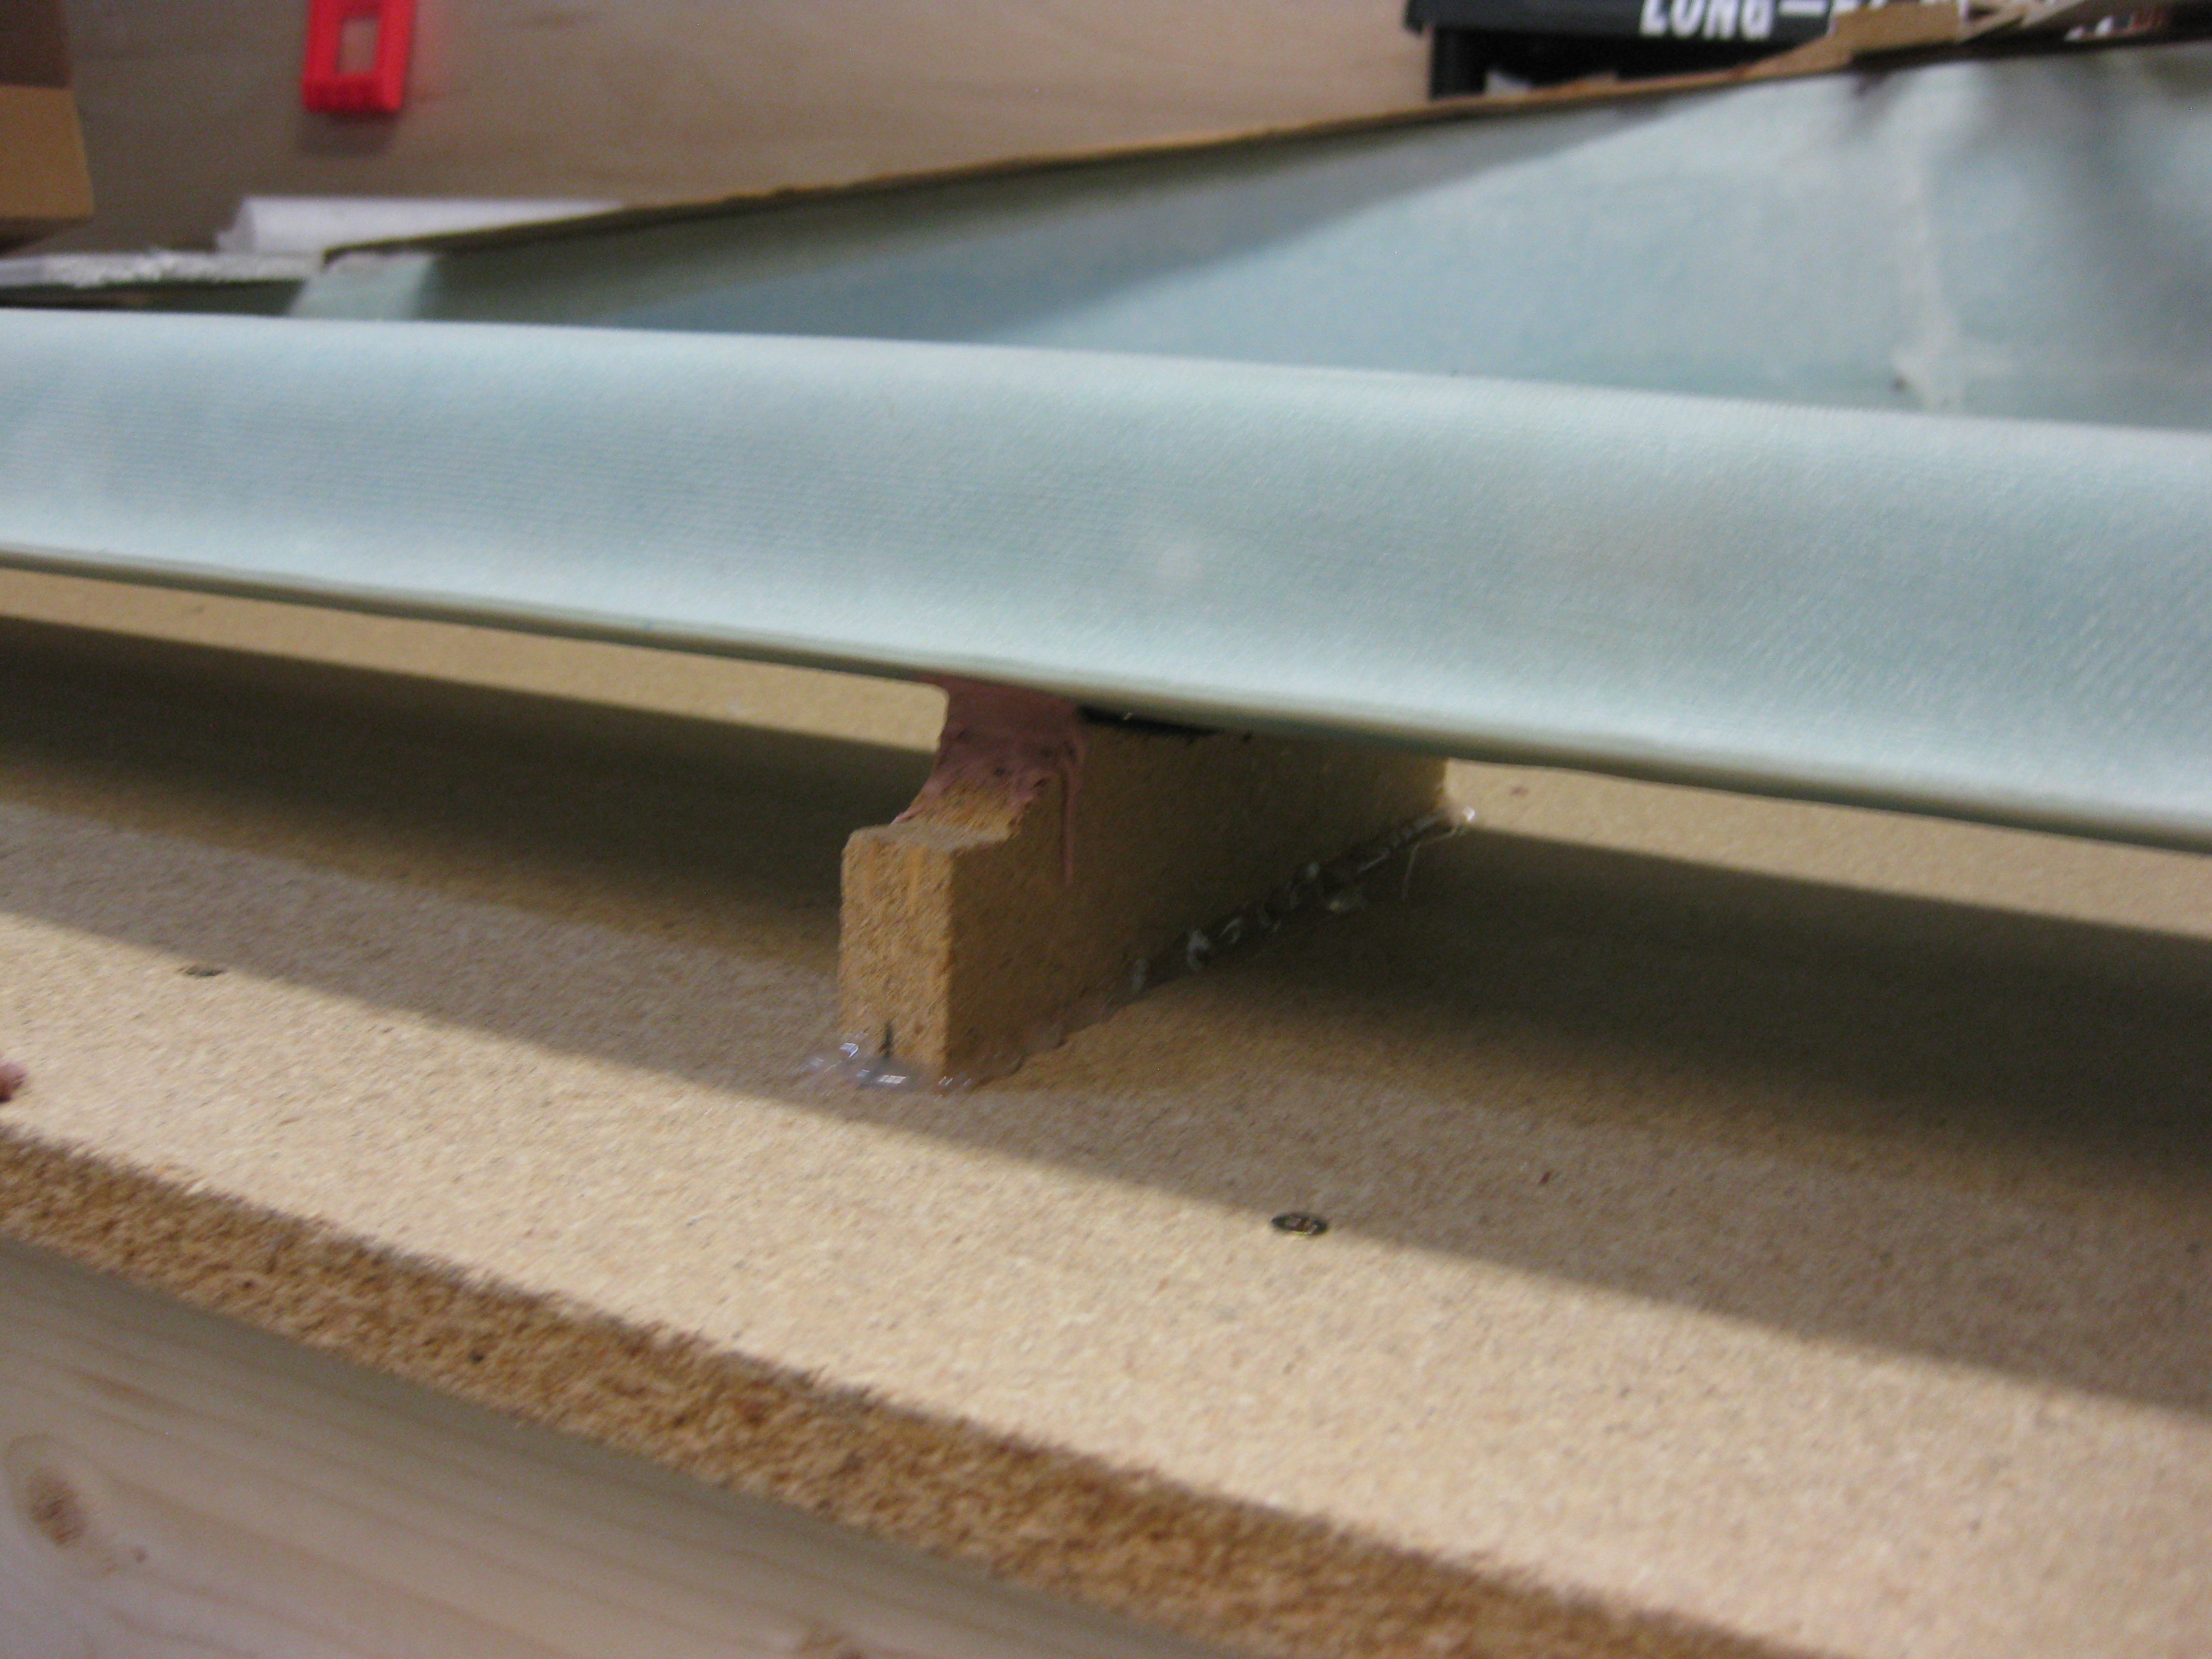
Happy with the position of the canard, I went about the nasty task of Bondo’ing the canard to the “K” mounts.
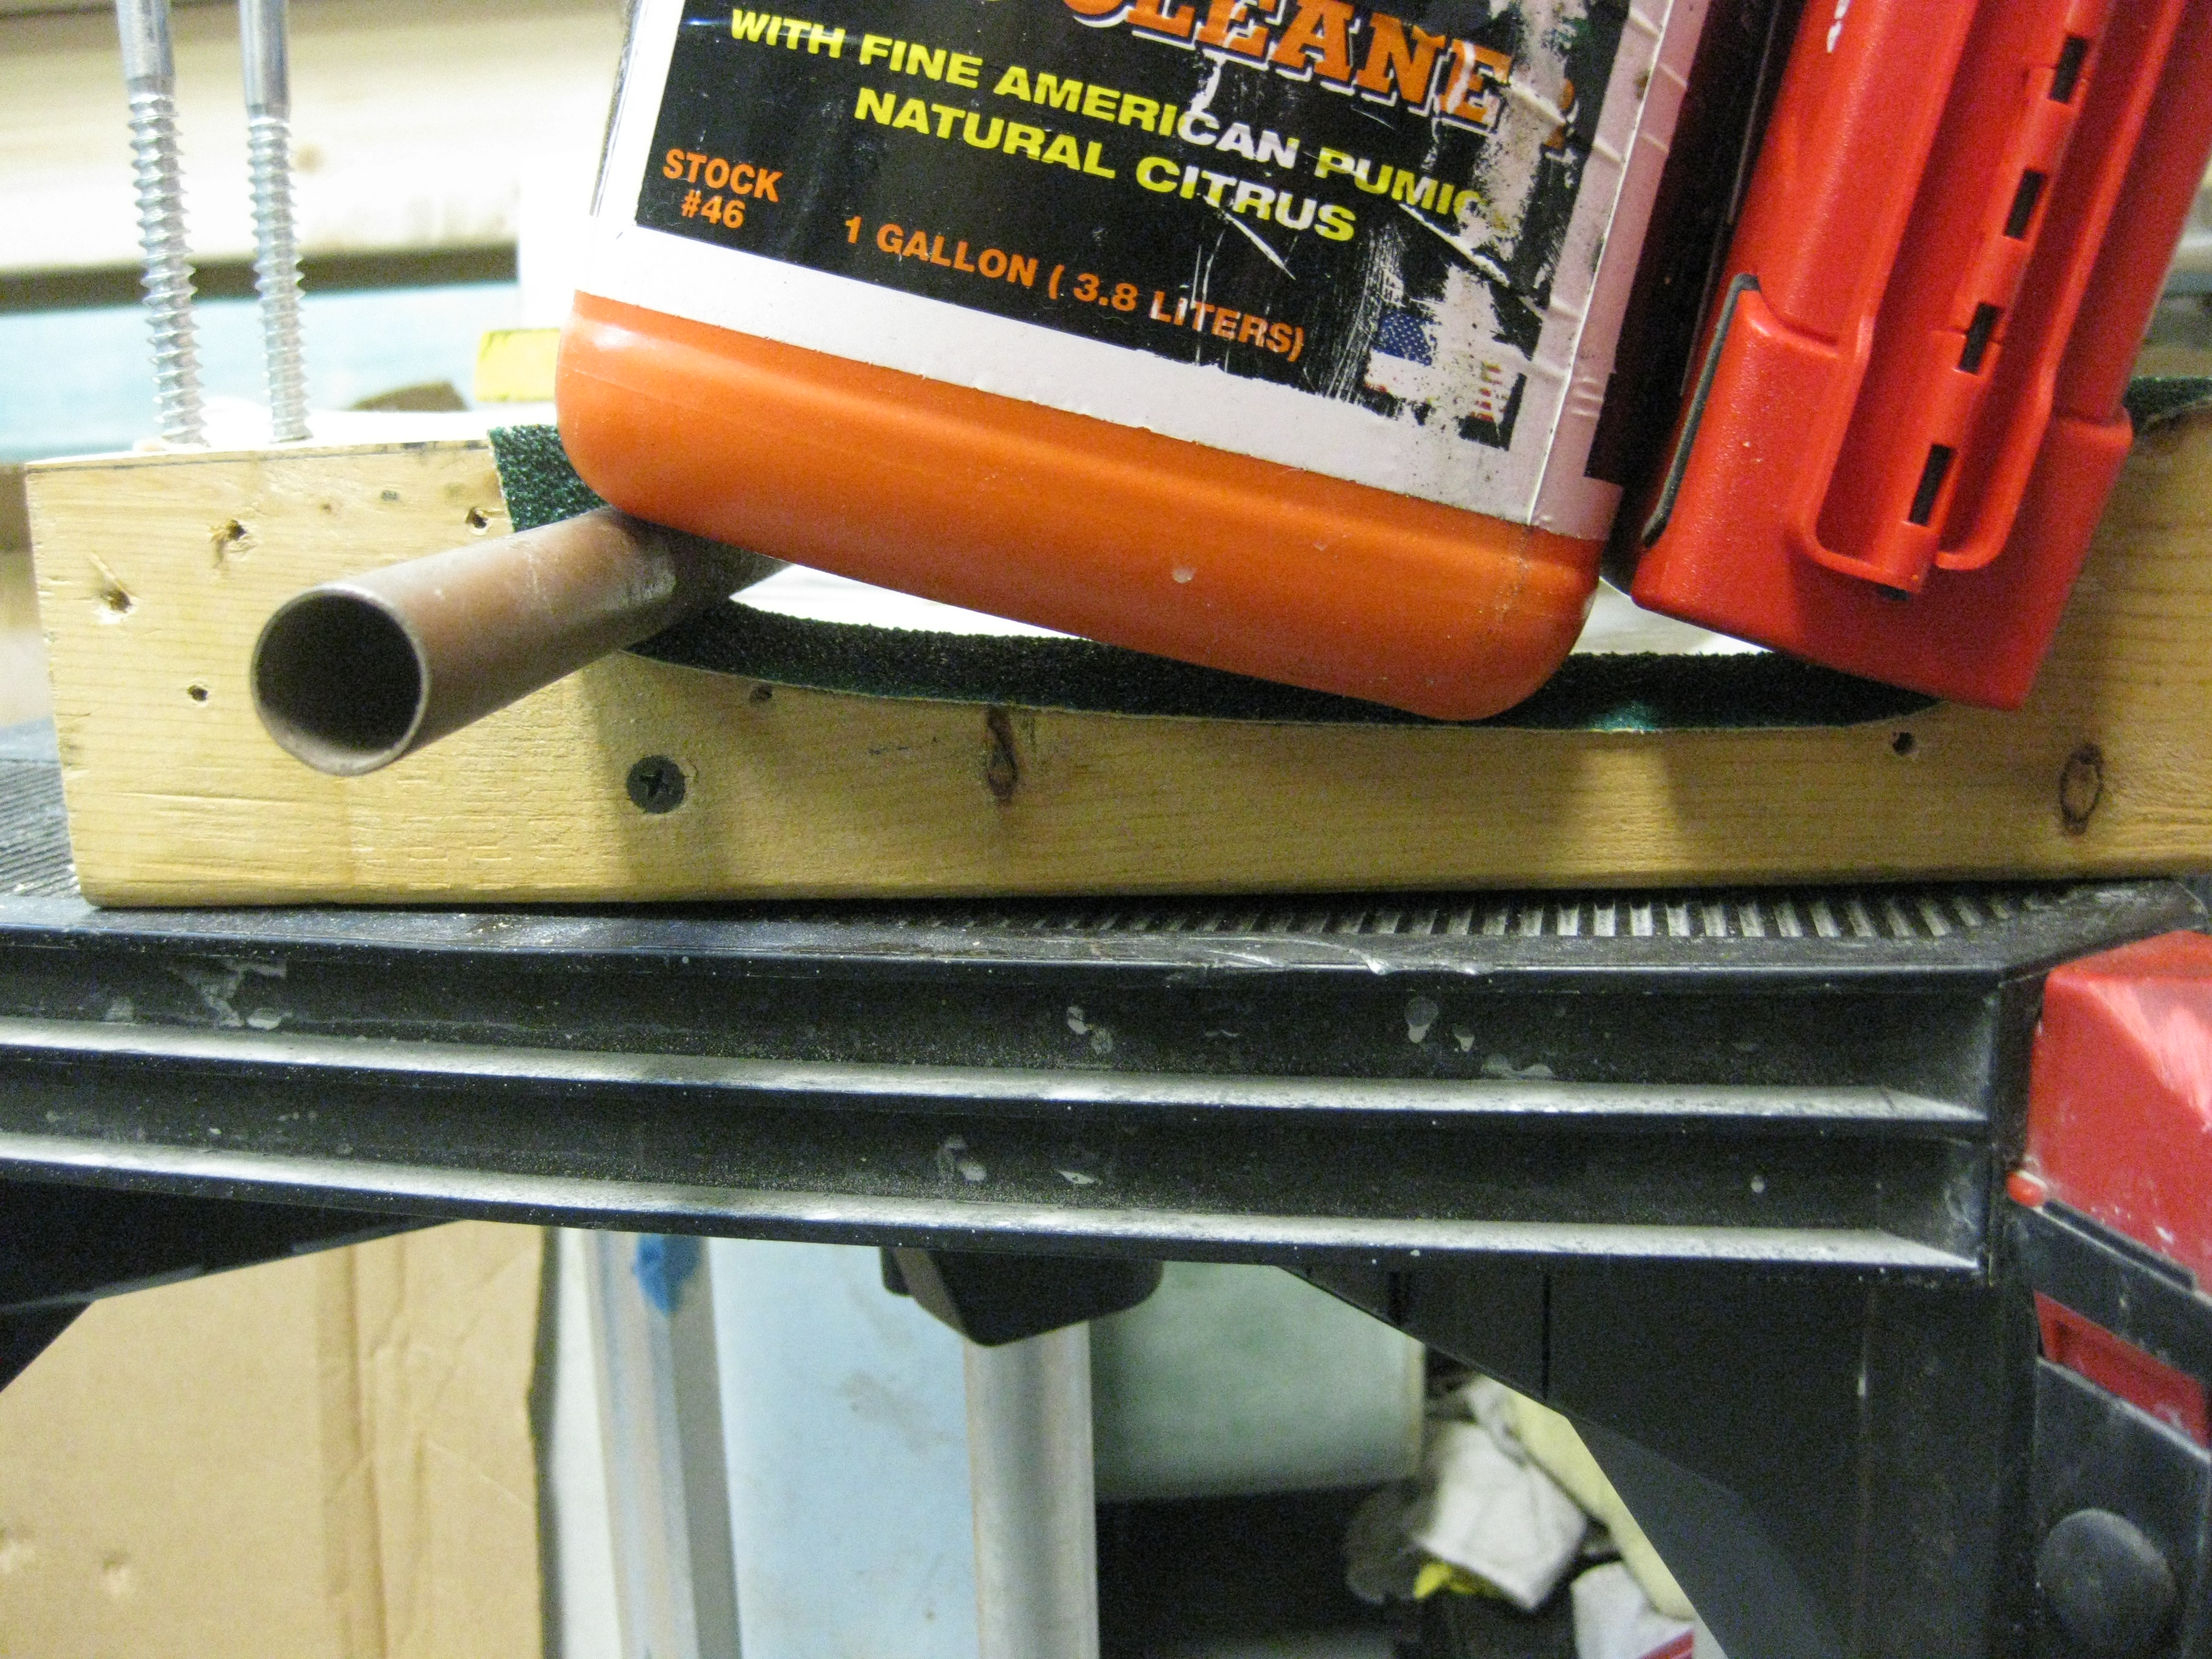
After I was finished with the Bondo and as it cured, I took my Bottom-side Canard Contour Sanding Block outside and shot it with 3M Super 77 spray glue, along with the actual backing of the sticky sandpaper. Since it takes a bit of time for the spray glue to set up, I went ahead and weighed the sandpaper down to get it to lay correctly in the contoured area.
After messing around with getting the sandpaper weighed down, I went back to the canard and spent about 5 minutes double checking that its angle & elevation were correct in relation to the workbench. Thankfully, it was.
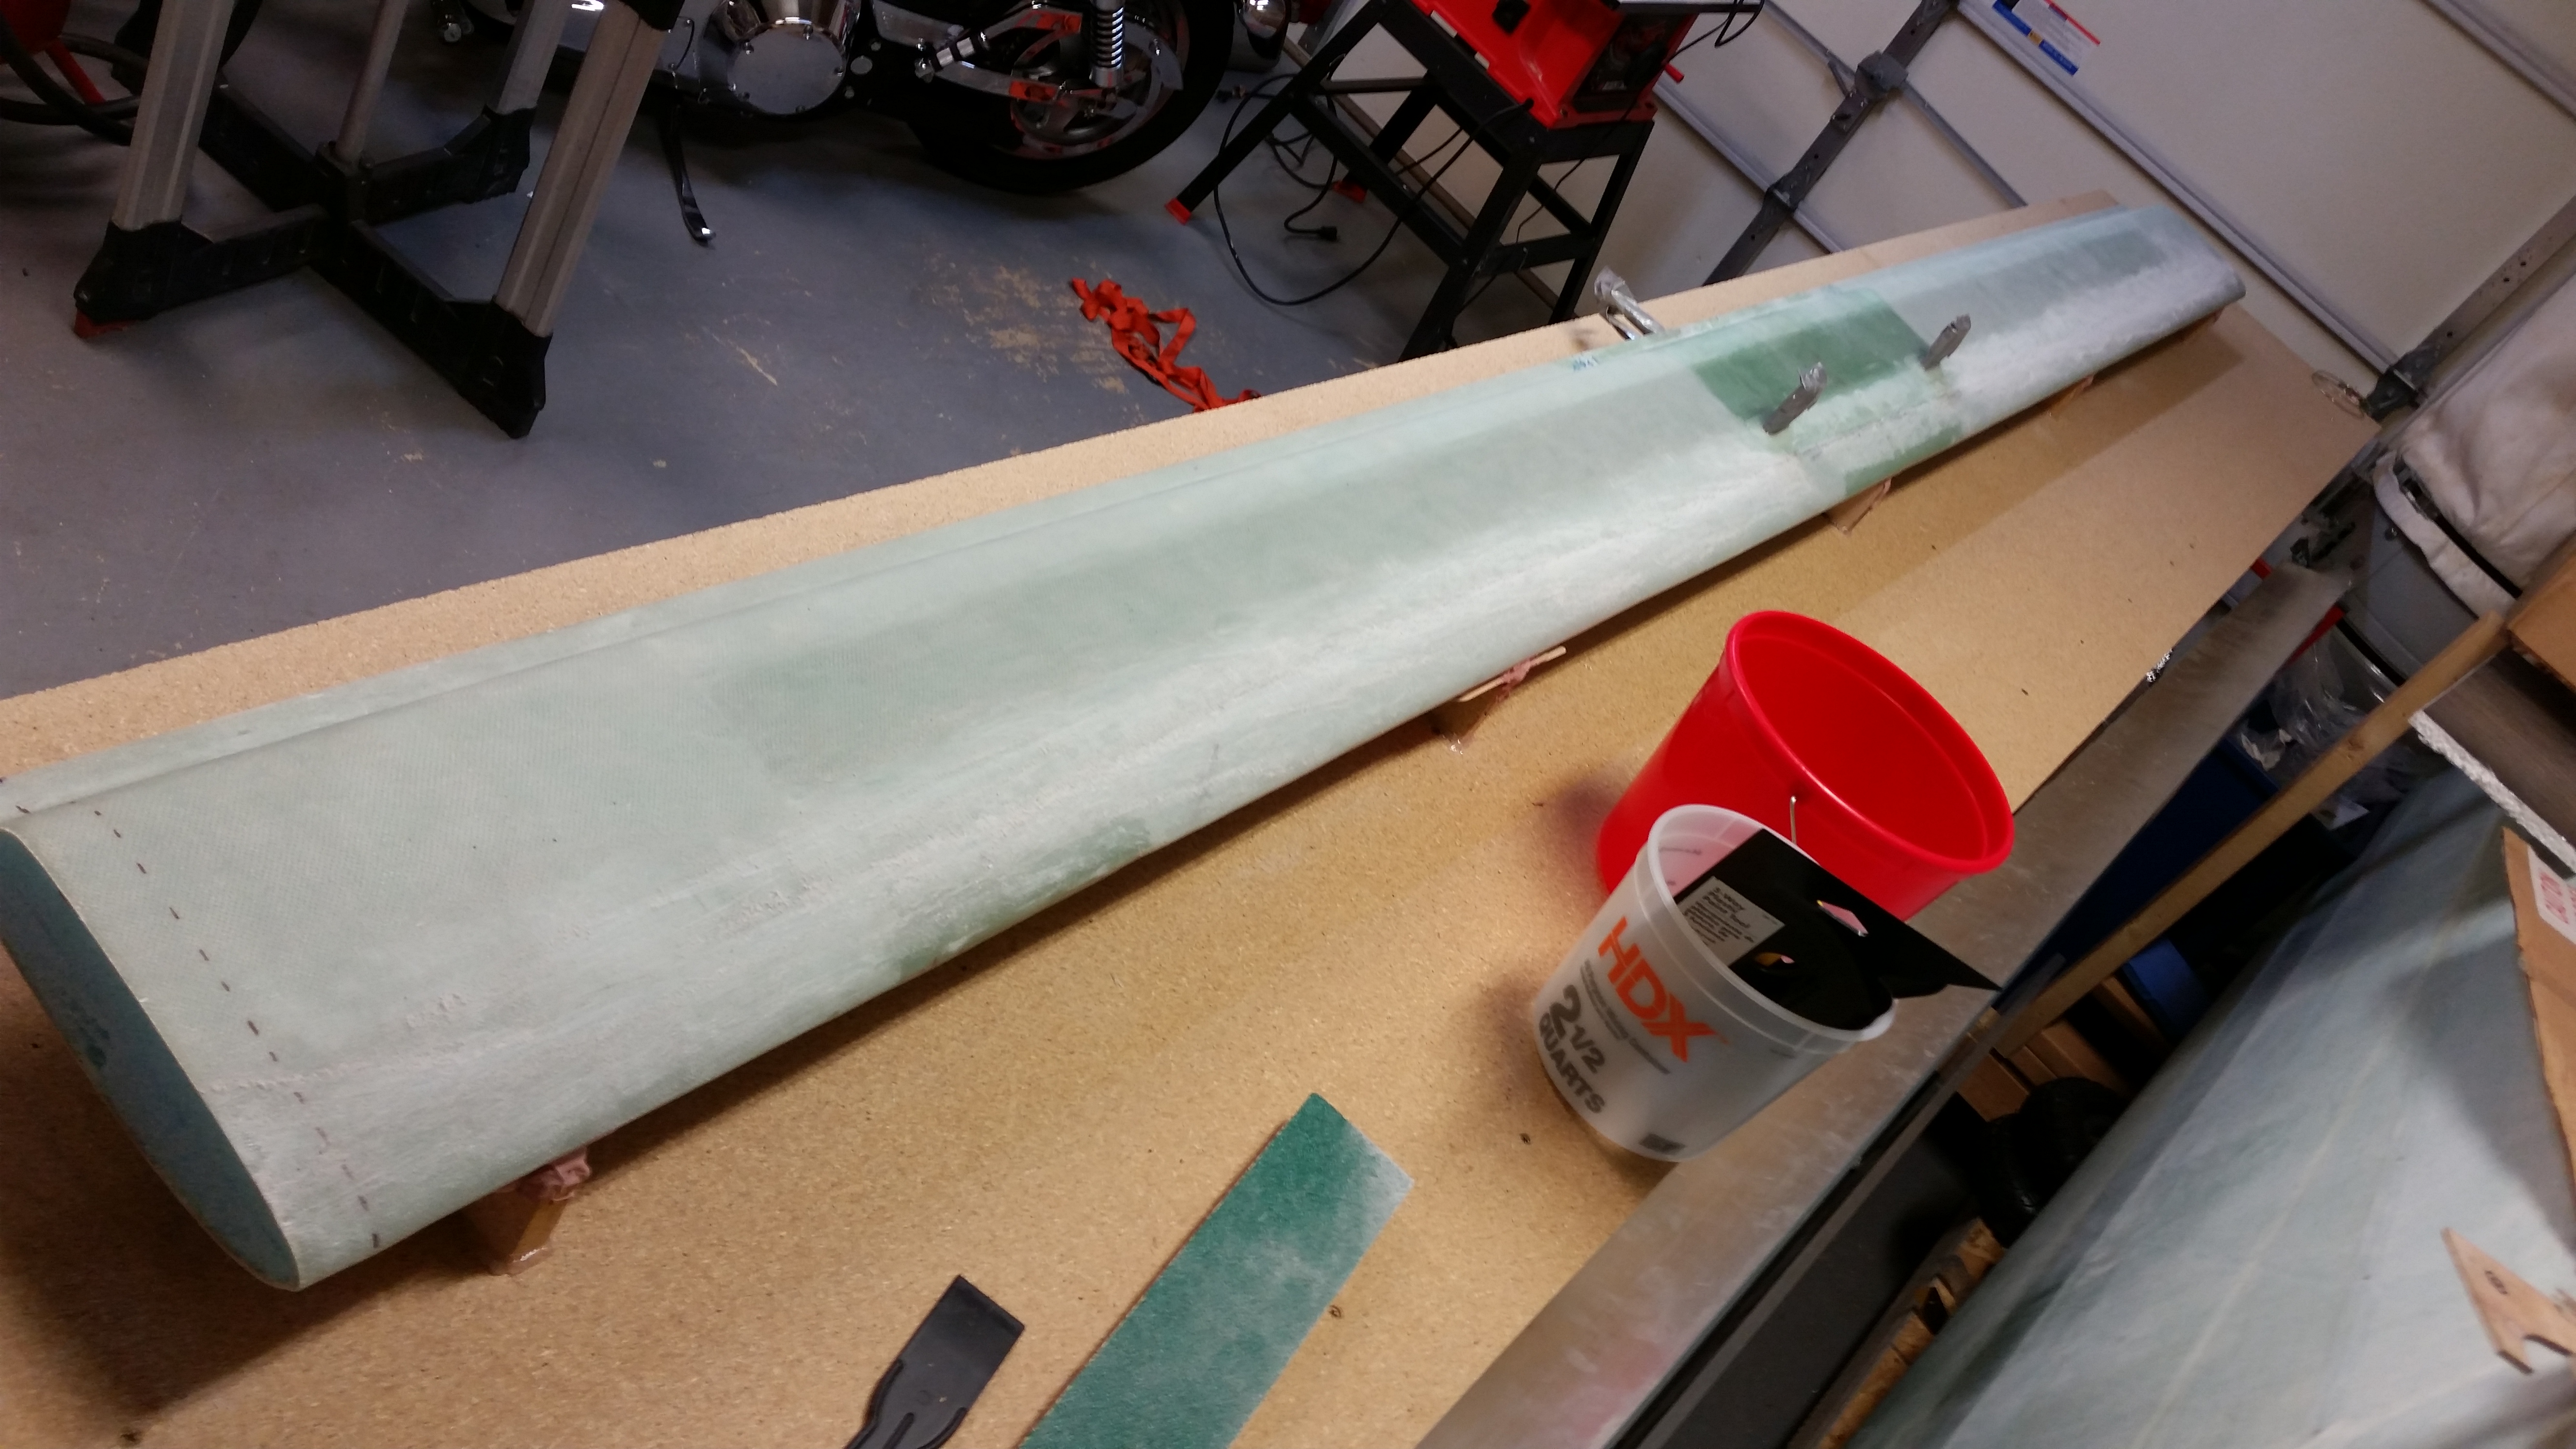
And below are some shots of the Bondo holding the canard in its correct position.
With the canard nice, snug & secure, I took one last opportunity to sand the LE overlap glass seam and any other overly bright & shiny spots. After my sanding spree, I vacuumed up the mess and then cleaned the canard surface with an incredible effective cleaning solution: water!
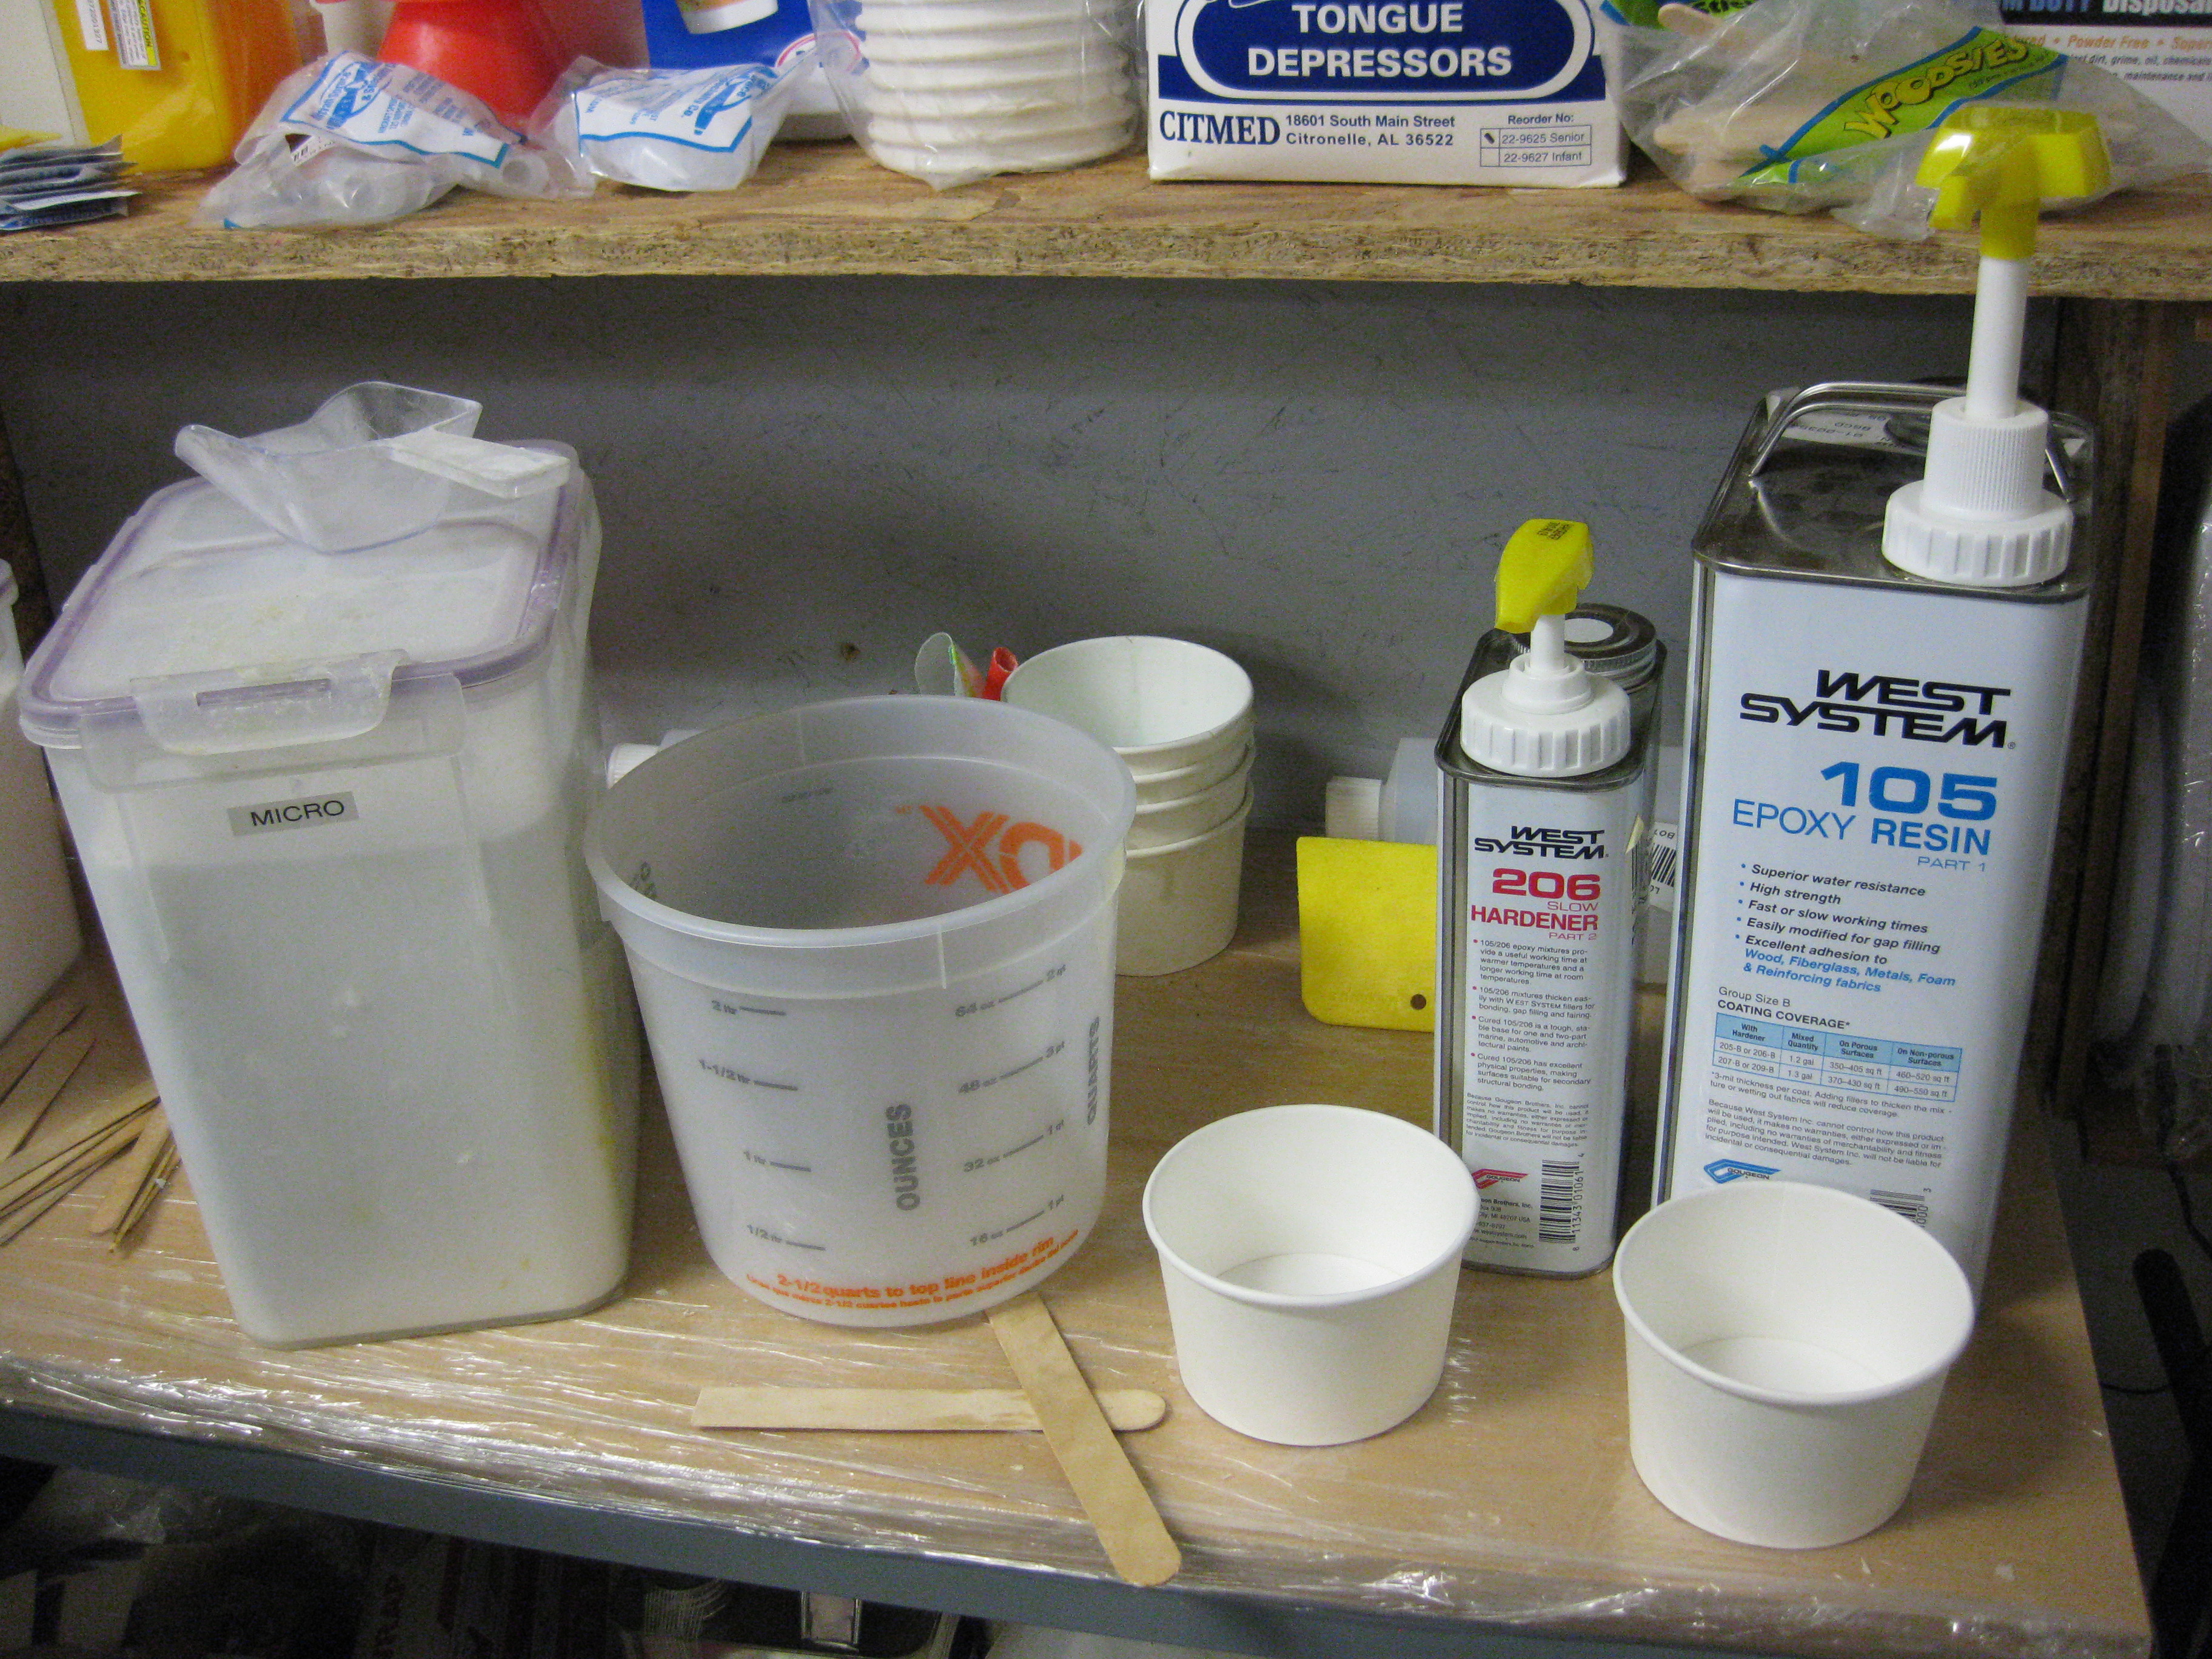
With the canard set to go, I then pulled the West epoxy out of the hot box and gathered up my West epoxy system pump set. This was going to be pretty fun to use this since the last time I messed around with these pumps was when I took the EAA Composites Course in January 2011.
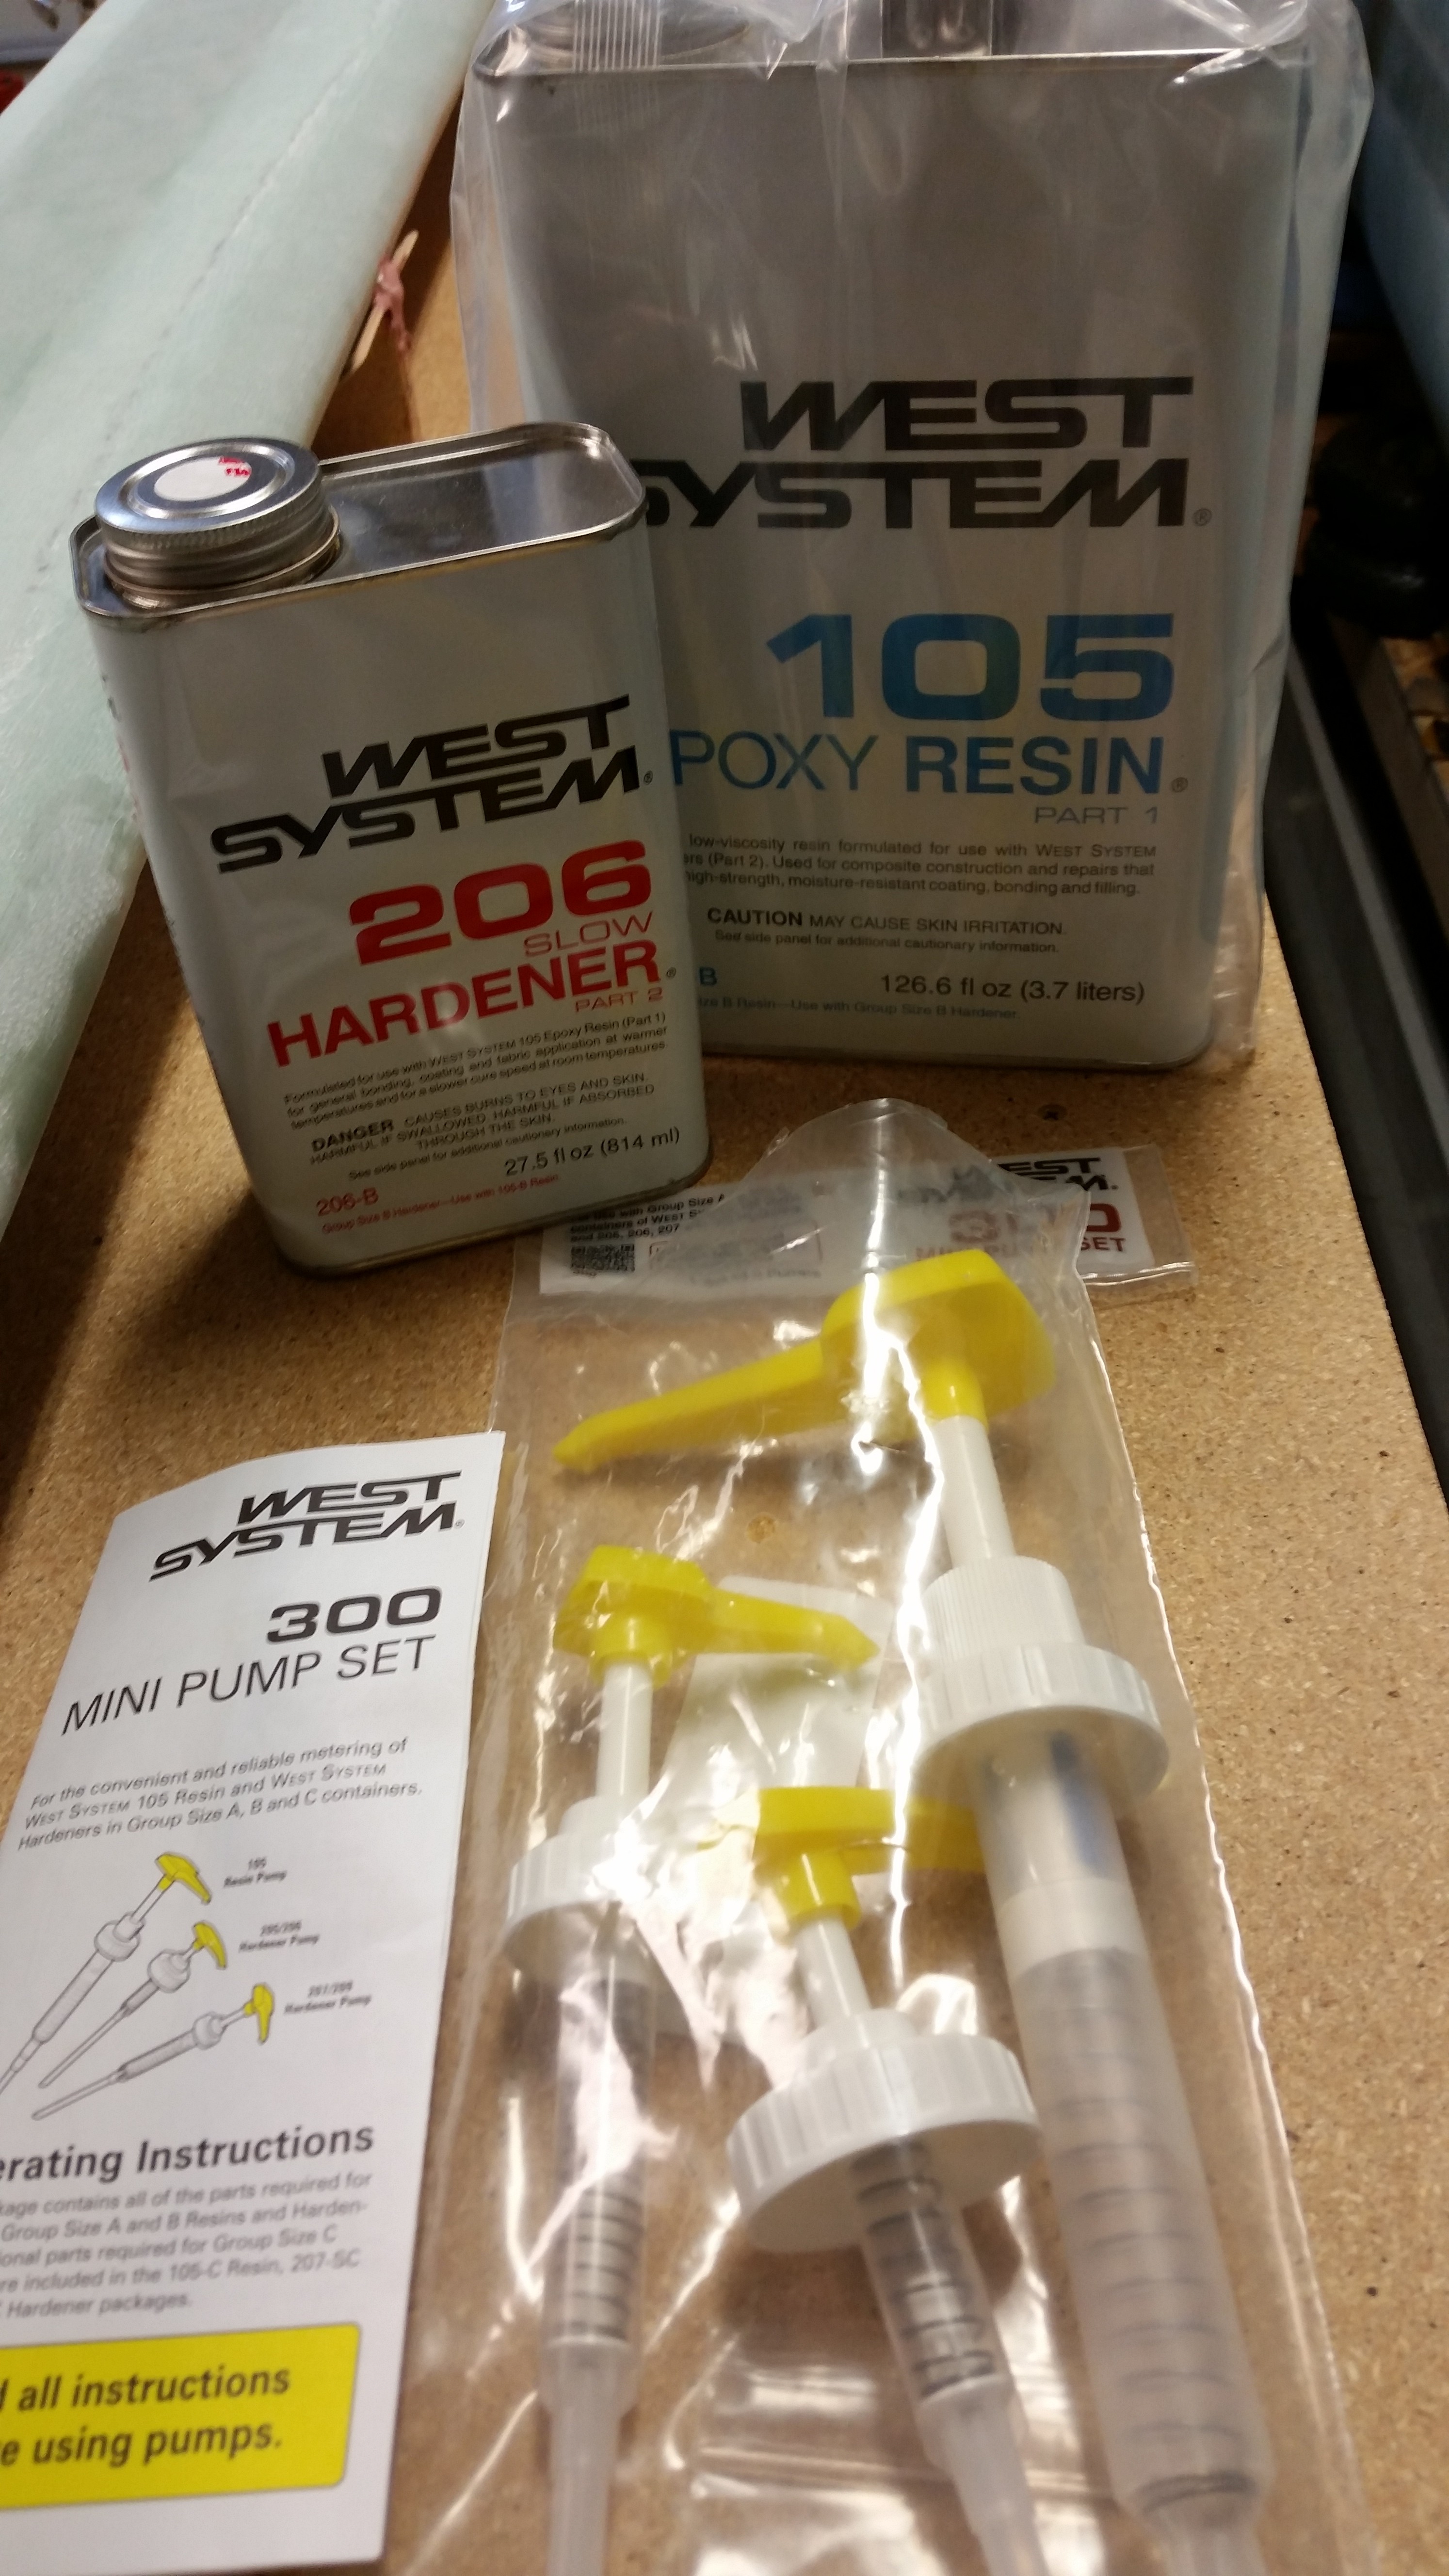
I got my epoxy workstation situated and primed both the epoxy and hardener pumps so that when I pressed on the pump handles I actually got the correct amount of epoxy or hardener per every stroke.
Now, I am grateful that my first time out using micro for finishing was on the BOTTOM of the canard, since clearly it’s not as uber critical in shape as the top. Of course that’s not to say I’m allowing shoddy workmanship, since, yes, I realize that the canard bottom surface & elevators are essentially Fowler Flaps, and clearly the bottom surface shape is important too.
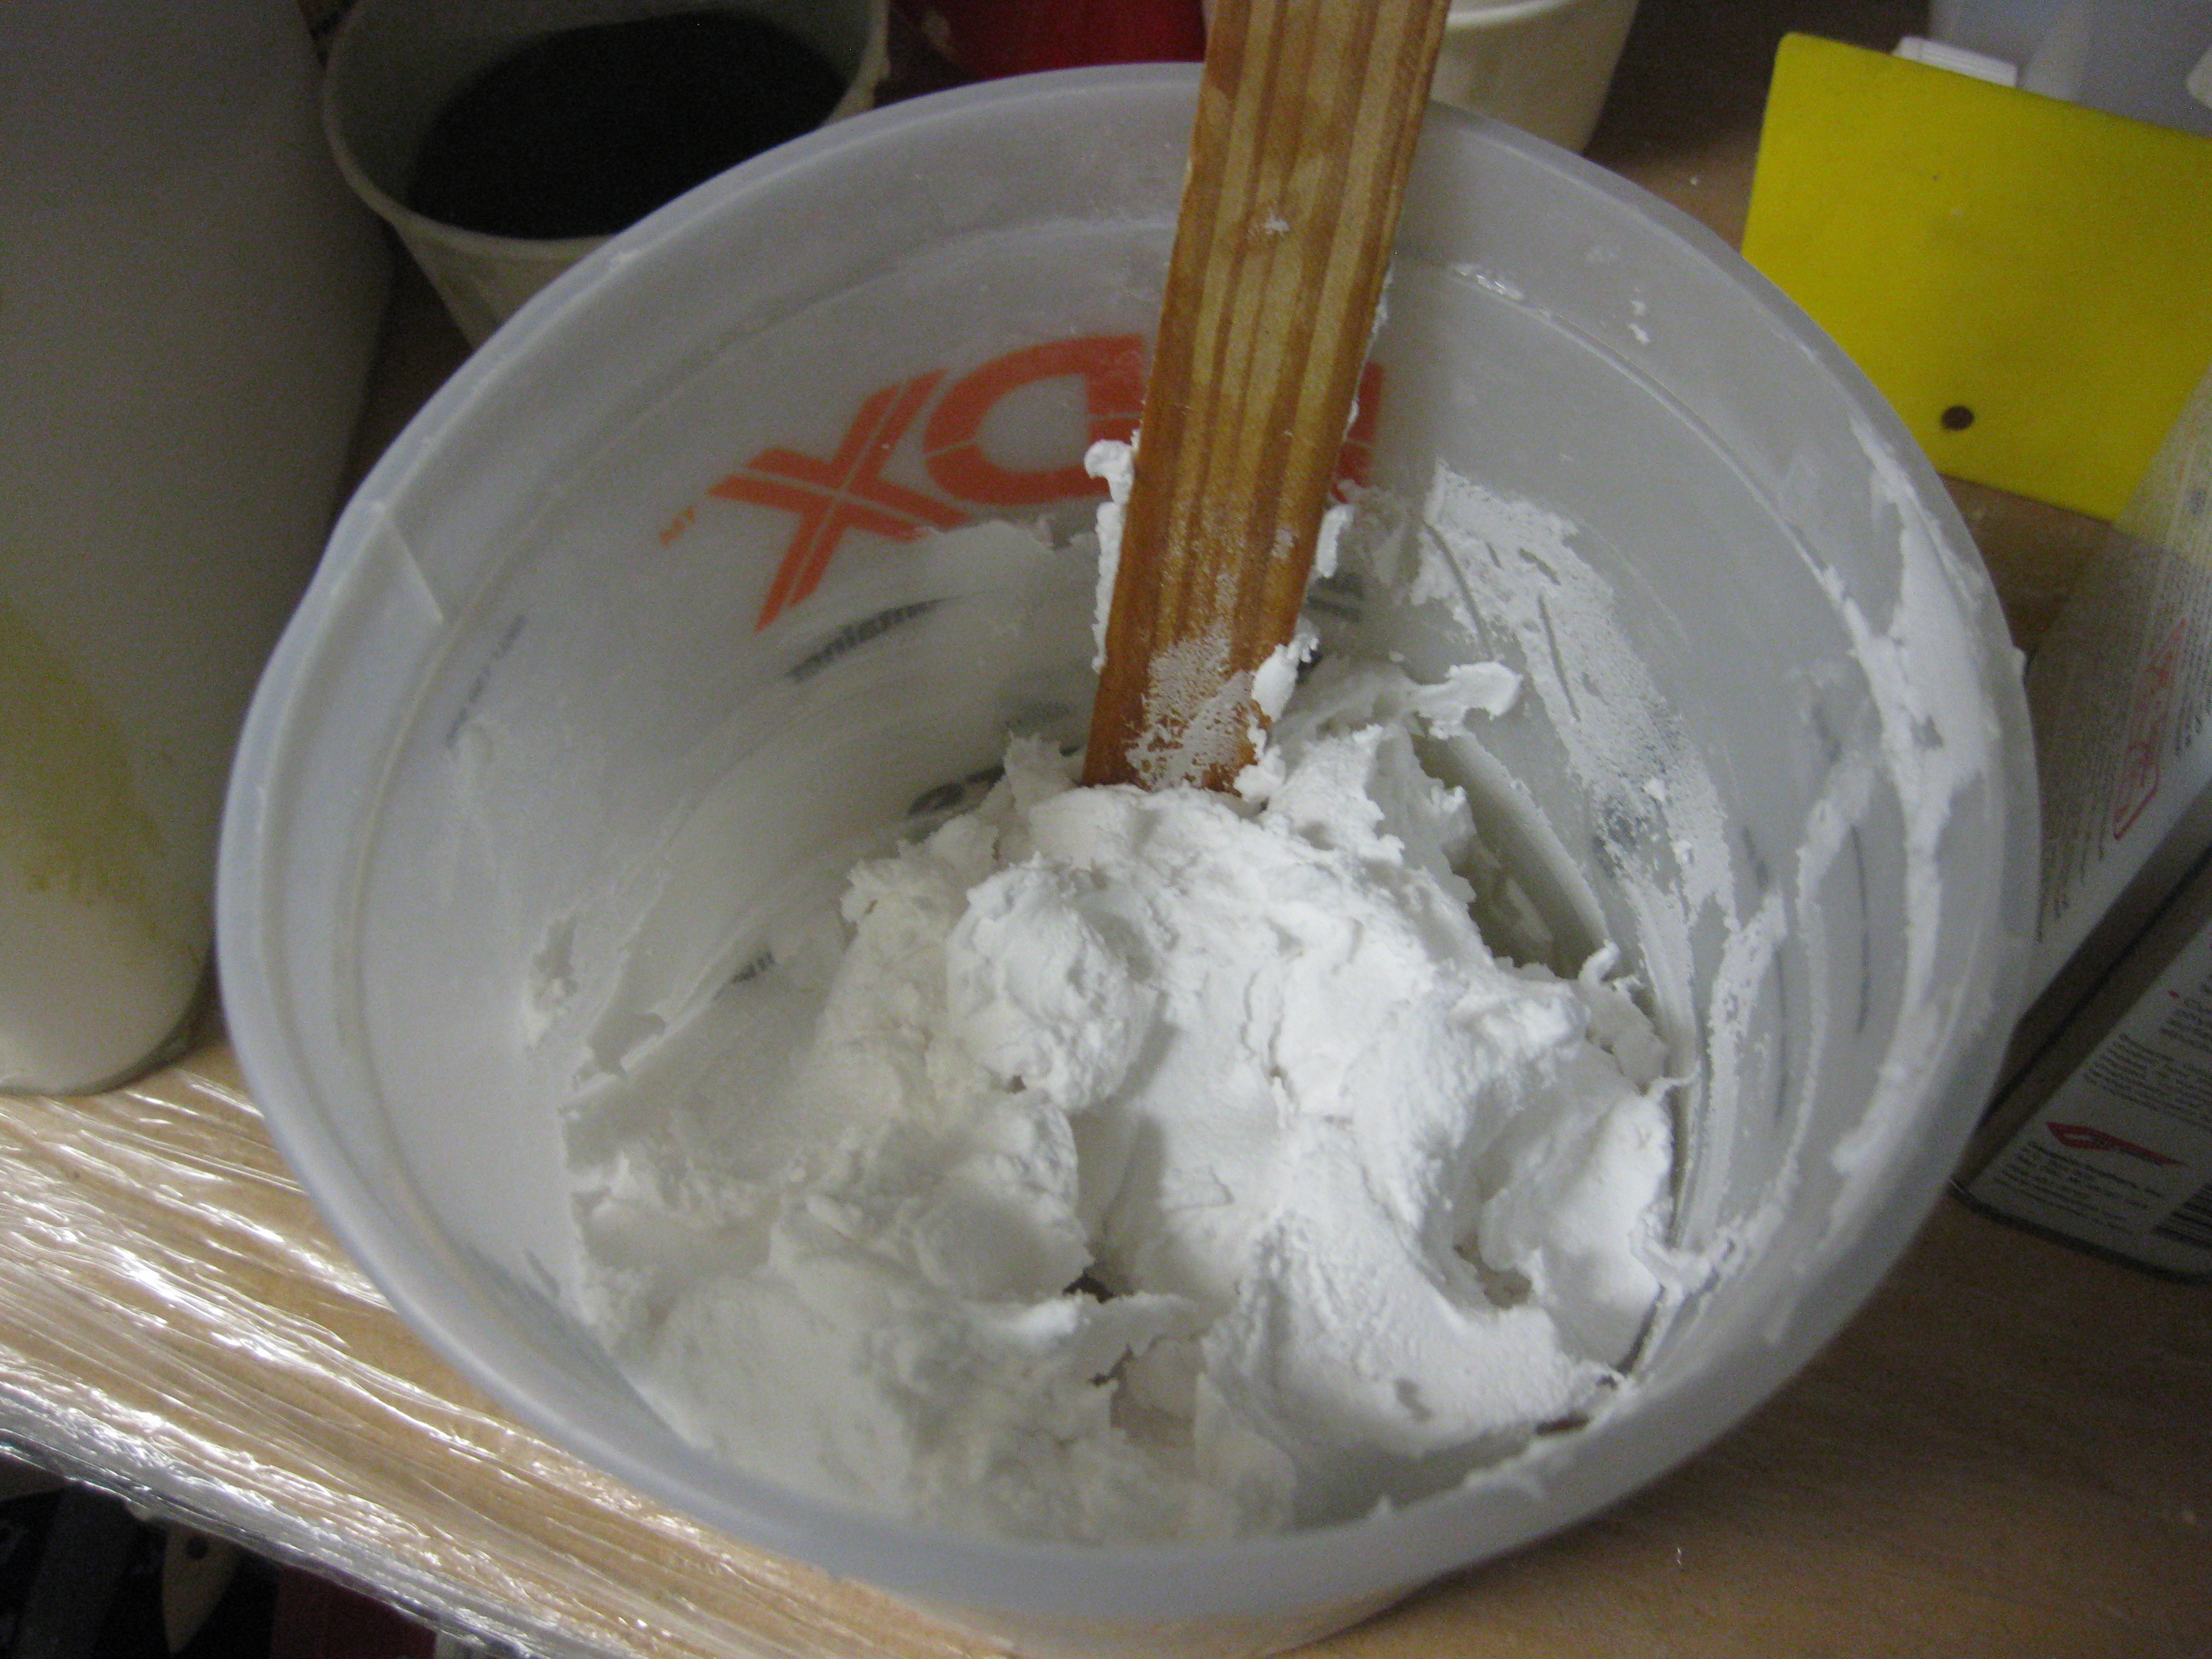
I’ll also admit that in attempting to follow the letter of the micro-finishing law that states that thou shalt use the driest micro possible, after spending 10-15 minutes trying to lay down really dry micro I realized that it was just not working. I scraped off micro set #1 and it went into the trash.
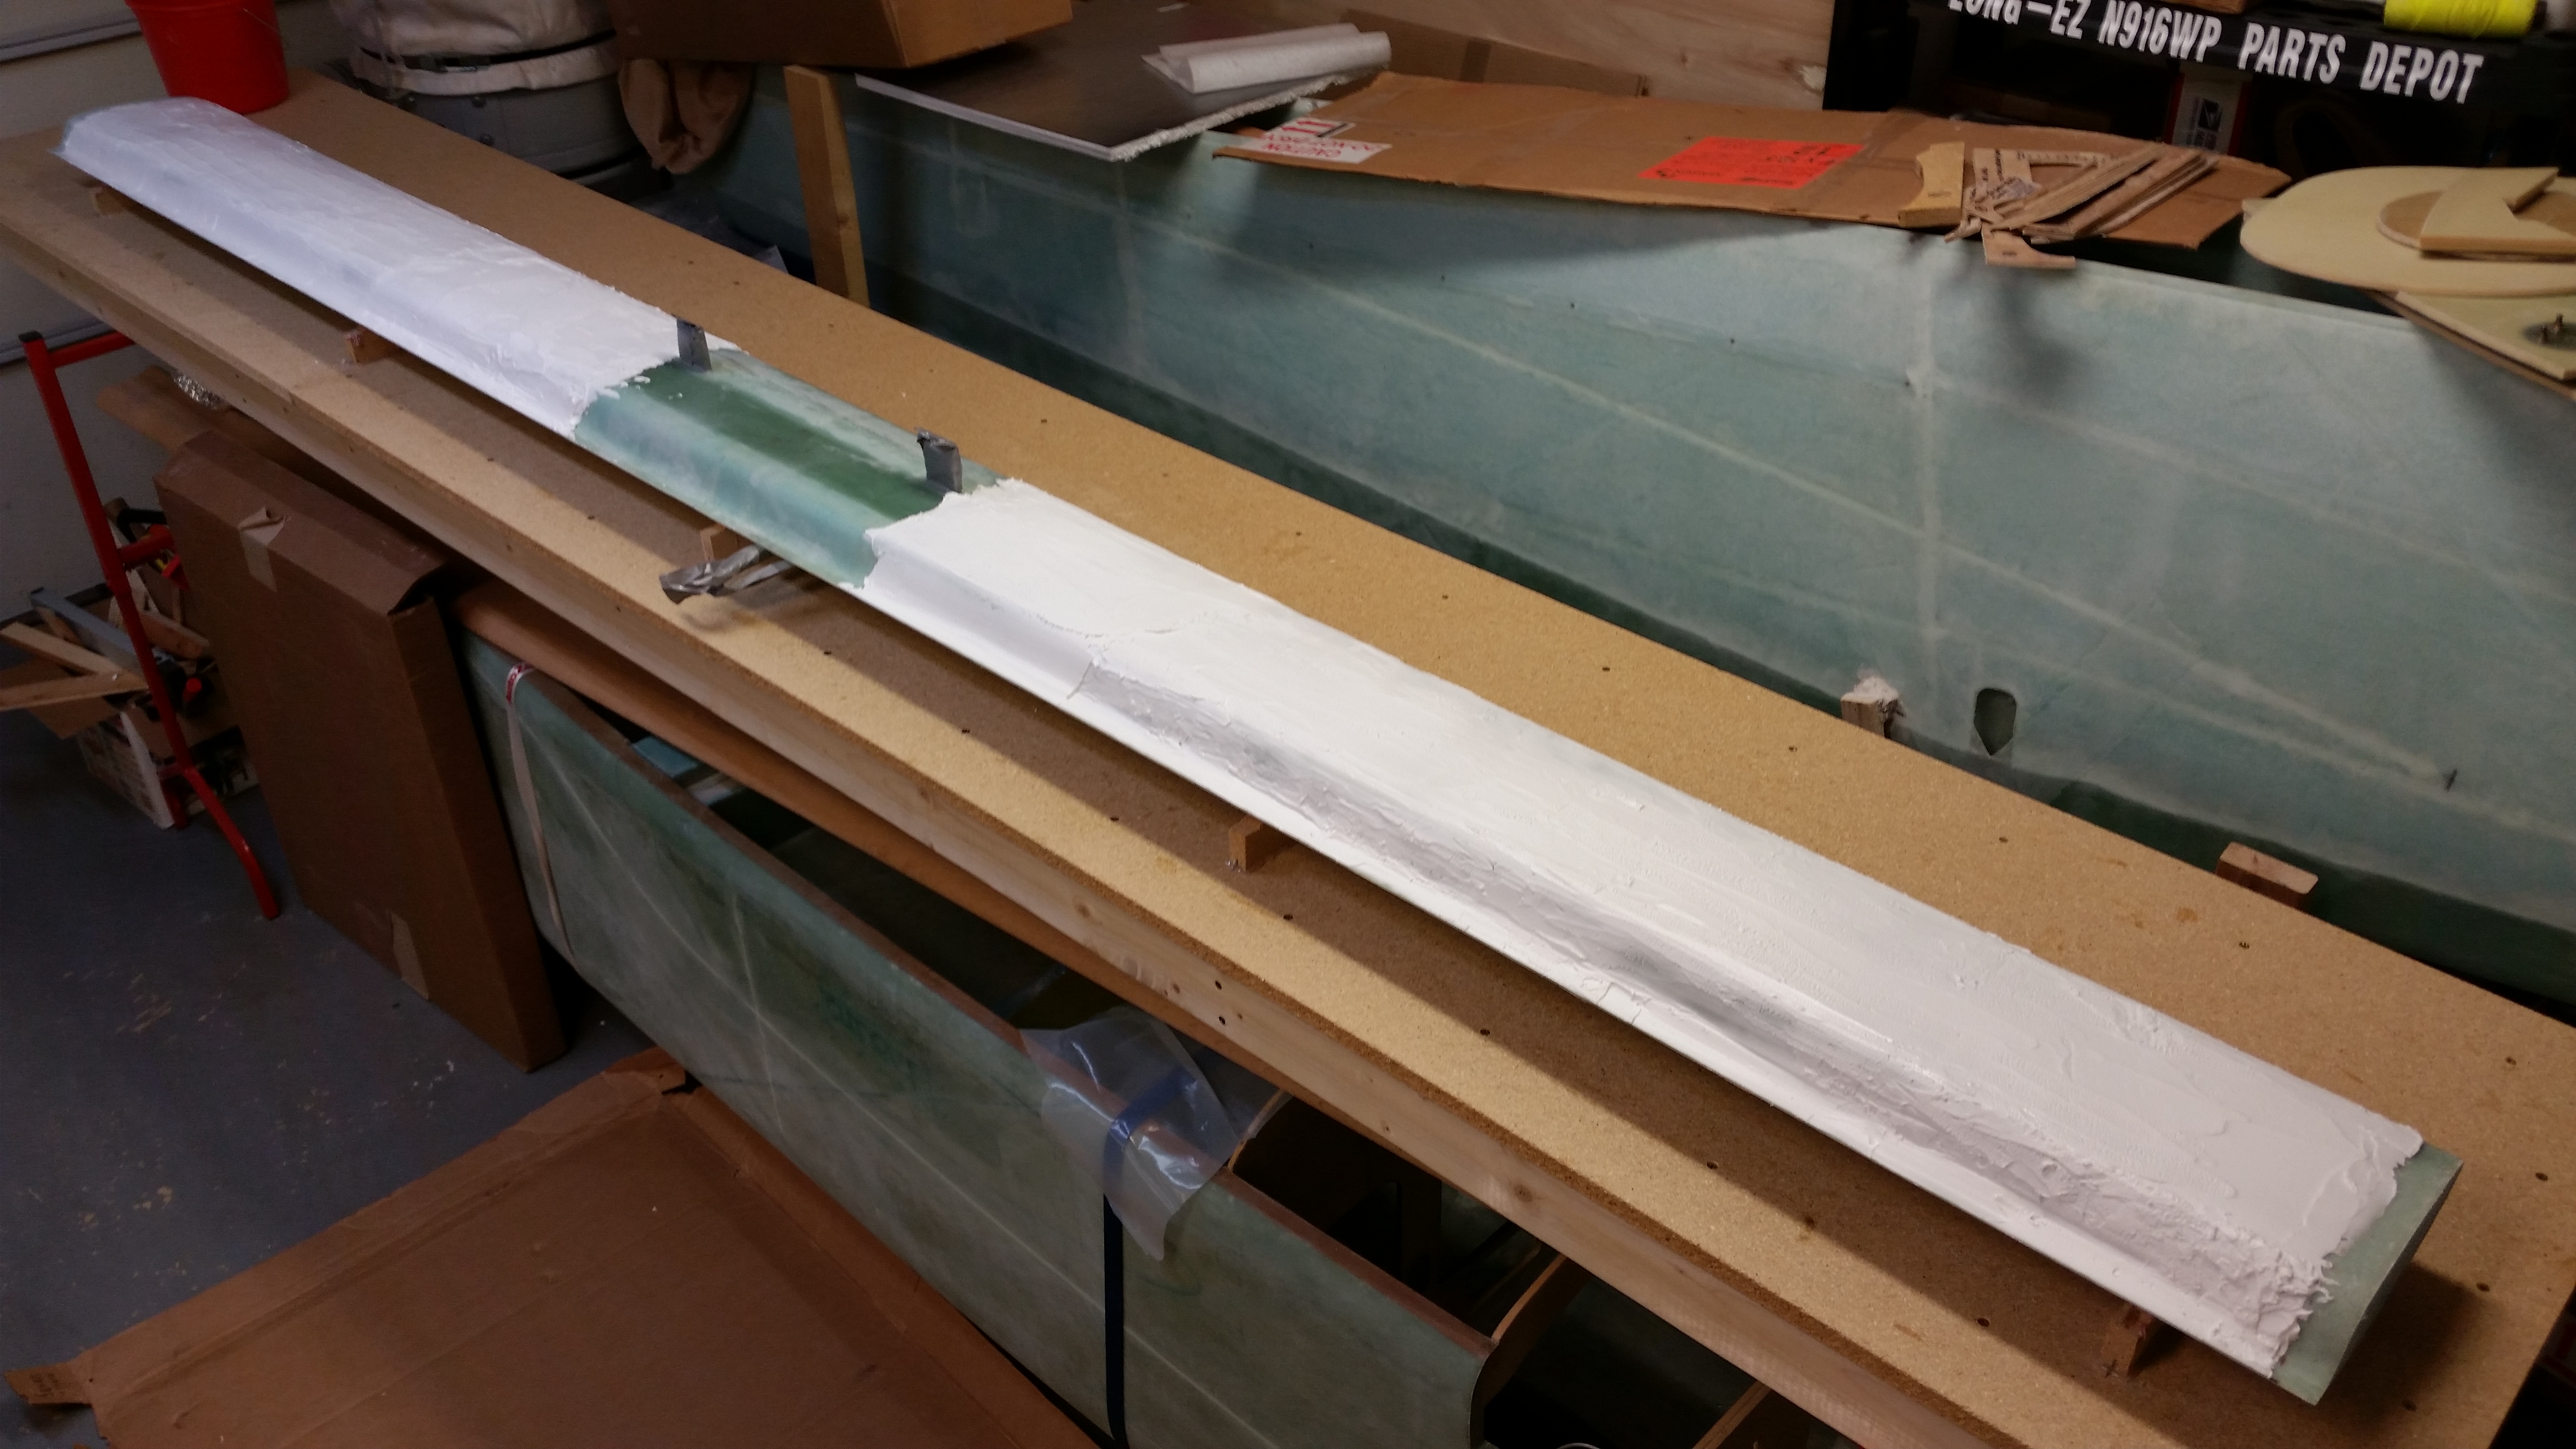
After my on-the-job micro lesson in round one, I simply wimped out and went with only dry micro for the next round. Amazing what half a cup less of micro in the mix allows one to do! I may have cheated a hair, but let me tell you, the ability to actually get the stuff to stay on the surface was an awesome feeling . . . and trust me, that doesn’t mean I’m saying it instantly turned easy. It just went from being an impossible task to an actual possible task, albeit still really challenging (read: PITA!). I will say though, that with each batch of micro that I laid down I could tell I was getting a better feel for it and my micro-finishing kung fu skills were definitely improving. Here’s the round 2 stuff:
And with all that, Voila! Here is the micro finished underside of the canard, in all it’s glory! (Do you hear something? . . . Are those horns sounding?!)
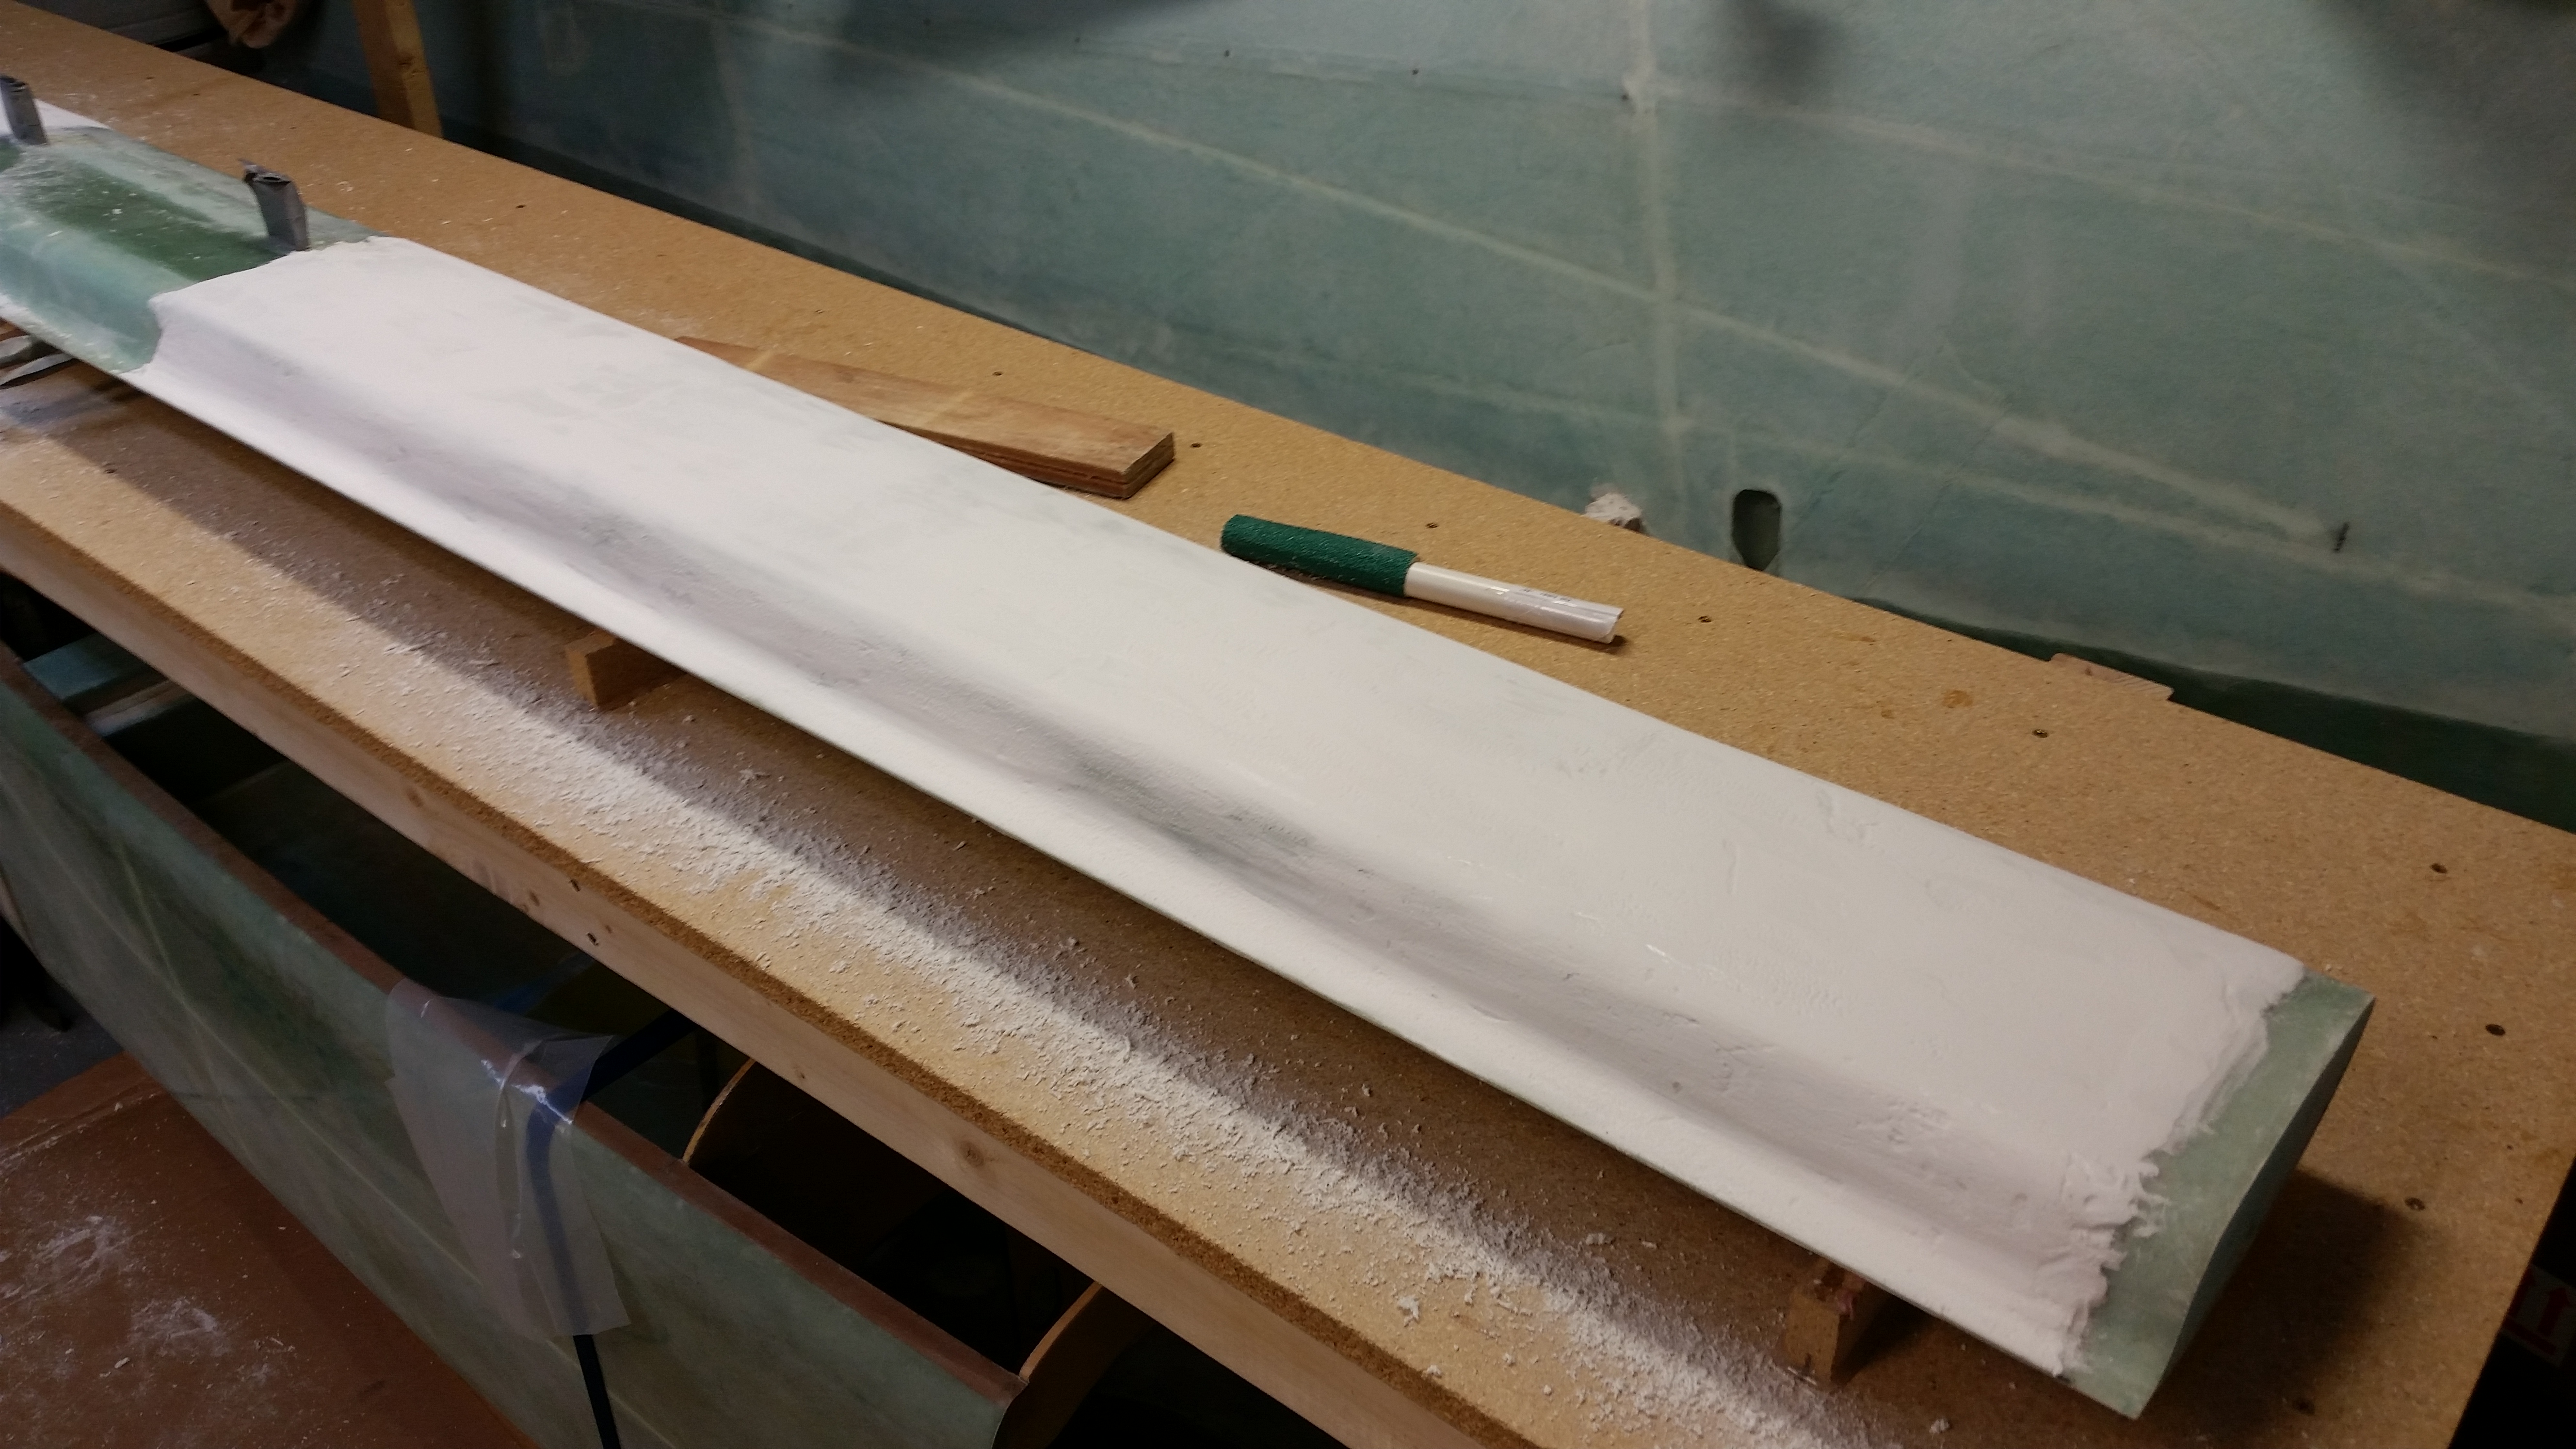
After the micro cured for a couple of hours, I followed Wayne Hicks’ advice, who in turn was following Nick Ugolini’s advice, and I started sanding the canard to knock down the high, ugly stuff while the micro was in the “green” stage. This meant that having only cured for a couple of hours, the West epoxy was still a little rubbery, and thus much more easily sandable than fully cured micro.
Below is a shot of the underside of the Left side of the canard after I tackled sanding the micro in its “green” stage.
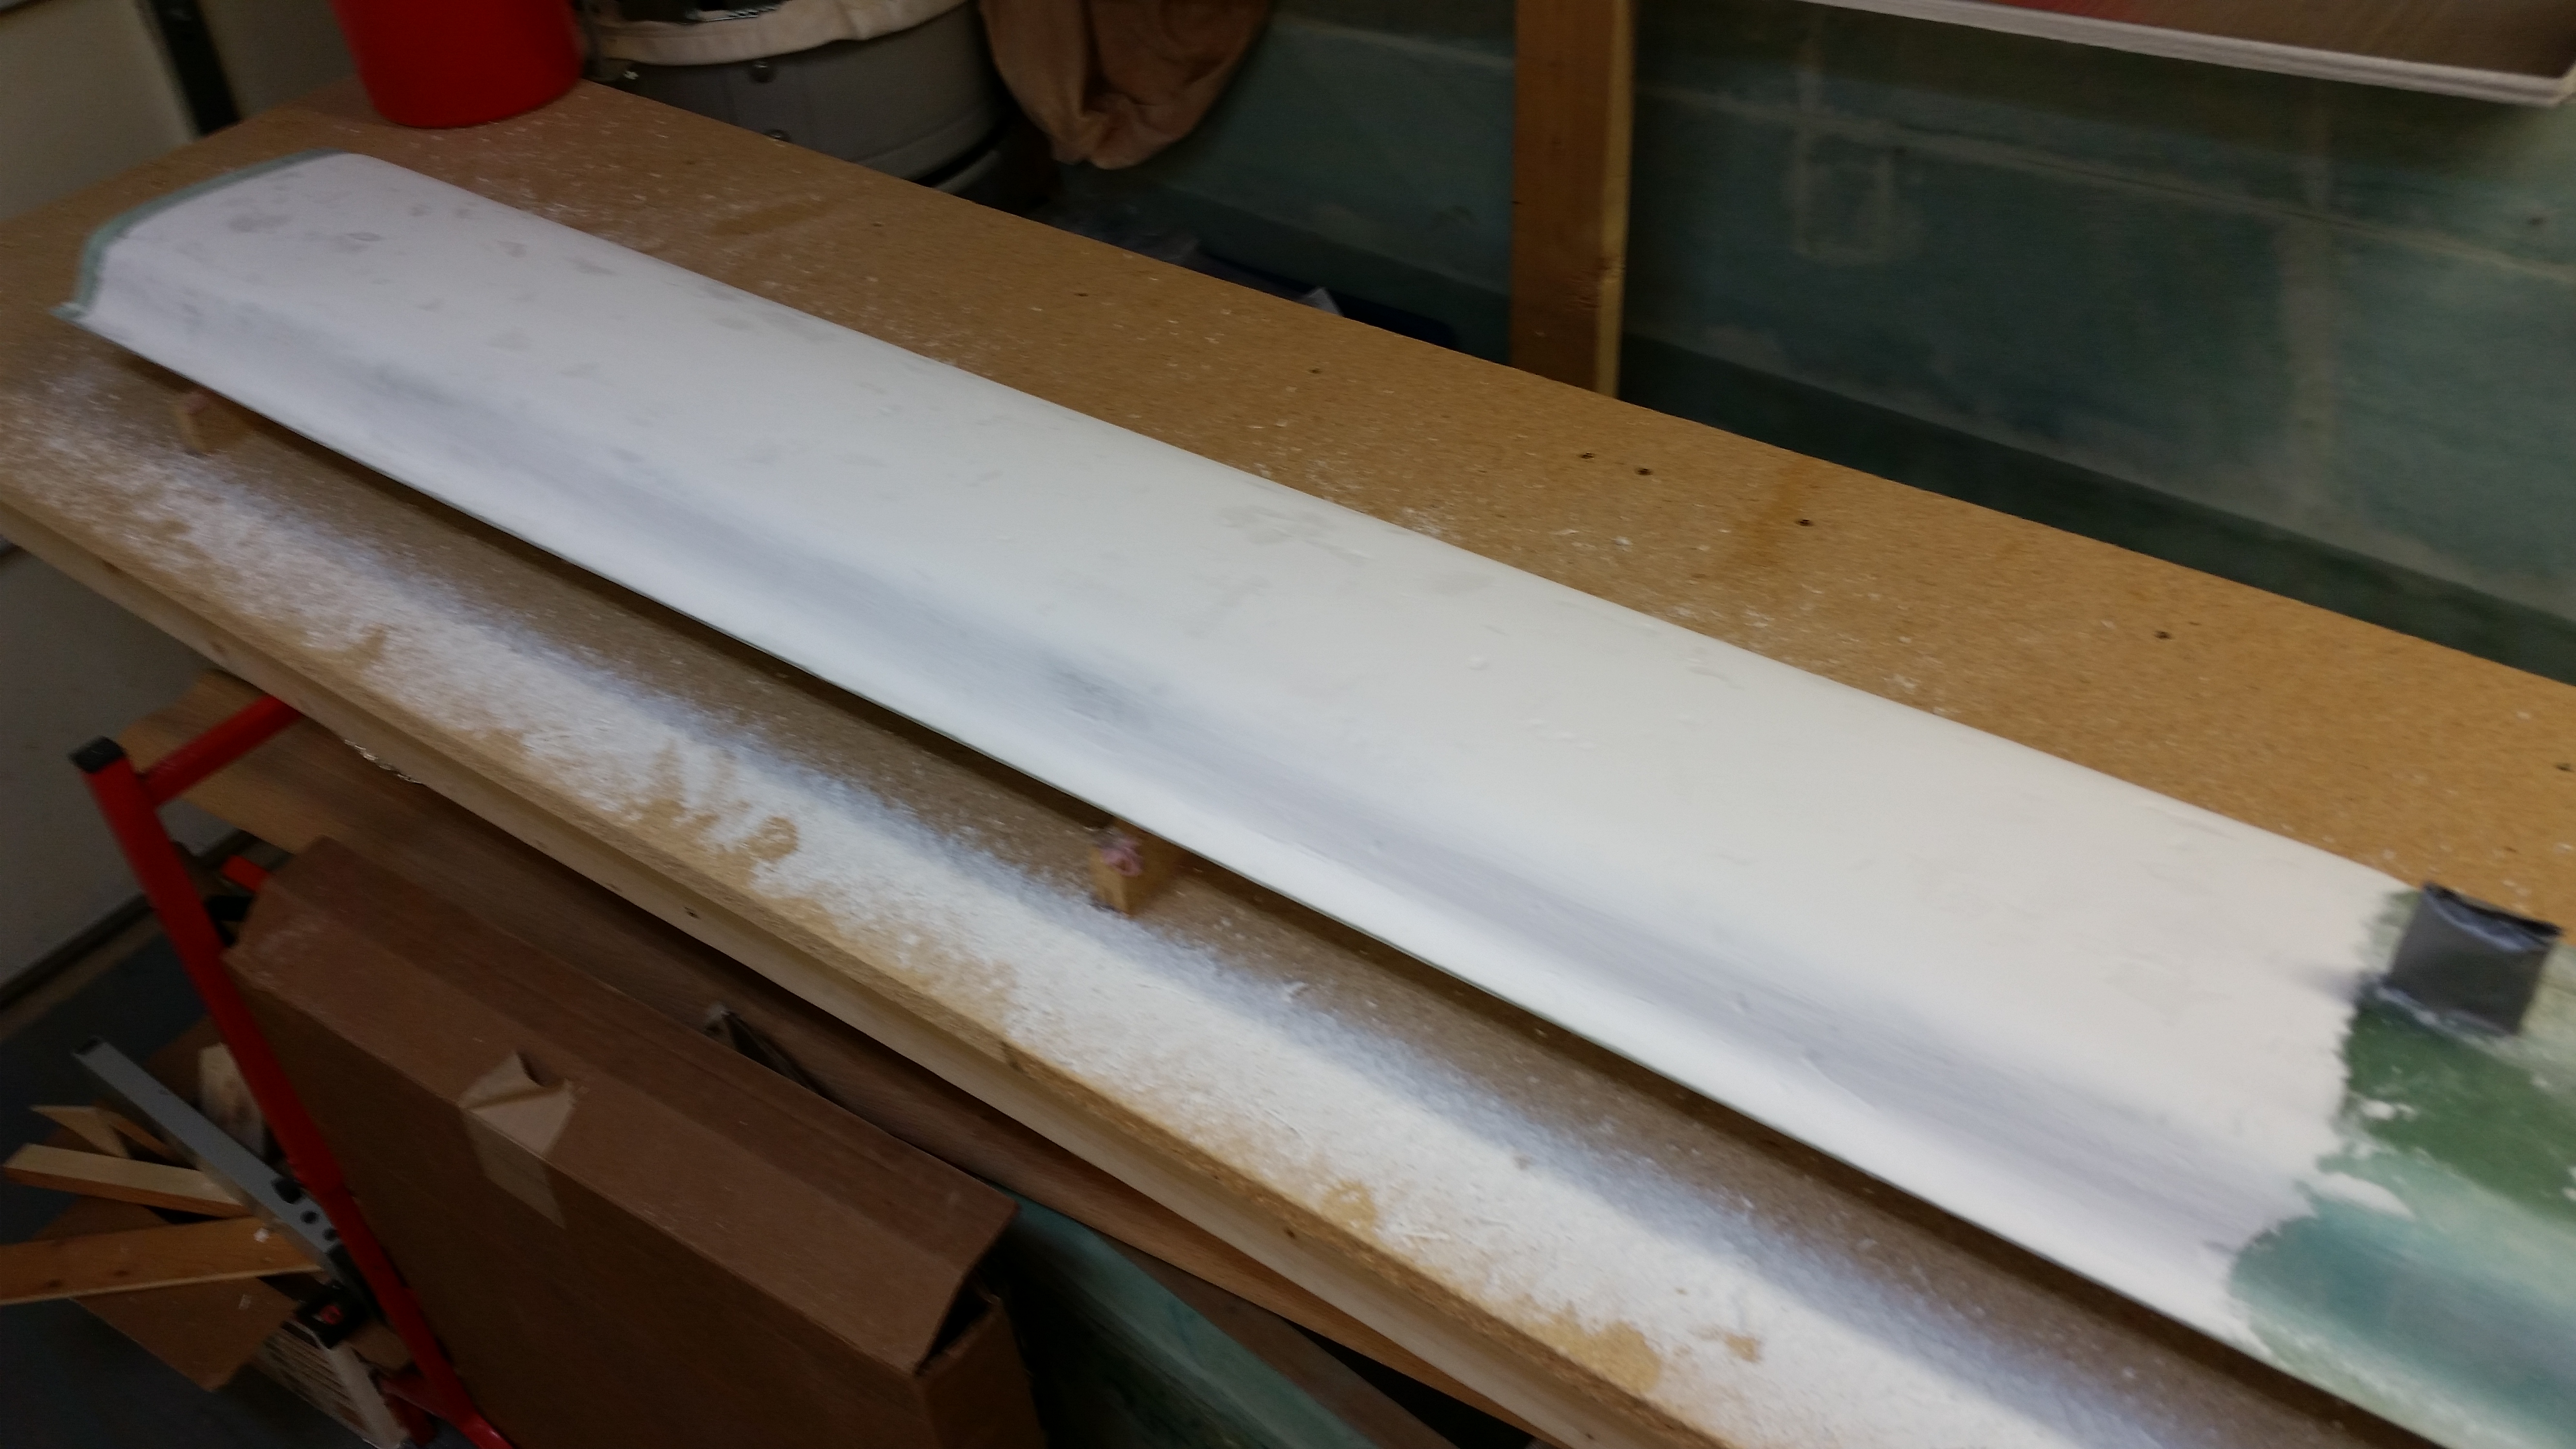
And here’s a shot of the underside of the Right side of the canard after I sanded the micro in its “green” stage.
Tomorrow I’ll sand the micro after its cured completely, using the contour sanding block (of course!).