
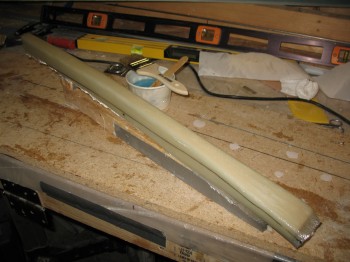
I started today on Chapter 13 – Front Gear by pulling the peel ply & knife cutting the nose gear strut. I then sanded the edges of the new glass layup.
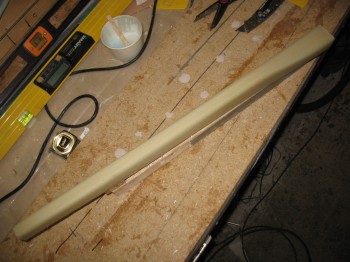
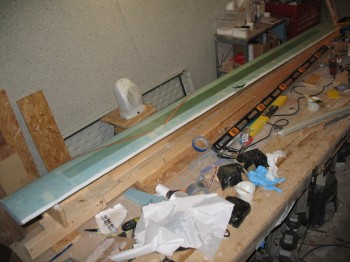
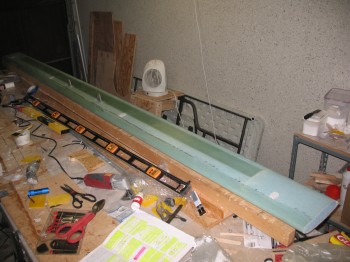
 I remounted the NG-1 nose gear strut to the support mount using bondo and with the forward side facing up.
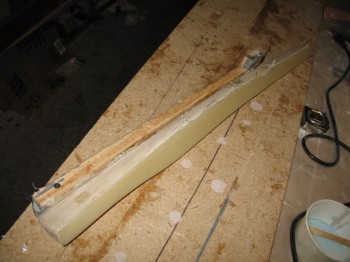
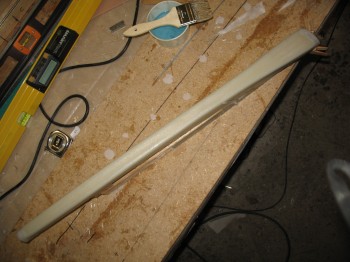
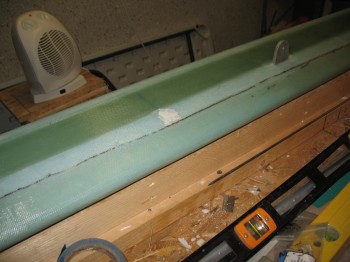
I then glassed the second and last 1-ply BID layup to the Fwd, Right & Left sides of the Nose Gear Strut NG-1, again using fast hardener for the epoxy.
Then I peel plied the layup. This side was much more difficult to get the peel ply to grab then the first side, but I eventually got it all in place.
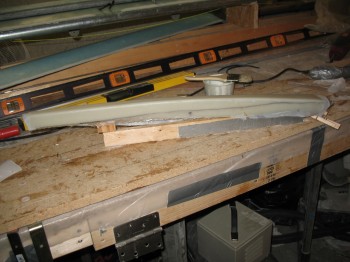
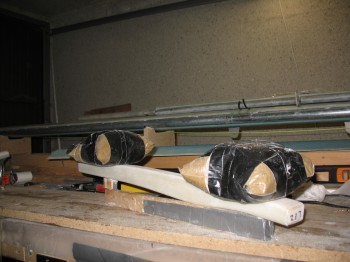
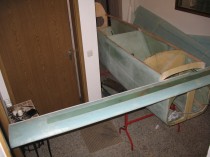
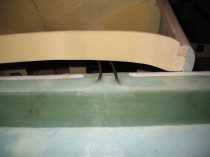
Chapter 10 – I had left the canard alone after its final topside skin layup to cure a few days to ensure its configuration was locked into place. I figured it had cured to a good degree, so I popped it off its glassing jig. This of course involved removing the heavy water pipe attached securely to the TE.
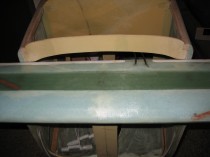
I then flipped it over to see how the underside looked. Not bad. I was very happy with the overlay of the top skin over the bottom.
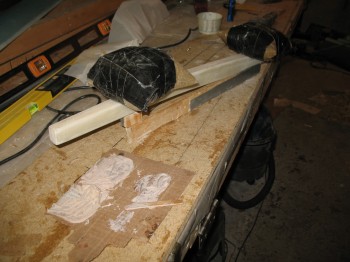
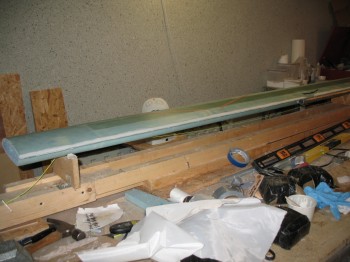
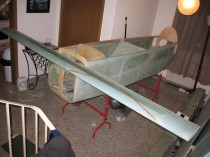
There was a lot of rough, prickly glass along this front overlay so I wore my heavy-duty construction gloves to take the canard into the house for an initial Chapter 12 – Canard Installation mock-up.
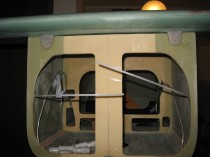
I got the canard in the house and test fitted it to the fuselage. I was stoked at how it’s all coming together. My antenna cables’ exit location from the canard was spot on.
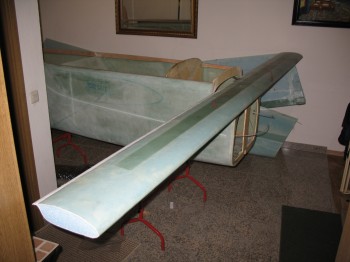

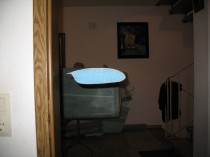
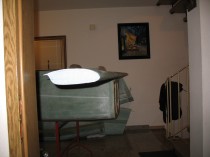
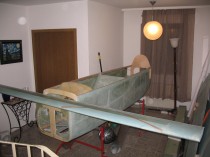
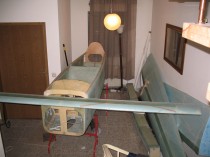
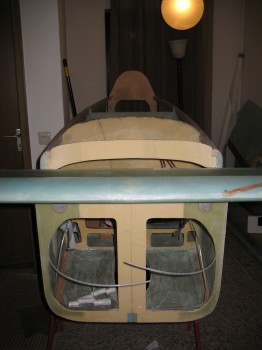
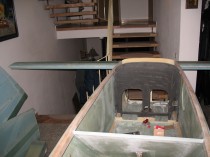

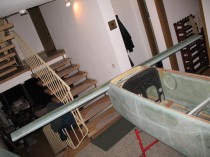
I have to say I was extremely pleased with the initial canard fitting!