I started today but doing some quick checks on the elevators to make sure I hadn’t screwed something up along the way . . . not that I’ve made a mistake yet, but there’s always a first time for everything! (He said facetiously).
I checked both elevators with the NC-7 jigs & they lined up exactly like they were supposed to. It’s definitely an internal clearance issue between the NC-3 hinge edges and the bottom surface of the hinge insert (NC-2) slot.
I used the Dremel tool to carefully make the hinge slots wider (this is per plans, not an attempted remedy for the clearance issue above) by removing some of the tube siding at the end of each side of the NC-2 hinge slots. I measured the hinge pin-to-LE on all the hinge assemblies and all were right at 0.49″-0.5″.
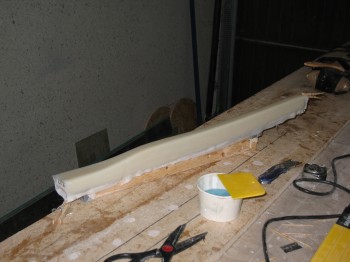
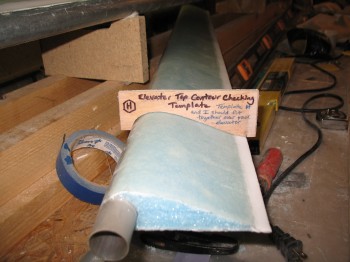
Finally, I double-checked the top contour on the elevators using Template H, not surprisingly call the Elevator Top Contour Checking Template. (Note: You can see the result of the foam overlap onto the elevator tube having crumbled and broken off when I mounted the tube into the elevator foam with micro. The channel for the aluminum elevator tube just wasn’t large enough, and the result was that most of the thin foam came off in the process. This left a small depression where the foam should have gradually overlapped onto the tube. This depression will of course be filled in with micro during the finishing stage).
Now, onto the real subject of this post: the Front Gear Strut. Chapter 13 of the Long-EZ construction plans covers the Nose & Nose Gear. I will of course be deviating from the plans in large measure since I will be installing Jack Wilhelmson’s EZ-Noselift electric nose gear actuator in lieu of the old mechanical system. In addition, I will be constructing a longer nose using the Davenport design, which will change NG-30 gear housing/nose assembly and the forward bulkheads. In doing so, much like the elevators & canard where I was using 3 sets of plans: Long-EZ, Roncz Canard, & Cozy Girrrls; for the nose I will also be using three sets of plans: Long-EZ, Wilhelmson’s nose lift, & Davenport nose design.
Step 1 of Chapter 13 is to add 2 plies of BID to the nose gear strut for reinforcement, in the same fashion as is done for the main gear with all its extra glass plies. The BID plies on the nose gear strut are simply 3-sided layups in opposing directions (shaped like this: Π ) with the second ply overlapping the sides of the first ply.
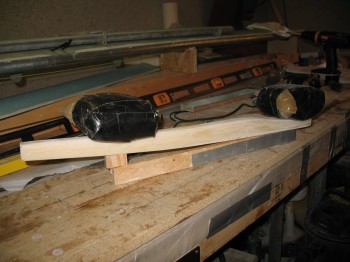
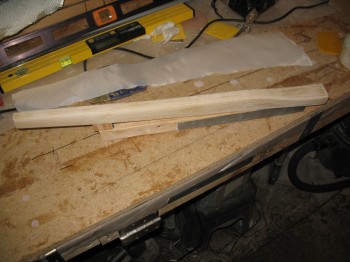
To start, I screwed down a scrap piece of wood to the workbench as a mounting board.
 I sanded & then 5-min glued the NG-1 nose gear strut (made of solid S-glass, just like the main gear) to the mounting board, with the aft side of the strut facing up.
I then glassed the first 1-ply BID layup onto the NG-1 nose gear on the Aft, Left & Right sides using fast hardener, since it was a fairly small layup.
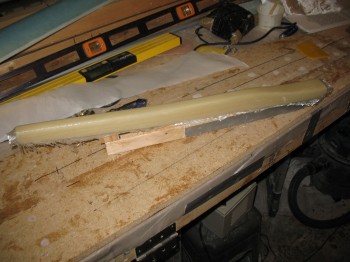
Of course I then peel plied the entire layup.