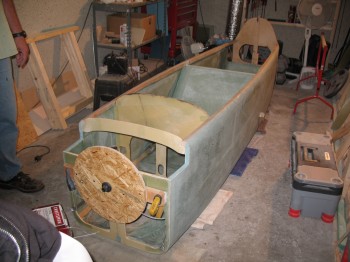
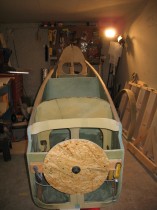
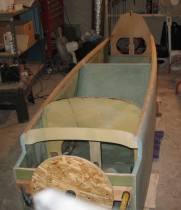
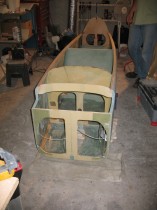
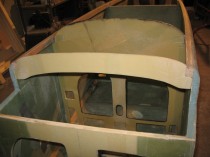
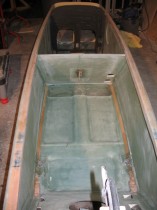
Today I knife cut the aft bottom fuselage layup at the front edge of the hell hole. I removed the peel ply, sanded and cleaned it up a bit.
I put 1-ply of bid on the rear seat back and the rear seat pan (fuselage bottom) junction, and patched the errant hole mishap.
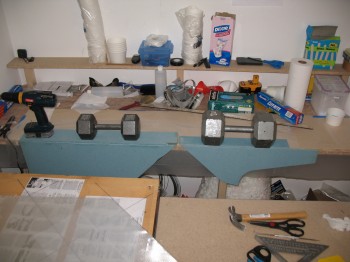
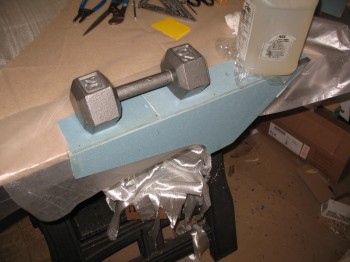
I turned my attention to the fuselage interior consoles (arm rests) and went to work on them in the downstairs shop. On the Right front and the Left & Right rear seat consoles, I mounted the top to the sides with finish nails through the foam. I then pre-pregged about a 1-1/2″ of strip of 1-ply BID and laid it up in the corner along the seam between the tops and the sides of the 3 respective consoles. These will get more glass later when they get installed into the fuselage, so about a 3/4″-1″ overlap on each part will hold it fine.
I used straight fast hardener & let the consoles set for around 15 min, then I turned them right side up and set them on the side of the work bench, held in place with weights so that they would cure at the proper right 90°angle between top and sides.
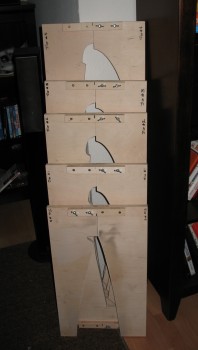
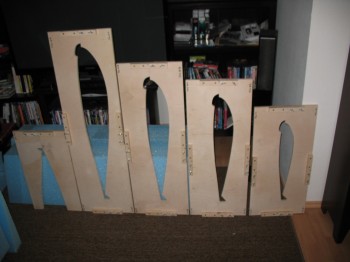
 While the consoles cured, I took the remaining Trailing Edge Wing Jig pieces to the wood shop on Ramstein AB. I cut jigs #1-4 on the band, jig & table saws to produce their desired shapes. I then took the jigs home & finished them by drilling the holes, sanding and installing bolts, etc.
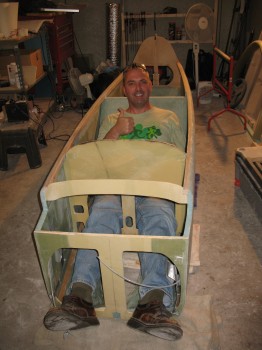
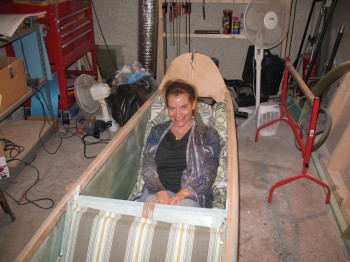
 I then wiped down fuselage to remove all the fiberglass dust, took it off the spit and began taking a myriad of pictures.

