
It’s quite the rainy day in the Nation’s Capitol today. I took some time this morning to do some research on my sandblaster woes. I found out some great info, and as often is the case with Harbor Freight equipment there is a hidden set of gotchas that comes with it . . . awesome, cheap prices, but many times at the expense of having to incorporate some type of workaround.
Thus it is with my sandblaster. Even though I have an air dryer for my compressor, it is old and probably performing far below what it should be. At some point I’ll get a new desiccant filter for my air dryer, but to get moving quickly on this project, I simply bought an inline desiccant air dryer, along with an inline filter, while I was out buying a myriad of things for the next phase of this build. I’ll need to track down a few more things like higher end ball valves if I want this sandblaster to perform for a good period of time. I did hold off on buying any more blasting media until I conform my upgrades work. One last thing on the sandblaster: I learned that there is a definite trick in the order to which the 4 ball valves get opened, and exactly how far to open each of them to keep the media flowing, and not jamming up in the hose.
I also did some research on paint for the rollover assembly (and possibly the instrument panel). I want a very nice quality, professional-looking roll bar, but I’m not looking to shoot it with a two-stage polyurethane or anything like that. Also, because I’m using bondo to clean up the seams I can’t powder coat it, which I wasn’t really looking to do anyway. I like the idea of having a paint job that looks great, but that I can change the color somewhat easily if I want, and that can easily be reapplied if I need to modify or add something later (like the tab for the pneumatic canopy stay).
Thus, over the last few days I’ve gone into backyard mechanic mode and have been researching rattle can clear coating for the roll bar (Yes, I can here all the groans, gasps & sighs now! HA!). Again, something that will make it look great, but is also somewhat EZ to maintain.
Now, my thought for the aft roll bar support tubes is that they will serve 2 primary purposes: 1) (rare) buttress the roll bar if the roll bar (God forbid) ever gets called into real action, and 2) (common) used by the GIB as hand grips for ingress/egress of the bird.
With the hand grip piece of the puzzle in mind, I was thrilled when I not only ran across Rustoleum’s FLEXiDip, but that it had it’s own version of clear coat that could shine it up with the rest of the roll bar. FLEXiDip provides whatever it’s applied to a rubbery surface for gripping. Sounds perfect for the roll bar support tubes in my mind!
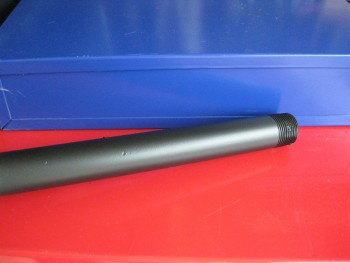
To test it out, I grabbed an old rusted pipe that I use as a cheater bar.
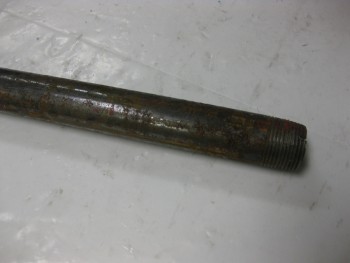
I then hit it with the wire wheel to clean it up for my test shoot.
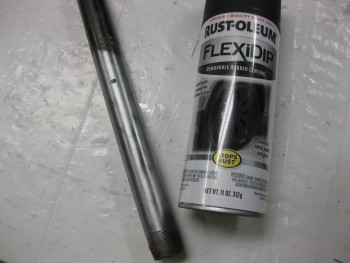
And I then shot a number of thin coats on it (as per directions).
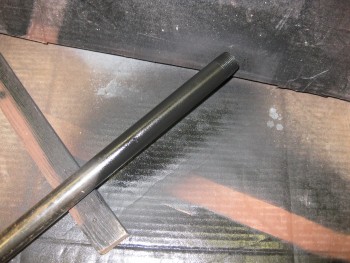
Here’s the FLEXiDip when it’s dried (no clearcoat . . . yet!)
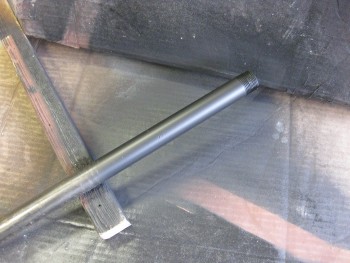
And another shot with a bit more contrast to see it better.
BTW, the texture is not a thick rubbery feel, but it’s definitely “softer” than regular paint. Pretty cool. I also picked up another brand, Plasti Dip, that I’ll be trying out in a head-to-head runoff for the best rubberized coating.
In addition, I bought some 12 ft long 2×6’s to use for the canard work bench that I’ll be building within the next few days.
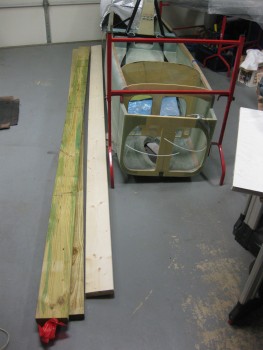
Finally, as you may get a slight glimpse from the picture above, I spent over 2 hours last night doing nothing but cleaning & organizing the shop and putting all my tools back where they belong. With that, the start of the finishing of Chapters 10 & 11 looms ever closer!