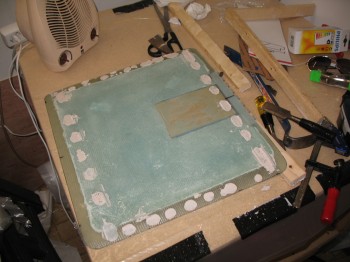
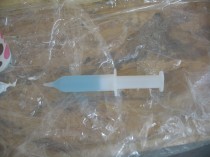
Well, I had set a heater up next to the landing brake to aid the layup in curing, which it did, but apparently I set the heater just a little too close because it left me a medium and small-sized set of delaminations. The delams were both in the corner closest to the heater. So I pulled out my trusty hand drill and drilled some small holes on the edges of the delams/air bubbles and also rounded up a syringe. I mixed up some epoxy with fast hardener, filled the syringe and gave the landing brake its due injections.
I also sent out the heavies to take care of the problem, literally. Since there were a couple of slight, yet unsightly, bubbled glass areas, I weighed down the glass near the offending sites after their injections.
 With my delams injected with epoxy, I took a bunch of large pieces of scrap BID and laid them out on a FRESH piece of 32″ x 48″ sheet of 3/8″ thick foam. I planned the layup for the insides of the armrests, interior-cockpit consoles, and pilot’s seat back. (I had already created a “cut-sheet” diagram depicting how I would layout and then cut the console pieces from a 32″ x 48″ piece of foam).
So while my unruly landing brake cured, I went to town on laying up the 1-ply BID onto the 32″ x 48″ sheet of 3/8″ foam.
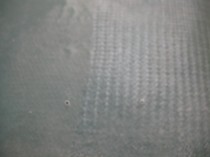
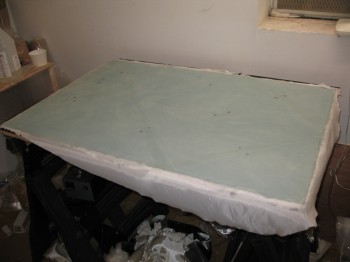
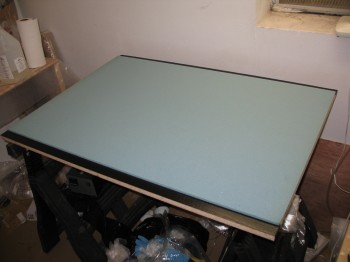 Since I would be adding different layers of glass, corner tapes, etc, I peel plied the entire sheet.
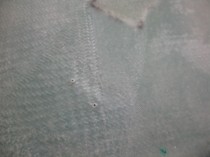
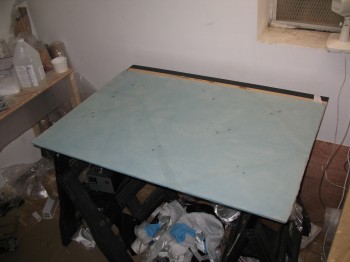
 After it cured I knife edged the sides, but left the the peel ply intact.
 Before I shut everything down for the night, I pulled the weights and checked my repair work. It all looked good, let’s just hope it stays that way! Lastly, I scraped off the excess epoxy from the layup and pulled off the wood frame that was bondo’d to the landing brake.