
I sanded the inside and outside edges of the landing brake for glassing. I also sanded the hinges for flox grip. I then cleaned up the glass in the hinge area.
Glass Prep: I made 2 individual pre-preg setups: 1) 3-plies of BID to cover the inside of the landing brake, and 2) 3-plies UNI/1-ply BID for the reinforcement layup over LB19.
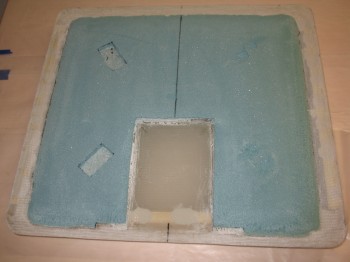
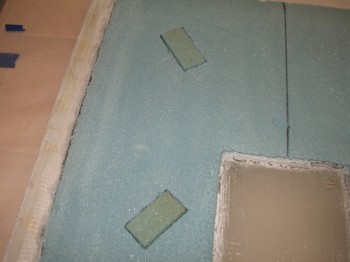
I cleaned up the ripped-out foam (from the wood spacers) by enlarging the holes to ~1″ x 2″ rectangles. I made plugs the same size as the holes to fill them in.
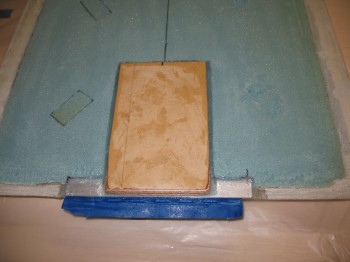
 I floxed the LB19 reinforcement plate into place and the LB24 hinge into its place at the edge of the glass, with some of its middle area overlapped by LB19.
 I then micro’d the plugs into place, along with any dings, the torn up foam along the edges and the entire face of the landing brake.
 I wet out my #1 3-ply BID pre-preg and then laid it up on the landing brake face.
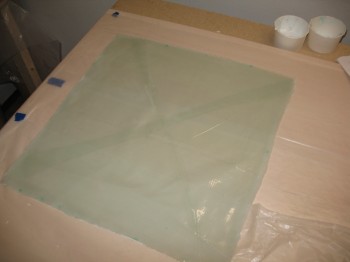 After it was squeegeed out and set nicely, I trimmed the layup glass to within a 1/4″ of the edge to ensure that no separation occurred and that there was a nice glass-to-glass bond.
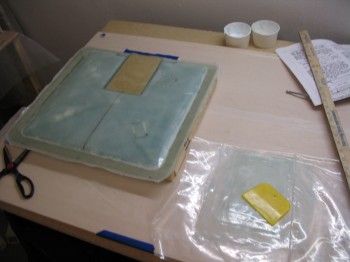 I wet out my #2 3-ply UNI & 1-ply BID pre-preg and laid it up on over LB19 for reinforcement. This reinforcement is called out as an unnumbered plans change in CP43 pg 4. Although I followed the intent of the plans change, I slightly modified it since my plies are bit larger (as is LB19) and I swapped out the plans small top UNI ply for a top-cover protective BID ply. I like to have BID as the top ply over UNI where I can.
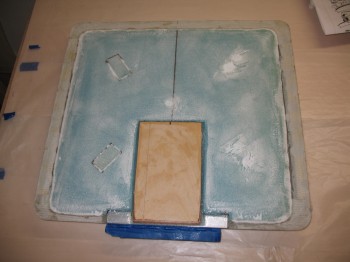
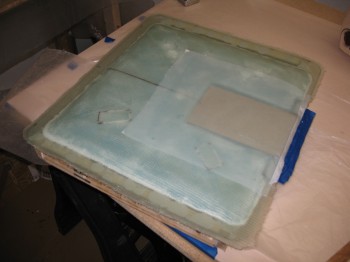 I peel plied over & around the reinforcement layup, being very careful around the floxed-in hinge. After a few hours I knife trimmed the edges. It looked really good. After another couple of hours I took it out to the garage (all this work was completed in my downstairs shop) and mocked it up. Looked good and I was happy with the results!