
Not surprisingly, folks may think I’m being a bit anal about the roof install and doing too much… at least per the few comments I’ve received from some friends. All non-airplane builders mind you <grin>.
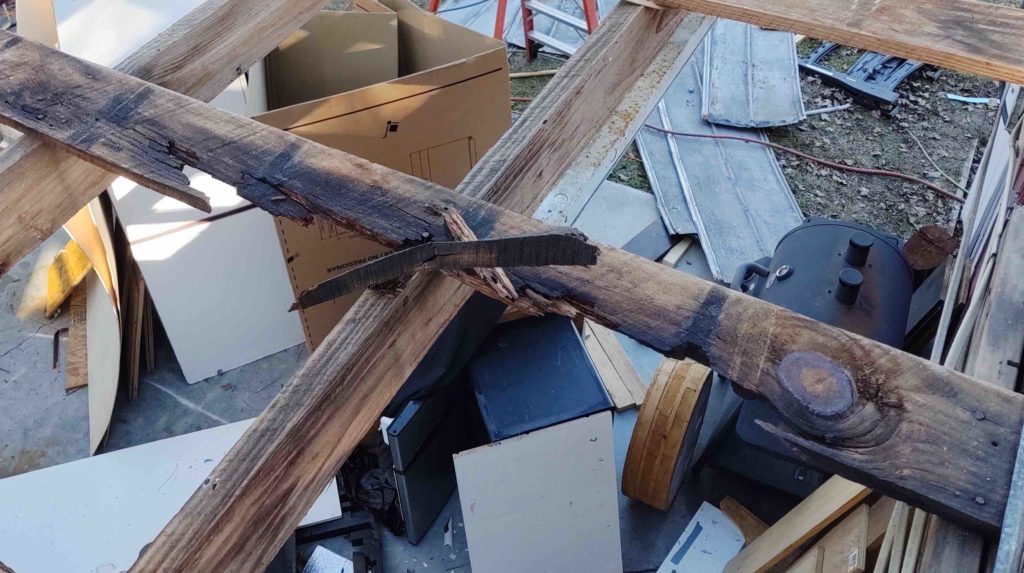
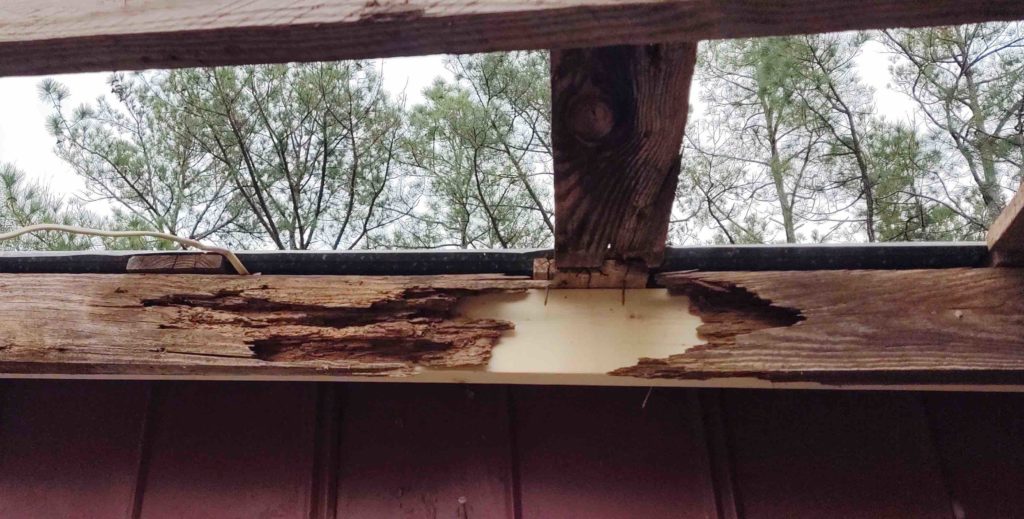
But here are just a couple of examples of the wood rot I was dealing with on the purlins to which the old roof panels were attached. With nothing to hold the roof panels’ attaching screws or nails, then the rubber gaskets had no pressing force to seal out the water. Over time the retaining hardware became nothing more than a conduit for the water to follow down through the panels to simply leak out underneath onto whatever was below (currently, the stuff I had stored in the hangar!).
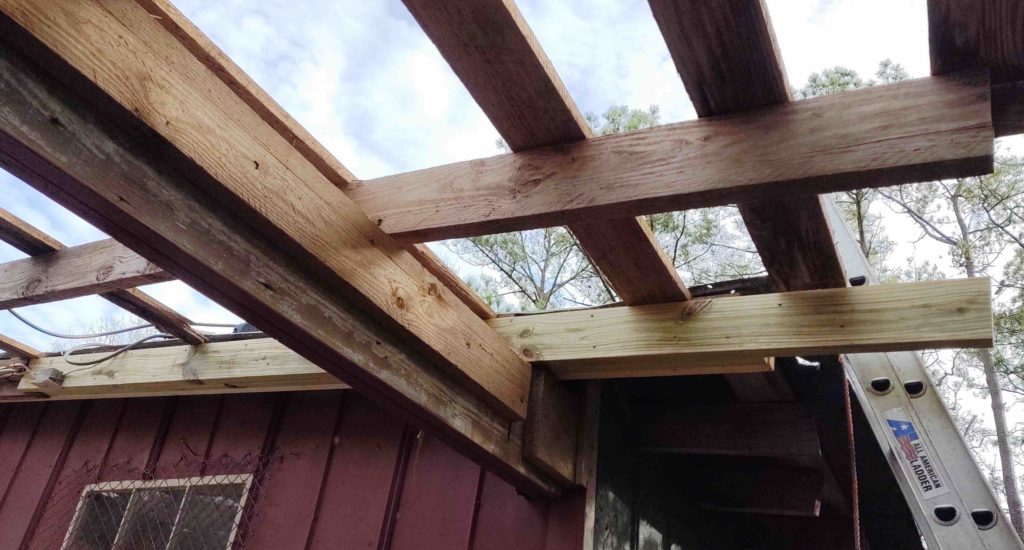
On the intersecting wall between the exterior right side of the shop and the exterior overhang (“carport”) there was wood rot just as serious. This rotting ledger board was half-heartedly hidden by a 2×4 that was serving as a roof joist, that itself was not doing so well. All had to come out…
Yes, would have preferred to rip out the non-treated board but it ran all the way forward to the carport’s midpoint beam and intersected with the forward joist. Just too difficult to extricate so I reluctantly left it in place and built over it. At least it was in good shape with no evidence of wood rot… or dry rot for that matter.
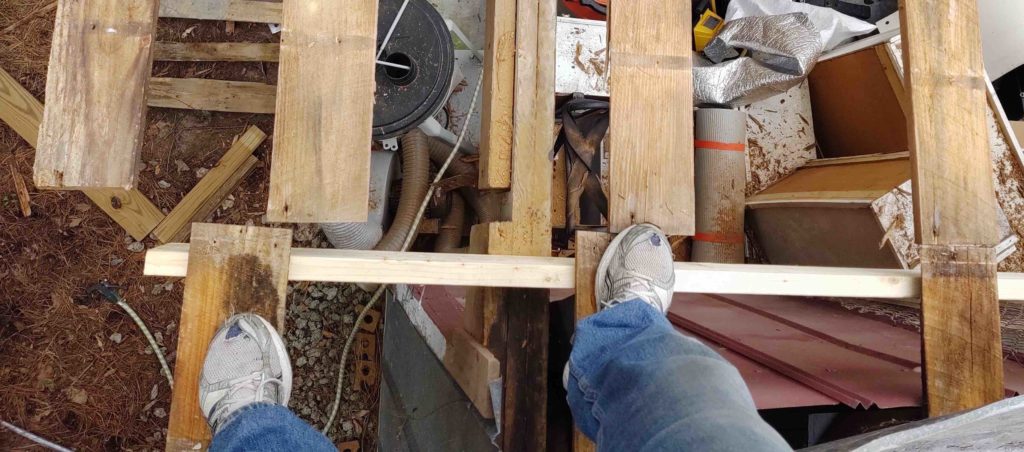

Here we have the old rotting ledger board and pathetic 2×4 “joist” replaced with pressure treated lumber. I could then move forward since I had something with structural integrity to attach the inboard edges of the top purlins to.
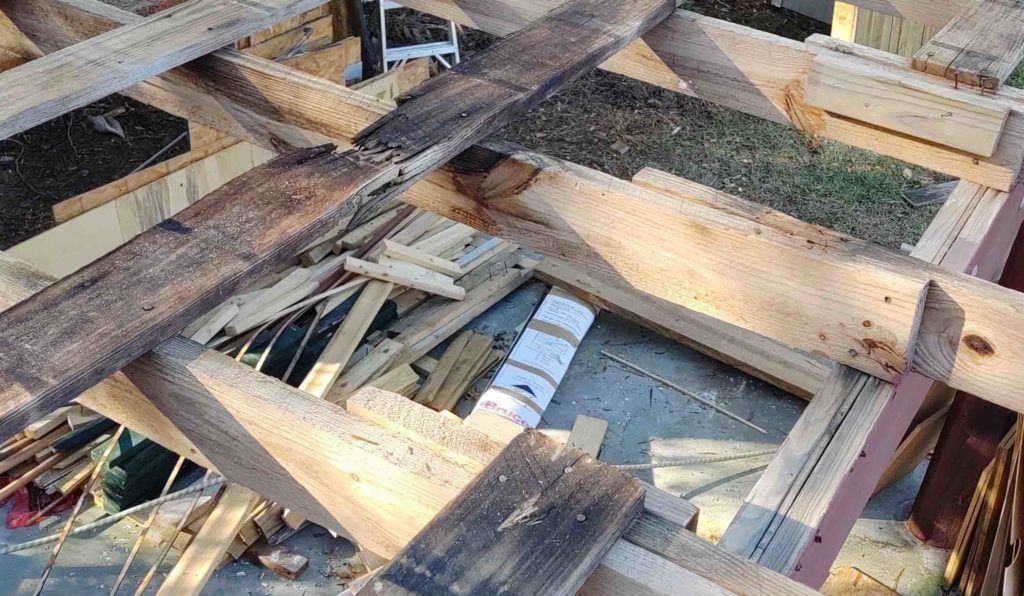
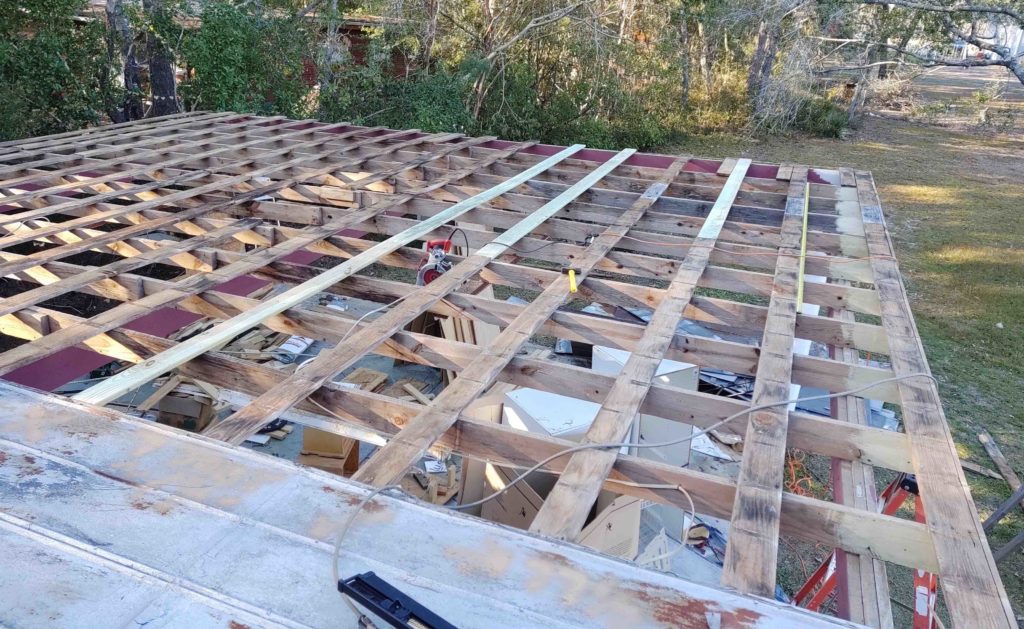
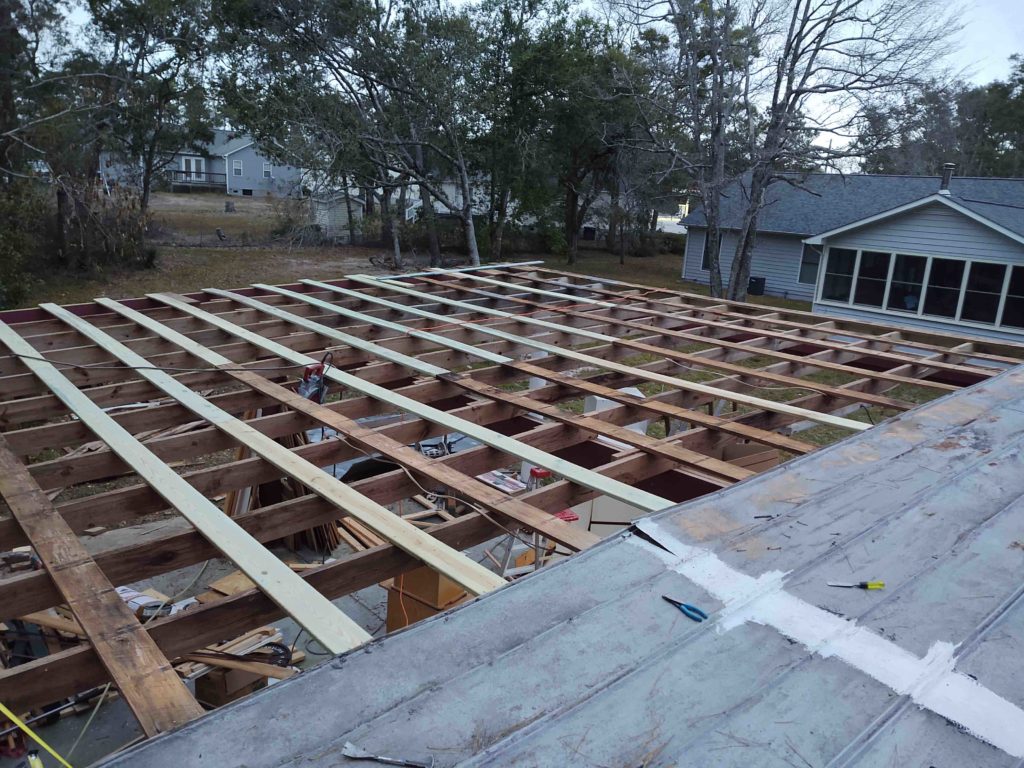
Here’s the purlin replacement progress on the forward half of the roof at the end of day 3 of the roof replacement push.
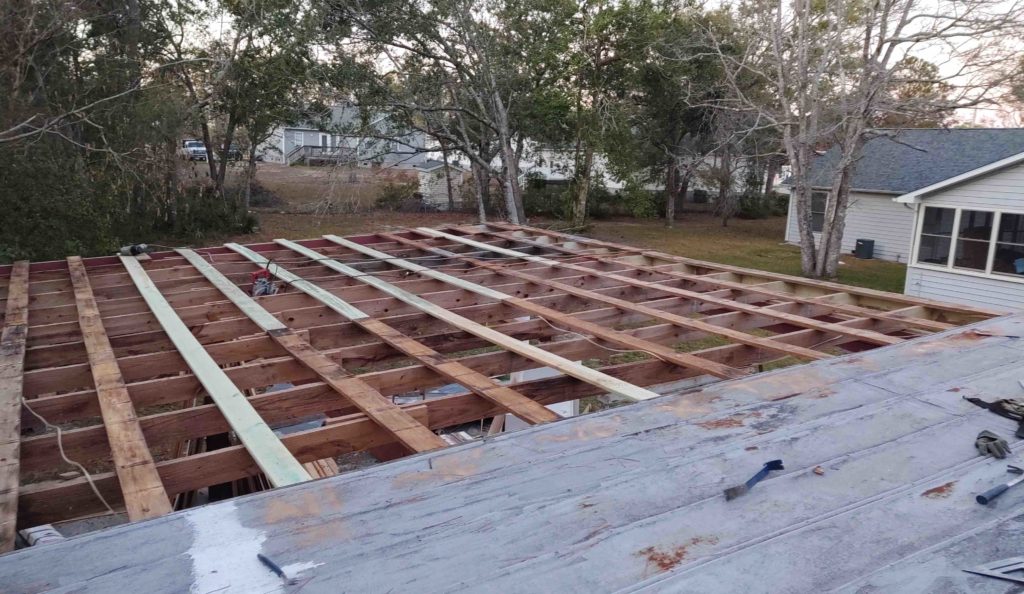
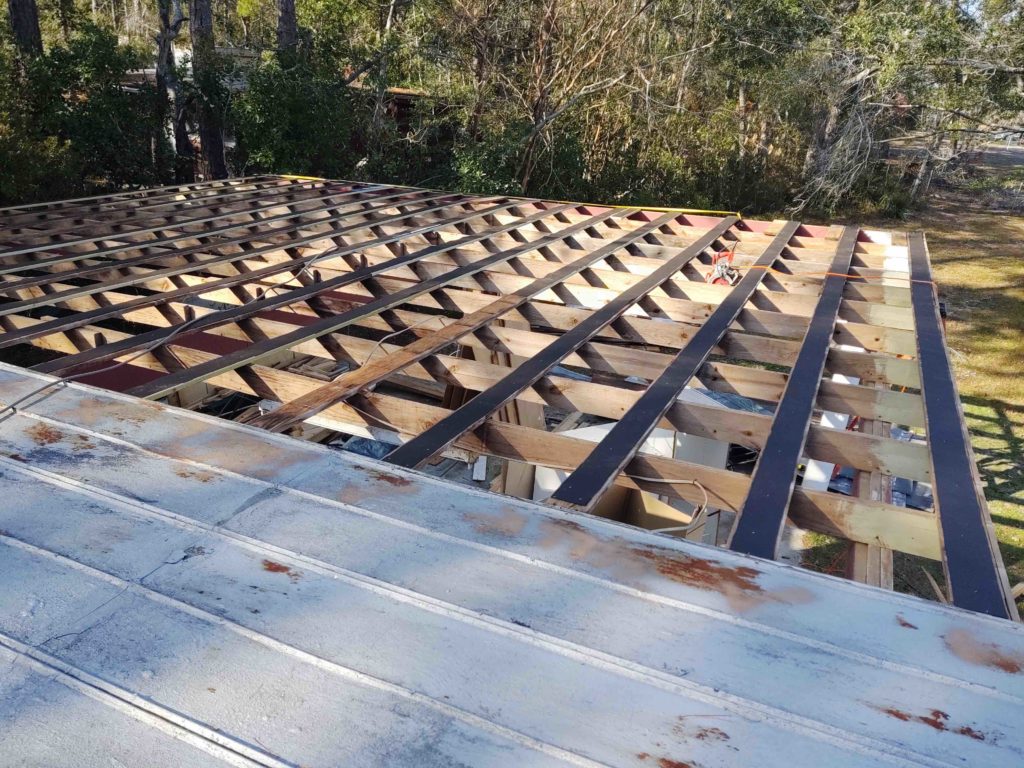
And the purlin replacement on the back half of the roof, about day 4.
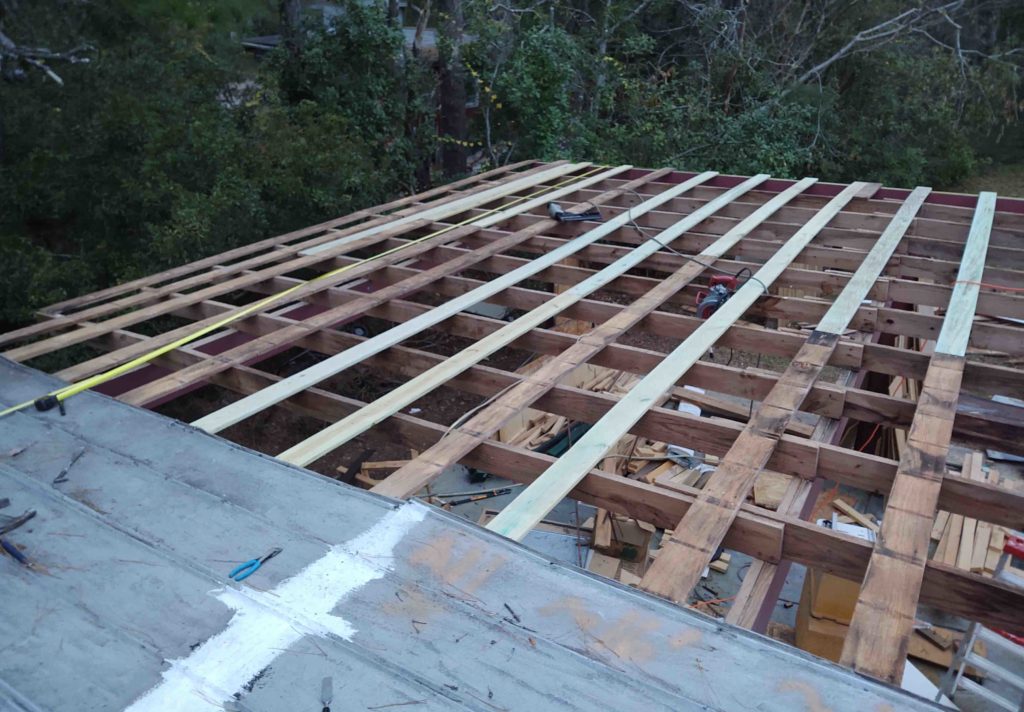
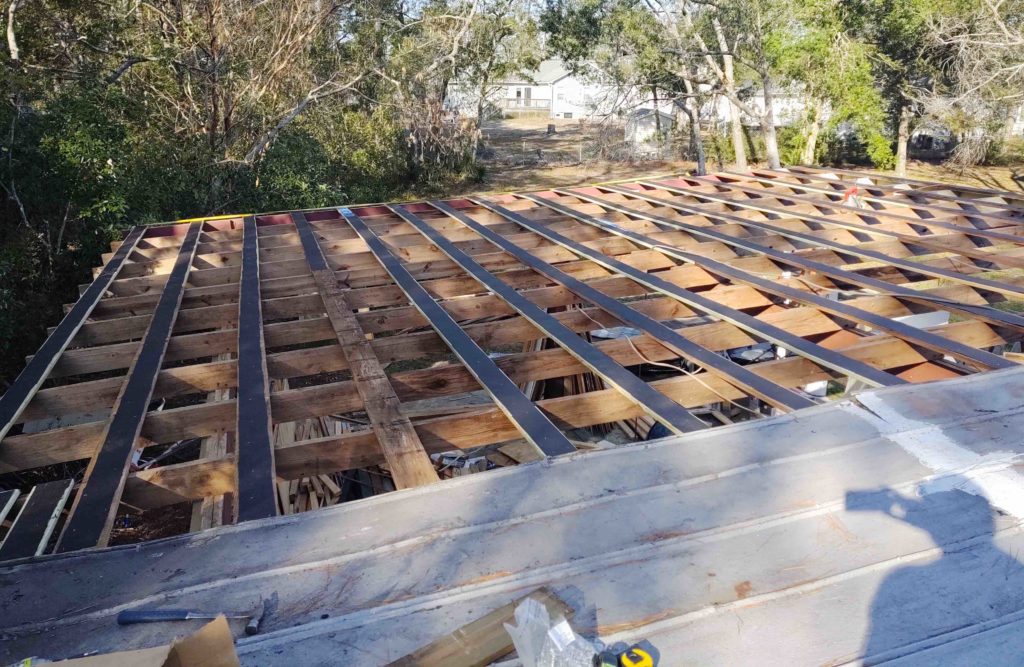
Day 5 (today) I was finally able to get the purlins covered with strips of roofing felt since the Galvalum panels must not be mounted directly to pressure treated lumber. The ensuing reaction between the treated lumber and roof panels would not be pretty and significant corroding with show up at those spots within just a few years, if not sooner.
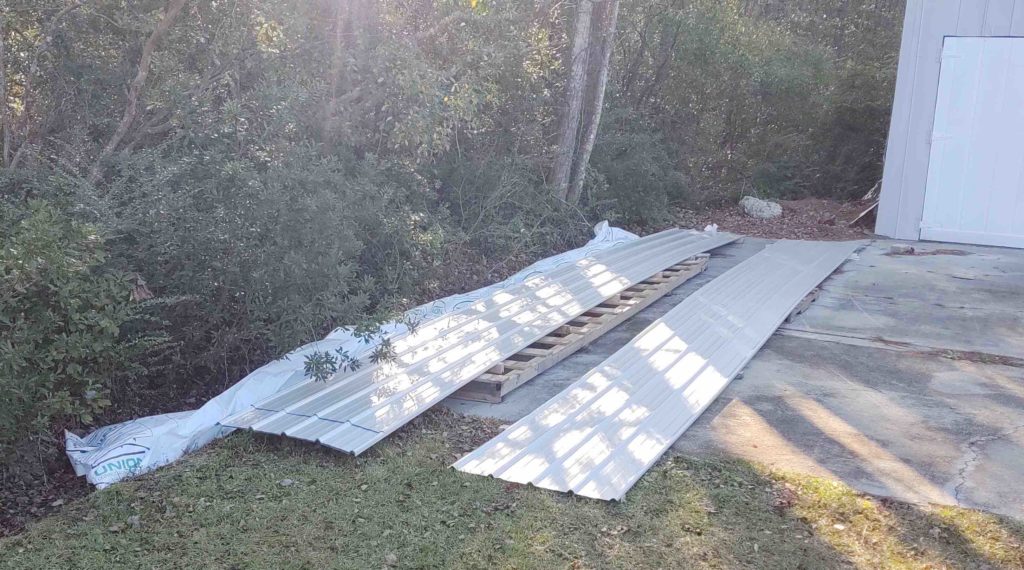
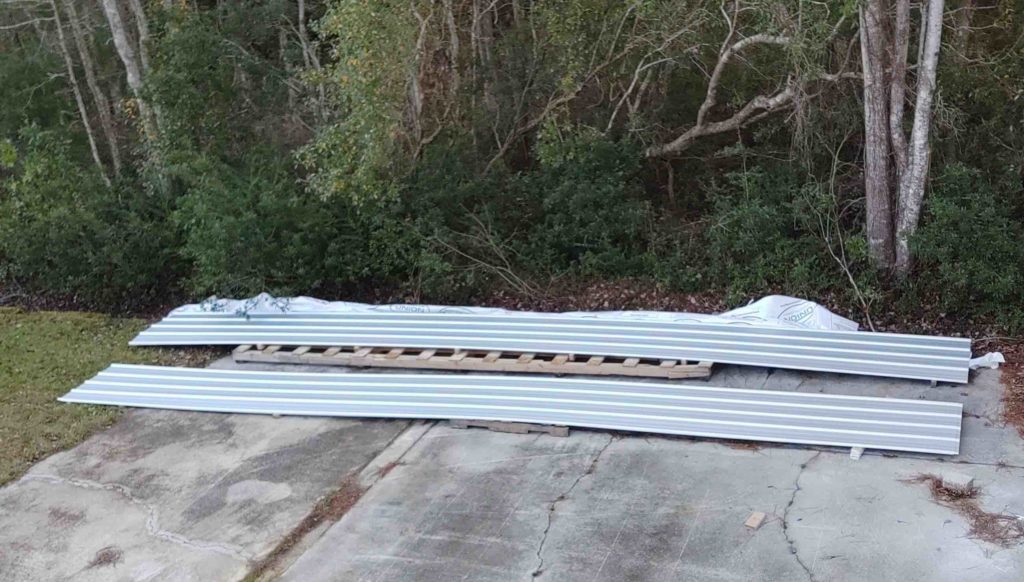
The 8 roofing panels that get installed on the overhang/carport roof section are a foot longer than the 14 panels that go on the workshop section of the roof. Of course on the pallet of roofing panels they delivered, the shorter sections were on top so I spent a good half hour removing & restacking the shorter panels to gain access to the longer ones.
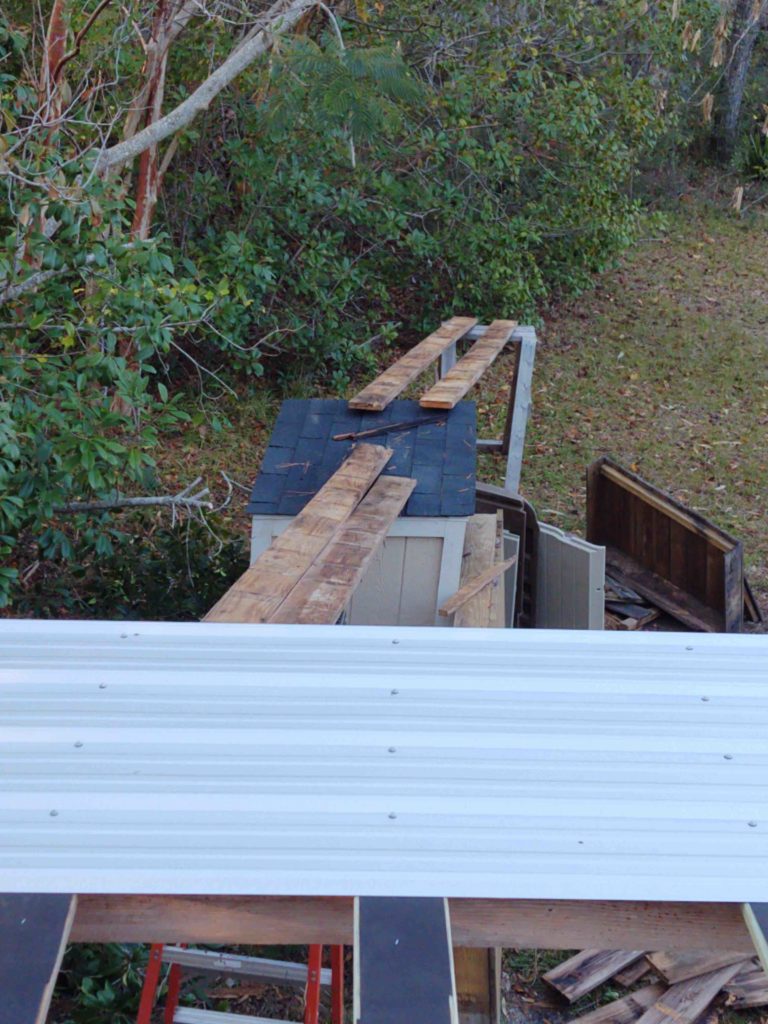
I did a full frontal assault for the first panel, using way too much energy and consternation to get the first roof panel in place coming in from the front side of the roof, which is significantly higher than the aft side…
Nonetheless, I got the panel up there and then attached that baby… after a good 30 minutes of measuring and minute adjustments to make sure this “cornerstone” panel was set correctly.

For subsequent panels I wanted to reduce the pain and effort to get one of these mammoth panels up on the roof… so I went the Masada route and assembled an extended makeshift ramp.
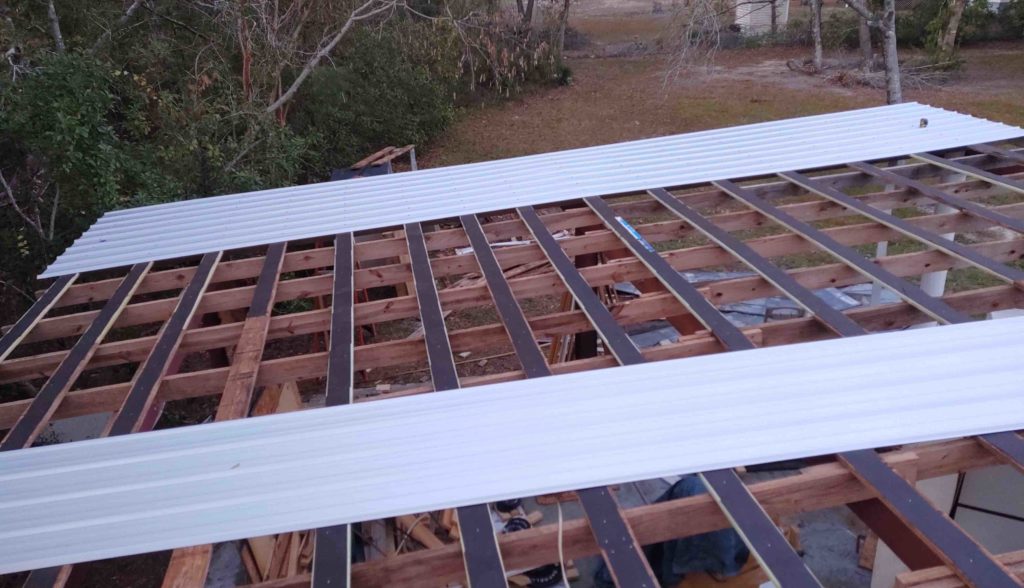
Still a bit tricky, but panels 2 and 3 went up on the roof MUCH easier than the first one… live and learn, eh?!
Here’s panel #2 installed with panel #3 awaiting its turn.
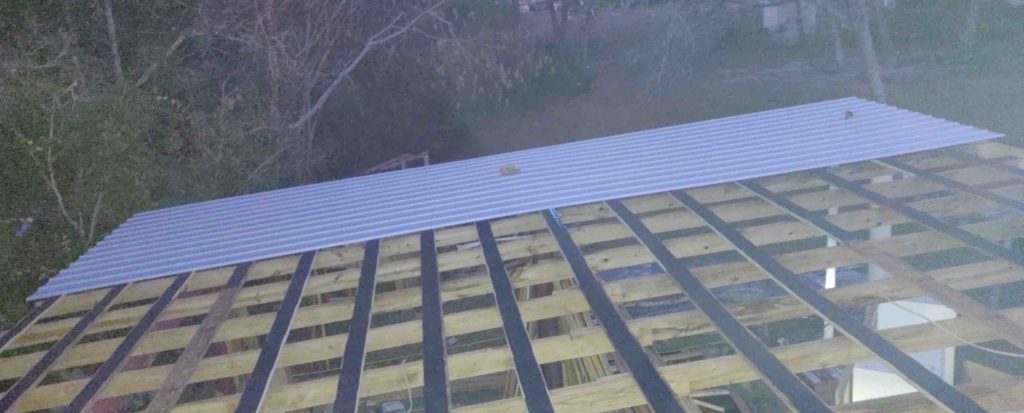
It was full-on dark when I took this pic below, and I was actually using my phone’s flashlight to finish up installing the screws on panel #3 . . . but it’s installed!
Tomorrow is Sunday, and Monday there is forecasted rain in the morning. Thus, I will be going all out tomorrow to get the remaining 5 panels installed on the overhang/carport section of the workshop roof. I SHOULD be able to get it done before it gets too dark.
Rock on!