
A quick update here on the workshop progress over the last 2 days… still a decently long slog underway.
The weather has been and is forecasted to be cool but sunny for the next few more days. Then single days of forecasted good weather interspersed with rainy days. So I’m trying to get this roof knocked out as quickly as possible. The problem is that the days are SO short, and I run out of daylight at 5pm now.
So, here we go. Here’s the first panel off. The roof currently has 3 overlapping rows of panels, with each panel 2 feet wide. I’m replacing with 30′ long single panels –no overlaps from front to back– and 3 feet wide panels. Clearly fewer seams so less chance of water making it through. Since the pitch is much less than it should be for good rain runoff, I have to use a narrow strip of double-sided Butyl tape and screws every 24″ on the long seams.
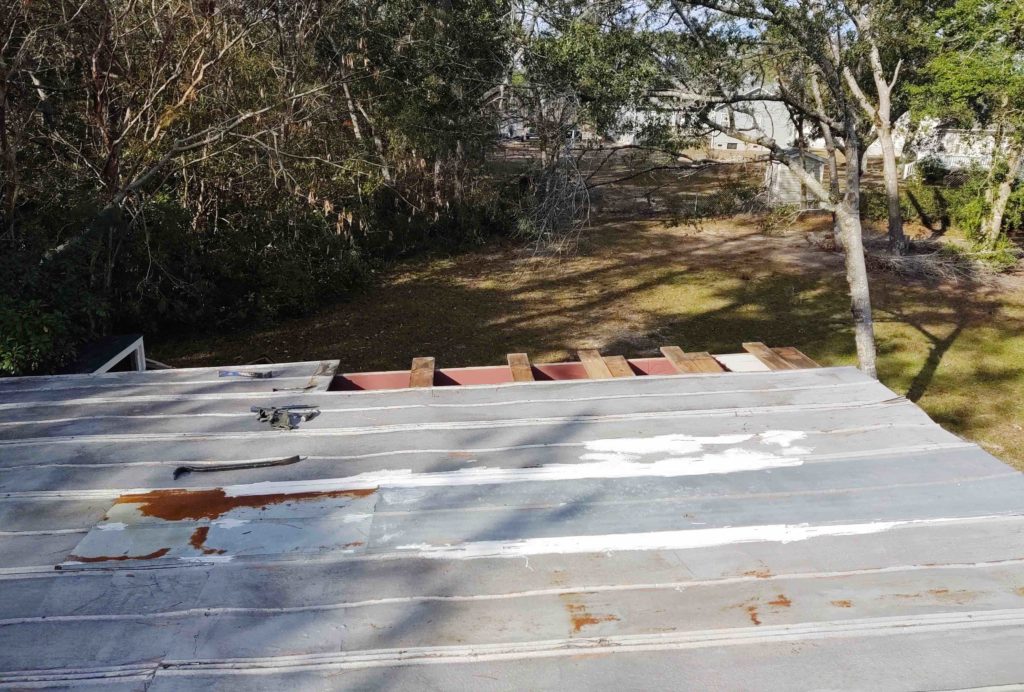
Here you can see the 3 rows of panels, and I have the first couple of front-to-back strips (“columns”) removed here
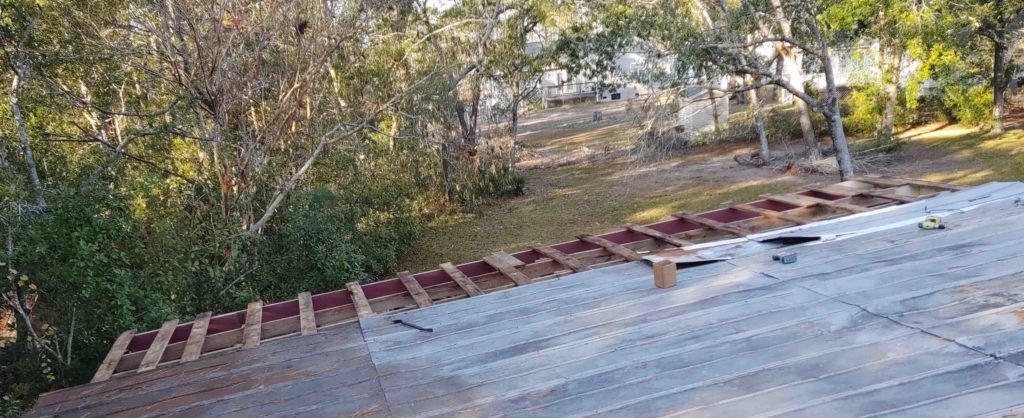
I had planned on removing two of the 2′ front-to-back strips and with the 4′ width exposed then install a 3′ wide section. Remove and add across the roof….
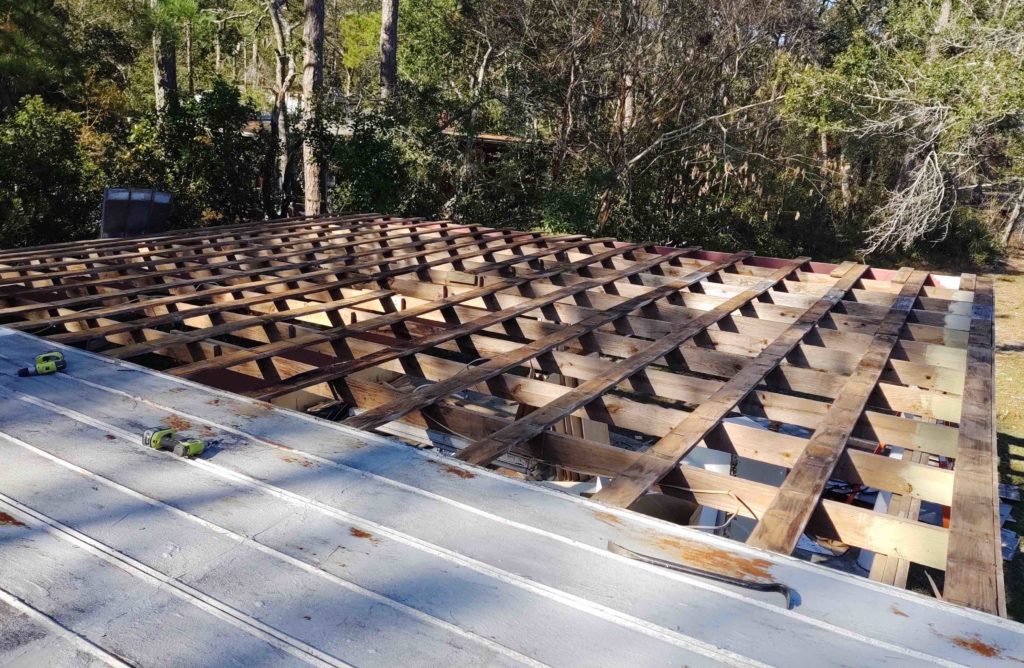
Unfortunately, so many of the cross purlins boards are in such bad shape that I have to replace somewhere around 45-50% of them (still assessing). So I changed my plan and simply ripped off all the panels above the overhang/”carport.”
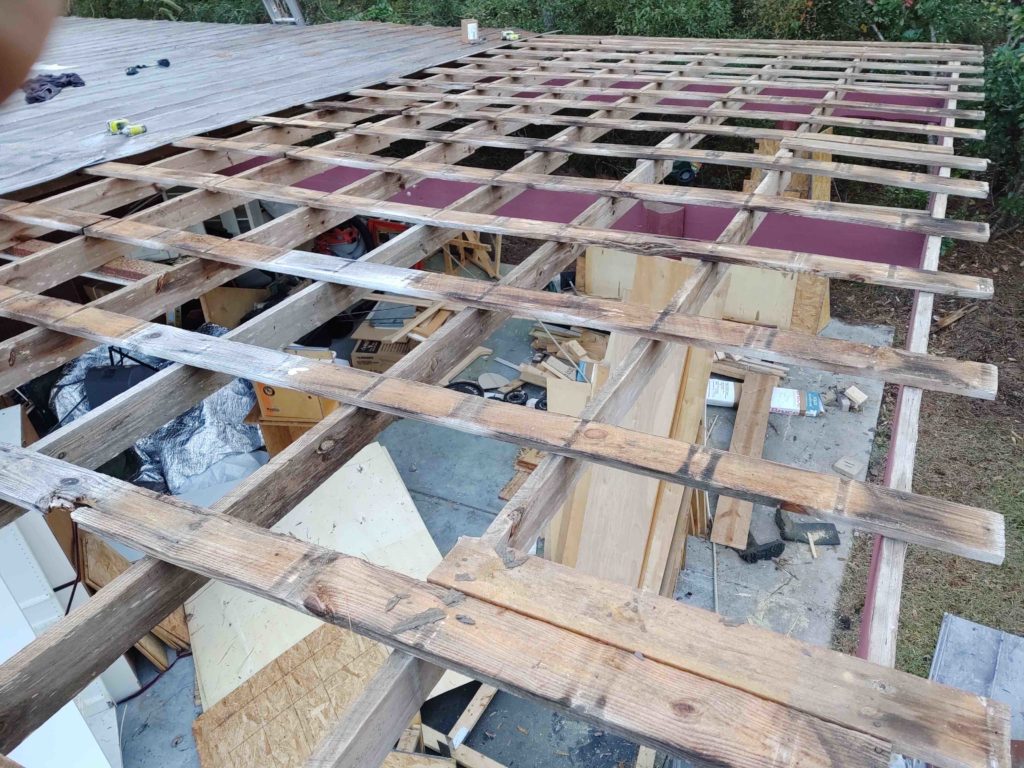

If you look closely at the purlins in the middle area, next to the existing metal panels, you’ll see they’ve almost entirely rotted through.
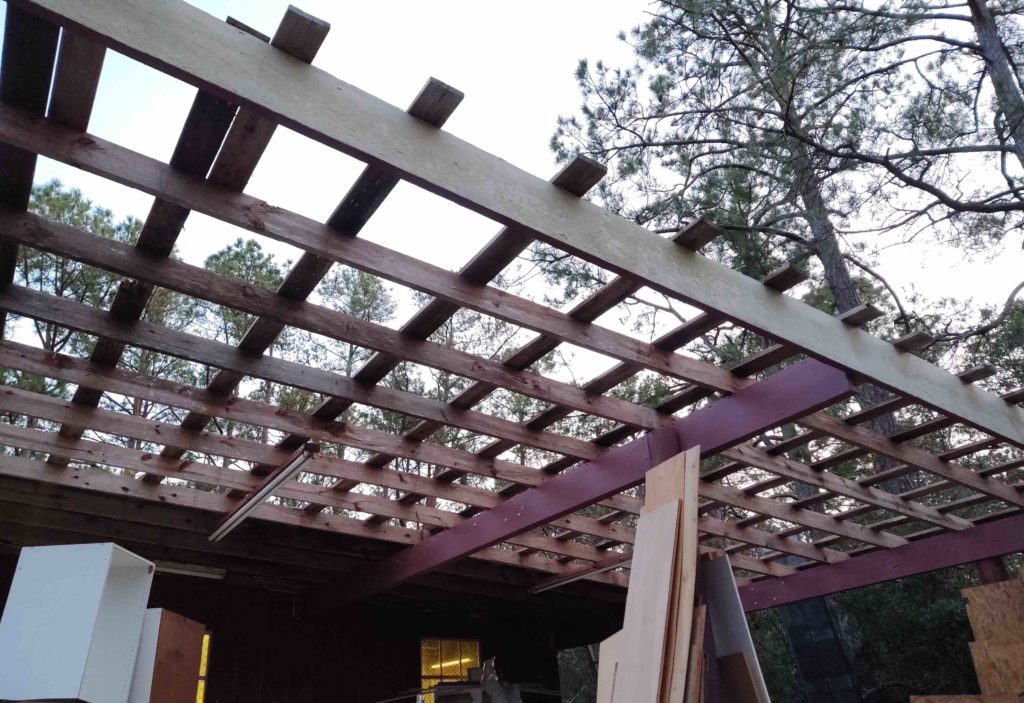
Here’s a shot from below… btw, those purlins are 1x6s, which gives some perspective on the size of this roof.
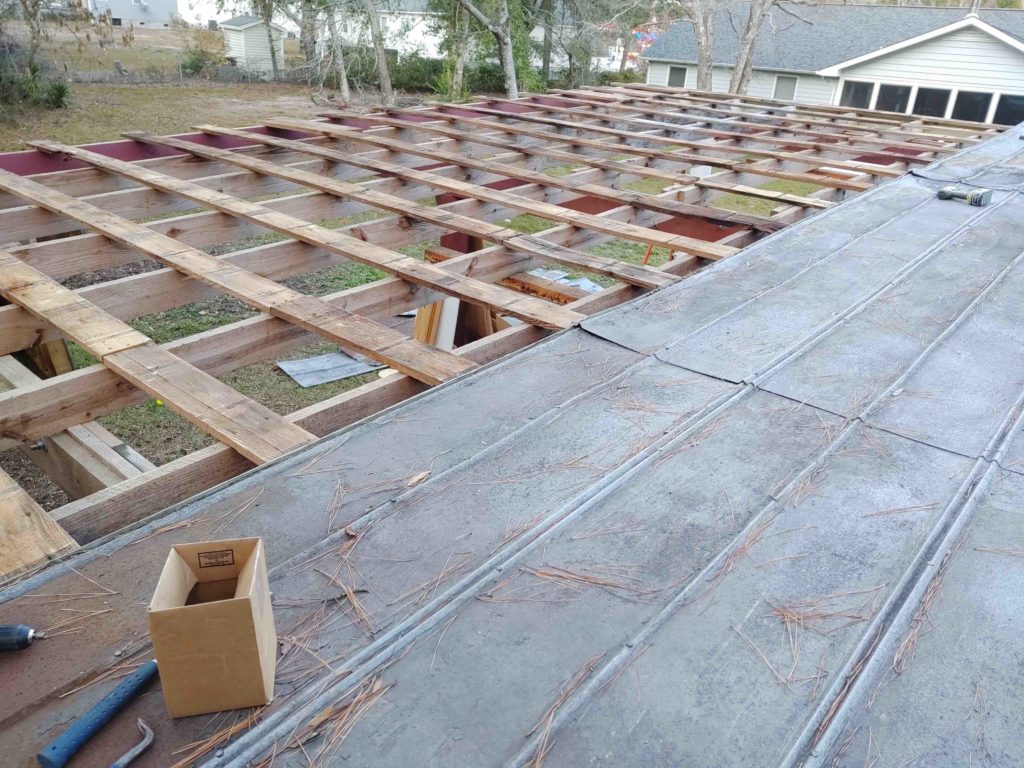
Here we have a couple shots of the entire overhang area, or “carport,” deroofed.

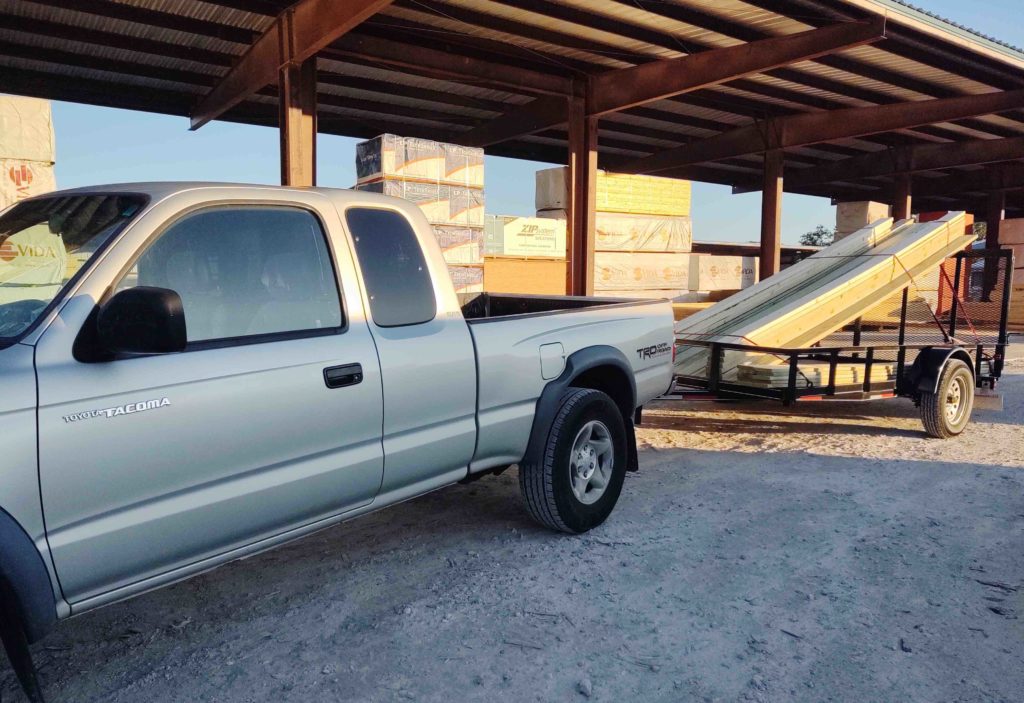
I then had to run down to a local builder supply to pick up a ton more wood than I had expected to for replacing primarily the purlins, and even adding to about 10% of the underlying joists to bolster them for strength. I will say that I’m definitely getting my money’s worth out of this utility trailer!
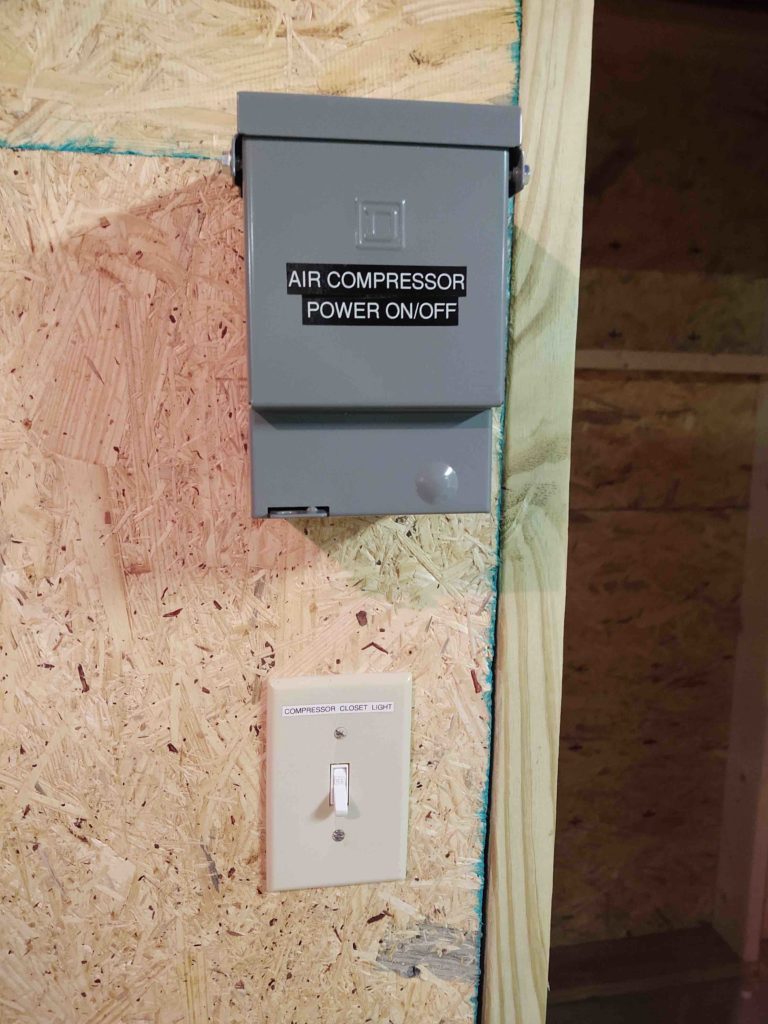
Again, since it gets dark so early and I can no longer work on the roof, I took the opportunity on evening #1 to wire up the 60 amp air compressor on/off switch. This switch will allow me to turn the air compressor off & on without having to open up the heavily insulated compressor closet door and reach into the flip the switch on the actual compressor.

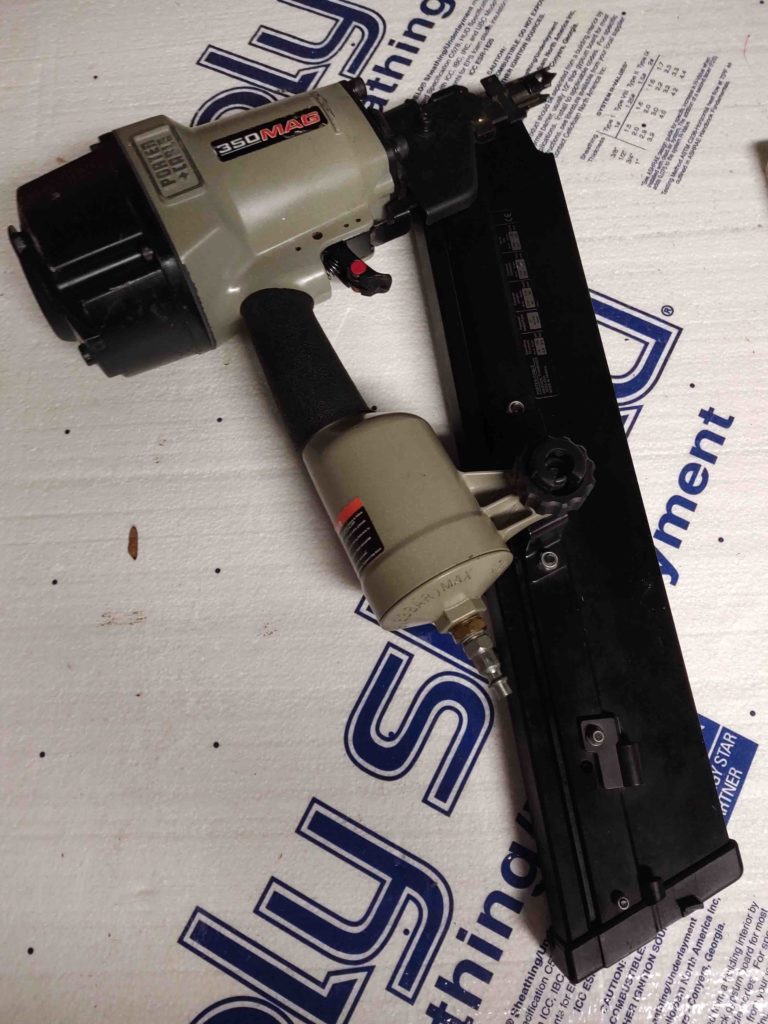
On evening #2 (tonight) I finally got around to opening up my not so cheap (over $100) framing nail gun refurbishment kit since my framer nailer is currently leaking air and inop.
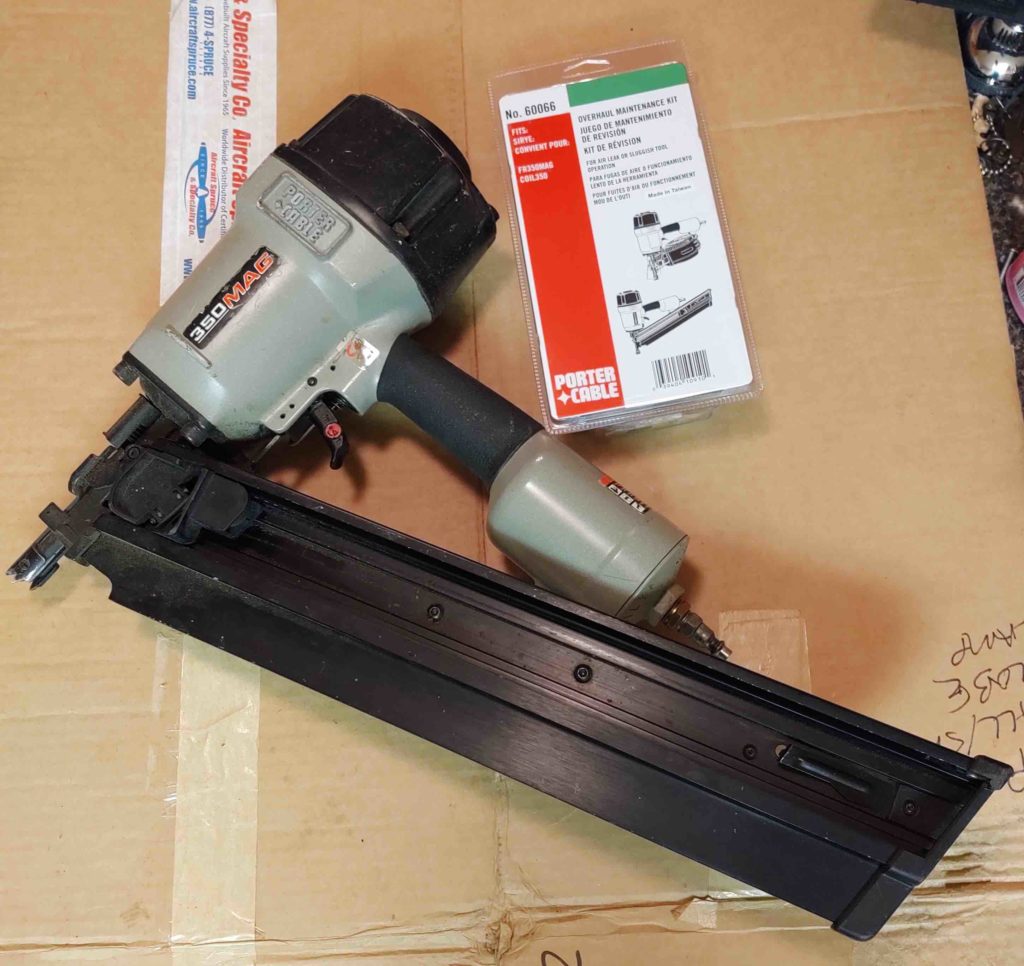
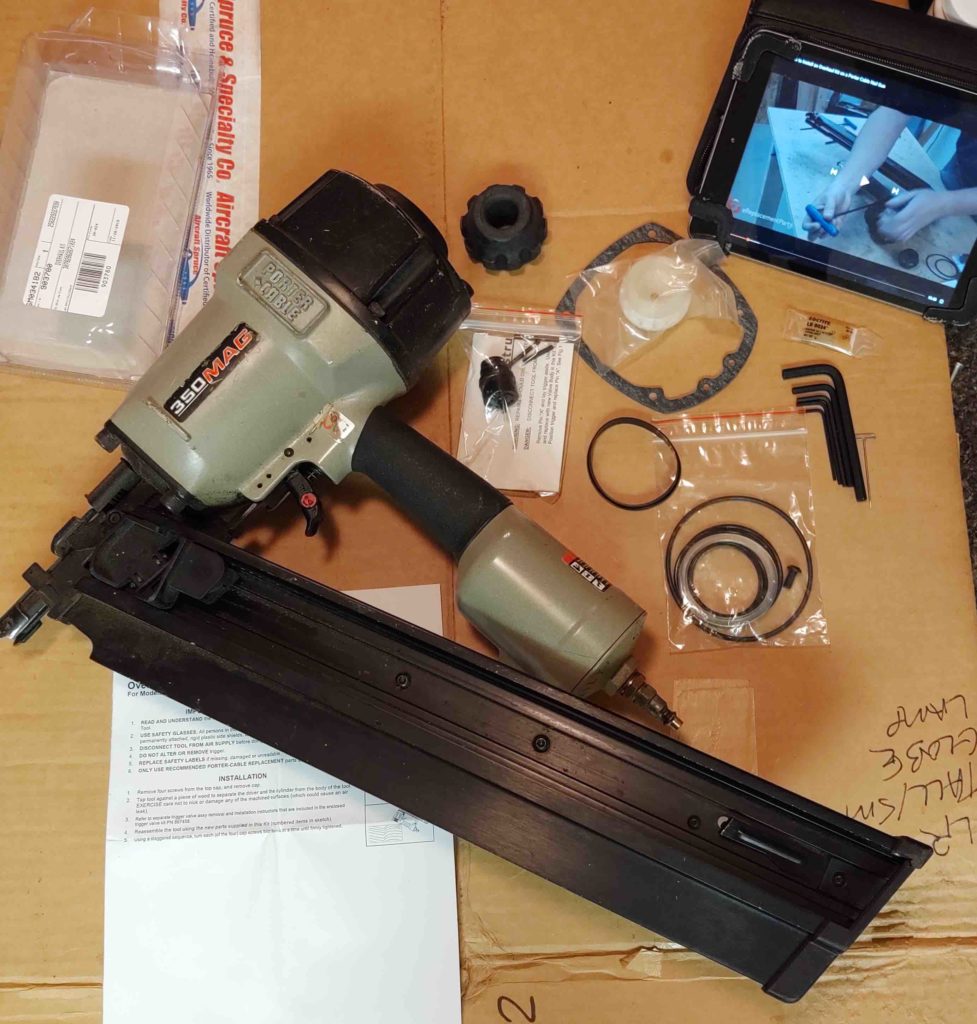
In the left pic below we have the parts from the refurb kit out of the box for inventory. Also included for required tools on hand is my iPad with the requisite how-to video on refurbishing the nail gun. The model the guy covered was a Porter Cable nail gun, just not mine… but definitely close enough to get the job done.
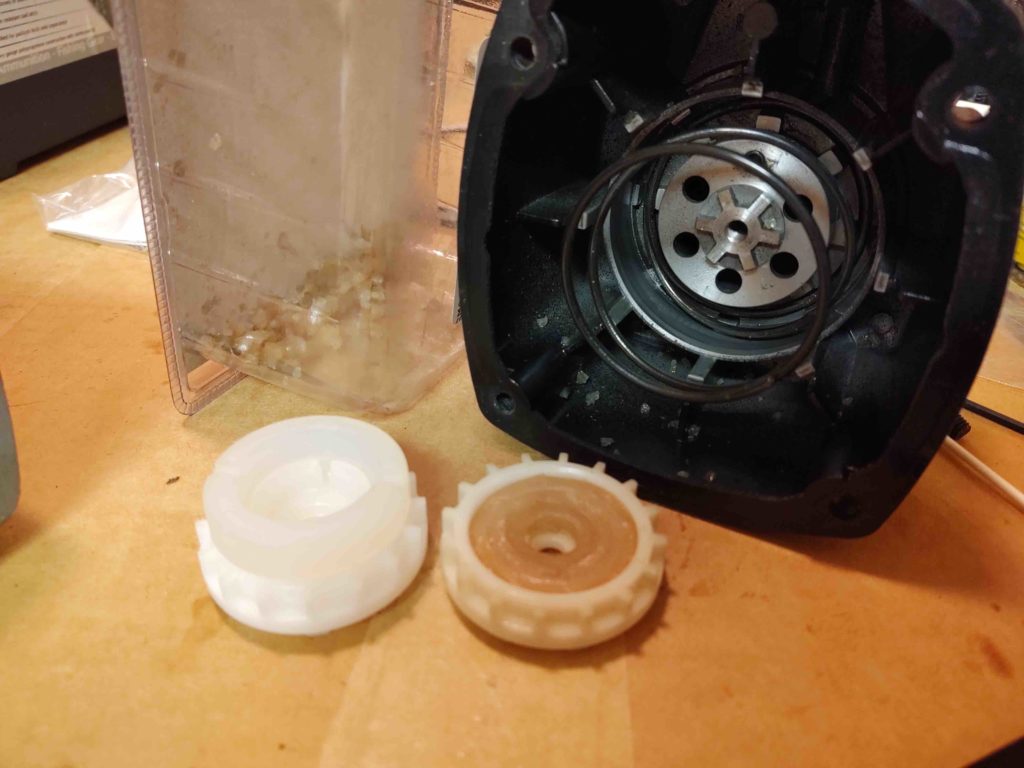
The pic on the right shows what the problem was… besides just being old and worn (I bought the nail gun off of eBay for a good price, and have used the piss out of it since… so not surprising it needed some TLC after all these years) the air valve literally just came apart into a gazillion pieces, and looked like somebody had poured a cup full of rock salt inside my air gun. The old air valve is on the right, but should like the new one on the left. Note in the background all the pieces of the air valve both in the top gun housing and in the refurb kit plastic package where I started collecting these myriad of pieces. Moreover, the inside of the gun is soaked in lubricating oil, so these pieces stick wherever they happened to be…. meaning I had to physically remove every minute piece of plastic.
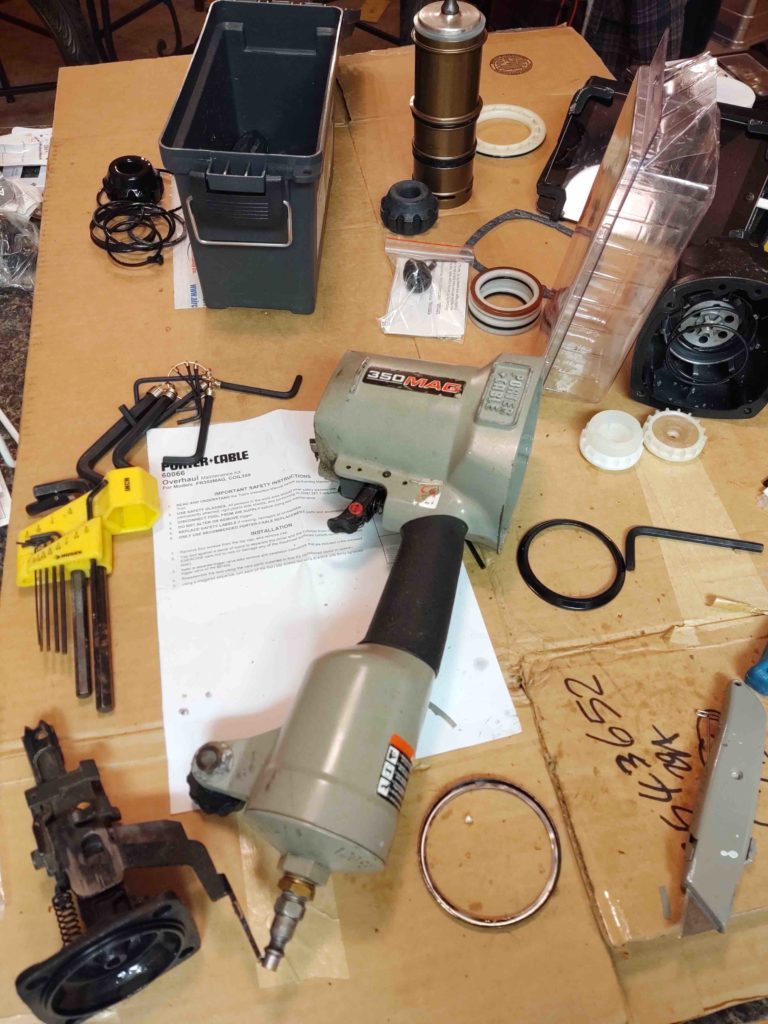
Here’s my framing nailer broken down to about as far as it can be. I did actually remove the trigger and swap out the trigger valve for a new one as well.
After a couple of hours (mainly cleaning out all the plastic bits) I put ‘er all back together and took it out to the shop for a test fire. It was leaking around the top gasket so I really had to gorilla the top bolts SUPER tight (which they were when I removed them) and that did the trick.
So my framing nailer is back online, and just in time too because I’m gonna need this guy big time for nailing in all the new replacement purlins.
End of report!