
Over the last few days I’ve been able to make some progress on the shop. Although I did finish painting the frames of the last big set of doors that will get insulating, the rain came once again forcing me to close the doors earlier then planned.
[it’s raining now as I write this blog post]
Since getting the plasma cutting table installed and operational, I have been focusing on the next round of big tools that I’ve had planned for the shop for quite some time (AKA: years).
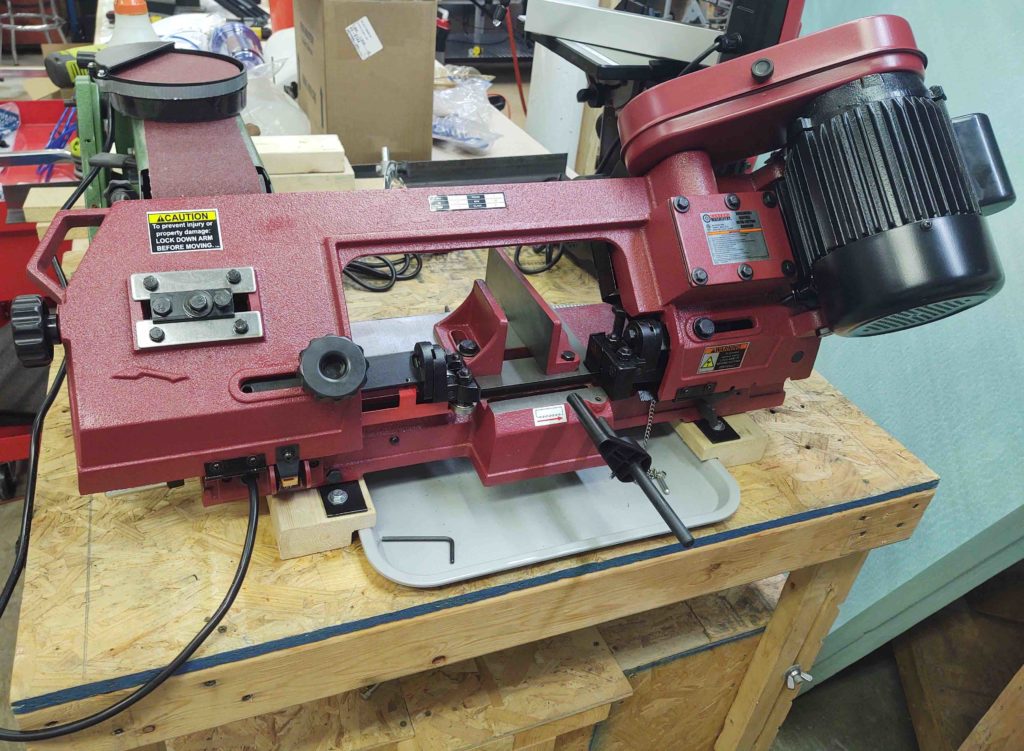
First off, I was able to finish making (and painting) the 4 mounting brackets for the Harbor Freight Horizontal Band Saw which then allowed me to mount it to the top of my mobile work bench.
I mounted the saw on a couple of 2x4s to raise it up higher, and thus allow a few things:
- The chip tray to be slid into place underneath the saw (and removed to dump)
- The saw to be rotated into the vertical position for blade changing and use as a traditional band saw
- Most importantly, to rotate the left side wheel to clamp work into position
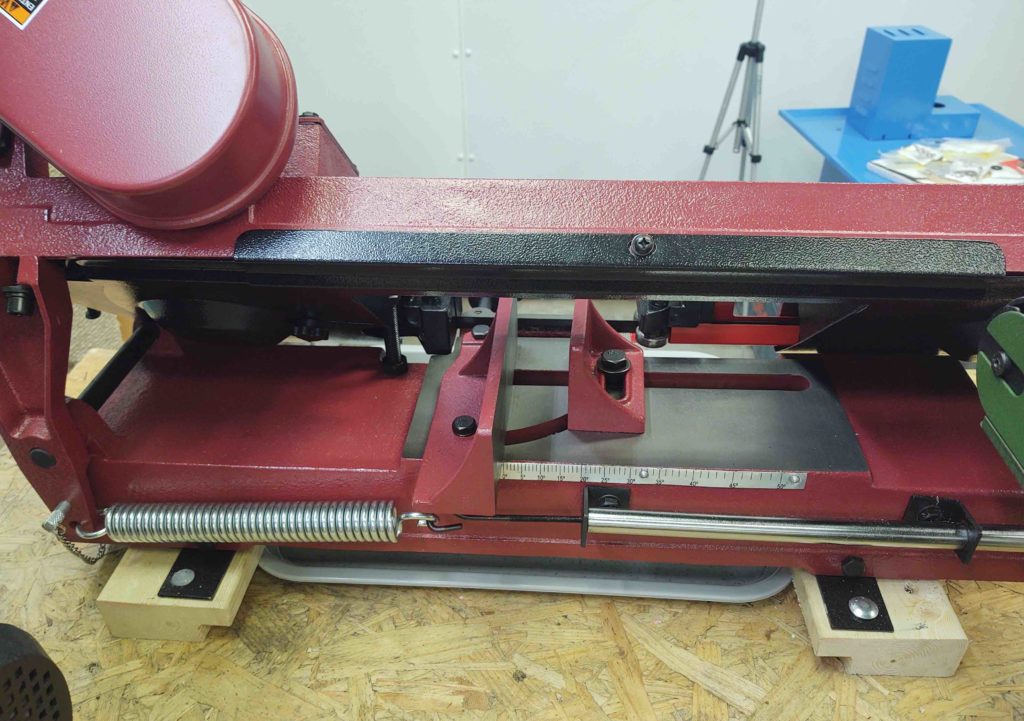
Here we have the back view of the band saw mounting.
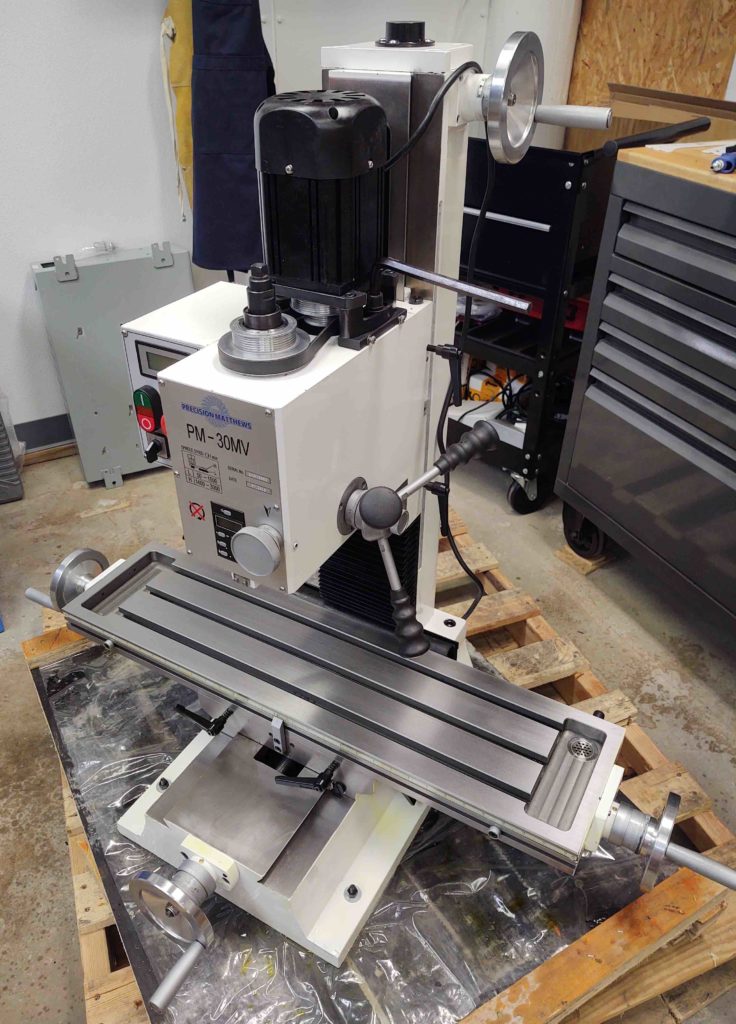
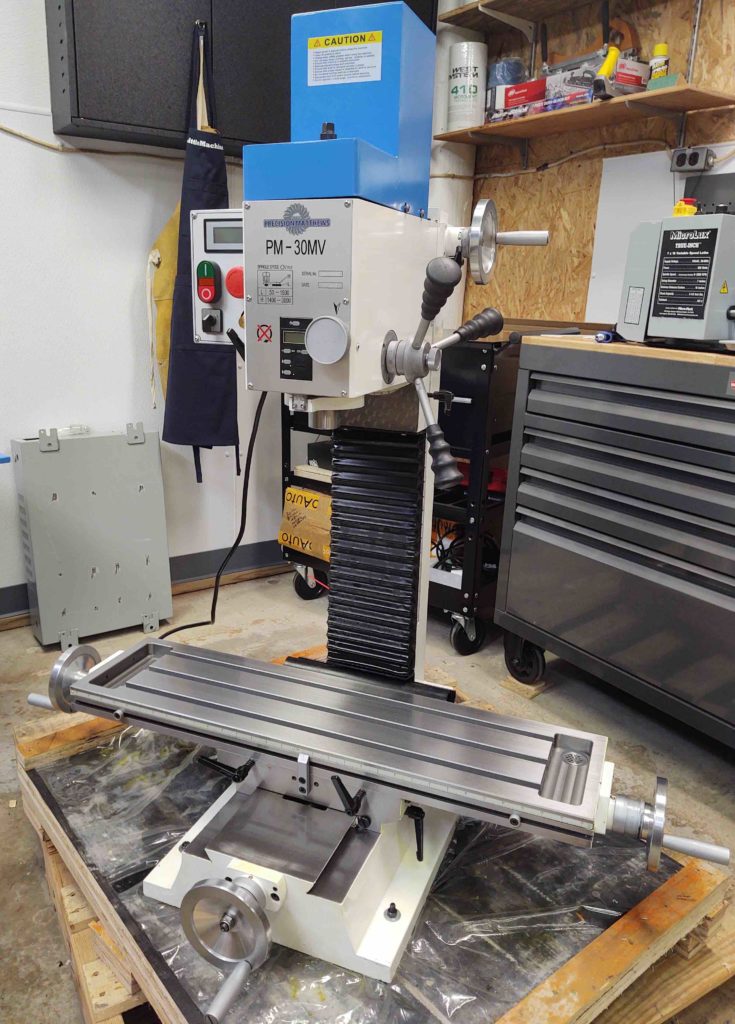
I then got to work un-crating my Precision Matthews PM-30MV Milling Machine.
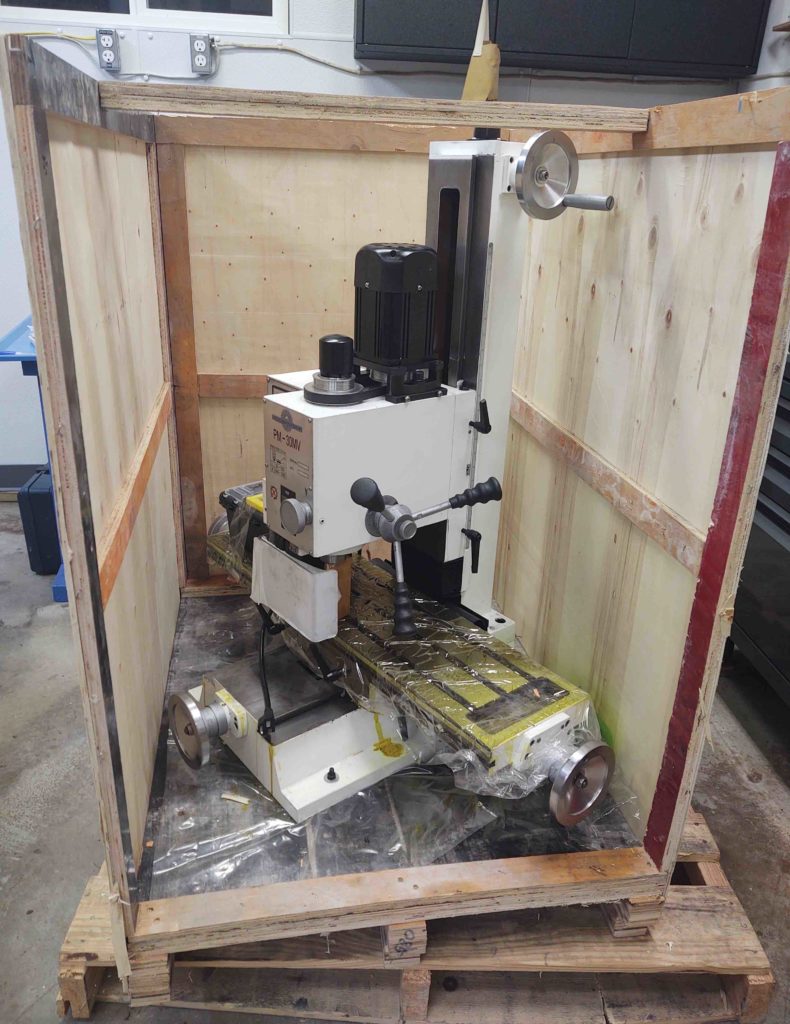
Here we have the crate sides removed, and a lot of cleaning up to do on the mill!
(for a point of reference, the mill’s table is about 3′ wide . . . btw, not the blue “table” to the left, but the gold-looking surface in the middle area of the mill)
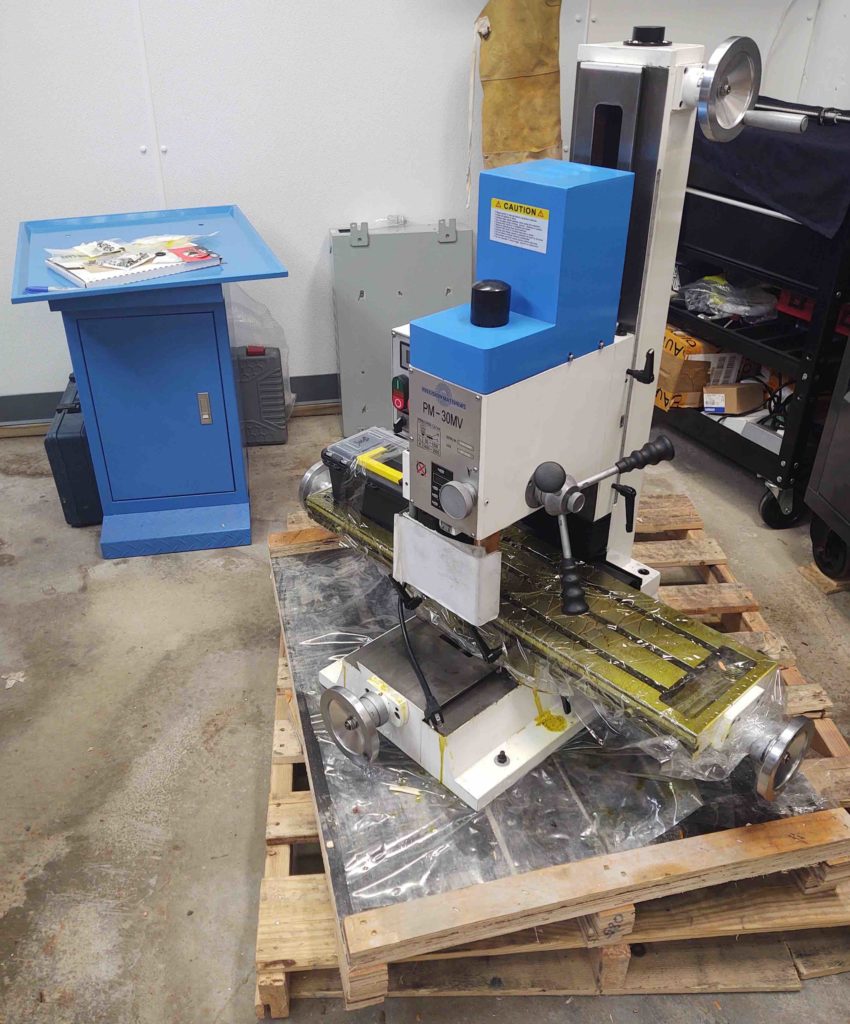
This gold shipping gel was not that bad to remove, except in the following pics you can see where it stained the white paint on whatever mill components it was in contact with.
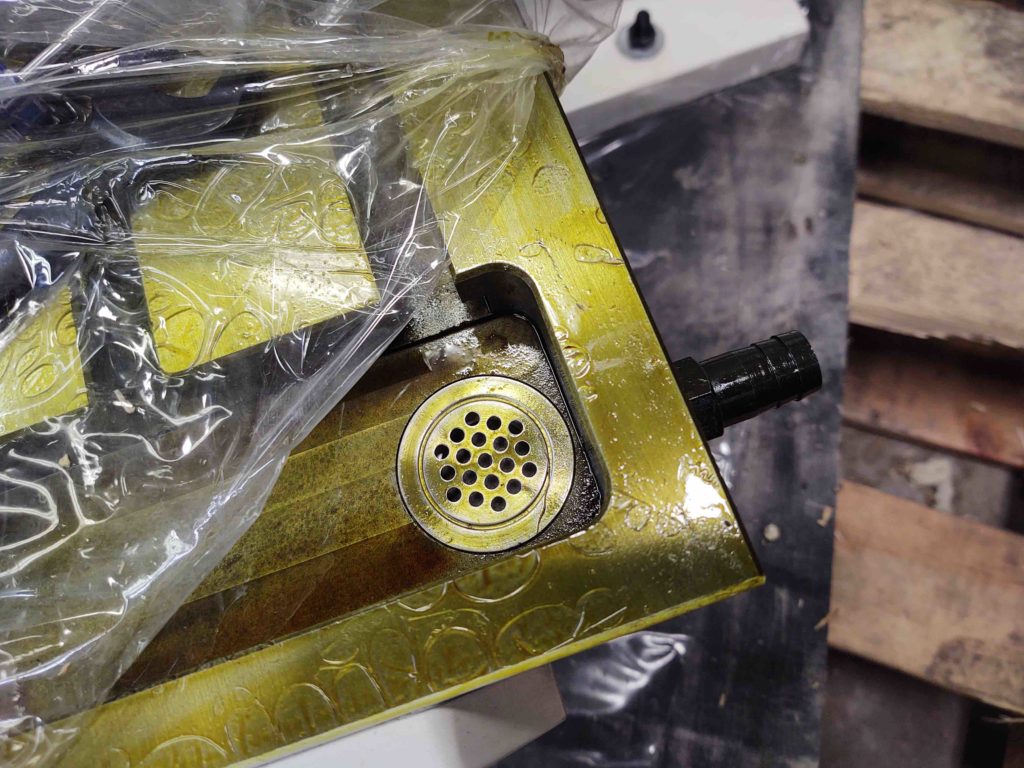
A notable surprise feature on this mill is a drain in the table for flood coolant, if I choose to employ that option in the future.
Analogous to the clear plastic guard on a table saw that rarely get used and is usually the first component dispensed with, my first official mod was to remove the clear plastic safety shield that rotates in front of the spindle before cutting. Unlike a table saw however, this guard is actually wired into the system via a microswitch that must be closed to allow the machine to turn on.
I removed the guard (below left in pic) and spliced the wires together with a butt connector.
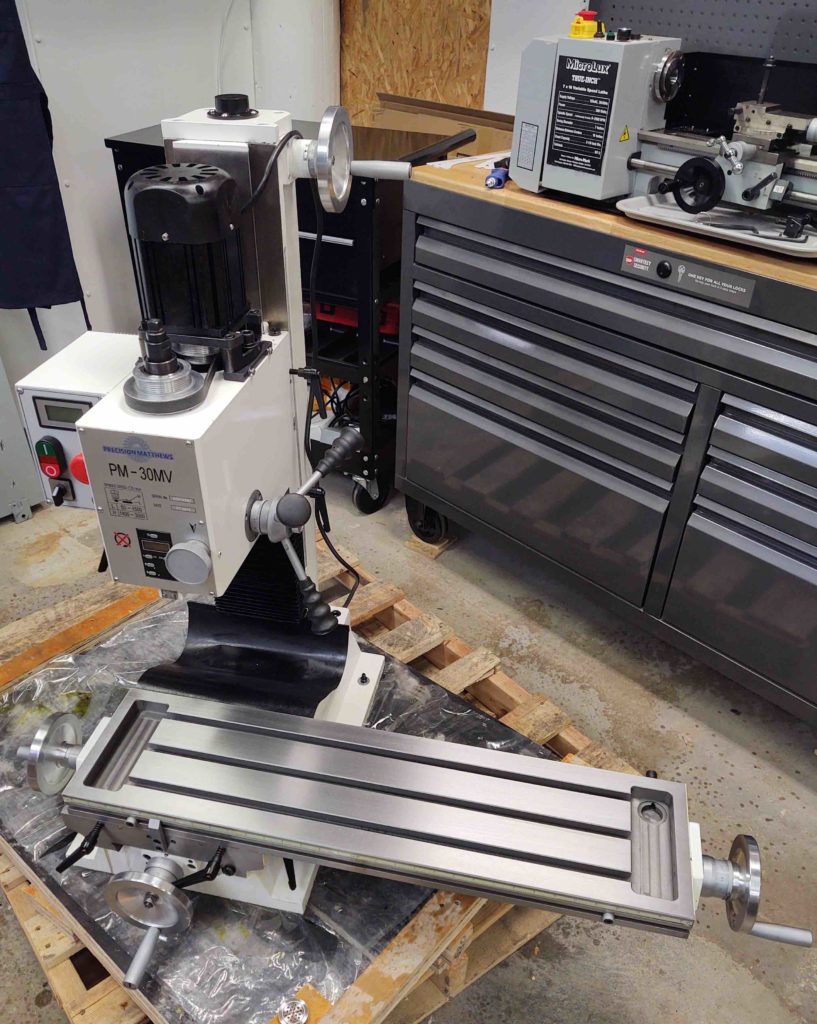
I then spent a few hours cleaning the mill, primarily with WD-40. Albeit faint yellow blotches are still visible on some of the painted surfaces from the gold protective gel. I even tried acetone on those spots with seemingly little effect to remove the stains.
Oh, well.
Some of those stained components (hand wheel blocks) will be removed when I convert this machine to CNC, while other areas will be covered up in large part by aluminum angle stock that will make up the homing switch mounts. So I suspect the stains will be minimally noticeable when the machine is up and running. And let’s be honest, clearly it’s a cosmetic thing and doesn’t affect machine functionality in any way.
Although not as impressive in the pic vs seeing it in the shop, I was trying to show just how far out the table can extend both to one side on the X axis (here, to the right) and all the way forward on the Y axis.
This provides a sense of the Y axis spindle alignment with the back of the table when the table is full forward.
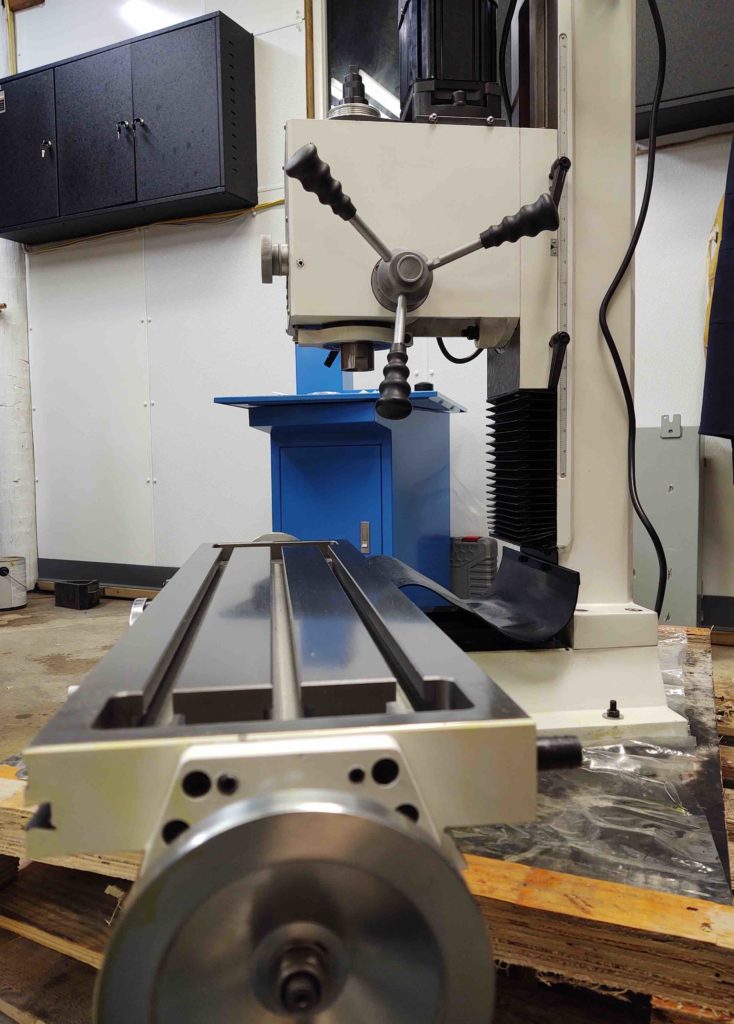
Finally, I moved the mill head all the way up to get a sense of the height achievable on the Z axis. Not bad…
I will continue to work installing both the mill and the lathe and their respective CNC systems, while also insulating the remaining walls when the weather allows it.