
The rain continues. And its continuing onslaught is quite out of character for a typical May in NC I’m being told… Moreover, it has now officially crossed into the really annoying stage (again, it’s raining as I’m writing this post).
Moving on . . .
Of course to do initial cuts on the lathe denotes that the lathe has been, in fact, installed. But instead of an attention grabbing post title listing yet another tool install, I figured I would highlight that some work is actually being done with these tools!
This install detour was in part due to the air filter and light you see hanging above the lathe station. I had cleaned up the big Delta shop air filter (no pic yet) that I pulled out of the garage and installed it on the other side of the shop. Since I had my ladder at the ready and drill set up for drilling the bigger holes in the joists to hang these filters, I pulled this one pictured below out from under the carport and cleaned up the ton of dust, dirt and pollen that it had accumulated.
I wanted to hang the air filter/light before I installed the lathe so the lathe wouldn’t be in the way nor get damaged while hanging the air filter.
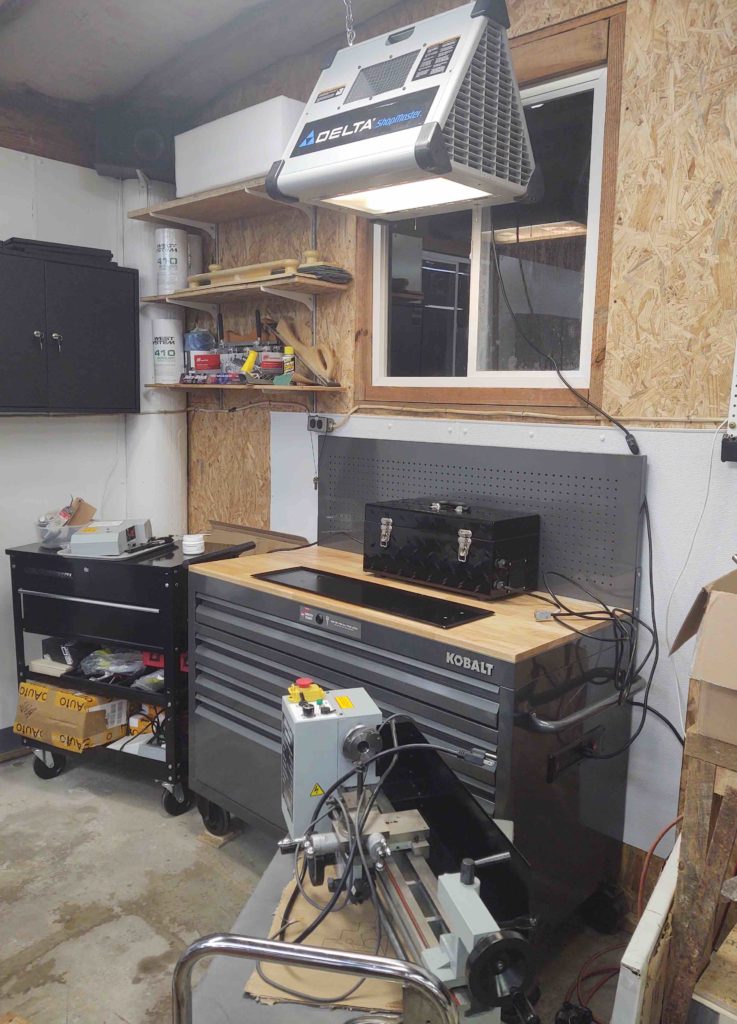
After doing some mock lathe ops and figuring out a good front-to-back position that would allow acceptable access to the lathe CNC control box (black tool box), I determined my final lathe position with the chip tray set back 1-3/8″ from the work top edge.
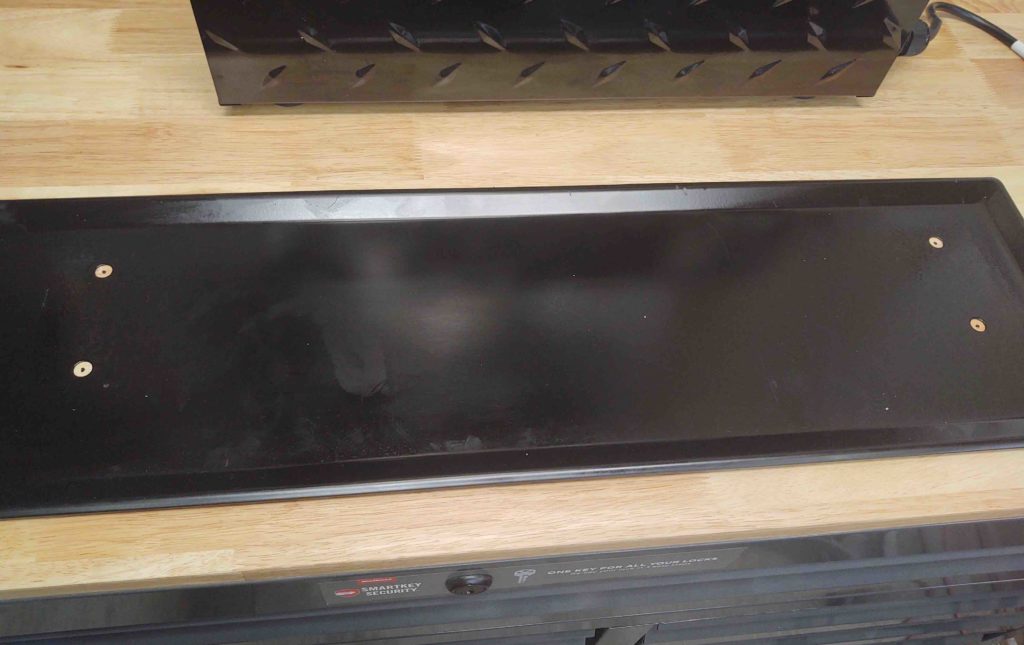
I removed the lathe (pic above) and then marked the 4 bolt mounting points through the holes in the chip tray.
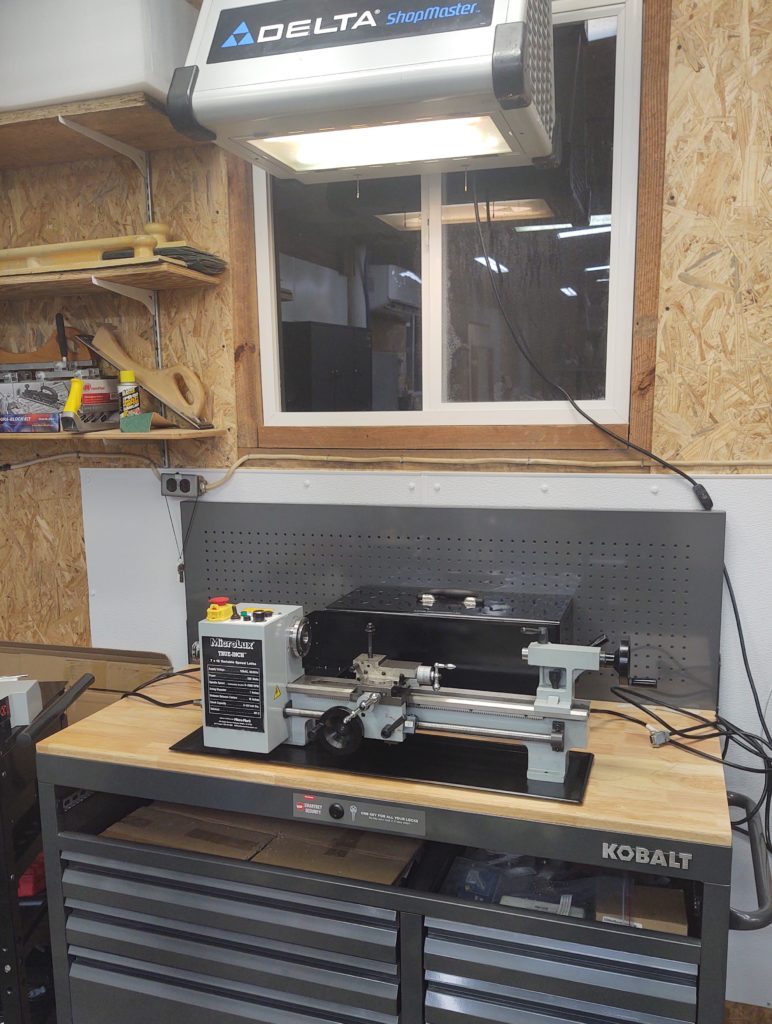
I then drilled out the 4 mounting position holes and mounted the lathe in its new official home atop its own work cabinet.
Now, I would say that I am technically in the midst of my milling machine install (again, these installs occurring now as brought to you by the insane amount of rain we’ve been having…).
As it turns out though, I both wanted to get a quick kill knocked out regarding the lathe install, plus get a part made for the mill…. and get that darn air filter/light from outside and installed where it could do some good.
You see, the mill’s draw bar (that holds the milling tool/collet in place) has a 12mm square nut on the top. I mistakenly assumed that a 12-point 12mm socket could fit on this square nut to then be driven by the small air impact wrench (3/8″ drive) –the heart of my new power drawbar solution.
Well, the 12-point 12mm socket does NOT fit the square 12mm draw bar top nut.
But an inverted 1/2″-drive socket, the square drive part–not the hex socket side, works a treat for driving the 12mm square draw bar nut. However, the glitch is that they don’t make (not that I’ve found anyway) 3/8″-drive-to-1/2″-drive “sockets”.
Well, good thing I have STUFF to make that myself!
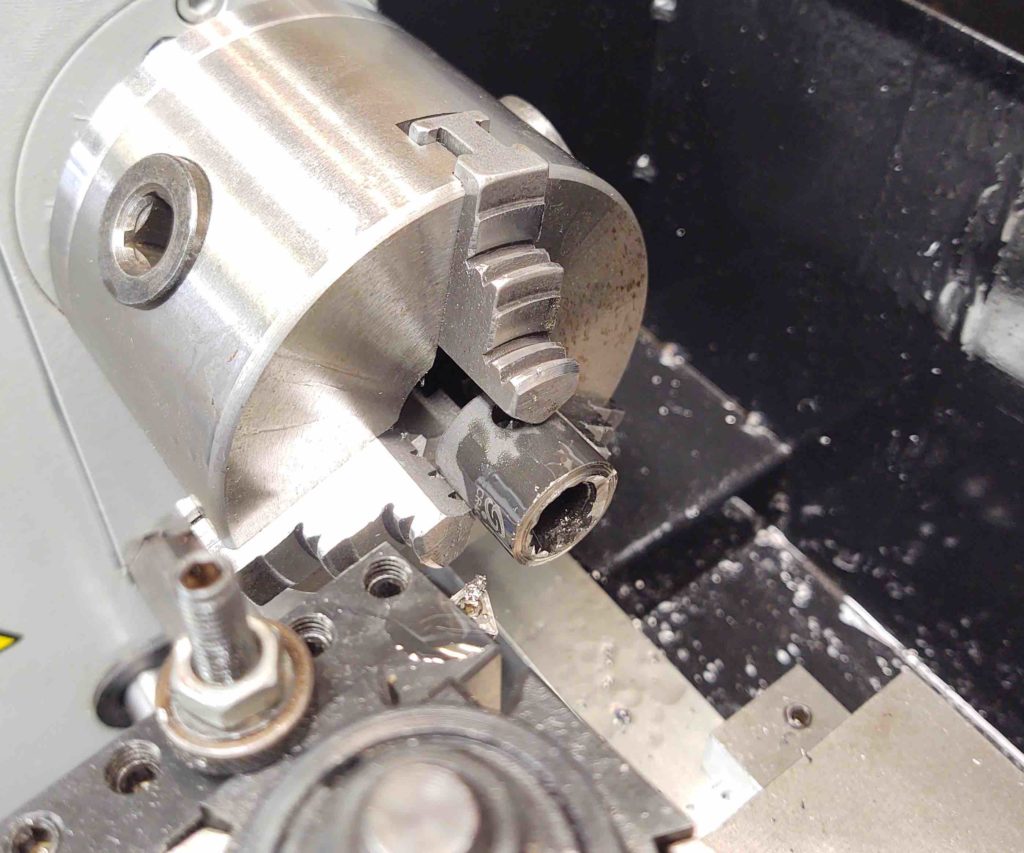
I started by using a Dremel tool to cut off the 12-point 12mm socket side on the 3/8″ drive socket. Any 3/8″ drive socket would do, but since this was a single socket that I purchased specifically for this power draw bar, I used it.
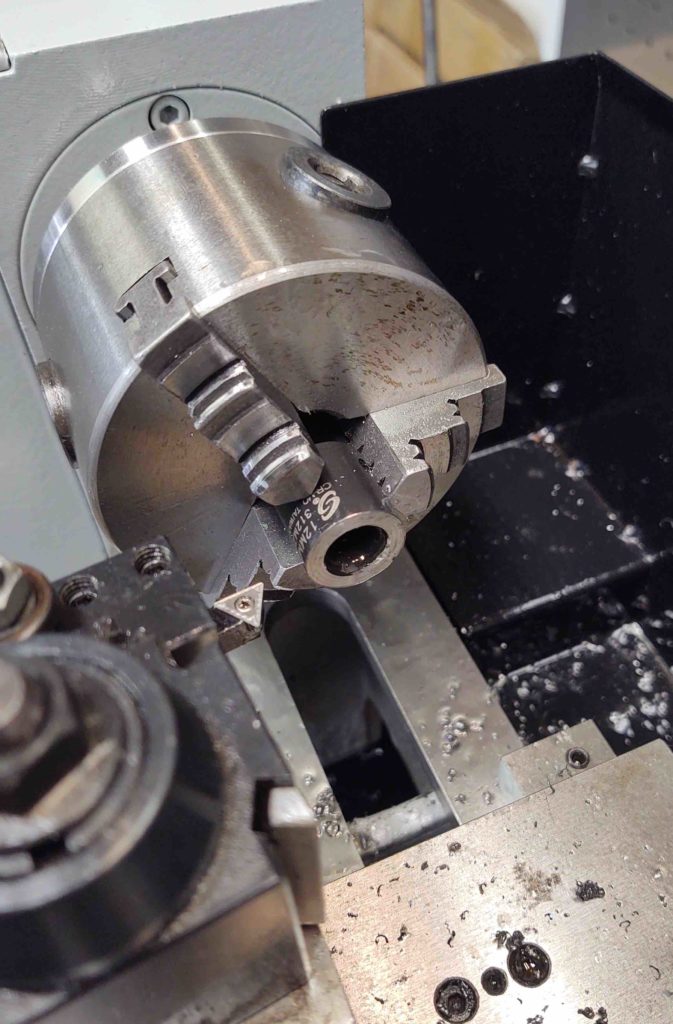
With the socket end cut off, leaving me with the 3/8″ drive part of the socket, I then chucked it up in the lathe [in the stock 3″ chuck that was opened and “available”] and faced the ground off end to clean it up and square it for subsequent welding to the 1/2″ drive socket piece.
BTW, this pic was shot after the first of two passes…
Here it is after the second and final facing cut.
I was in a hurry and didn’t get a pic of the before state of the 3/8″ drive socket… but here is the final result for 3/8″ drive socket and a good before of the 1/2″ drive socket.
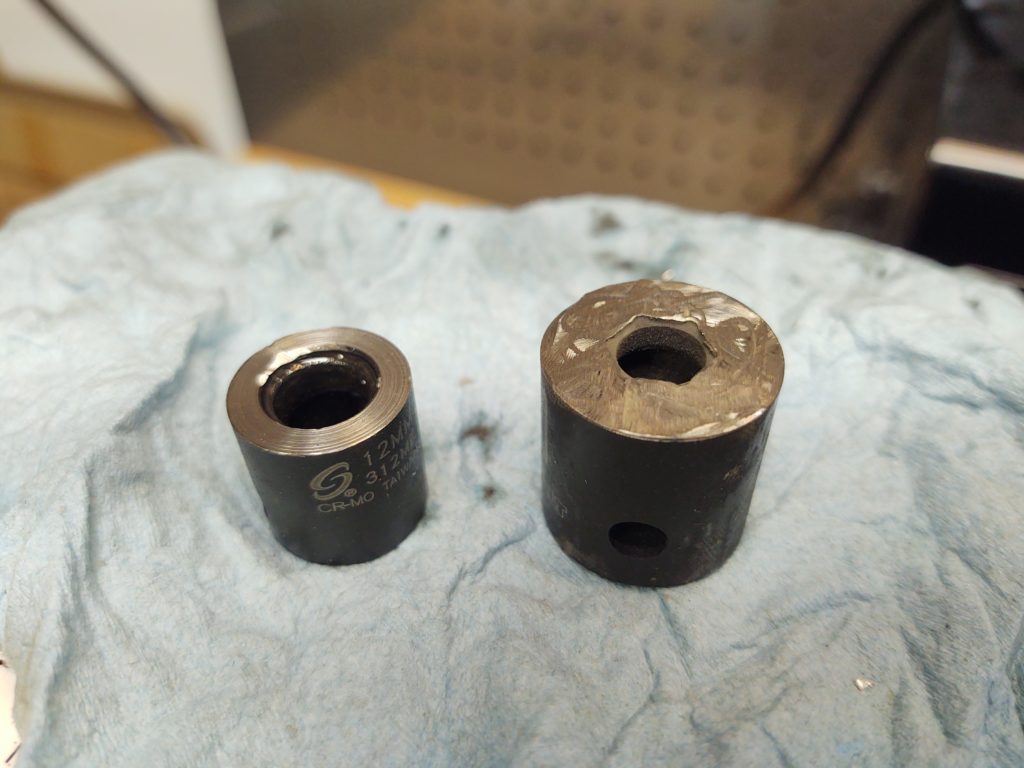
Actually this shot –although blurry– really gives you a sense of how irregular the ground surface is on 1/2″ drive socket. Of course the 3/8″ looked about like that as well before I put it on the lathe.

One last before pic, in the lathe chuck, of the 1/2″ drive socket before I faced it.
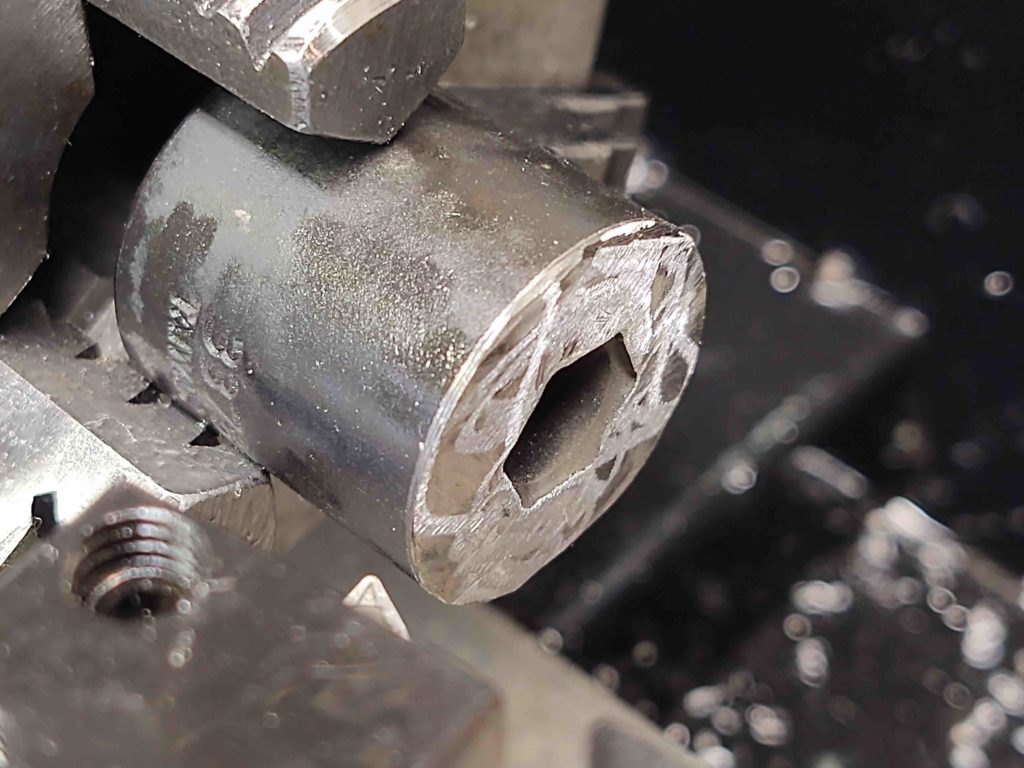
And after a couple of cut passes, the 1/2″ drive socket came out just as nice as the 3/8″ drive.

I normally like to show the end result of making a part before I post anything on it, just to make sure it went as planned and not waste time posting on a failed effort. But I wanted to show the lathe installation primarily, and I’m optimistic that the welding up of these two parts shouldn’t be too challenging for my Neanderthal skills!