
The weather finally broke and we got a rain free day for the first time in a while…. granted we’ve had some partial days of no rain to be certain, but of course with the ever-present threat and eventual outburst of rain.
I got some work done in the shop before I spent the good portion of the day hanging out with a friend’s daughter —my little buddy— mainly down by, and in, the water. It was nice to take a break, but after I was done I spent the rest of the evening finishing up the final tasks of installing the lathe tachometer mod I had made for the mini-lathe.
So besides actually converting it to CNC —can’t be done until the mill is operational— the lathe is installed, up running and fully operational by my standards.
It was a string of while doing A it’s a great opportunity to get B done steps in this scenario that helped lead me to complete this mod now… perfect while paint was drying:
–The bolts that held the lathe to the bench top were too short so needed swapping out…
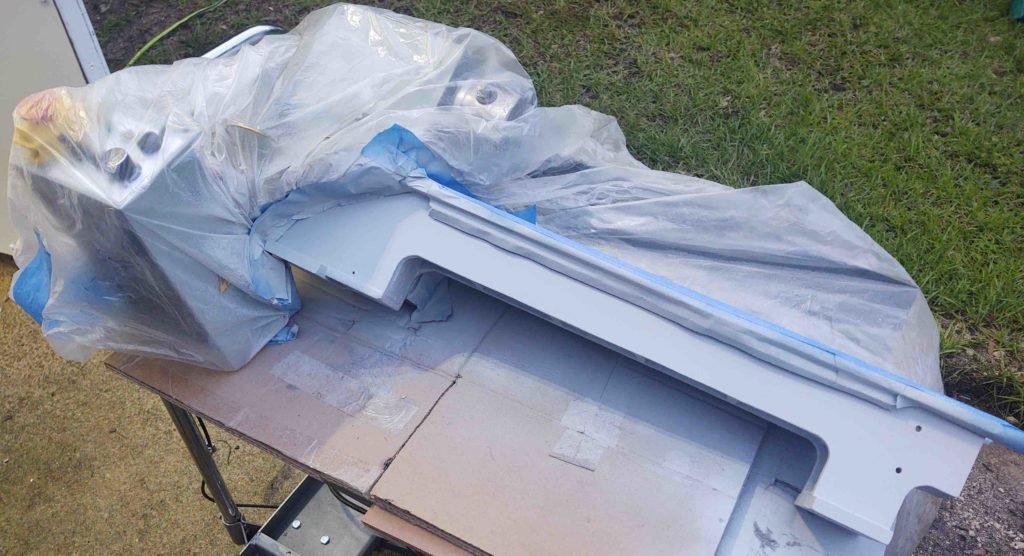
–with the lathe off the bench again I decided to tackle a decent amount of rust and paint peeling off of the right rail support….
-while painting the bottom rail to have a quasi-uniform color I needed to remove the electronics control box….
-with the front electronics control box opened up it was a good time to install the tachometer mount….
The lathe is now virtually rust free (remember, it survived 2 hurricanes and a tornado!) and with no ugly chunks of paint half-peeling off. It now has a new tachometer as well, so I can document in a much more detailed/granular method my feeds and speeds as I dial in the lathe’s cutting of various materials, thicknesses, etc.
Moreover, I am done with mods on the lathe (until I convert it to CNC at some future point) and can simply use it now.
For any of you interested in the lathe tachometer mod (I know, I know… NOT airplane building) I documented the process in the following video:
The last two big tasks to getting the workshop online and airplane-building ready are
A) finishing up the last two sections of wall with insulation and top paneling, and B) getting the milling machine installed.
Back to work!