
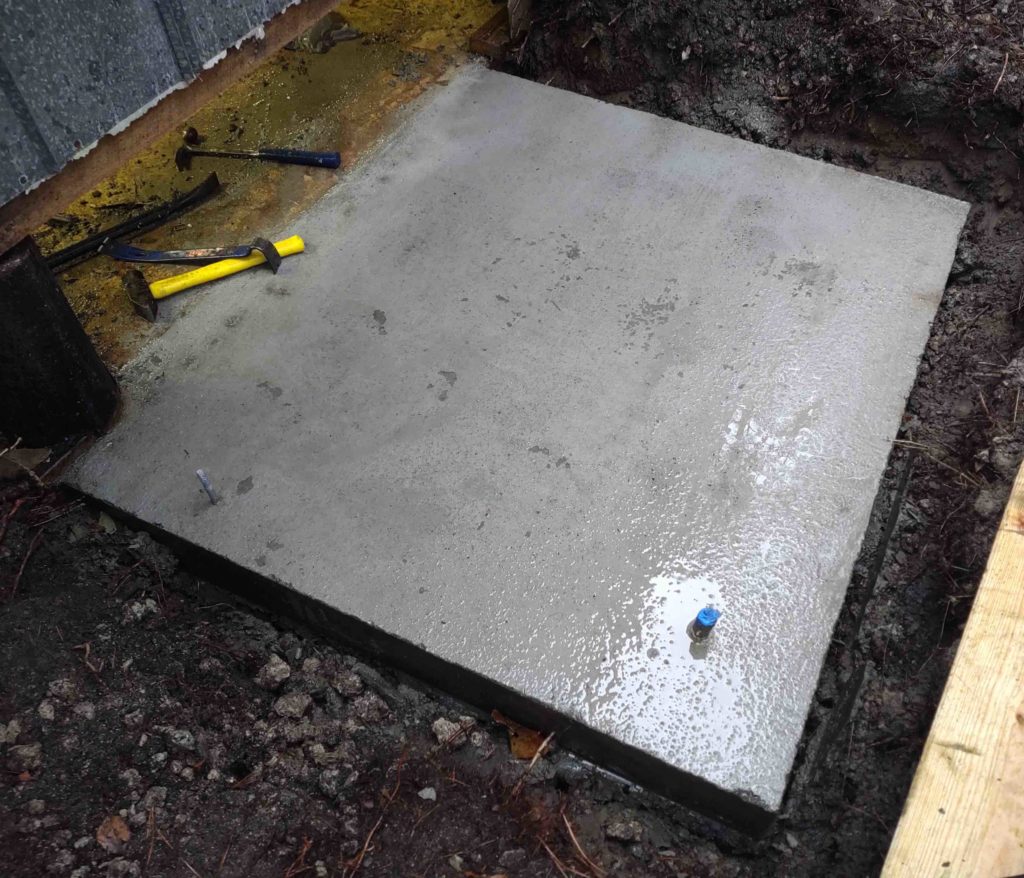
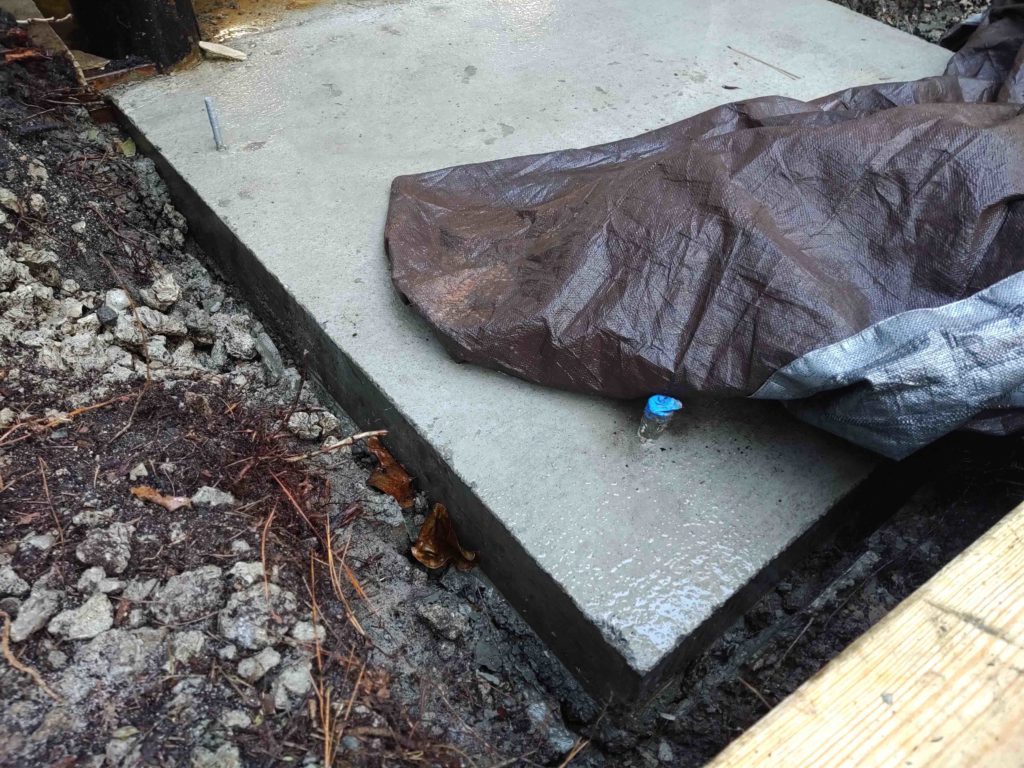
DAY 1: With the concrete pad for the air compressor curing it was time to start working on one of the last major shop upgrades I have planned: the removal of the left center post that will allow me to place the Long-EZ fuselage in the center of the left 2/3rds of the shop with the wings mounted.
The wingspan of a Long-EZ is about 26.5 feet with just an inch or two of clearance on each end. Well, from the left side wall to the outside of the right beam is close to 27 feet. With the wings mounted and aft of the outer posts shown in the pic below, there is just enough room to keep the plane in the left 2/3rds of the shop. Angle it a bit or cheat right a foot or two and I’ll have room to walk around each the end of each wing.
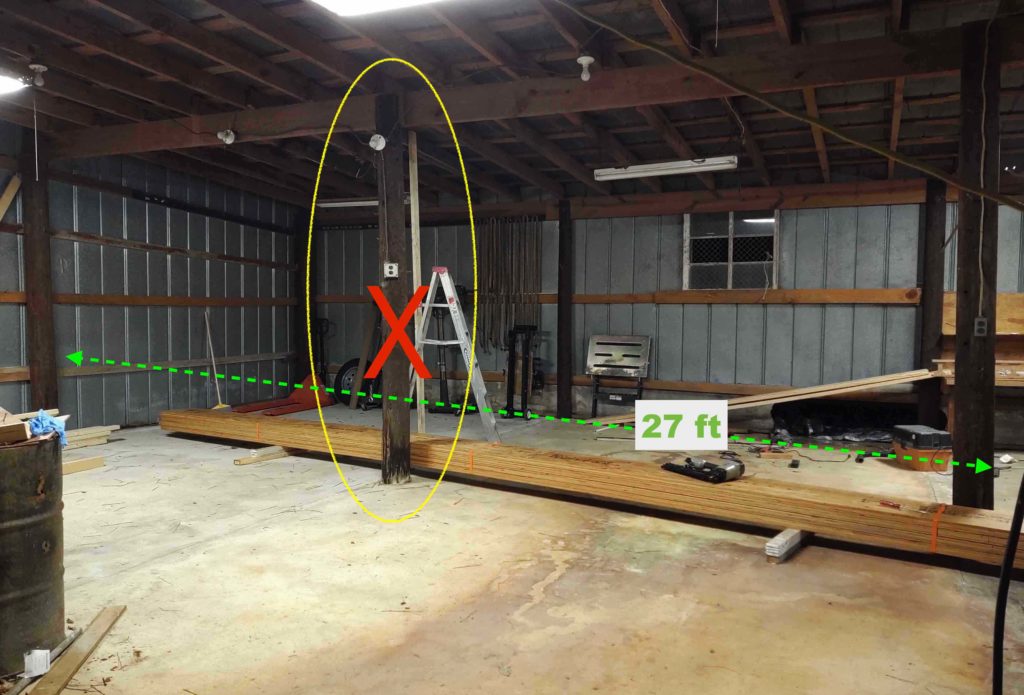
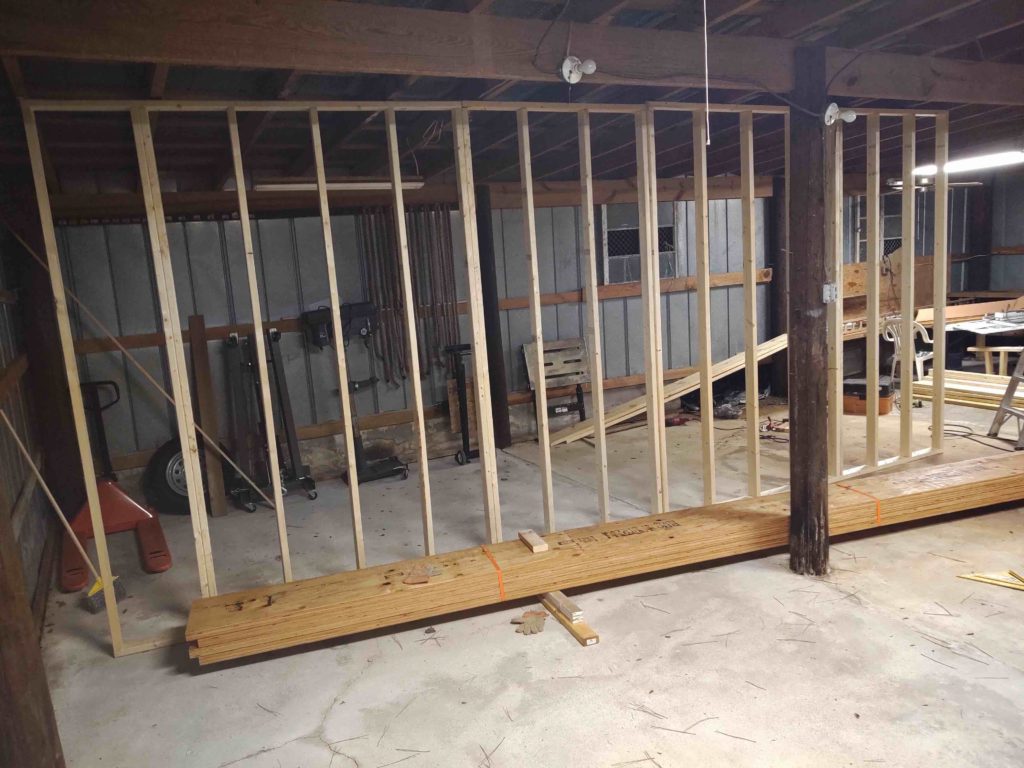
Of course to do this means that pesky center post has to come out. In turn, new beams must be installed. I had an engineer ascertain the structural requirements for my proposed idea. The solution turned out to be 4 massive 16″ high x 1-3/4″ thick x 27′ 6″ long LVL engineered wood beams to support the roof with the center post removed.
You can see these monsters on the shop floor in the pic above. Each beam weights over 200 lbs by itself.
Even though I have a fairly elaborate plan to install the front set of beams without having to remove the existing beams until the aft set of beams get installed, for increased insurance against calamity and for simple safety I will install temp support walls both behind and in front of the row of beams to support the wood roof joists.
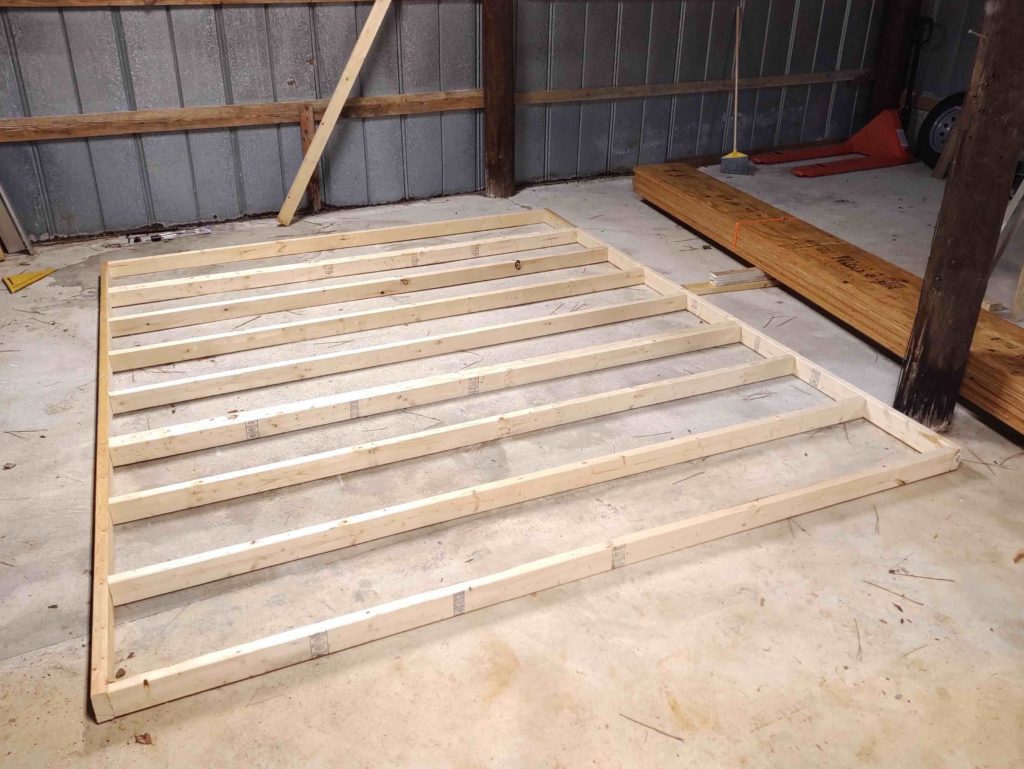
Below is the first 12′ section of the aft temp wall.
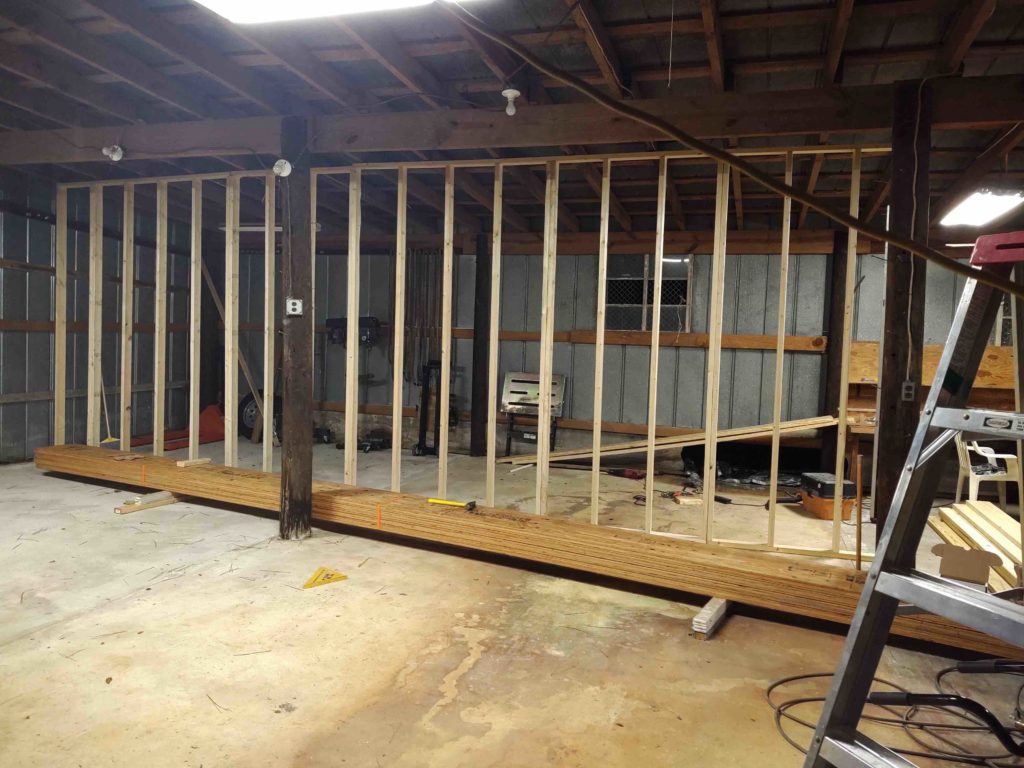
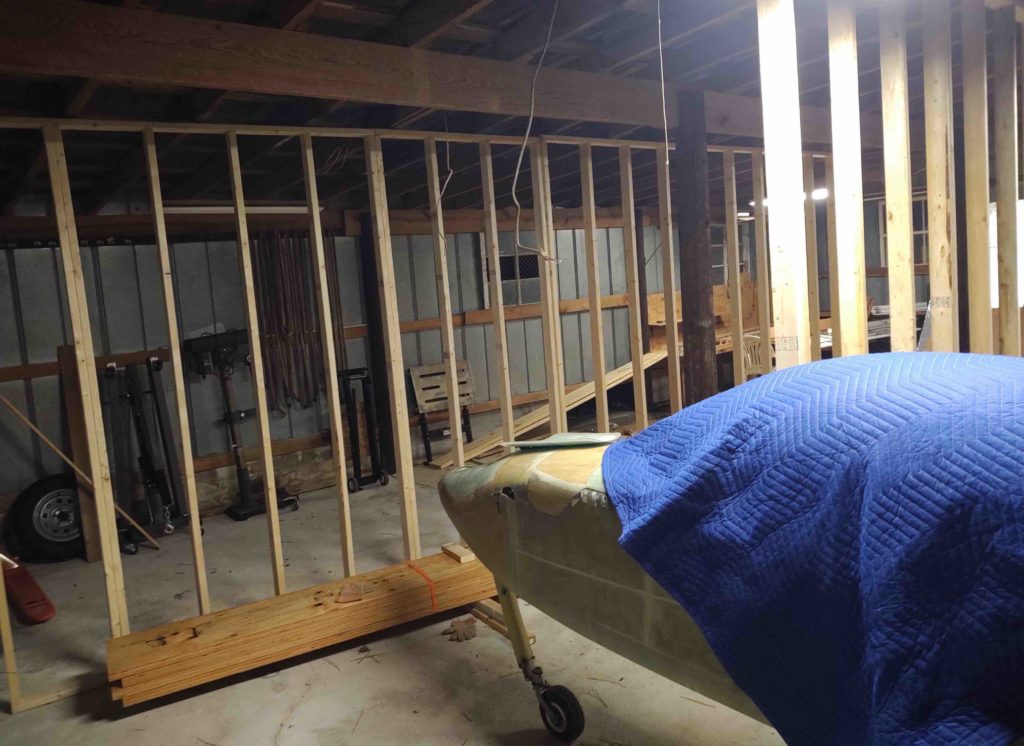
And here it is installed. Now, due to irregularities in the shop floor and joists heights there is a slight curve in the wall to get a tight fit… even with shims. I made a wrong assumption when I measured the height of the joists in the middle and then cut all my studs the same length!
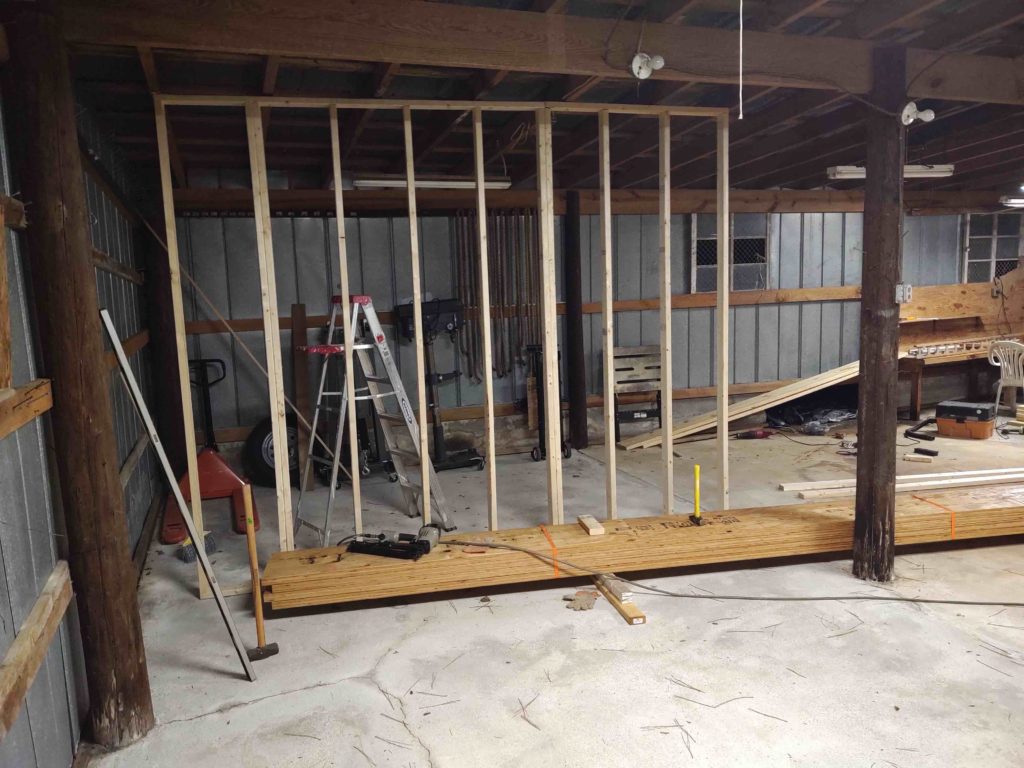
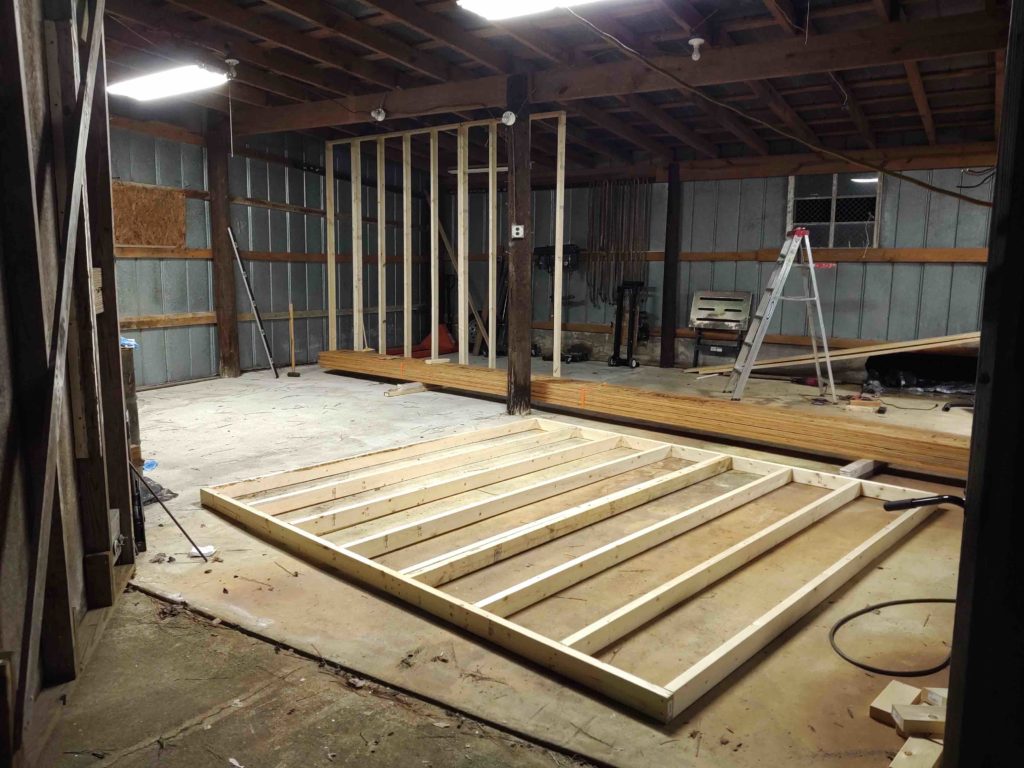
Here we have a series of shots showing the aft temp wall going up and its completion.
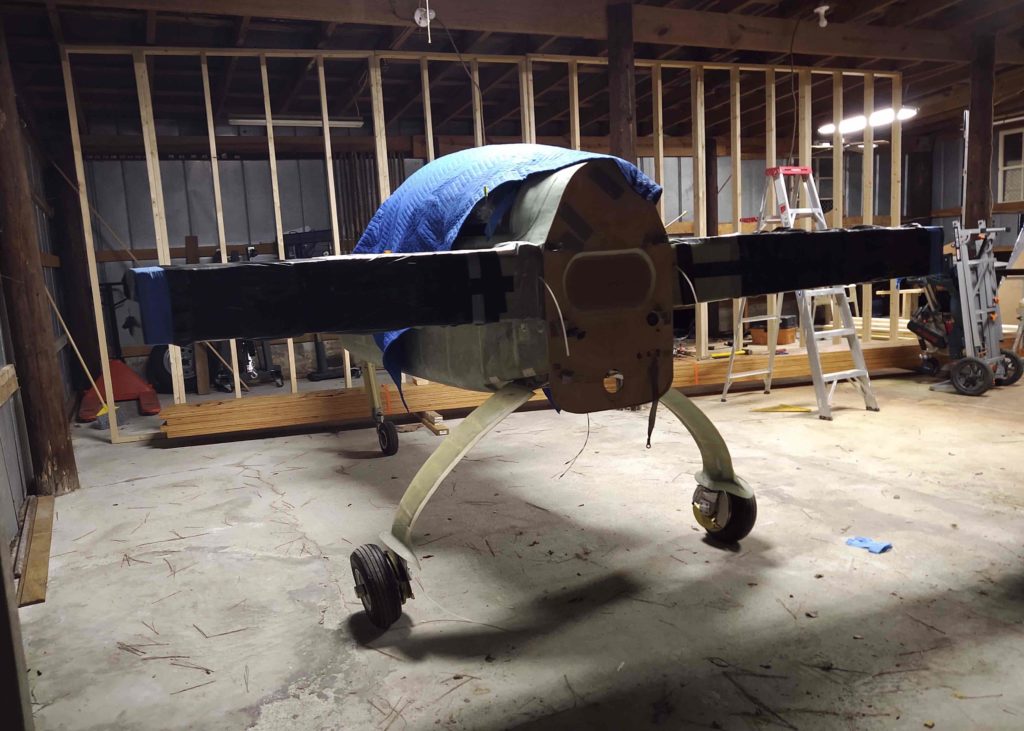
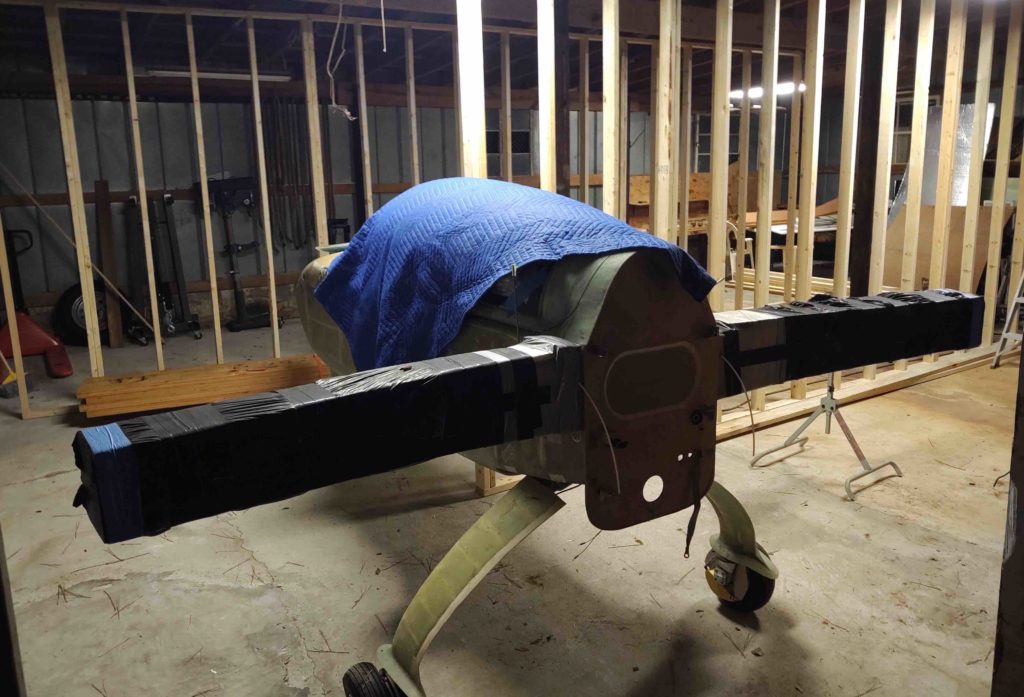
I then put the bird back in the shop and buttoned it all up for the end of Day 1.
[The fuselage looks huge here since it’s so close to the camera. The spar is about 9.5′ wide and the temp wall behind it is nearly 28′ wide!]
DAY 2:
I started off today by removing the forms from the air compressor concrete pad. It’s not a perfect concrete job, but it will definitely do what I need it to do with the edges square, top level and concrete fill nice and compacted.
I had to go get another load of wood and shortly after I got back we had a torrential downpour for a good couple of hours.
I don’t have any pics of the build sequence, but here is the front temp wall completed up to the edge of the side of the fuselage.
I have a planned 29″ gap between the studs on this end of the wall that will allow me to nose in the fuselage inside the workshop at the end of each workday.
Tomorrow I should get the front temp wall completed and then start in on actually installing the front pair of new beams and removing the center post.