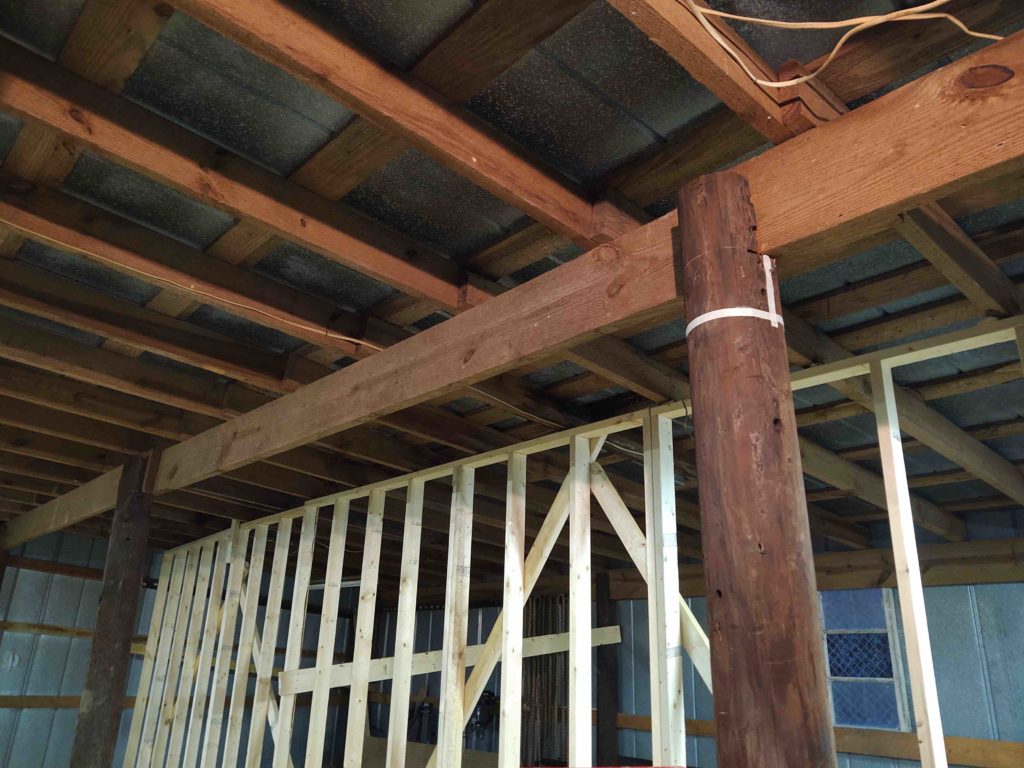
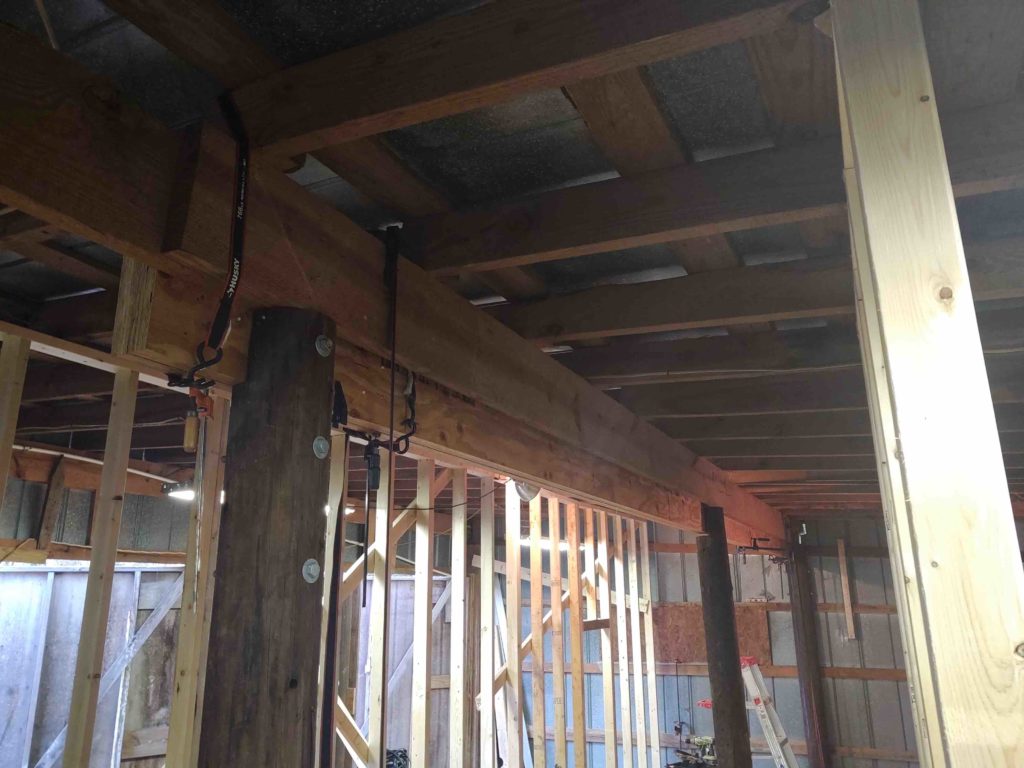
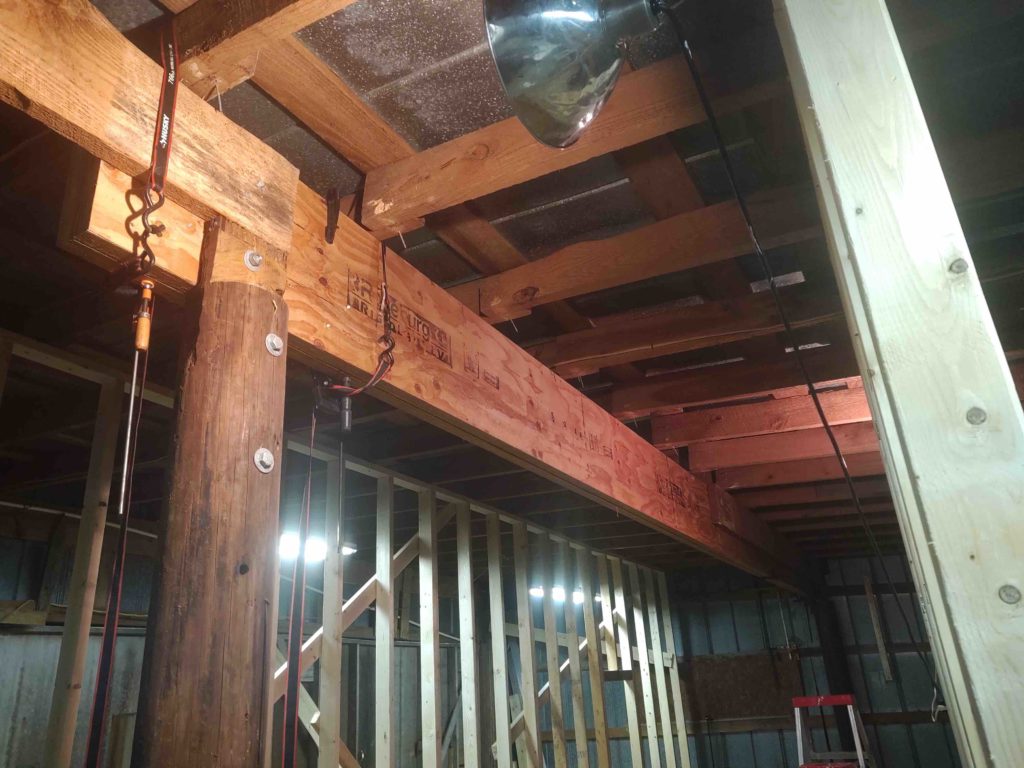
DAY 3: I started off Day 3 focused on prepping the front side of the 3 posts to enable me to mount the front side two new large beams without removing any of the old beams. In fact, the middle post to be removed would stay in place until well after the new front two beams were in place.
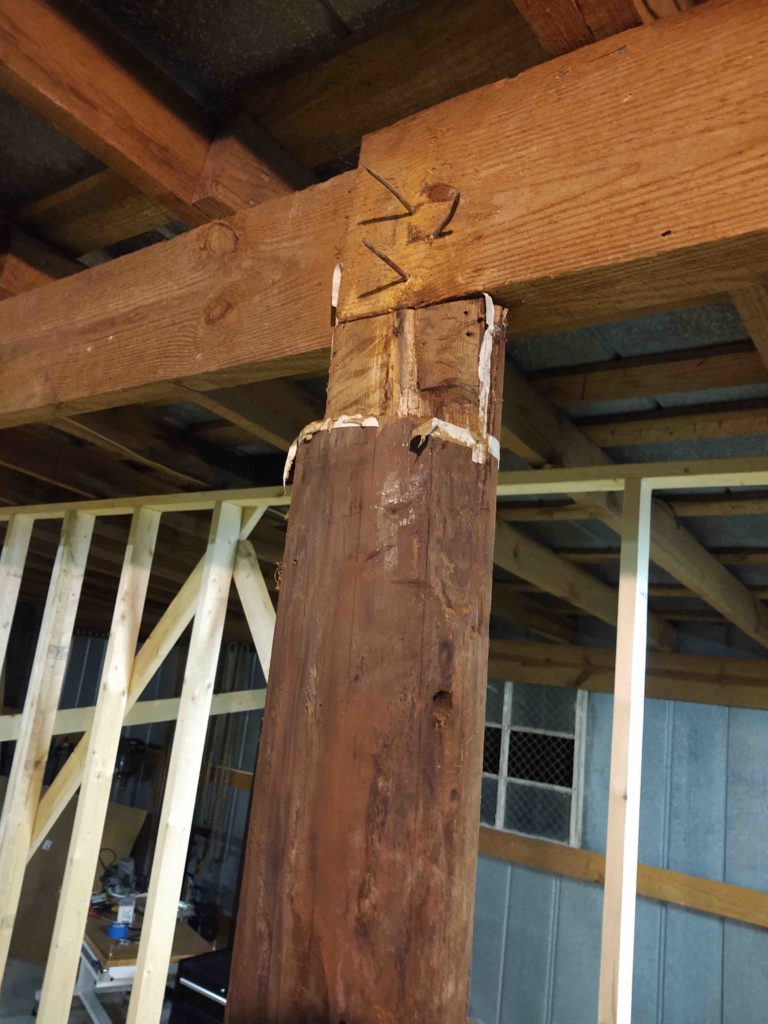
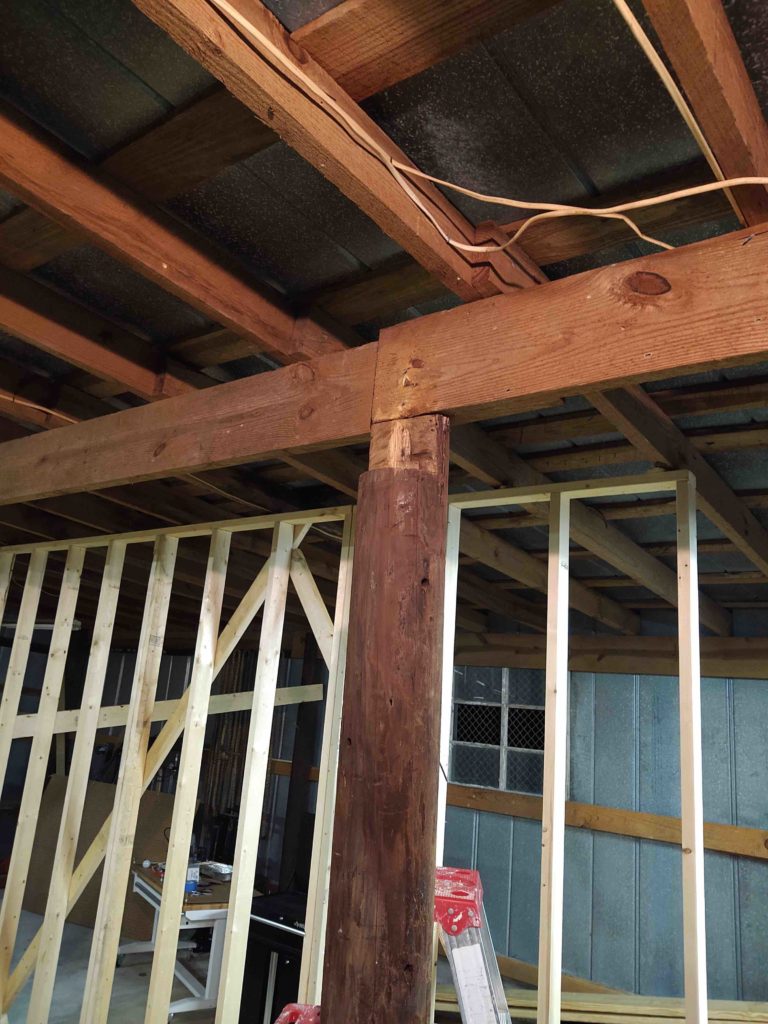
Below the RHS post #3 with it marked and then cut to expose the original large nails used to attach the beam coming in from the right side (which will remain) to the post.
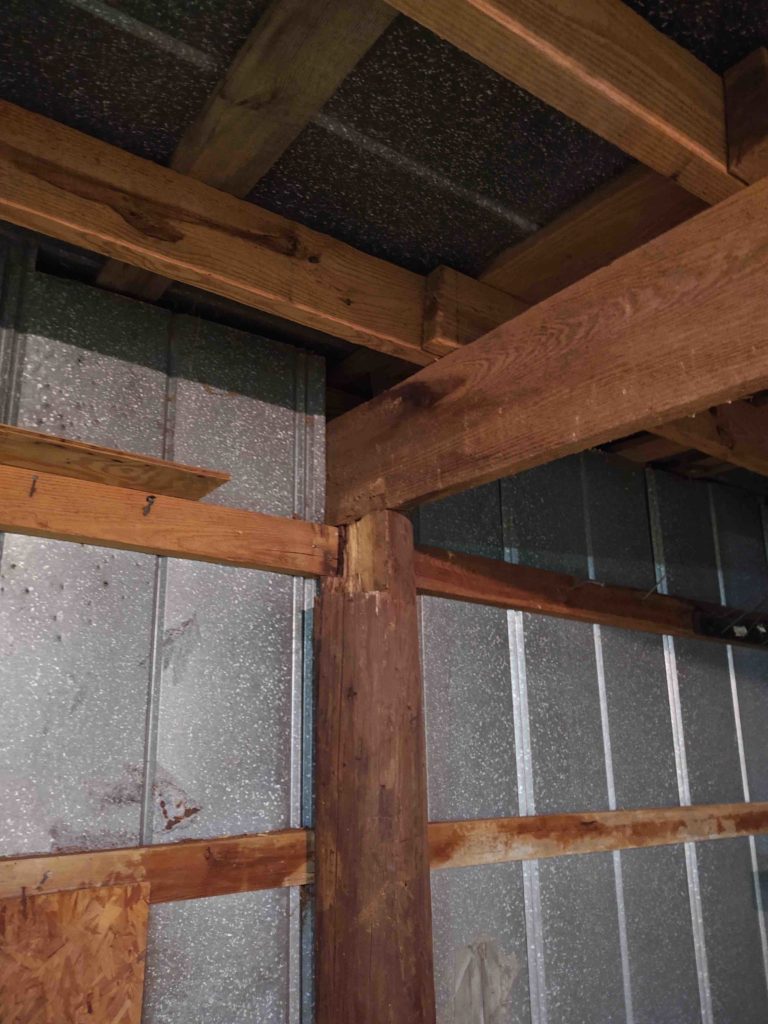
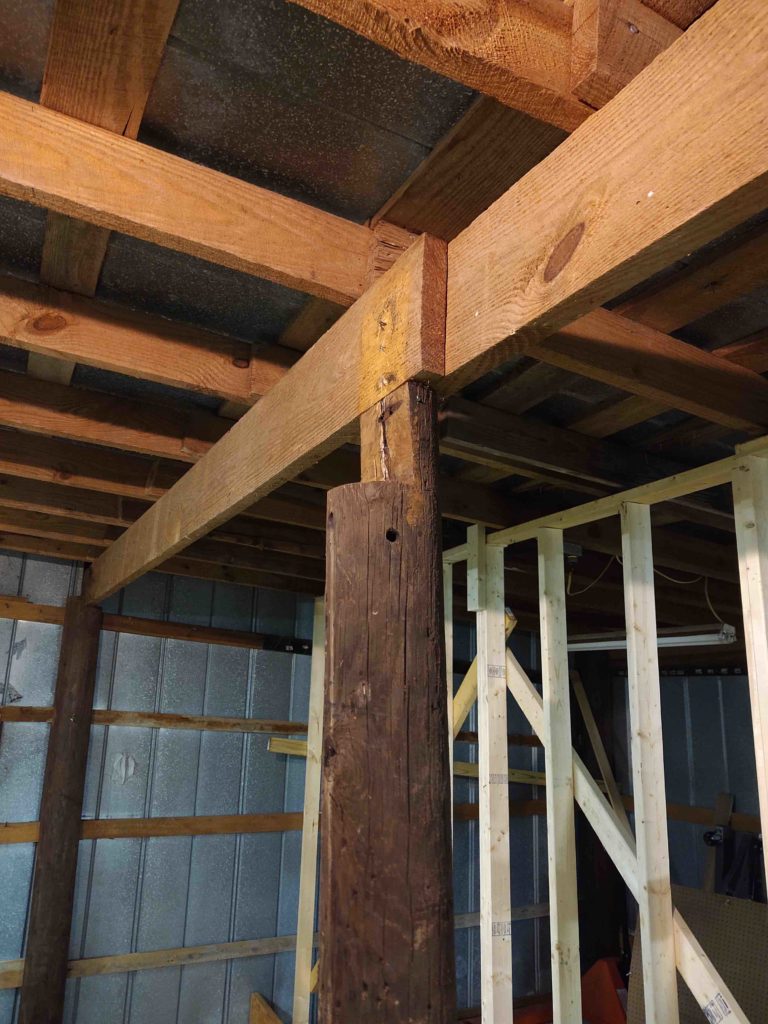
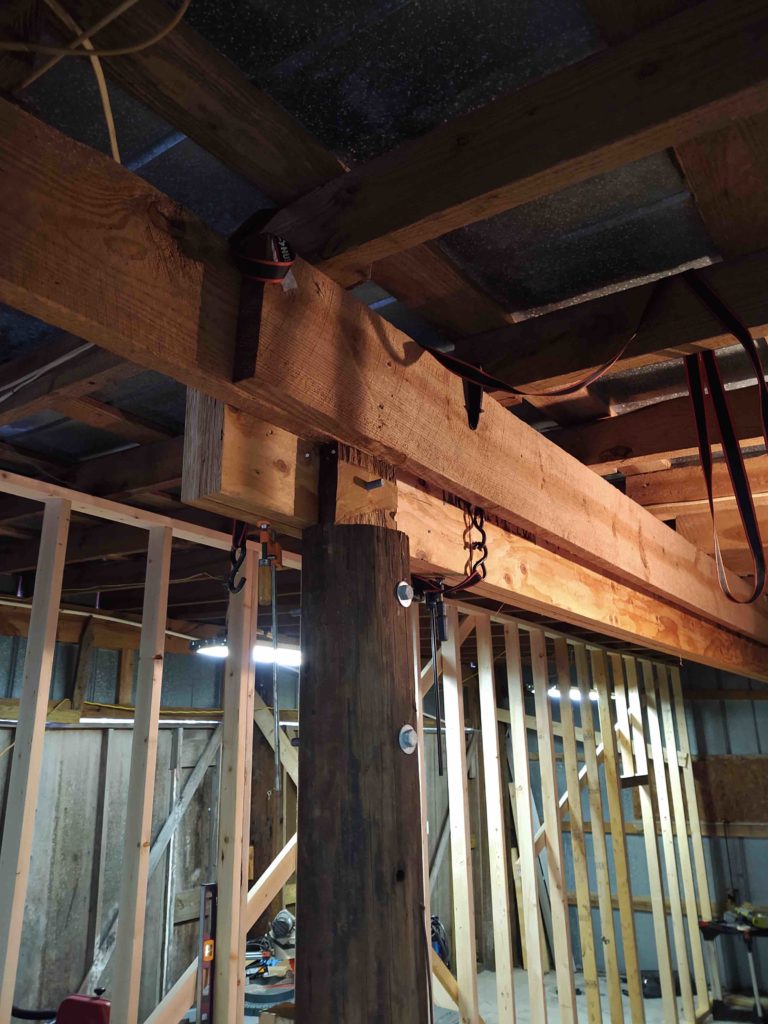
As you can see in the pics below of the 3 posts (L, Middle, R) I removed all the existing nails and hardware after cutting the wood post tops to accept the new 16″ beams.
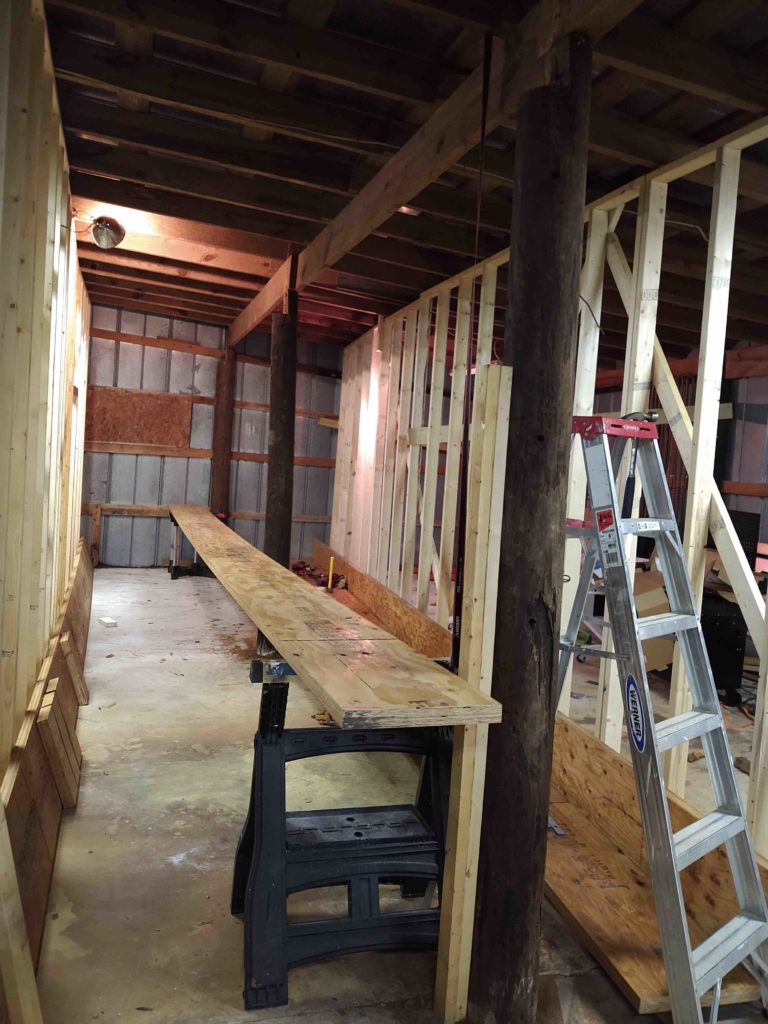
Here we have all 3 posts cut and prepped for accepting front side beam #1, with the beam in the starting position below.
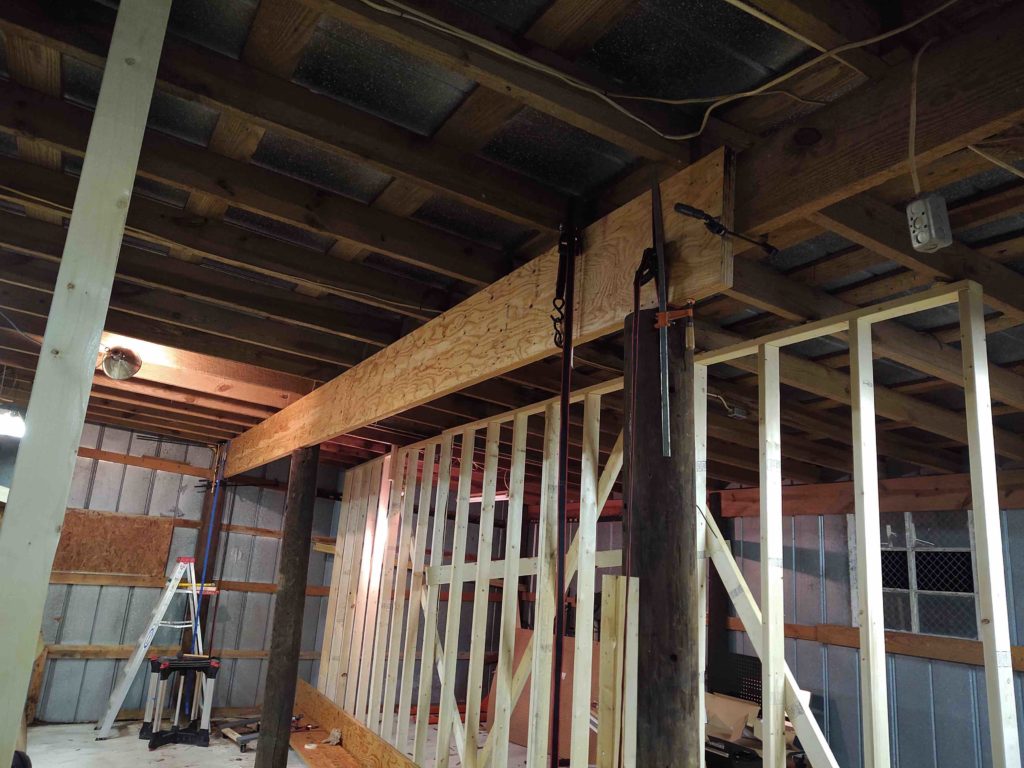
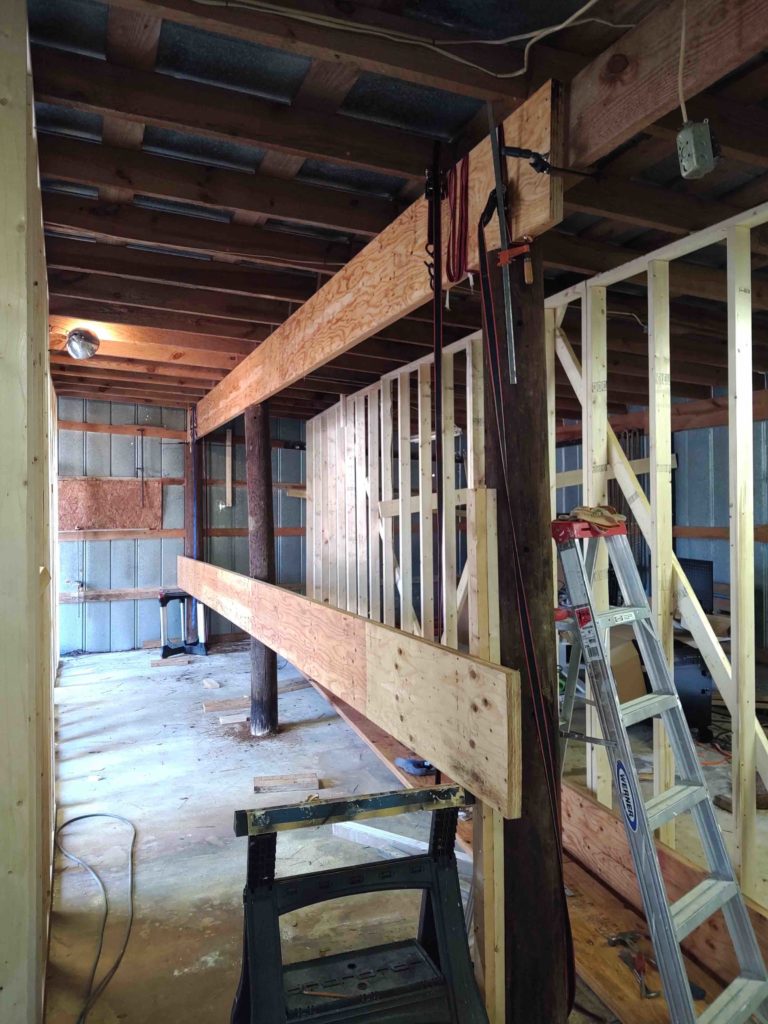
And here we have front side beam #1 up and in place atop the 3 beams.
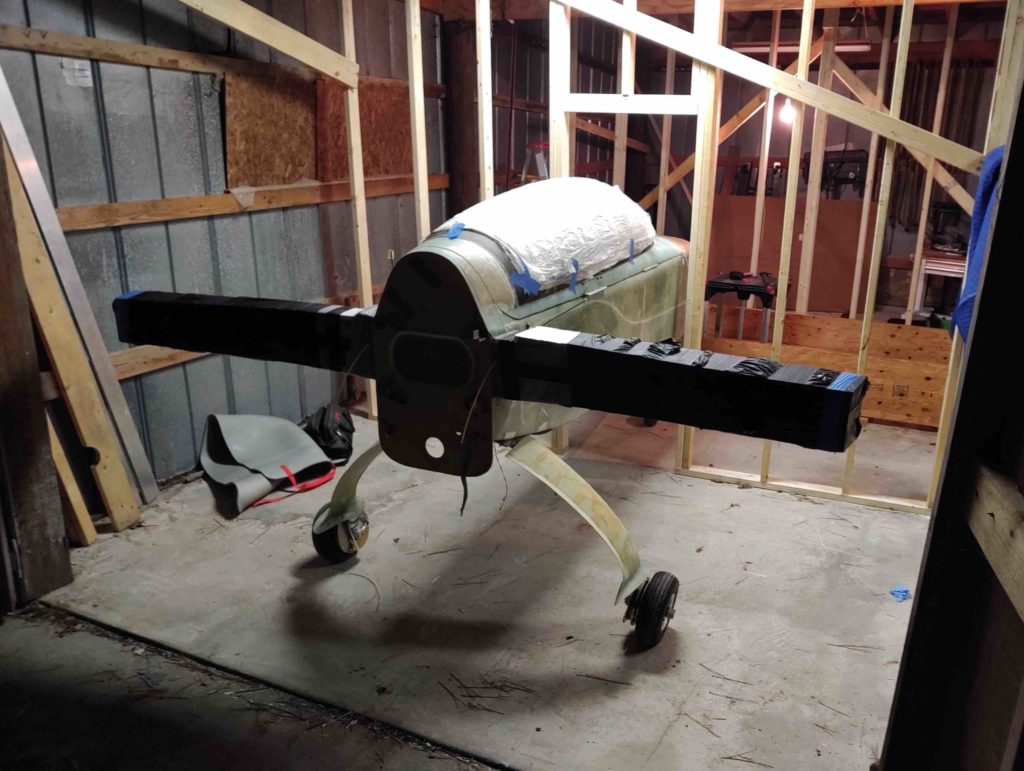
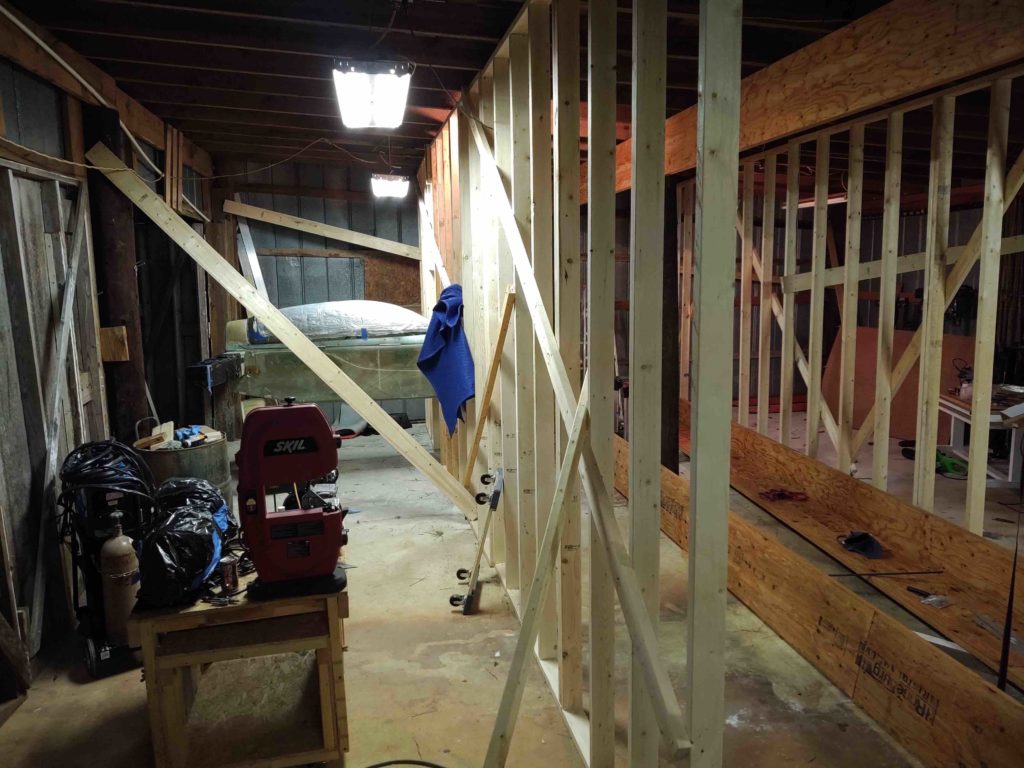
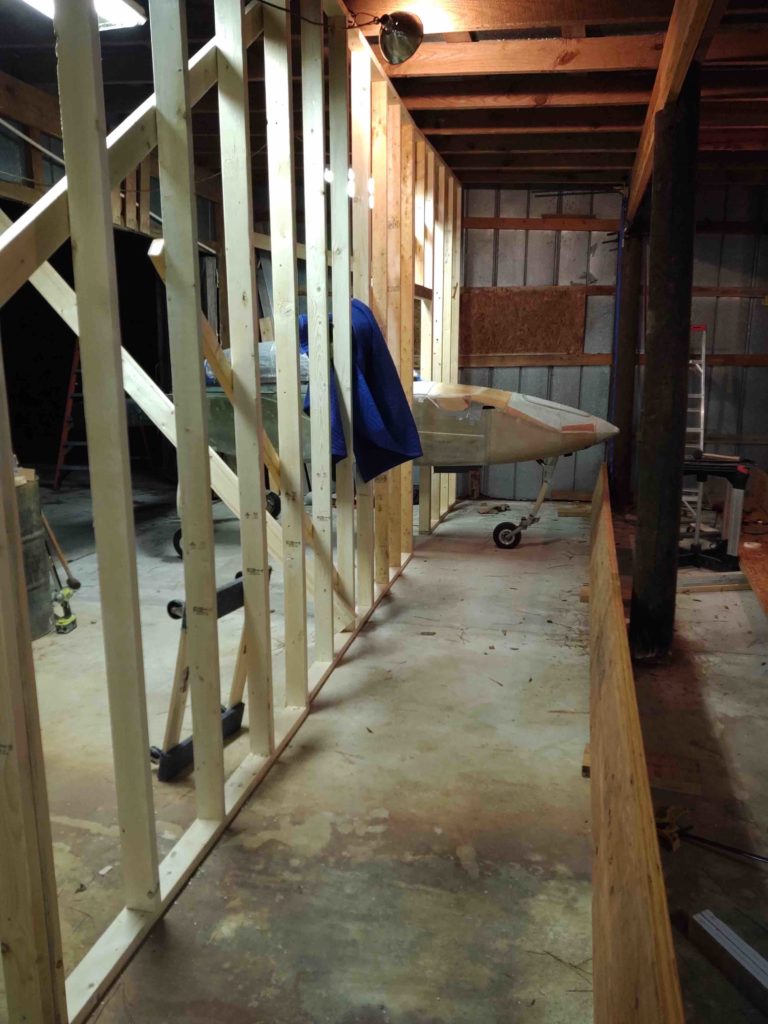
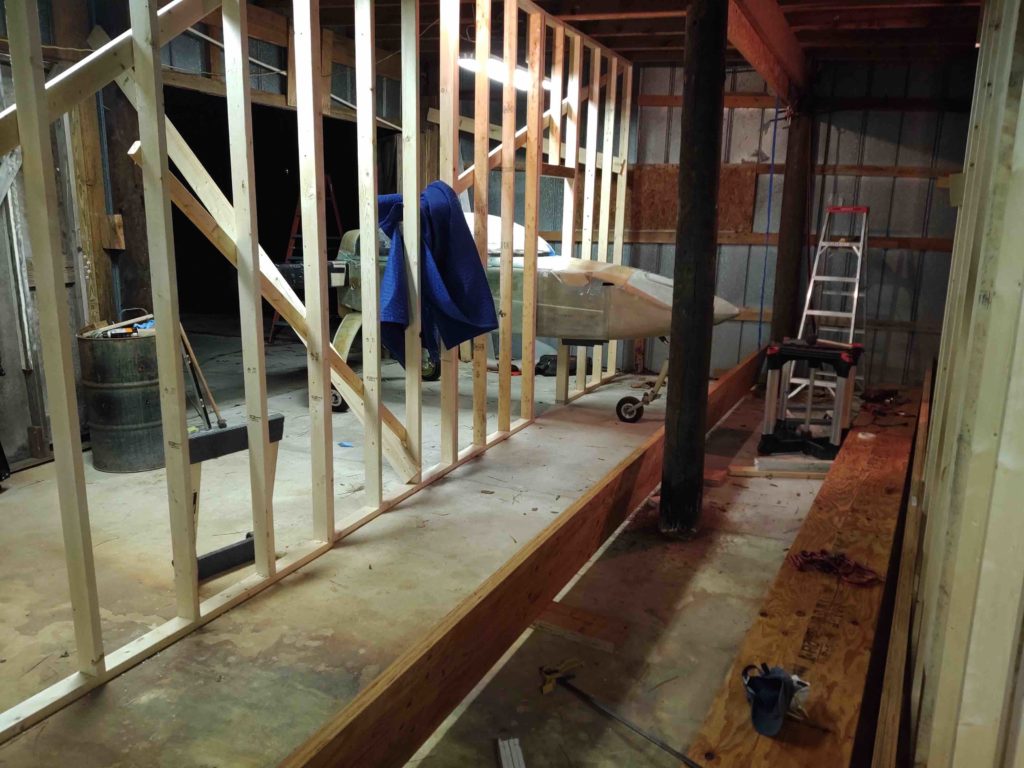
Although in pics it may not seem like much work was done, but today was actually quite a long day. I then buttoned everything up for the night . . . including putting the fuselage back in place with it’s nose situated in its mini “garage” slot:
DAY 4 started off with prepping, then installing front side beam #2.
I then spent a considerable amount of time determining bolt spacing… then drilling the beams, posts and adjoining straps for the 5/8″ beam securing lag bolts.
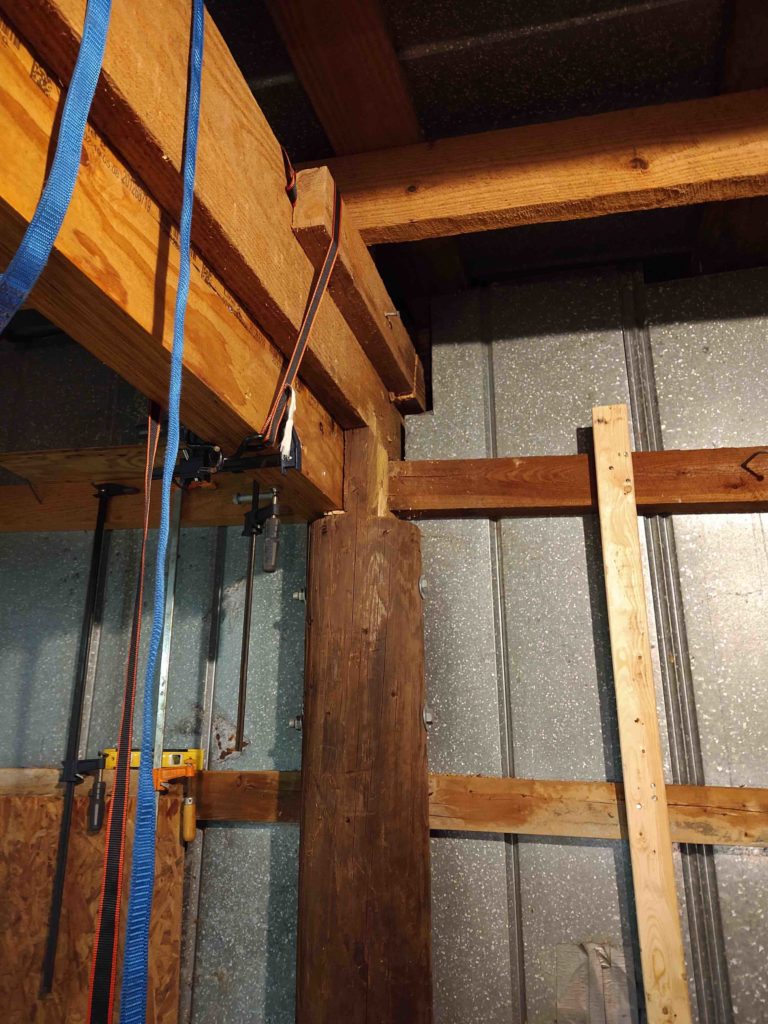
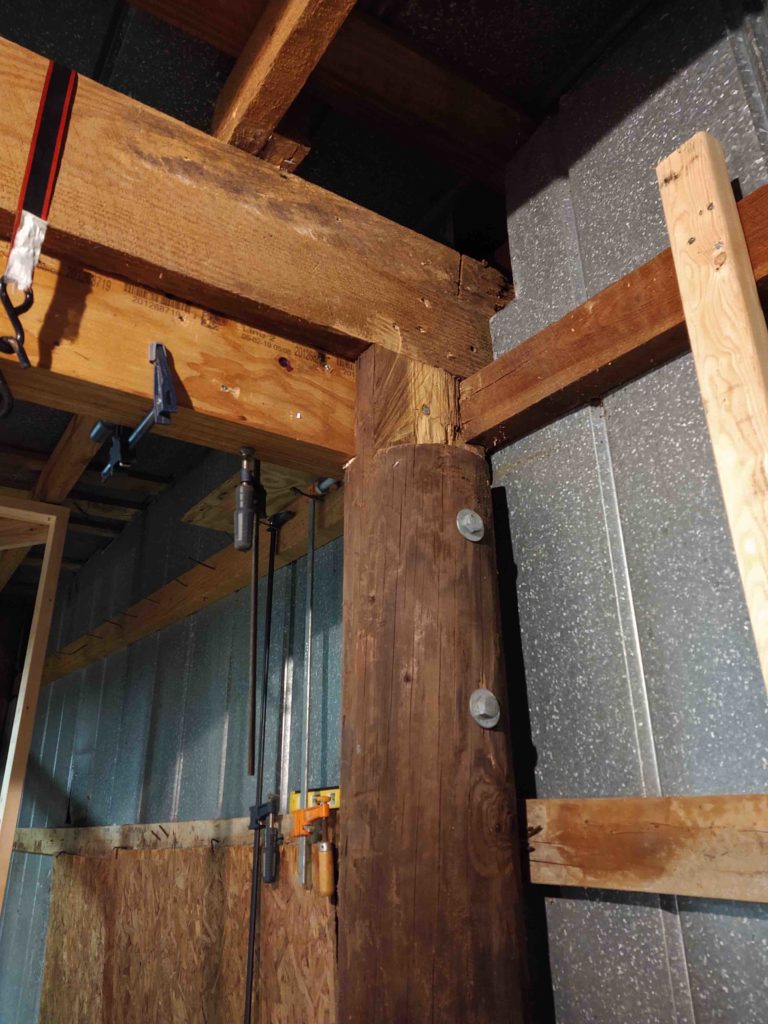
I then notched the tops of the aft posts in prep for installing the two new aft large beams. Here’s the back side of RH beam #3.
And here’s the aft side of LH beam #1. Note that in the first pic there is an added roughly 2×4 sized piece attached to the original beam. I removed this piece of wood as I worked the prep of the aft LH side post area.
I not only removed the last of the original cross beams that I needed to install the aft side large beams, but note in the pic below that I have removed the middle post #2… which was the overarching goal in this entire endeavor!
This weekend will be light workdays due to an out of town visiting friend and some social commitments, but I do plan on hitting it hot ‘n heavy again Monday.

