
DAY 5: As I mentioned previously, I wasn’t going to get much done this weekend on getting the big beams installed in the workshop, but in-between my running about I did want to get some smaller but significant tasks knocked off the list.
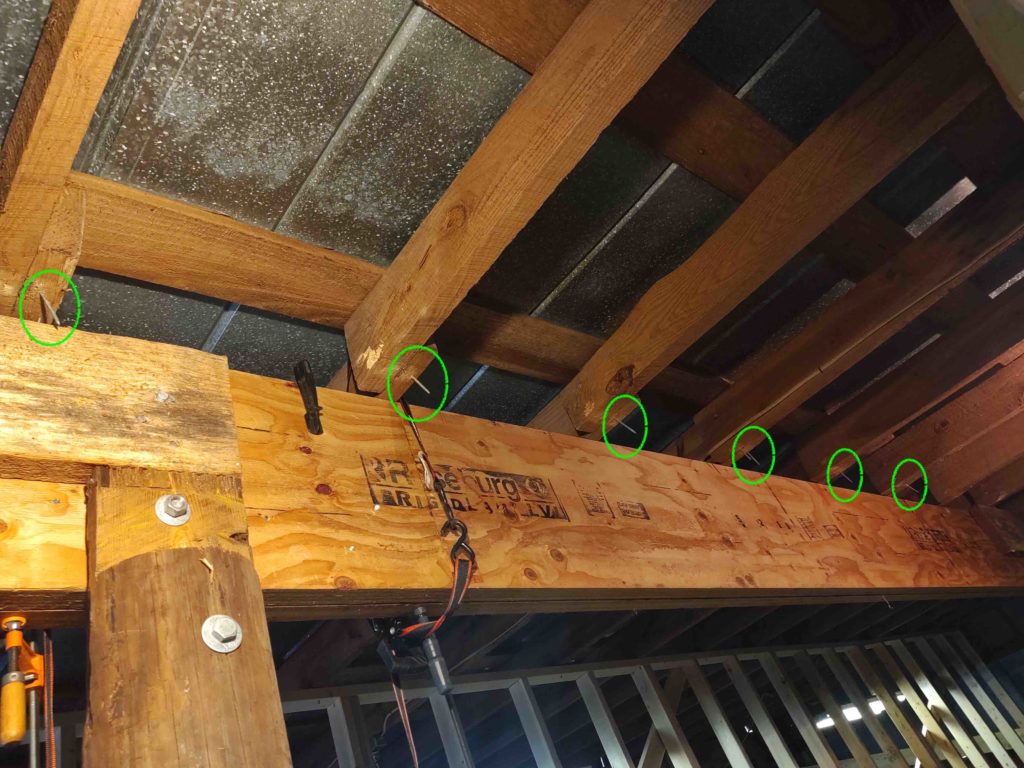
I had a real heck of a time pulling the final existing beam down from the ceiling. There were large toe-nails on the top of the joists each side and I had to get up there and manually remove all those… quite a chore to say the least.
However, once the toe-nails on each side were removed the beam still would not come down easily. Something was still holding it up there tightly in place. Well, the something were toe-nails on the hidden side of the front joists (right joists in pic below) that were then covered up during the build by the aft-side joists (left in pic below). So after using my largest crowbar, the most brute strength I could muster and the requisite swear words, I finally brought the beam down… not without drama of course.
I had looped tie-down straps to catch the beam, which they did. But then subsequent maneuvering to get the beam down saw it slip out of one of the straps as it plummeted quite ungracefully to the ground below. Unfortunately, I had pre-deployed a sawhorse to set it on and it ended up crushing one of my nice adjustable (albeit plastic) sawhorses that I’ve had since the very early 2000s. Bummer.
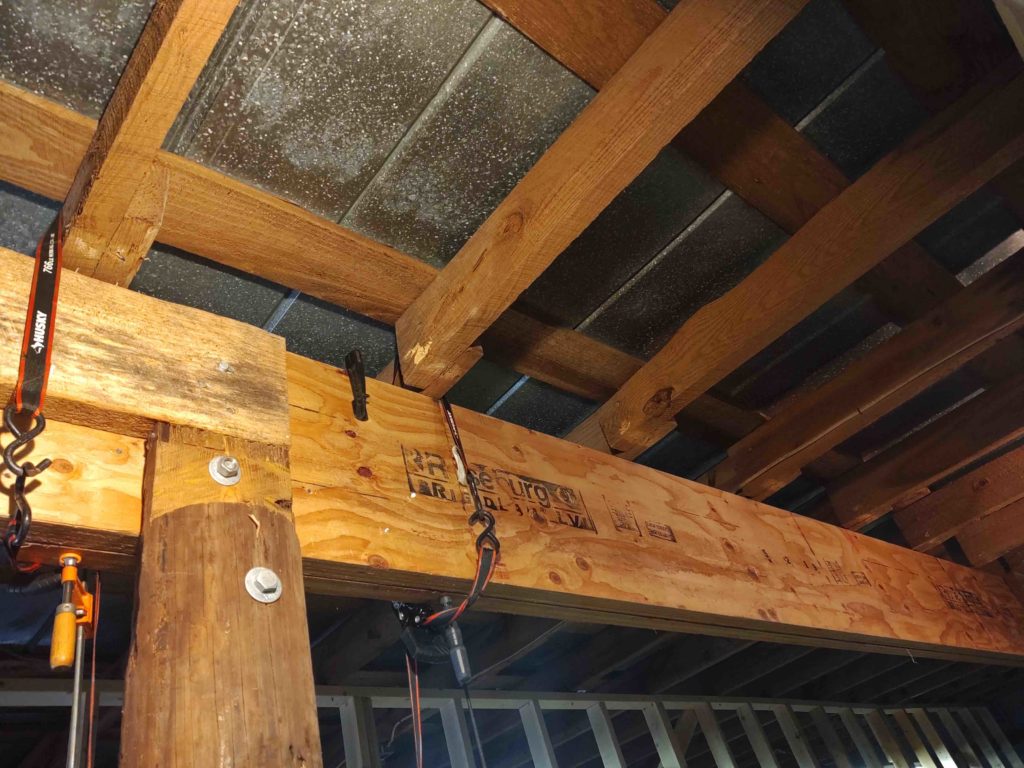
Then came the remaining nails… Seems like every step of this middle pole removal / new big beam project has a curve ball thrown in!
I grabbed my trusty cutoff tool . . .
. . . And a good amount of sparks later had all the previously hidden toe nails lopped off.
This was the end of my solo 30-min Day 5 task.
Nails removed? Check!
Day 6 was a bit more entailed, since it involved some measuring and determining where my internal, intra-beam support blocks would go… right in-between the 2 sets of large beams. At these points I’ll drill and install two large lag bolts to secure the pairs of beams together for a nice strong cross support.
During this process I also clamped and nailed the front two beams to each other in essence creating one large beam. I then attached the internal cross-support blocks for the upcoming large lag bolts, on 3 ft centers.
Again, this was only about a 45 min effort in-between my weekend social duties, but it was a good step to get out of the way.
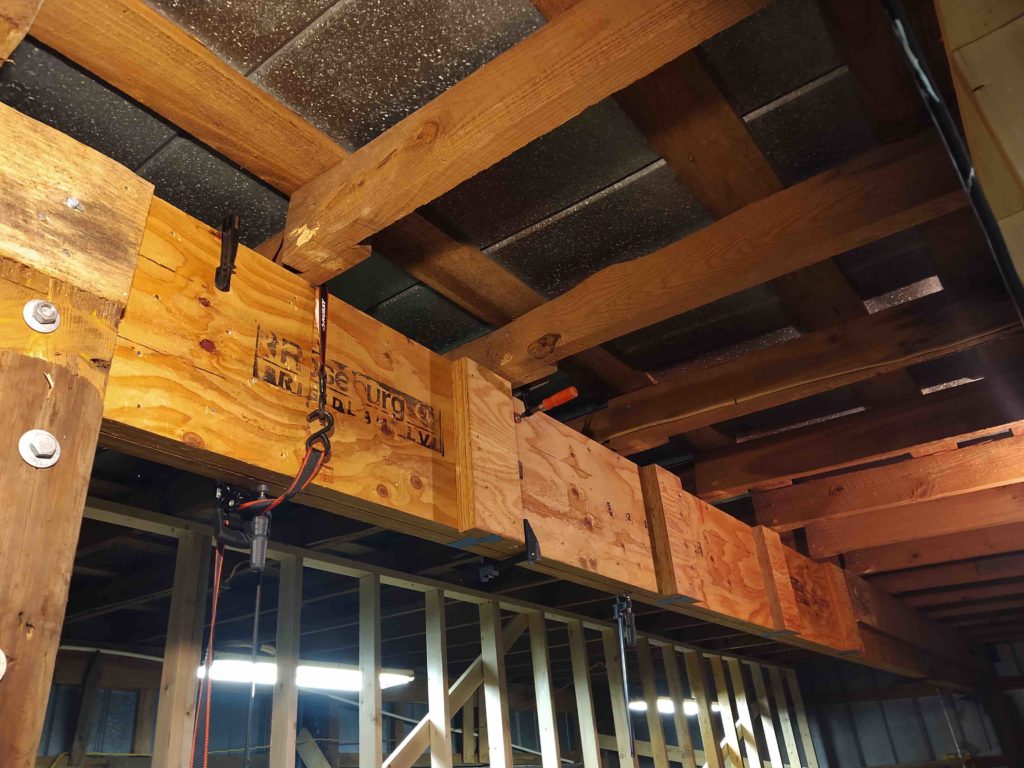
My final task before installing the aft set of large beams is to cut smaller versions of these internal blocks to place under the open section of the pre-existing beam (far right in the pic above, protrudes through the wall and supports outside eve joist). These blocks will also continue on 3 ft centers.
Then the aft side big beams can go up. I will have to do some drilling on the middle areas of the metal straps for the post lag bolts to go through, but that will be the final major task of getting these big beams in place to allow the temp walls to be dismantled and for me to enjoy my shop sans middle post!