
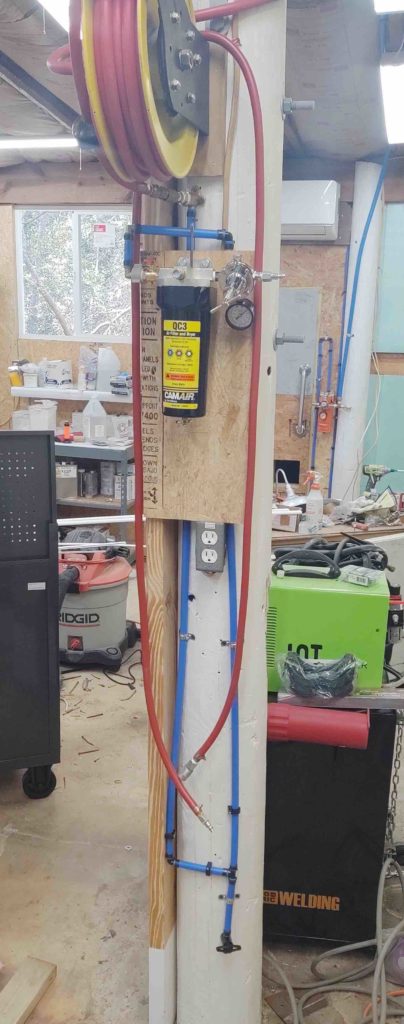
First off, I knocked out the final piece of the workshop compressed air system by installing a CamAir QC3 filter/dehydrator canister. This setup is connected to the shop’s compressed air system via the reel hose as it is shown connected here, and will only be used when I have a no-kidding need for really dry air as when shooting paint . . . or for any other future tools that may need super clean/dry air.
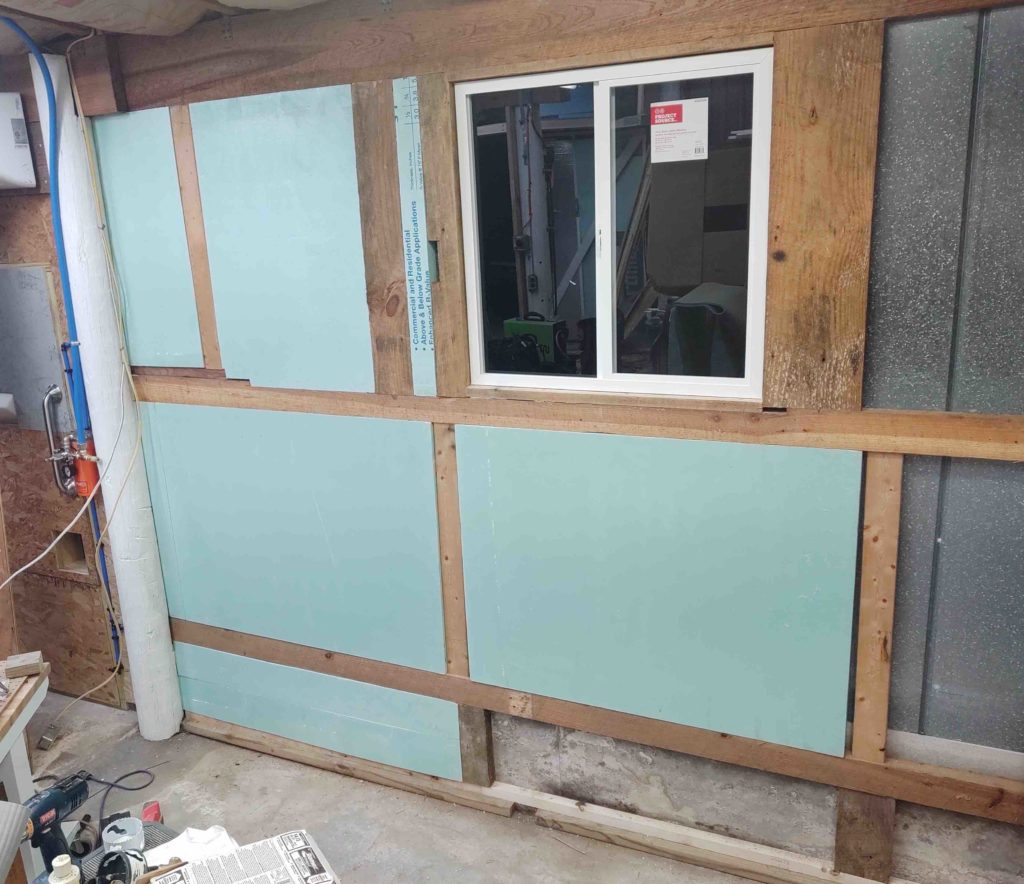
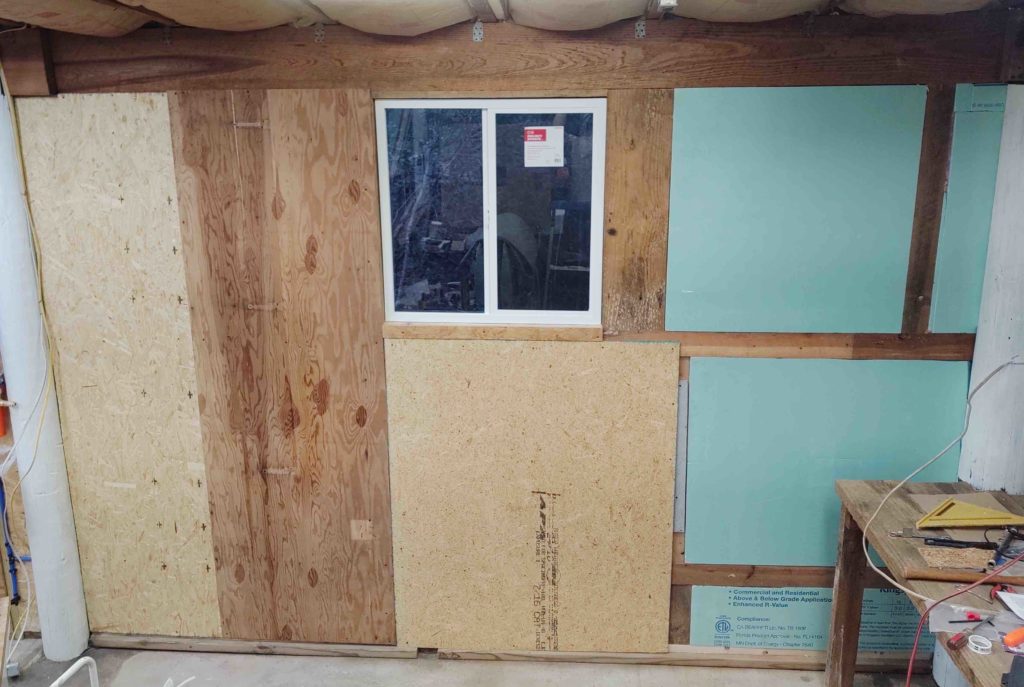
Over the last couple of days I finished framing out the back right wall to allow for cabinet installations on each side of the window. I then set about cutting the blue-green 2″ foam insulation and installing it.
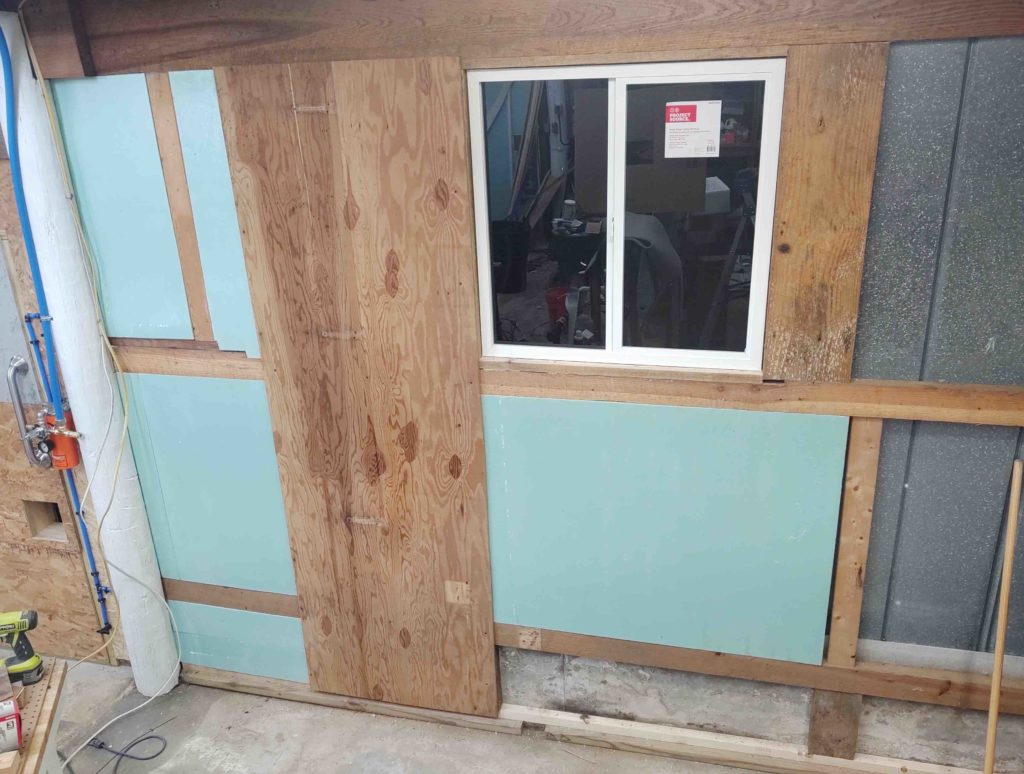
As the first piece of top wall panel I reused the large 1/2″ piece of plywood that was previously attached horizontally to this wall, and then added more OSB panels around it.
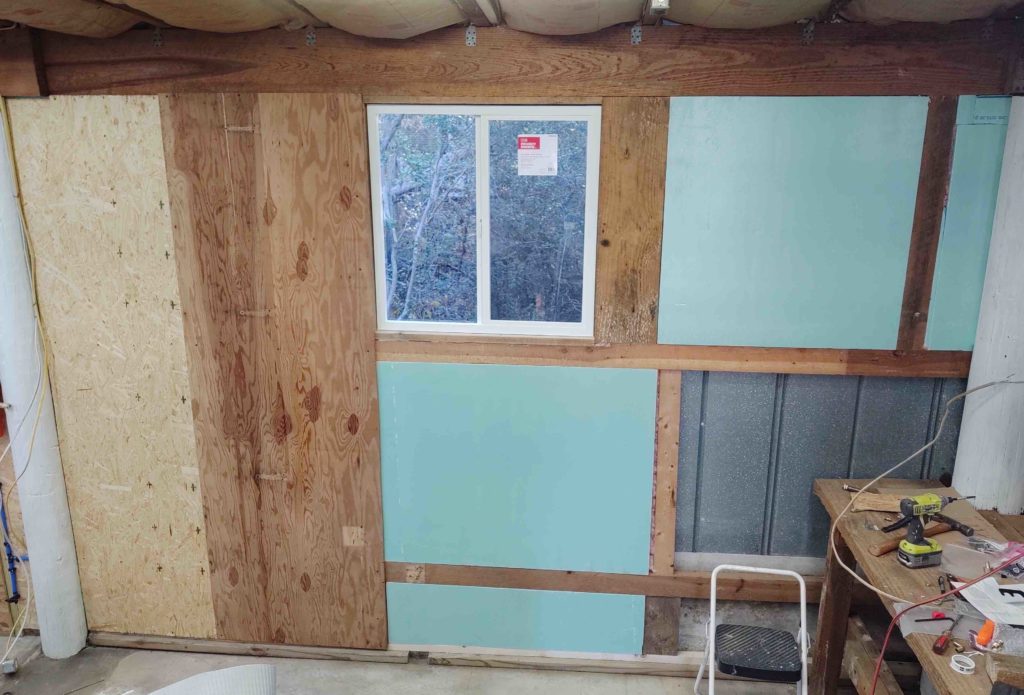
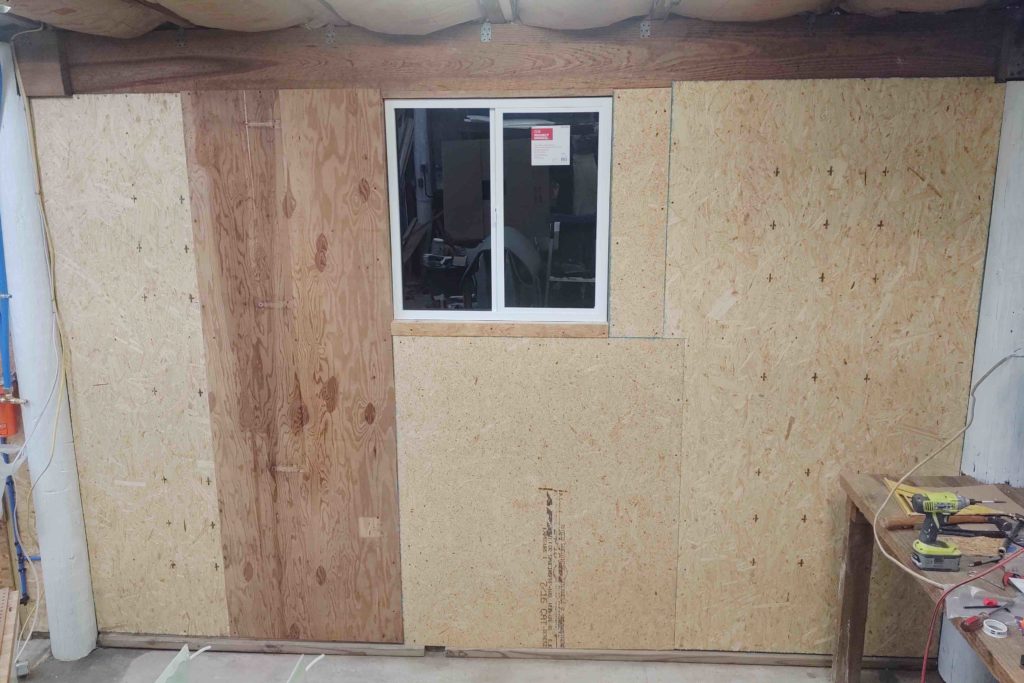
Here’s the finished product…. as in insulated and paneled.
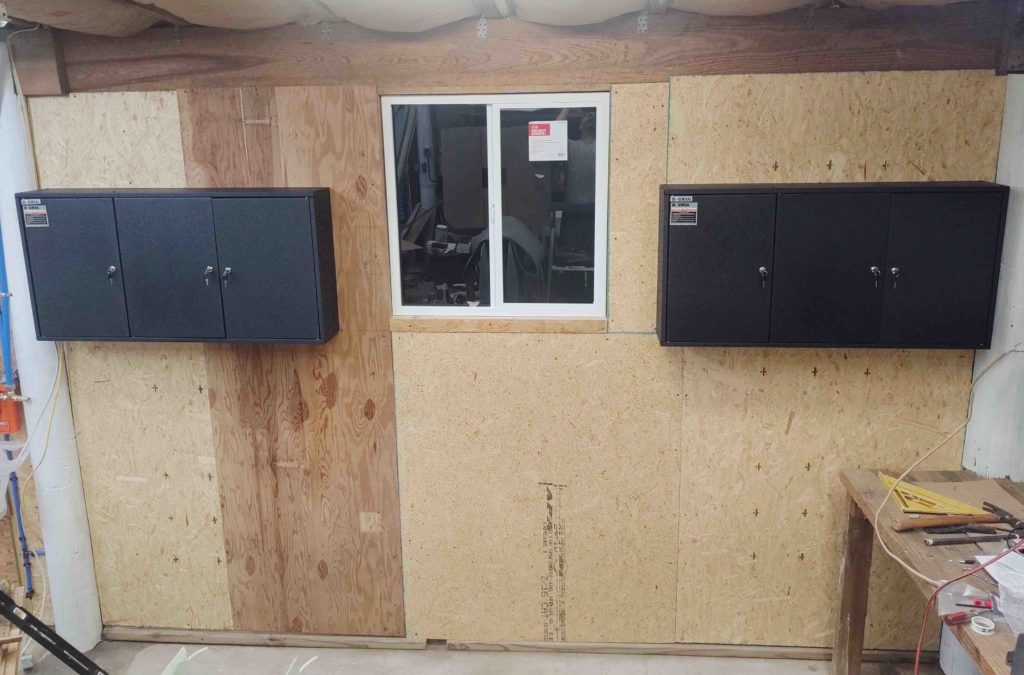
I had already assembled one of the cabinets last week. Tonight I installed it on the wall to the right of the window. I then assembled and installed the cabinet to the left of the window. As per this blog post’s title, this area –and thus the cabinets– will be for the milling machine, which will pretty much be centered on the window.
Unlike the workshop walls I previously finished, this section of wall will get an overlay of a thin white vinyl sheeting (often used in restaurant kitchens) to protect the wood panels from cutting fluid overspray that will occur during milling operations.