
I’m going to start off this post with a video overview of the finished plasma cutting table. Please watch this because I also discuss the status of the workshop and my build.
Over the last few days I’ve finalized the assembly of my plasma cutting table, to include a number of tasks to both break-in and dial in the table.
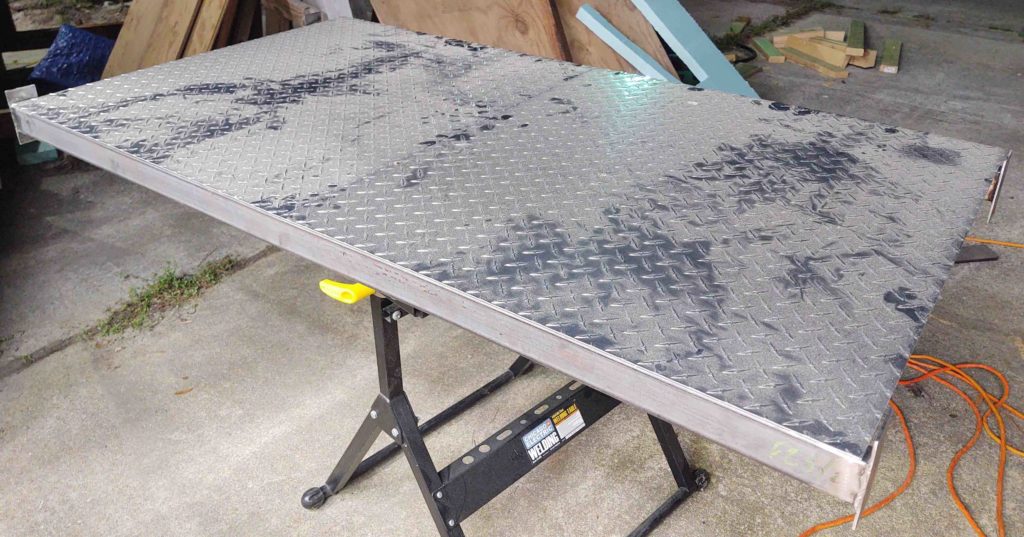
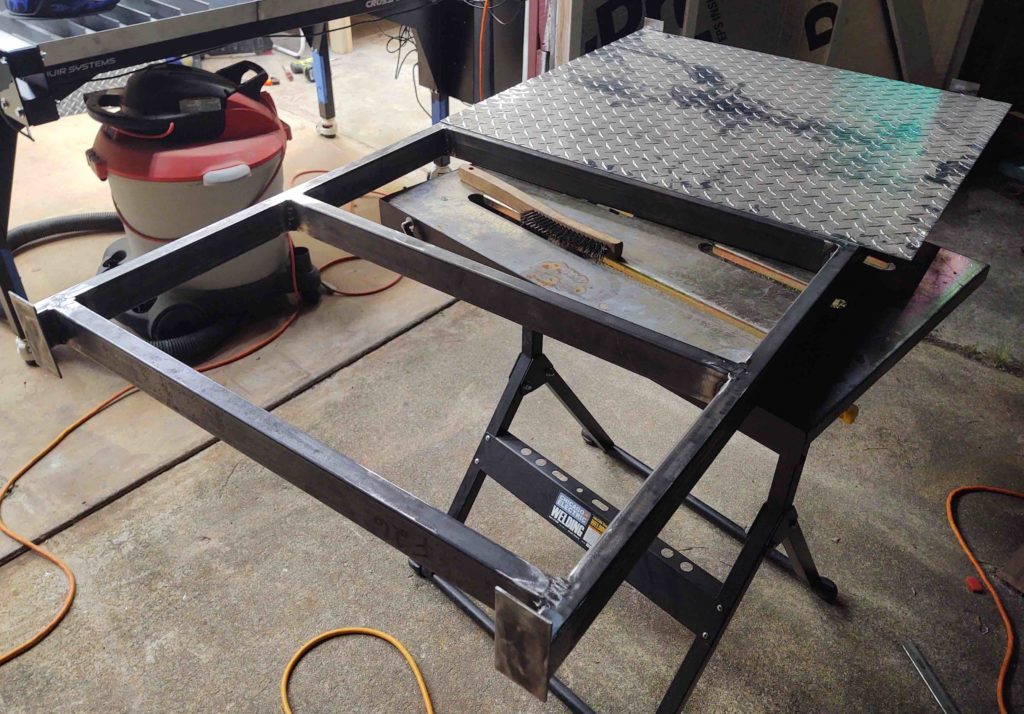
After the initial assembly of the official table, I got to work on the construction of the bottom shelf. With the metal tubing I ordered [which now had a fair amount of surface rust from the copious amounts of rain we’ve been getting] I began cleaning the weld joints and welding the rectangular tubes together.
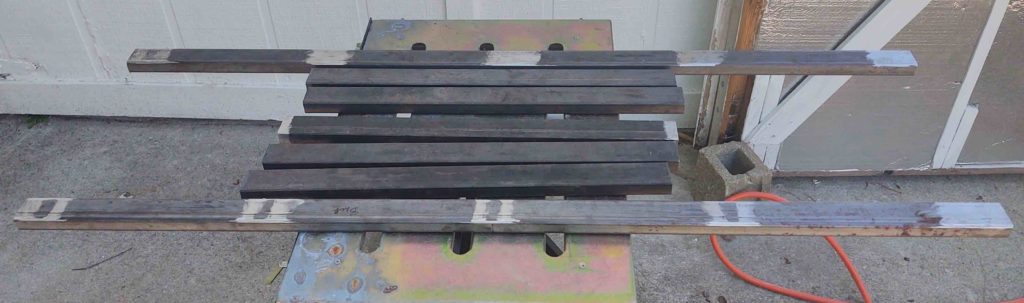
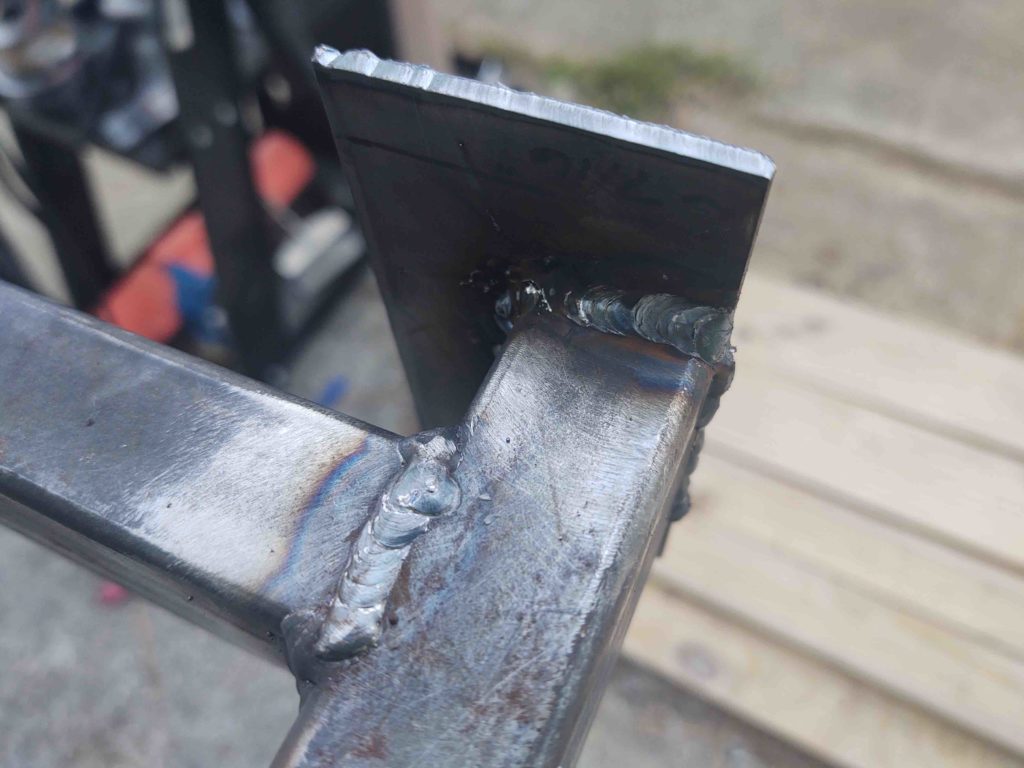
I have to say I’m tickled pink to have used the very last remains of the Ar/CO2 gas mixture that was left in the MIG welding tank from –again– over 10 years ago! In addition, I used the same exact wire spool and gun CONSUMABLES from 10 years ago as well.
That was the last time I MIG welded, so I’m quite pleased with the outcome. My welds ranged from unspeakable on a few to ok on many and not that bad on a few more. Overall? Definitely strong enough to do the task, and too ugly to win any awards that someone would intentionally want to win!
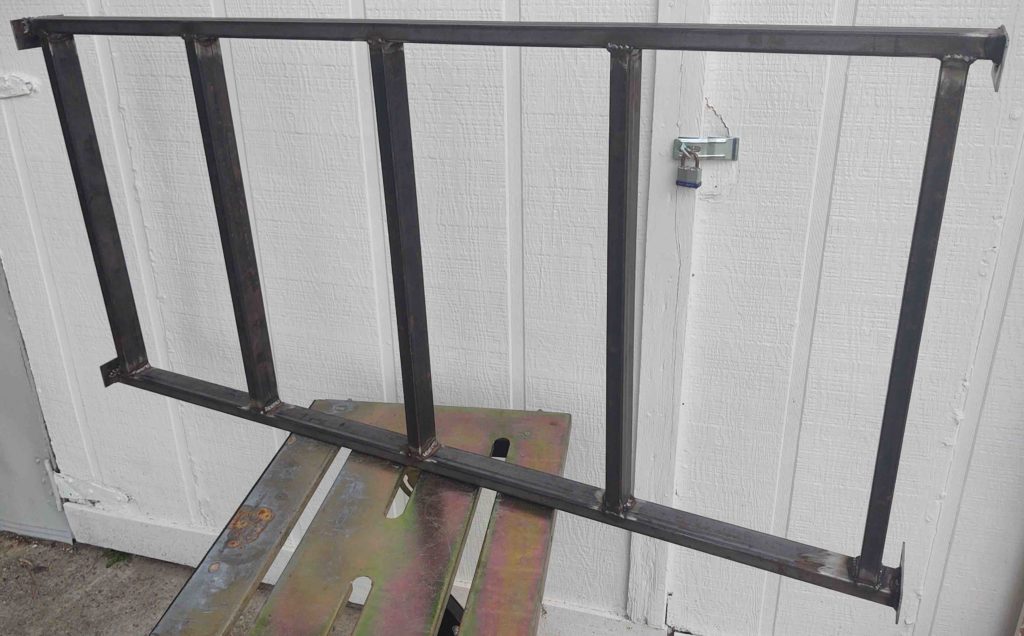
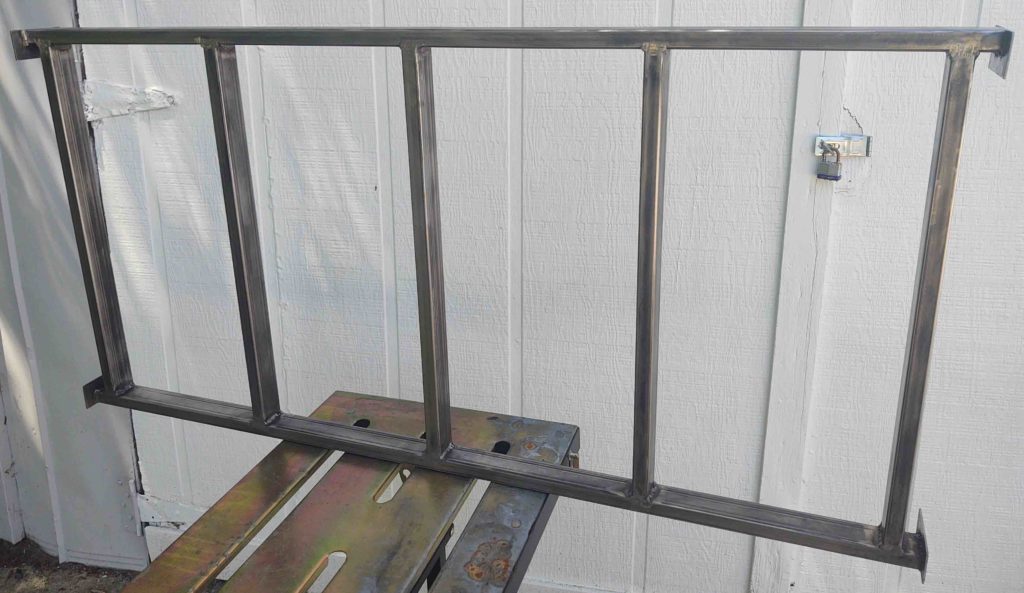
Here we have the completed plasma cutting table bottom shelf frame, all welded up and ready for some serious surface rust removal.
And another shot of the plasma cutting table bottom shelf welded frame:
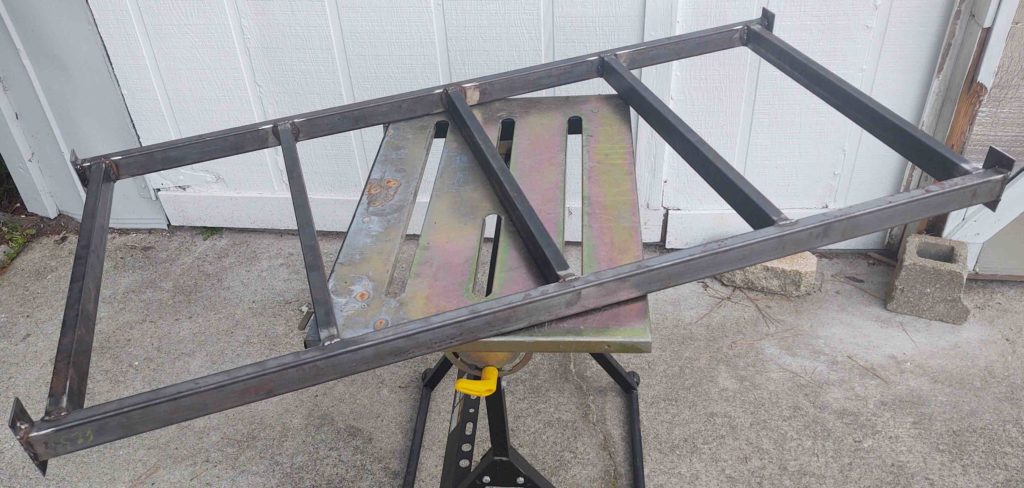
I then spent a good hour + grinding down all the ugly protruding top and bottom surface welds. My primary concern were the top welds so that the shelf panels could lie flat, and specifically the top welds at the corner tabs that might also prevent the shelf panels from laying nice and flat.
The good news is that the self panels fit really well, and here we have one removed to expose the copious amounts of grinding to make this shelf work… ha!
The next day I started off going ugly early by undertaking the grueling task of removing the surface rust off the entire shelf frame…. this took nearly 1-1/2 hours.
I then cleaned and primed the shelf frame.
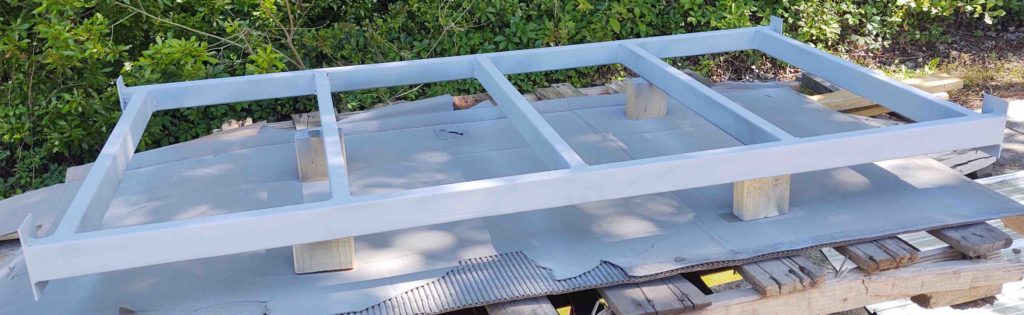
I later hit the shelf frame with a few coats of black paint and let it dry overnight before mounting it to the underside of the plasma cutting table.
I used 2 holes total on each shelf frame corner tab, an upper and a lower, as guides to drill the holes in the table legs. I then widened the frame holes out to 1/4″ and the leg holes out to 3/8″.
I then used RivNuts in the legs to “secure” the table frame. I put secure in quotations because the bottom shelf actually “floats” underneath the plasma cutting table as to not put any stress on the table legs, and thus risk misalignment of the upper part of the table.
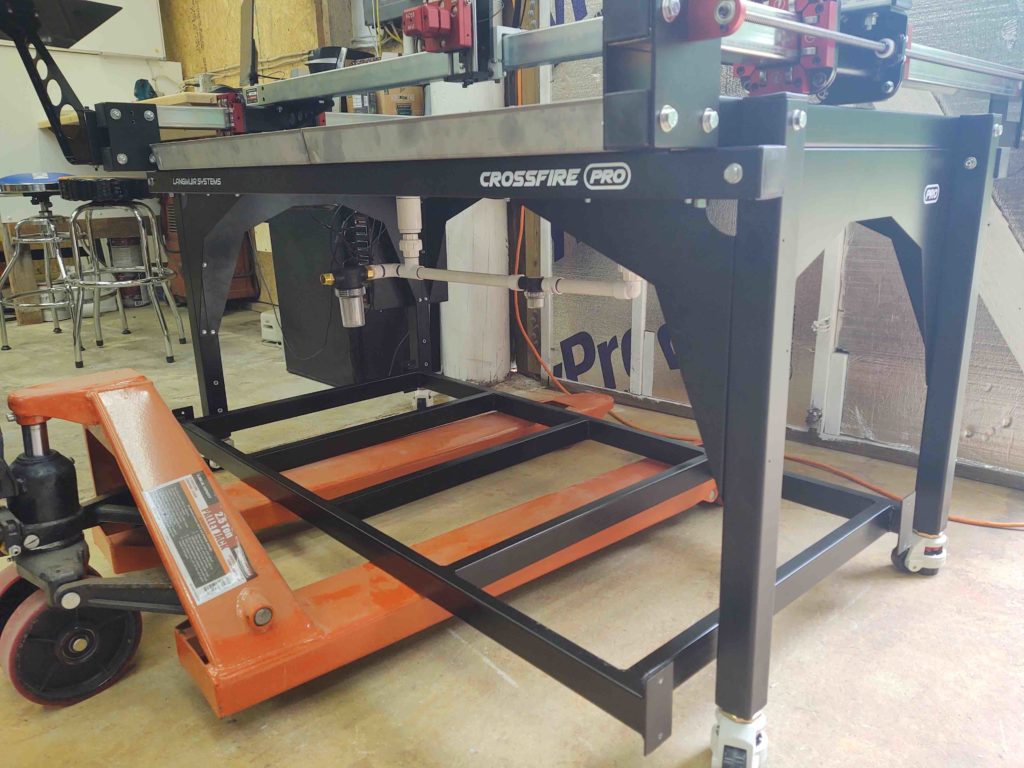
Here we have the lower shelf welded, painted and installed!
I then set the lower shelf panels in place and drilled and screwed them in place along the back edge. I eventually want to remove the shelf panels and bend the front 1″ down 90º to create a nice radiused front corner edge.

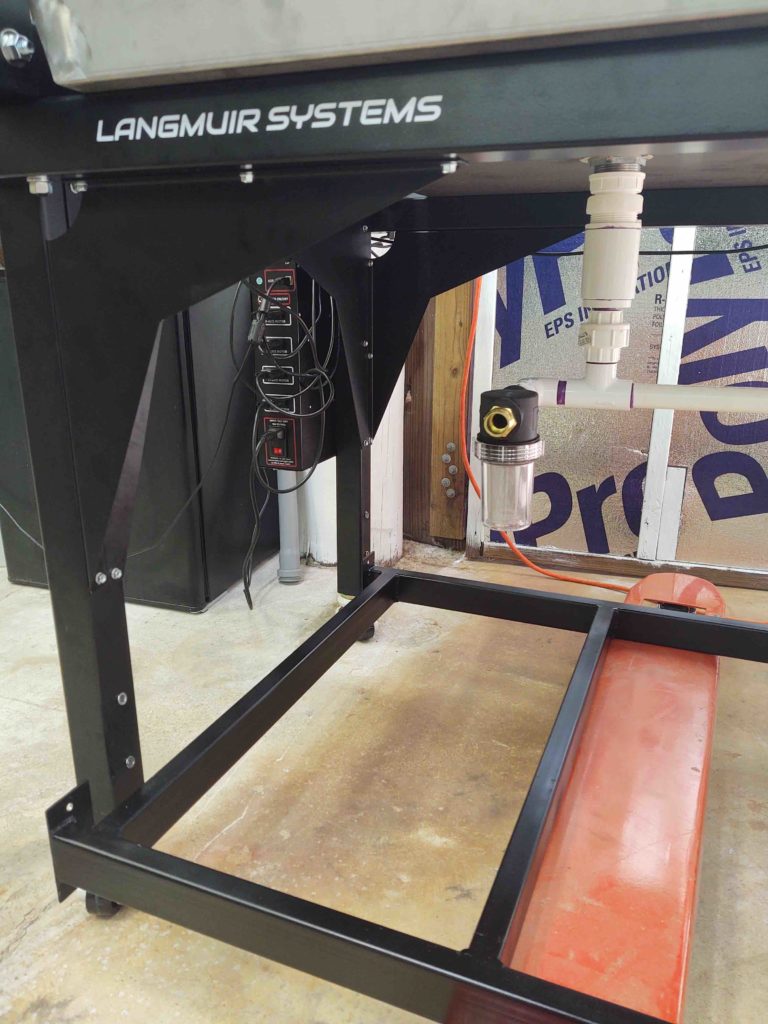
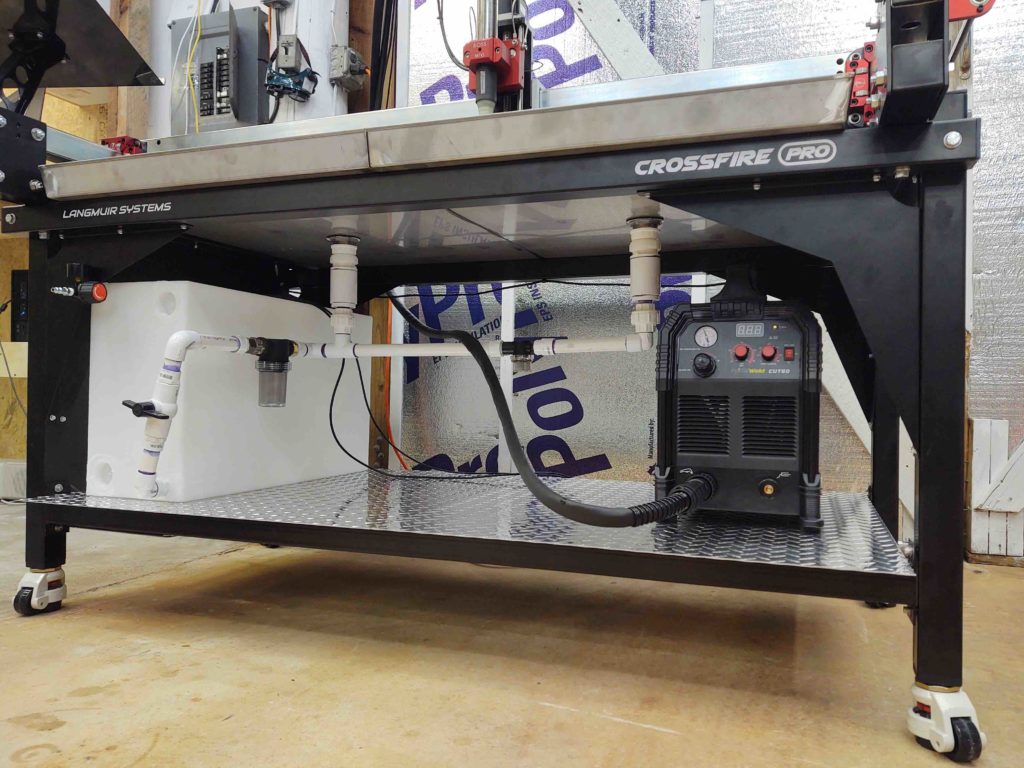
I then set both the plastic water reservoir (tank) in place, finished the underside water table drain/fill plumbing, and ensured the plasma cutter placement was good for the machine torch’s cable length (it was).
I also installed the CNC plug connector in the plasma cutter’s backside CPC port. I then ran the torch fire cable and the Torch Height Control (THC) cable.
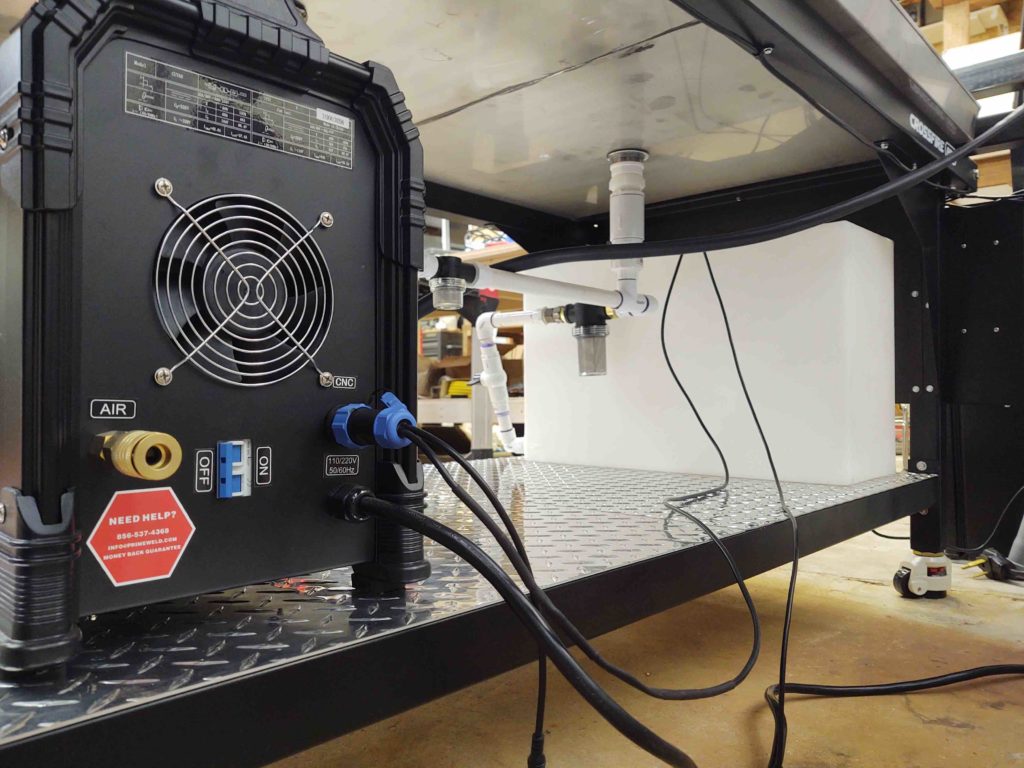
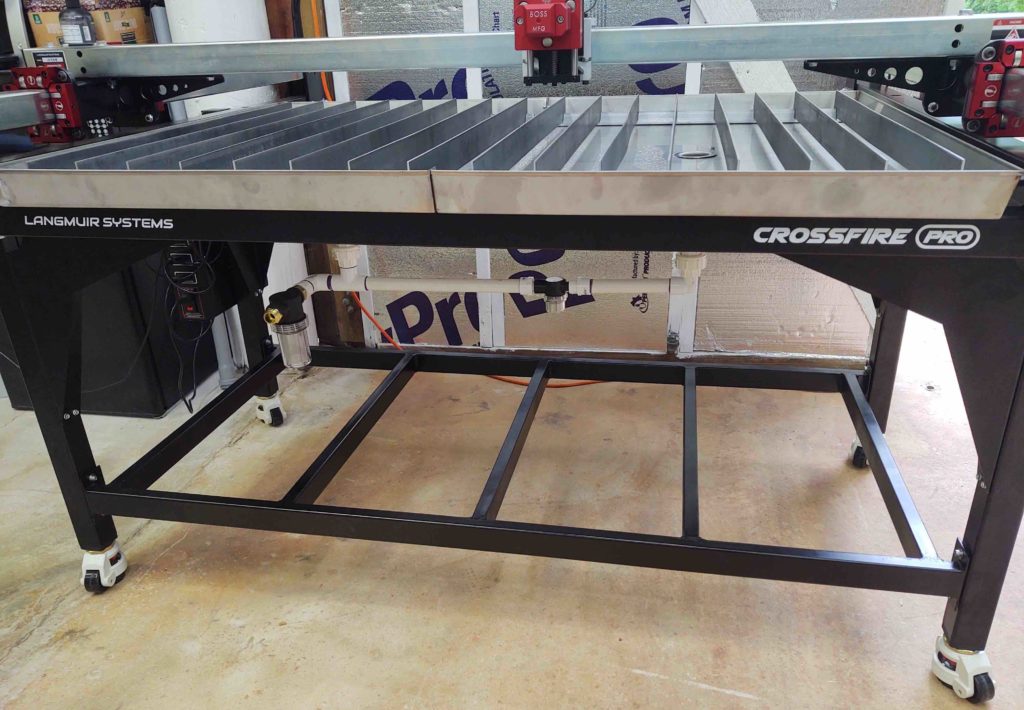
And Voila! The Langmuir Systems Crossfire Pro plasma cutting table is ready for break-in, check-out and dialing-in to get this beast up, running and cutting parts!

With the plasm cutting table complete, I will leave you with yet another video I shot about a month ago when I tested out the PrimeWeld Cut 60 plasma cutter: