
Although I’ve put a fair amount of time and effort over the last 6 weeks into this project, I’ve kept it a fairly close-hold secret since I didn’t want a lot of hullabaloo over it until it was pretty much in the bag.
I actually pre-ordered this Langmuir Systems Crossfire Pro plasma cutting table back on November 1st of 2019, at a much reduced cost for ordering early and then be willing to wait 6 months until delivery. Although at the time I certainly wasn’t aware of just how much work was in store for me on the shop, I knew it would be significant so I didn’t mind the wait… and needed time to prep for the table’s arrival anyway.
With a quoted April delivery date, activity started picking up at the end of March. I started getting notifications of impending deliveries and also received some plasma cutting table accessories: the laptop stand and the Torch Height Control (THC) system.
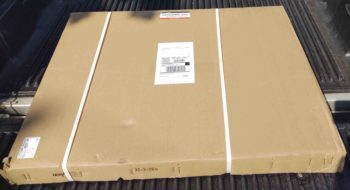
About a week into April I received the first of 3 big boxes that would make up the actual plasma cutting table, and they actually arrived in the exact reverse order of box number.
Box 3 contained the two stainless steel water table halves and the table frame corner gussets and end aprons.
As soon as I started receiving notifications that the plasma cutting table order would in fact be delivered in April, I downloaded the assembly manual and started monitoring the forum to ascertain any quick build tips and also get a heads up for anything I might should have on hand prior to parts arriving.
Not surprisingly, the Langmuir Systems forum was a treasure trove of information, with many members posting truly great ideas on how to mod these tables to really improve their functionality.
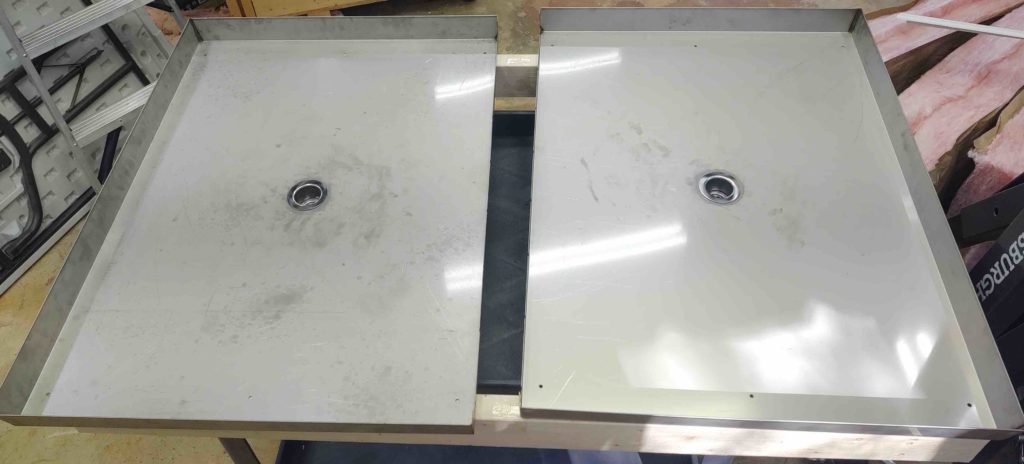
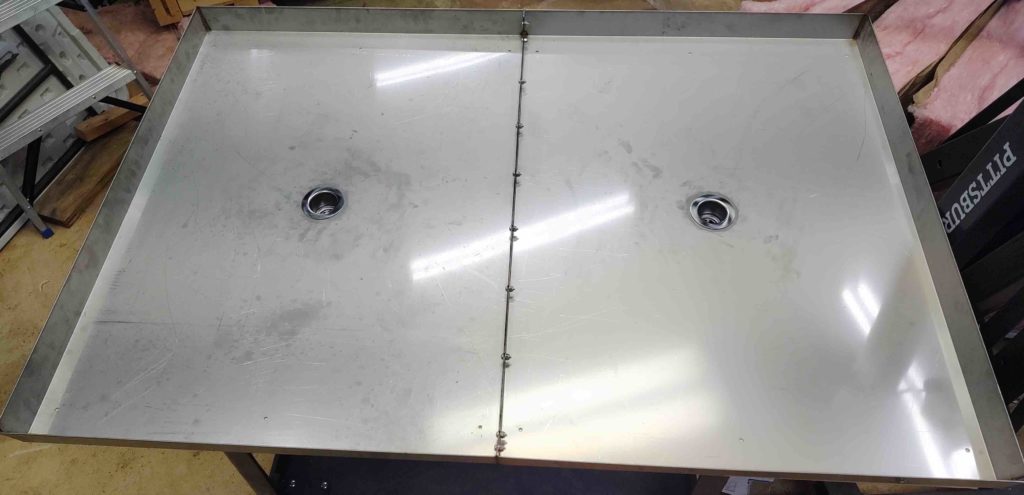
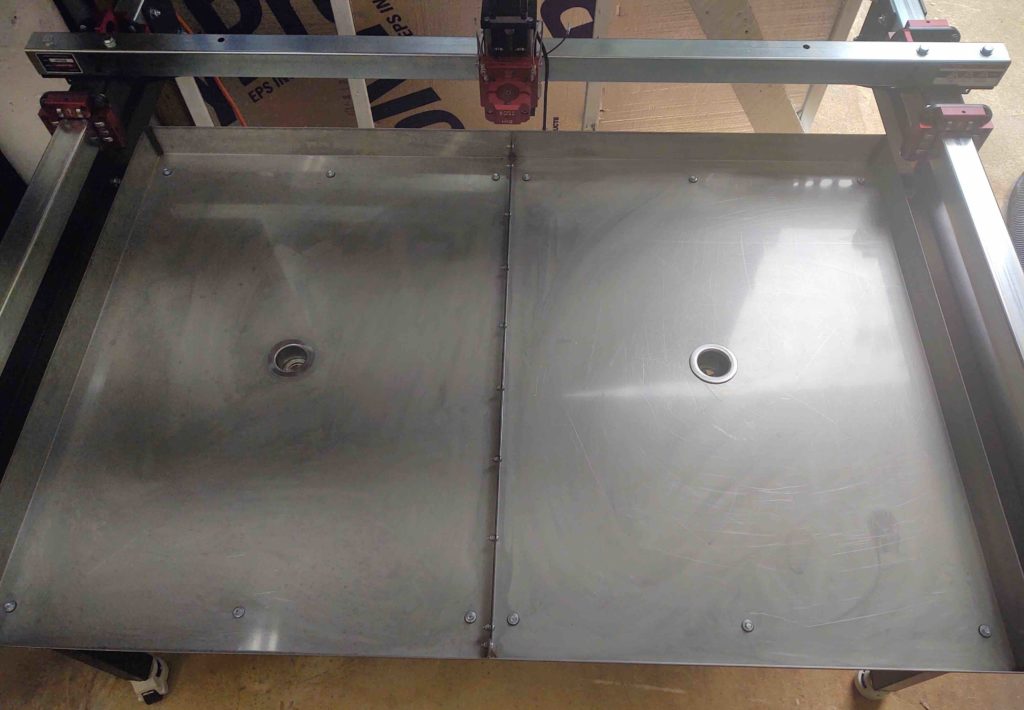
One such mod was to chuck the stock water table drains (there are 2 drains since there are two table halves with a raised lip in the middle where they are bolted together) and use much larger drains. Moreover, after the bigger drains are installed then PVC plumbing could then be used to drain the water solution from the water table to be stored in a large plastic tank… and then pumped from the tank back up into the table when it was needed for use.
I decided to do what I could as components arrived, so within days of the water table being delivered I drilled the table drains larger to accommodate some bar sink drains I had picked up at Lowe’s.
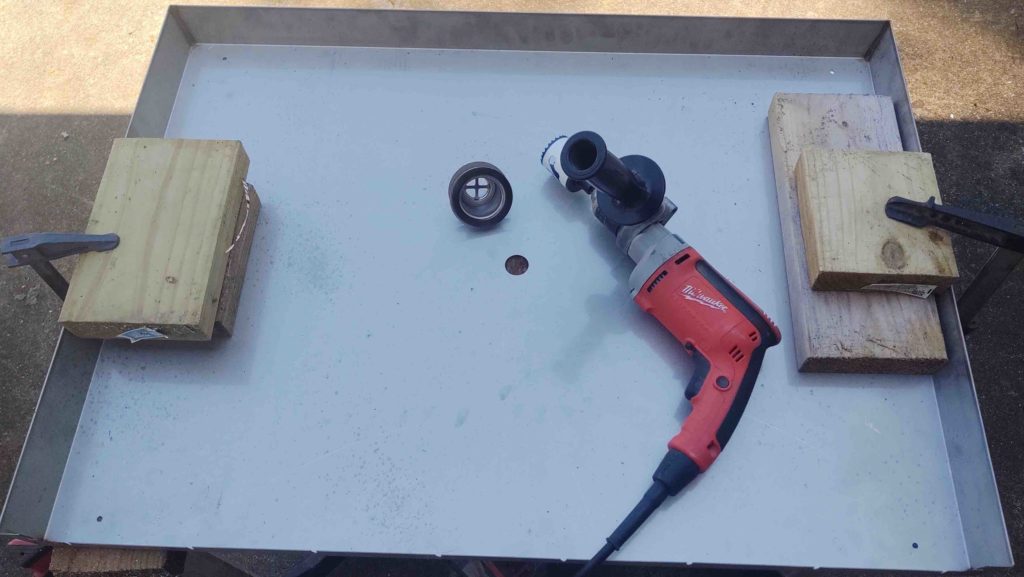


I then mounted the bar sink drains with plumber’s putty and built a 2×4 frame to mimic the frame of the plasma cutting table.
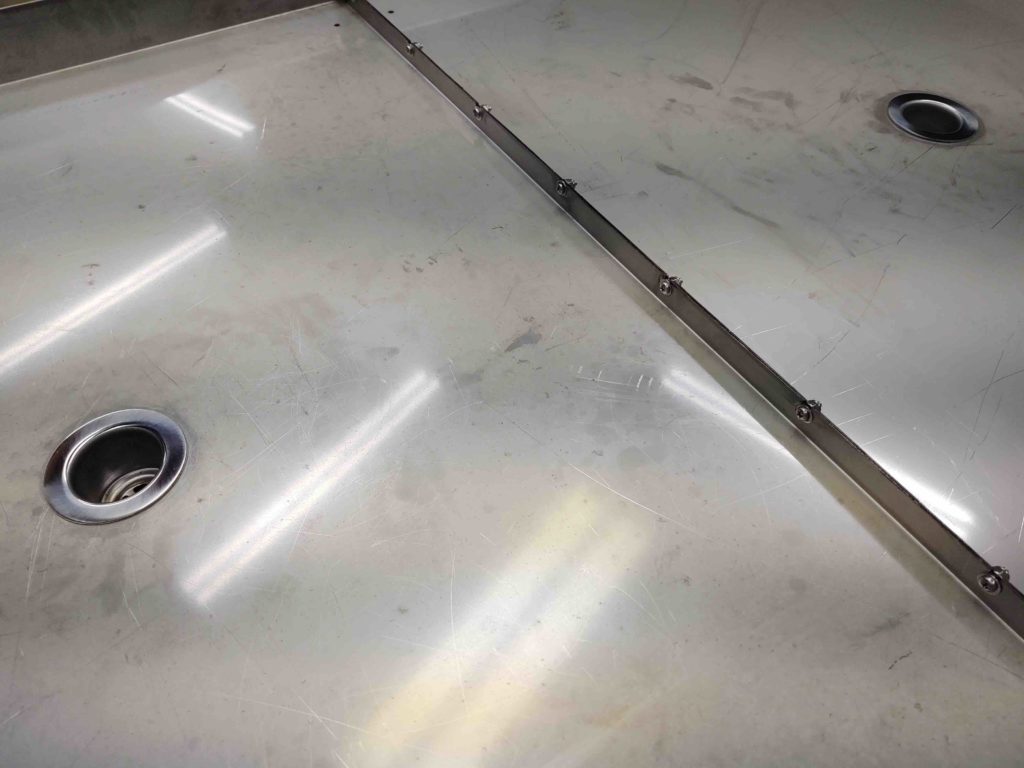
You see, the water table halves were meant to be joined on the plasma cutting table using a tube of supplied silicone, with stainless steel hardware. The problem was that the supplies required to join the water table halves together came in Box 2, which hadn’t arrived yet.
I had already noted that a number of Batch 1 customers (I was/am Batch 2) were not overly happy that in using the supplied silicone were left with leaky water tables. One forum member noted that in his job working on boats he uses 3M 4200 sealant, and that it had worked a treat on his table with no ensuing nor offending leaks.
So although not cheap, I had the 3M 4200 sealant in hand after ordering it from Amazon… and along with about $6 in stainless steel self-bought hardware, I proceeded with joining the water table halves together.
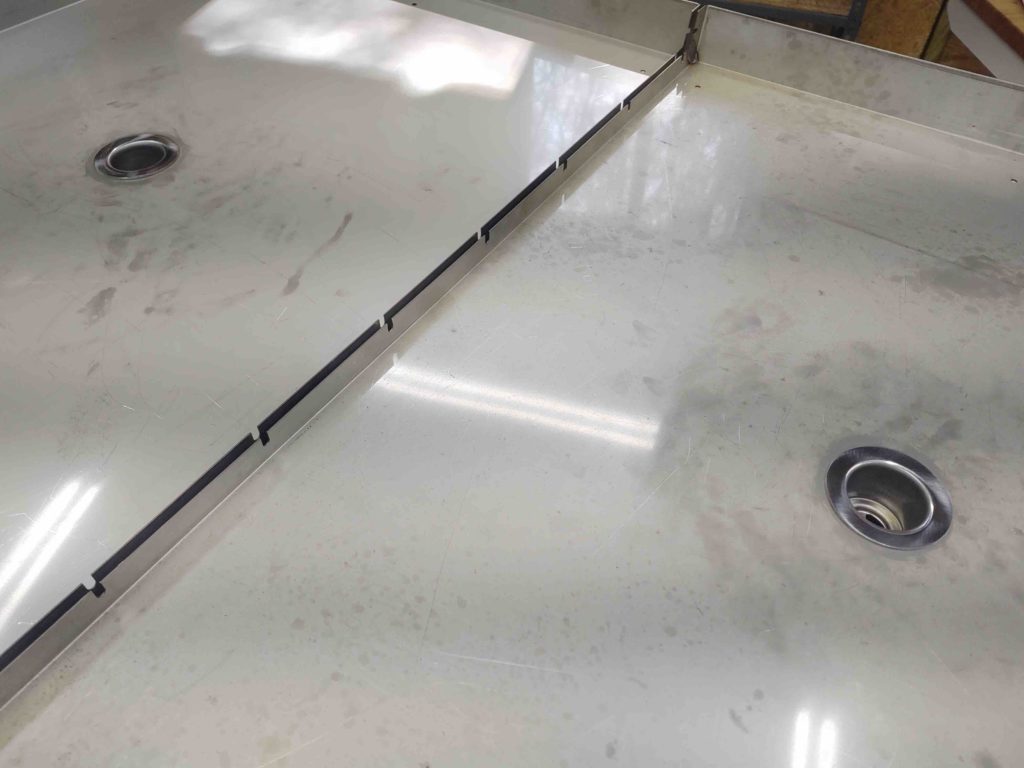
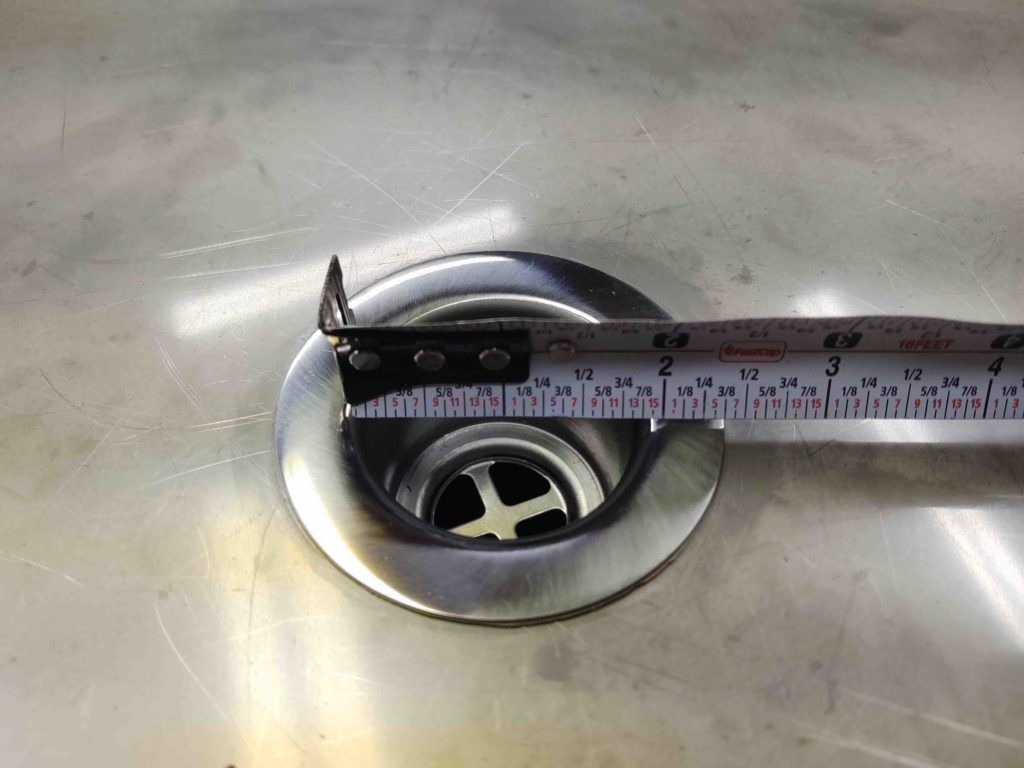
For comparison’s sake, the original drain hole was 1″ in diameter, with the actual drain 3/8″ in diameter. Here you can see my modified drain is just under 2″ in diameter, with a good 1″ diameter for the actual drain…. about as bit as the original total drain mounting hole diameter.
I’ll touch on this here although I discuss it in my videos on plasma cutting and the plasma cutting table…. I had originally decided to buy a Hypertherm 45XP plasma cutter and that decision had been solid since I pulled the trigger on the Crossfire Pro table in November.
However, as I started digging into the forum, I kept seeing the PrimeWeld Cut 60 plasma cutter popping up with rave reviews and glowing feedback from its owners. Ironically, after a lot of research I had already decided I was going to buy the PrimeWeld TIG225X ACDC welder and was merely waiting for them to come back in stock.
So, the more I researched the PrimeWeld Cut 60 plasma cutter, the more convinced I was that at 25% of the price of a Hypertherm 45XP (which is THE flagship for home and small business plasma cutters), I could buy a Cut 60 and have enough in my budget to buy a lot of extra goodies that would simply have to wait a considerable amount of time before purchasing if I went the 45XP route.
So although it might mean a bit more legwork on dialing the machine in for consistent use, I just couldn’t pass up such a seemingly overwhelmingly good cost-benefit ratio… Thus, I pulled the trigger on the PrimeWeld Cut 60.
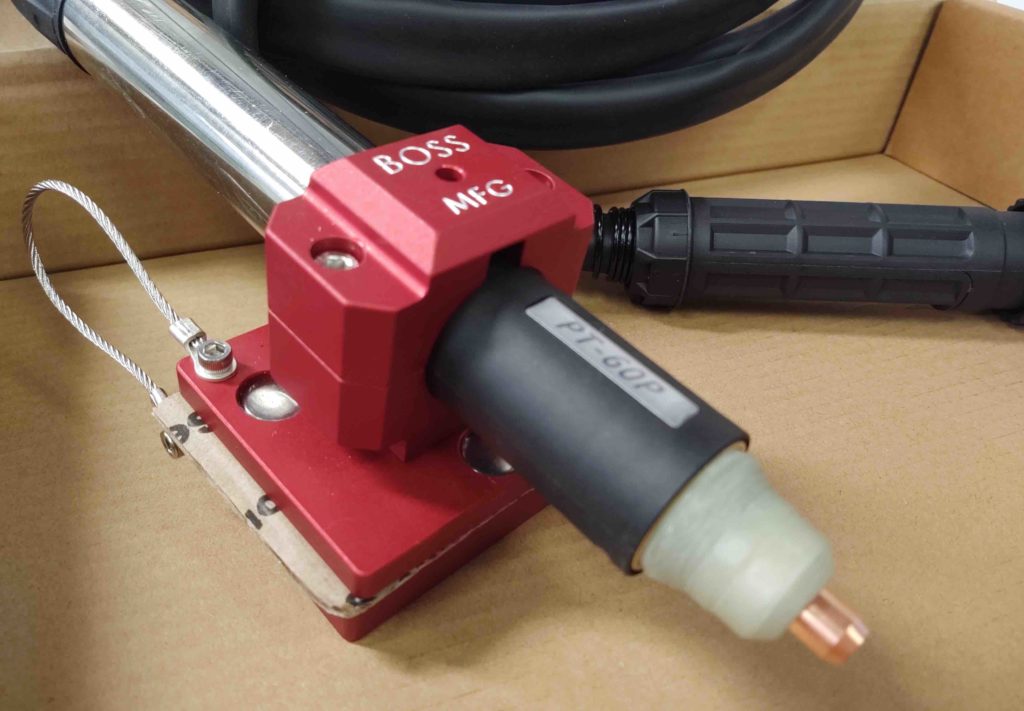
In the ensuing days, with the money saved on my PrimeWeld purchase, I then pulled the trigger on a machine torch (guarantees a much higher quality and infinitely more consistent cut quality) and a magnetic break-away torch mount (which pretty much guarantees NOT breaking your torch if it crashes into a “tip up” or other gnarly metal protrusion during cutting ops).
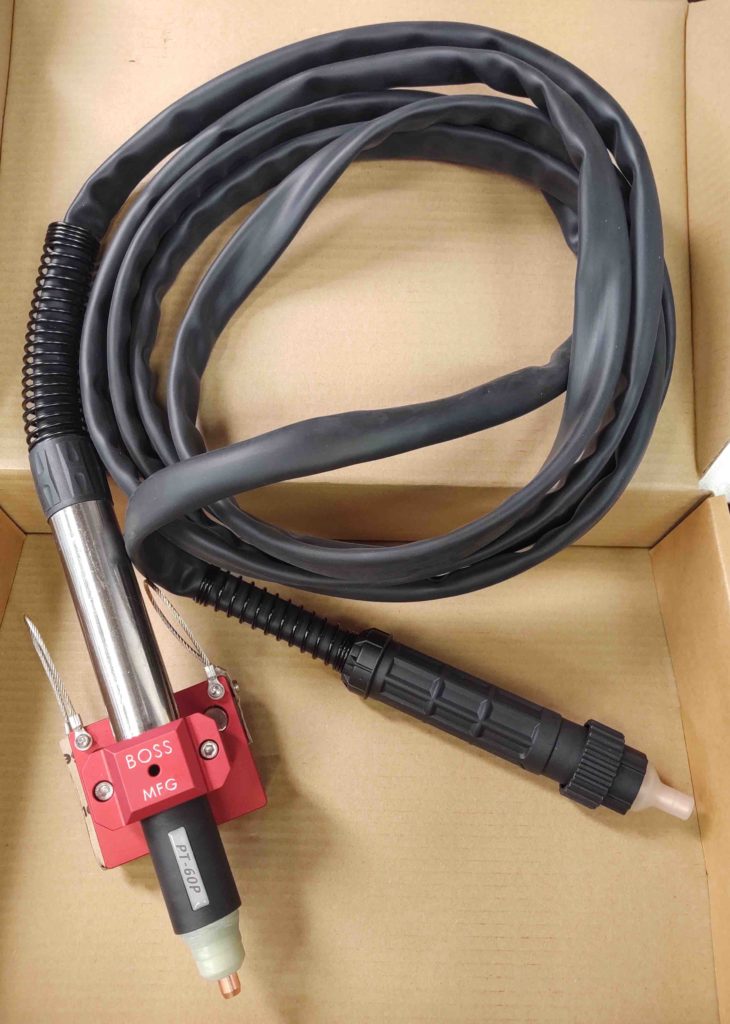
Another couple shots of the machine torch mounted in the magnetic break-away torch holder [note how tall the machine torch is…]

As I mentioned above, I discovered a common modification for the Crossfire Pro table was to add a lower shelf for both the plasma cutter and water table reservoir to be placed. After a bit of research, and copying a BOM placed on the forum, I placed an order for all the metal required for the lower shelf mod.
Below left is a general outline of the lower shelf frame. I chose 1″ x 2″ tubing, where I noted most guys opted for 2″ x 2″ tubing.
To the right is the aluminum diamond plate panels that I ordered –although a tad more expensive than flat panels– to spice up the top of the shelf a bit.

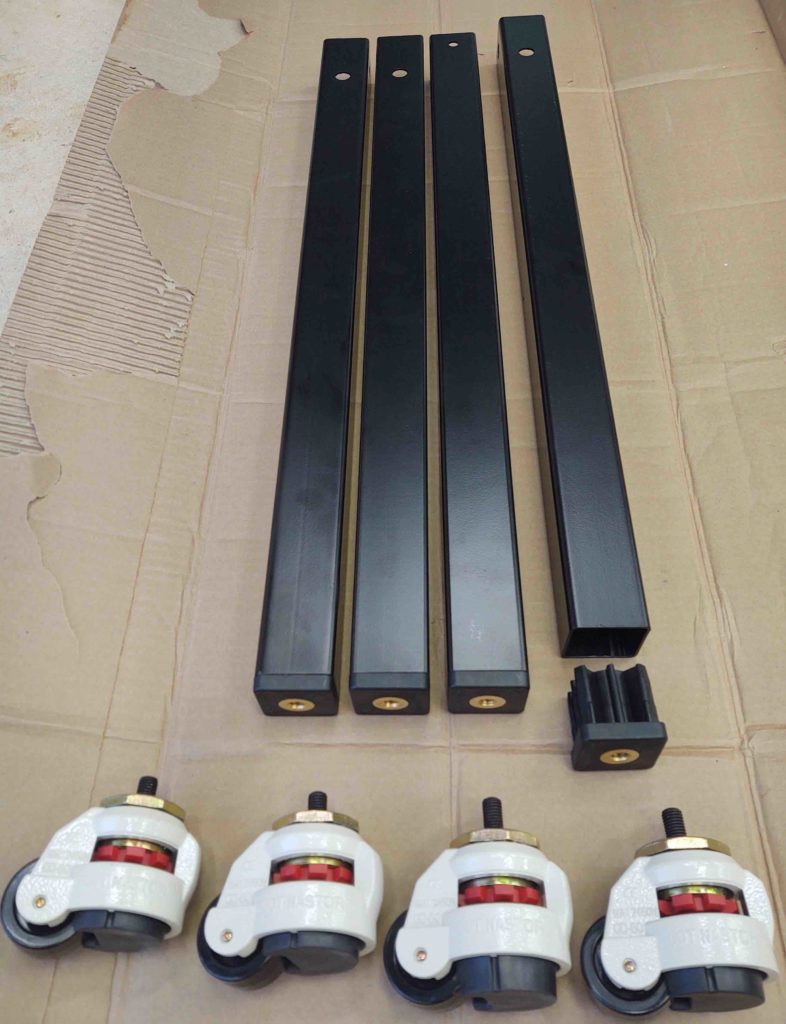
Another great tip I received on the forum was to replace the table’s stock leg foot pads for Foot Master casters, which serve as both solid foot pads and casters by manipulating the red rotating handle.
BTW, these are cheaper knockoffs that I got off of eBay only because the delivery dates on Amazon were all way too long. And that’s after my original order was canceled by Amazon as undeliverable.

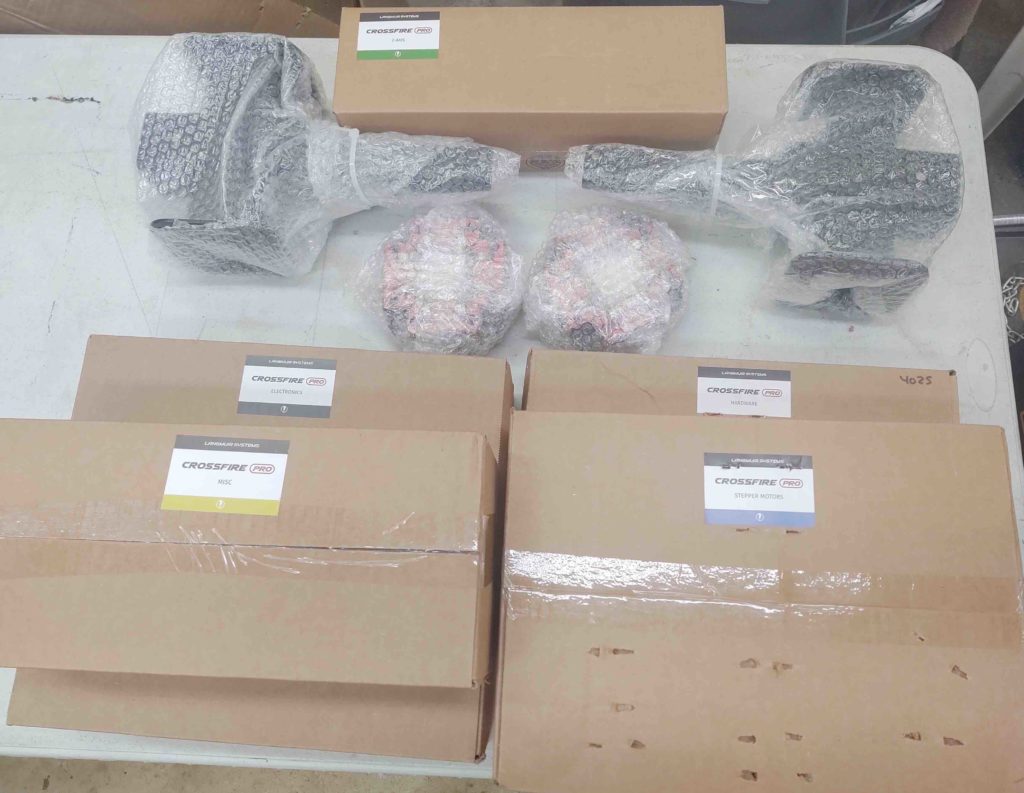
A couple of weeks after Box 3 (water table) arrived, I received Box 2, which is everything else for the entire plasma cutting table sans the frame tubing: hardware, cables, electronics box, gantry assemblies, bearing assemblies, stepper motors, miscellaneous, etc.
About a week after receiving Box 2, I spent a good 2 hours late one evening inventorying it and repackaging all the hardware into bags that matched the assembly steps in the manual. This greatly accelerated the assembly process as soon as Box 1 (frame tubes) arrived.
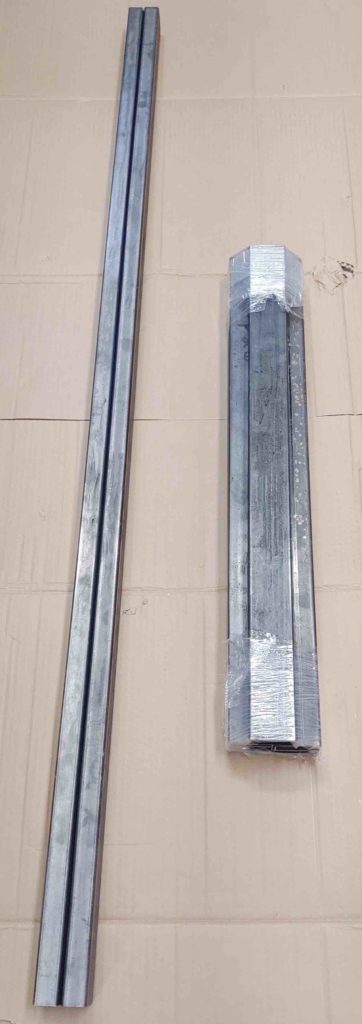
I should note that Box 1 not only contains the frame tubes for the table, but also the lead screws for the 2 Y-axis stepper motors and the X-axis stepper motor. Well, those happened to be the one thing that was delayed in production, so instead of getting all the orders out and delivered in April as had been quoted, all us Batch 2 bubbas received our Box 1’s in mid-May (13 May to be exact).
No big deal as it gave more time to get things prepared (and work on the shop!). Here’s a couple of pics of Box 1 literally moments after the UPS guy and I placed it onto my pallet dolly.
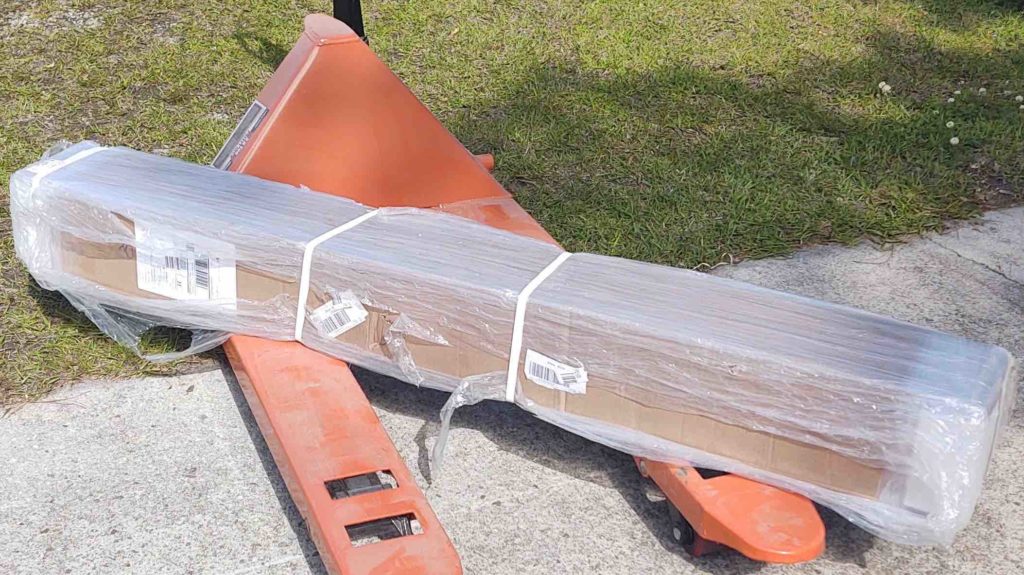
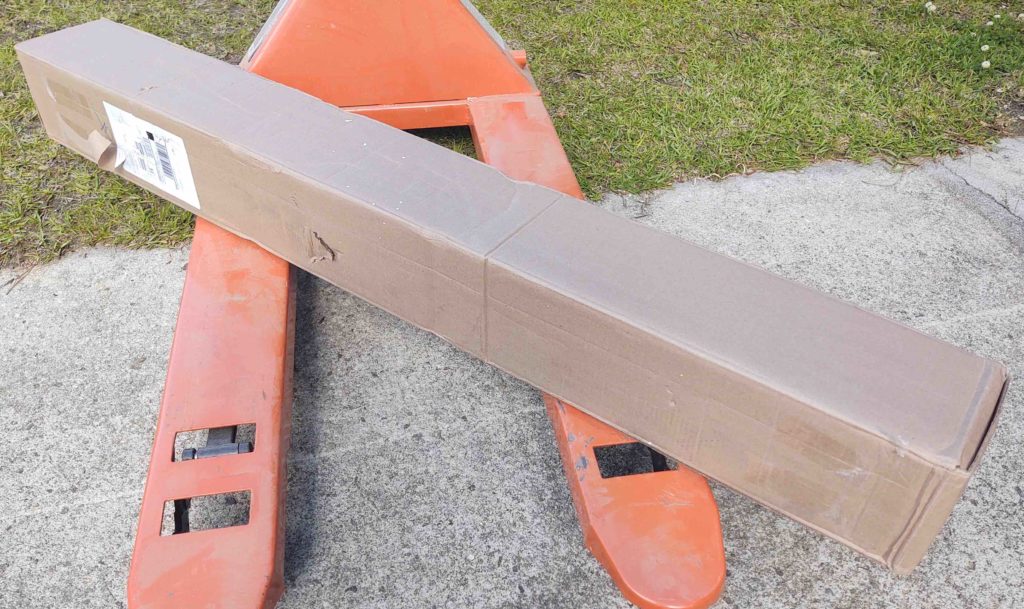
And not an hour later after I unpacked Box 1.
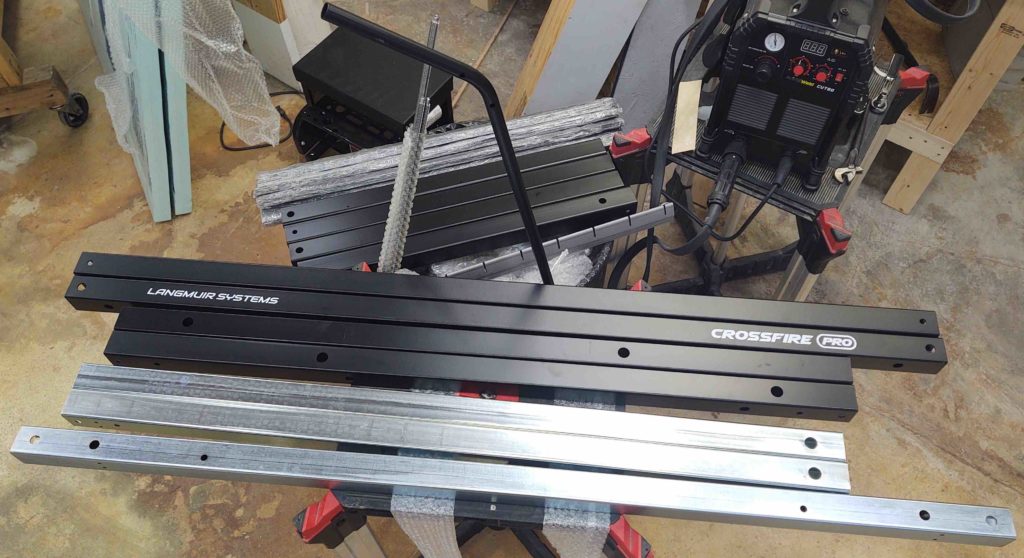
After waiting over 6 months to receive this thing, I then got to work assembling the plasma cutting table!
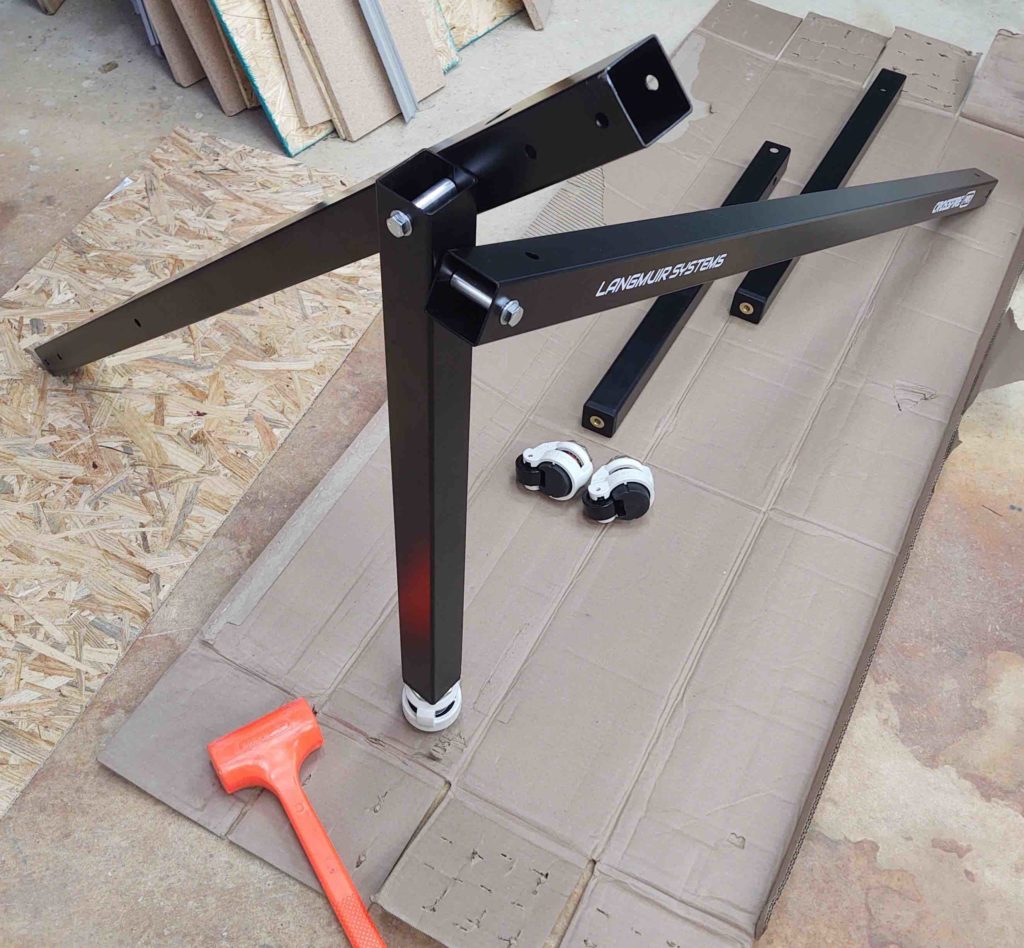
First off was the table leg caster mods. The black leg insert that the Foot Master caster mounts to was yet another component that was ID’d by part number (McMaster-Carr) from yet another forum member [I tell ya, that forum is pure GOLD!].
I then started assembling the table . . .
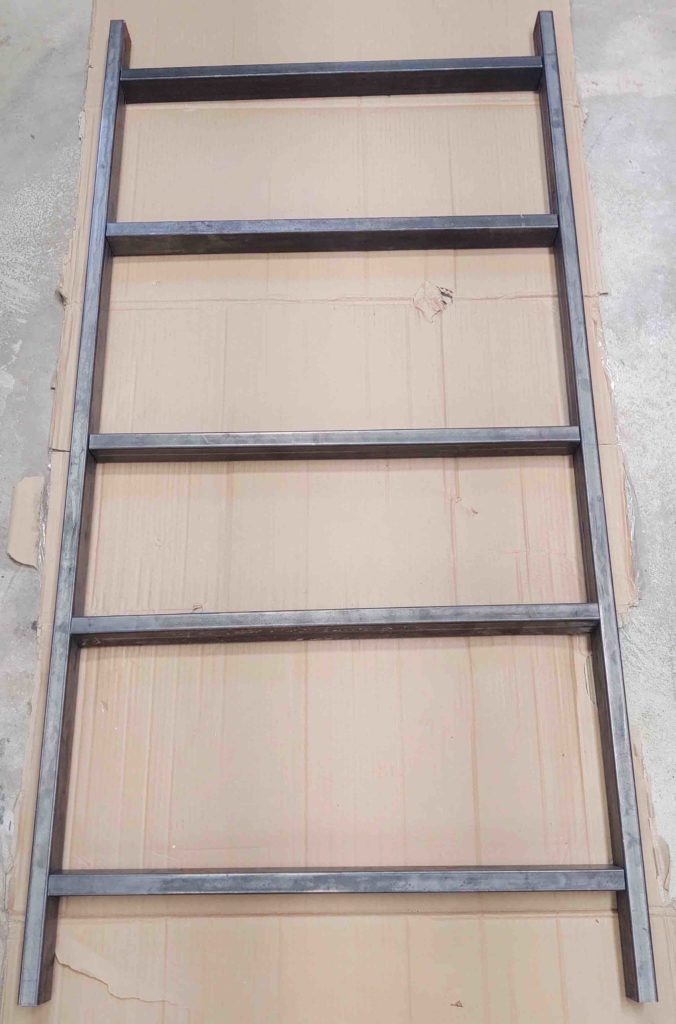
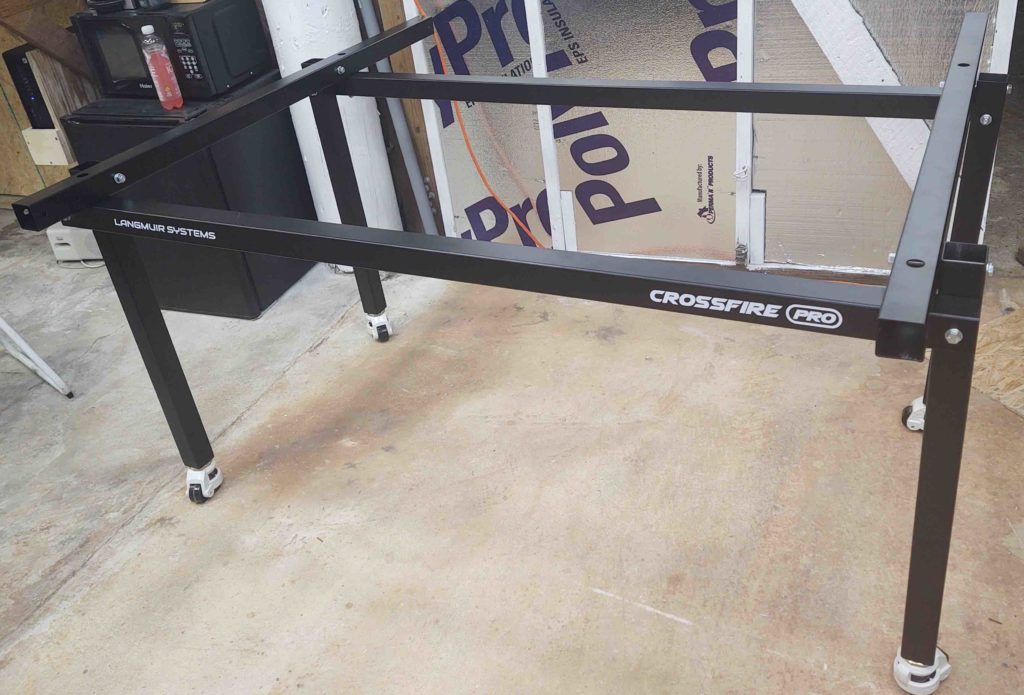
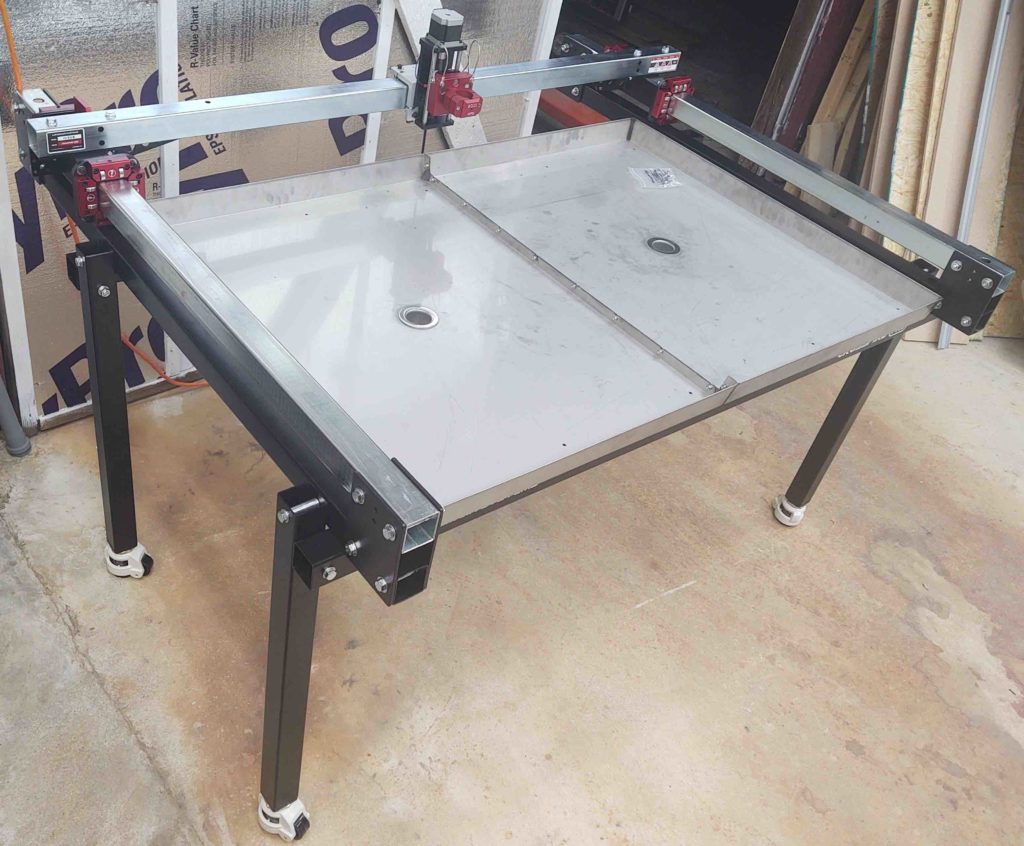
The assembled table frame shot below left may look innocuous, but it took well over 2 hours to get the table corners square and the 2 respective table end tubes (that the Y-axis gantry tubes attach to) parallel to within 0.030″.
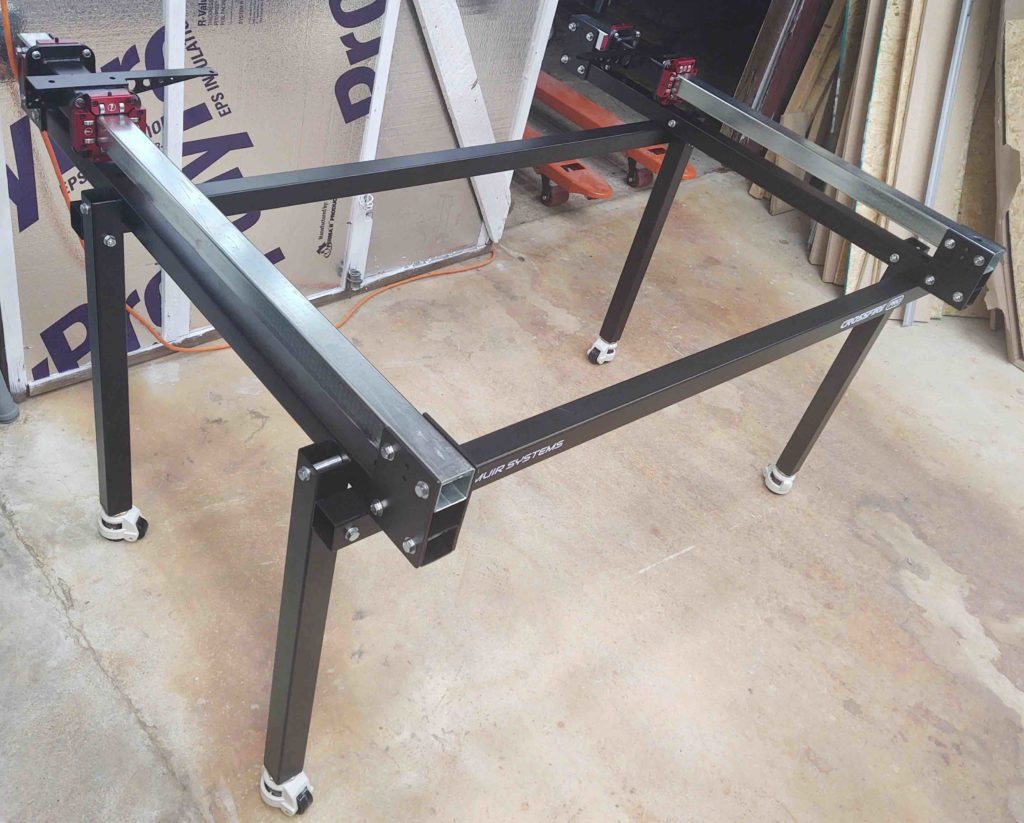
I then attached the Y-axes tubes and the bearing assemblies that mount to the x-axis gantry cross tube.
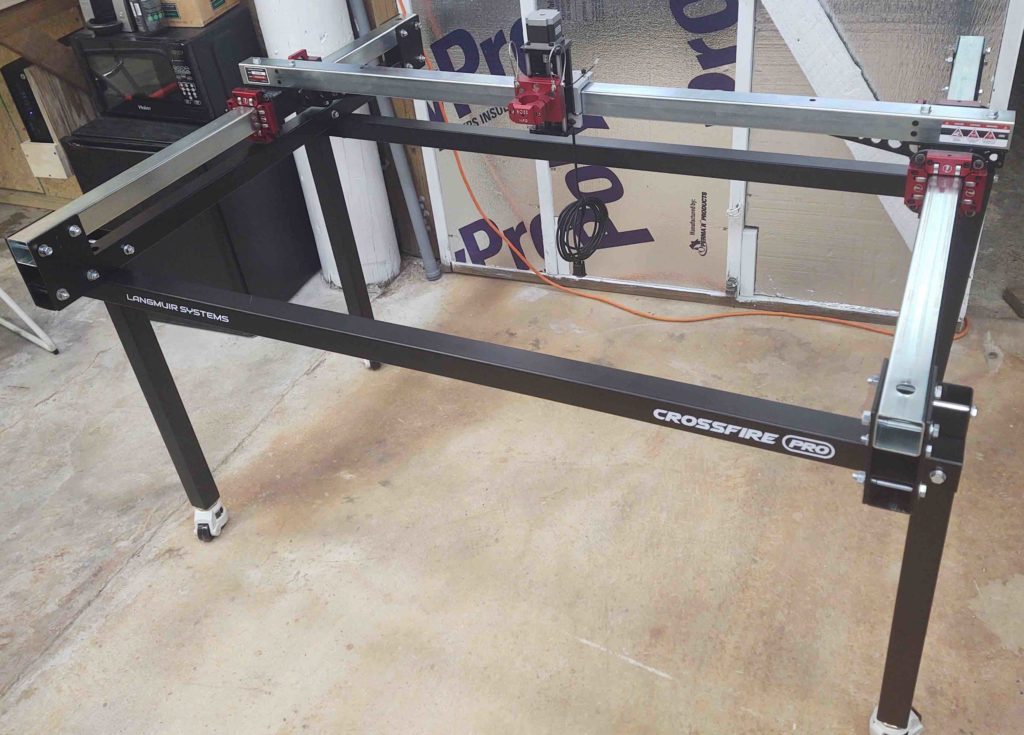
Here we have both the Y-axes and X-axis gantry installed. Note also that the Z-axis and torch mount are also assembled.
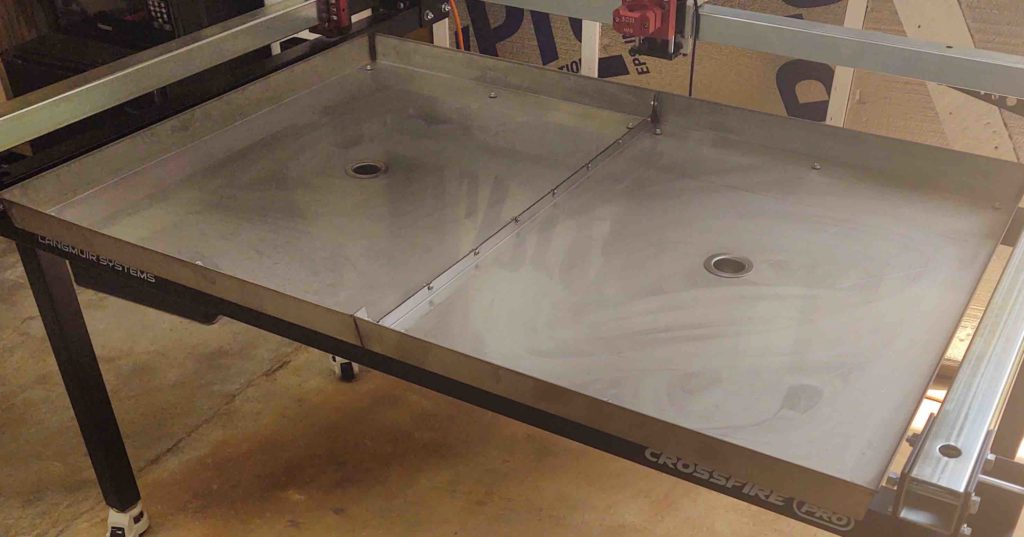
I then set the water table in place and spent another 30 minutes ensuring that it was exactly equidistant to the sides in all directions.
It was late so I left the super noisy job of driving self-drilling screws into the table frame until the next morning.

Here’s the water table after it was attached with self-tapping screws into the table frame cross tubes.
I then set the triangular slat holders in place.
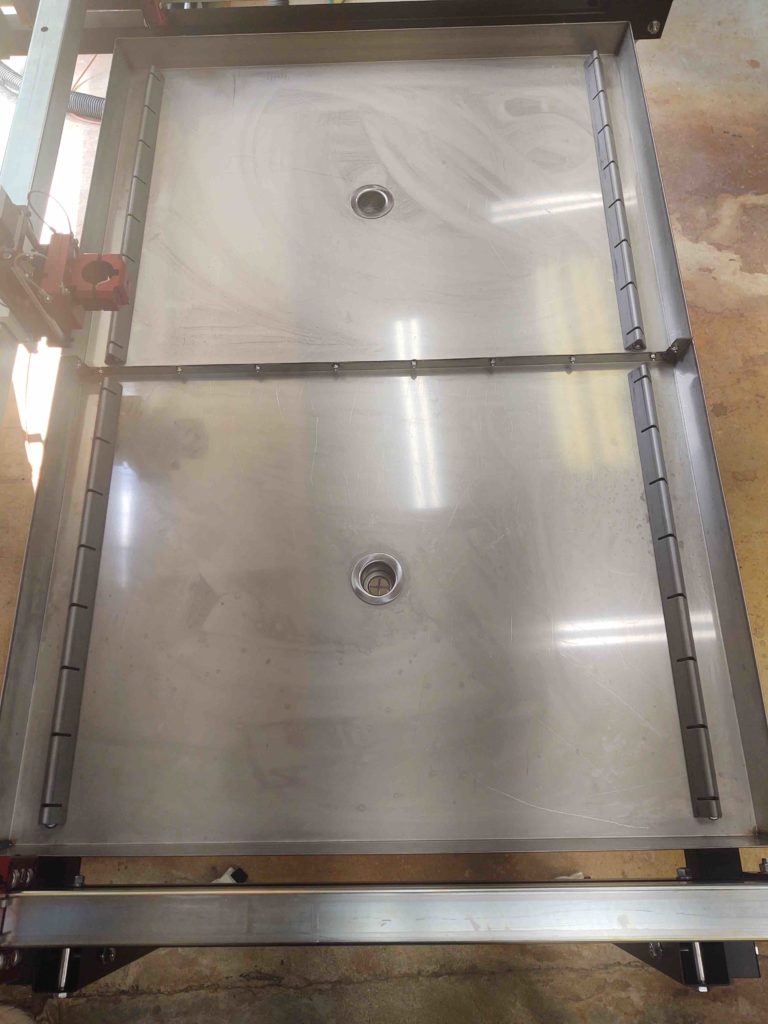
And mounted the water table slats into place.

Next came wiring up both the Z-axis stepper motor cable and the Initial Height Sensing cable, both of which require routing to the electronics control box via the cable (aka “fishing”) pole.
Also note that I installed the lower table frame gussets and end aprons to lock the squareness of the table into place.
Finally, in the lower back left corner you can see the electronics box has been mounted to the table leg.
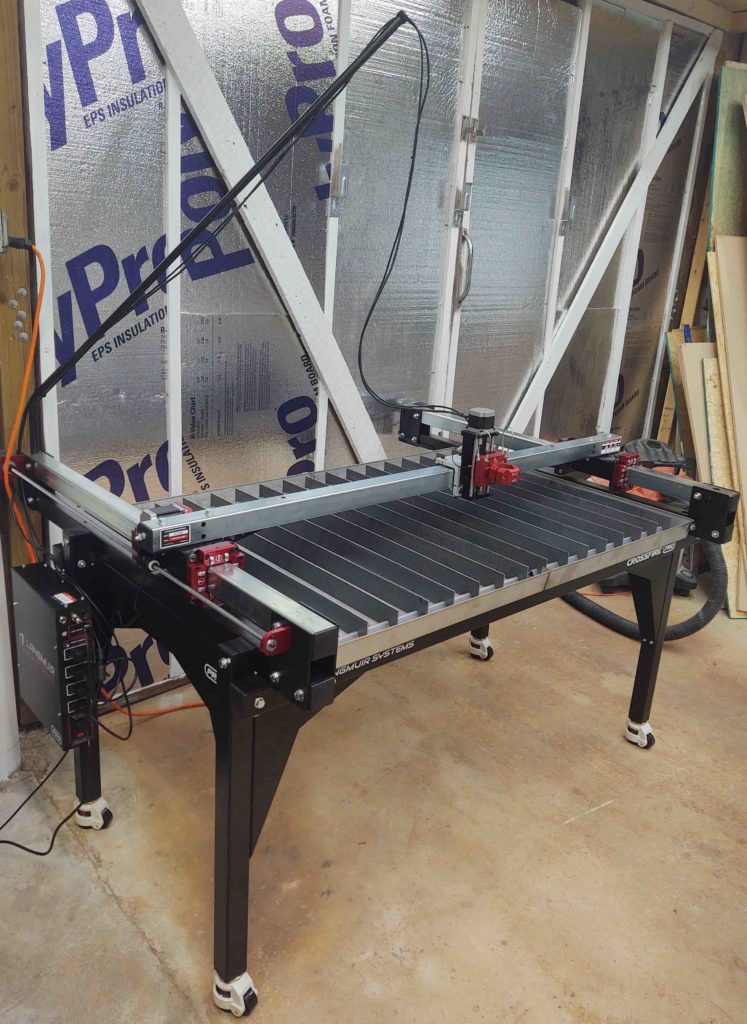
And with that, the plasma cutting table is officially operational!
But wait! There’s more…. tomorrow I’ll start work in earnest to weld up and paint the lower shelf, which will enable me to actual use this table (since I already swapped out the stock water table drains for the new ones…. which now require a water reservoir and plumbing).