
Today my entire effort was to get the new milling machine Y-axis CNC stepper motor, 2x CNC stepper motor drivers, and 2x 300 watt power supplies ops checked. I want to get all these components configured and ops checked so I can pack them up for the next load down to NC. Moreover, if I have any issue with any of these latest round of components I need to be able to let the seller know in a timely manner so we can correct any issue. Of course, crossing my fingers that all works as designed.
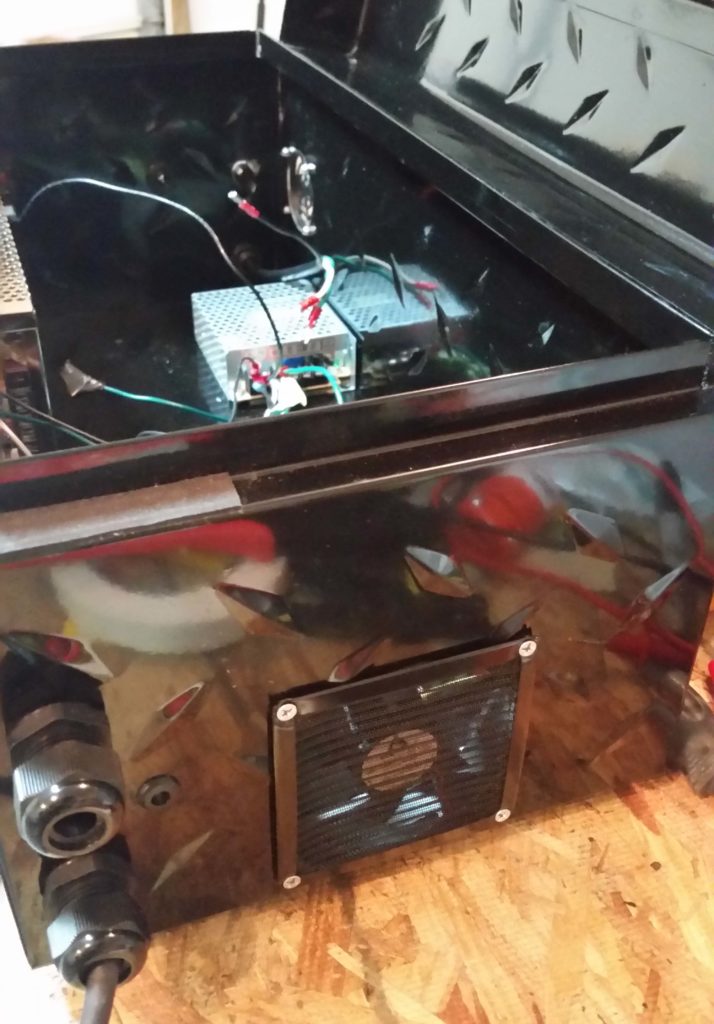
However, before I can do all the above, I need to take some prerequisite action on the Lathe CNC Controller Box (yes, that currently houses the Acorn controller components for the mill… I’ll swap boards when I get the next Acorn CNC controller kit) by first installing a cooling fan (that I just received) and cooling vent port on the other side of the case.
Below is a shot of the 90mm fan installed, with exterior cover plate, on the right end of the Lathe CNC controller box. Since I didn’t have a 90mm hole cutting saw, I simply drew out a circle and cut the hole with my trusty Dremel Tool.
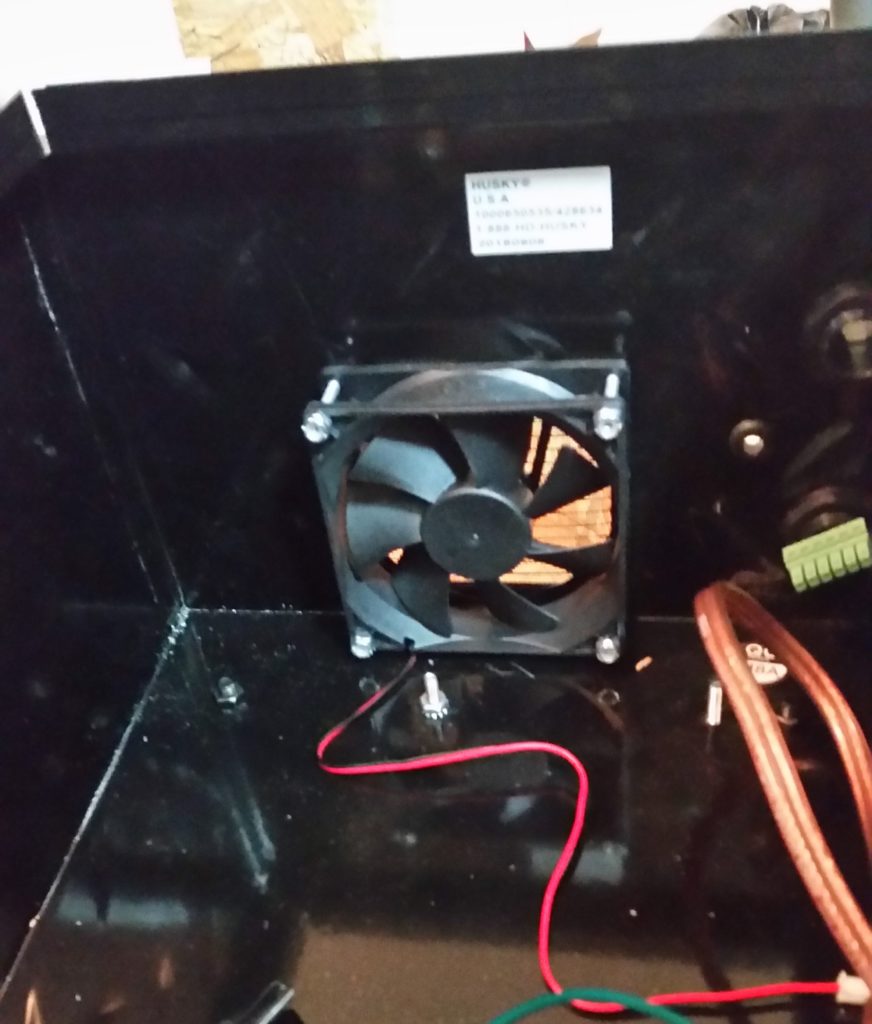
Here’s the inside shot of the 90mm cooling fan for the Lathe CNC controller box.
I have it positioned where it is to optimize the airflow over the cooling fins of the both X and Z axis stepper motor drives mounted (obviously) just in front of the fan.
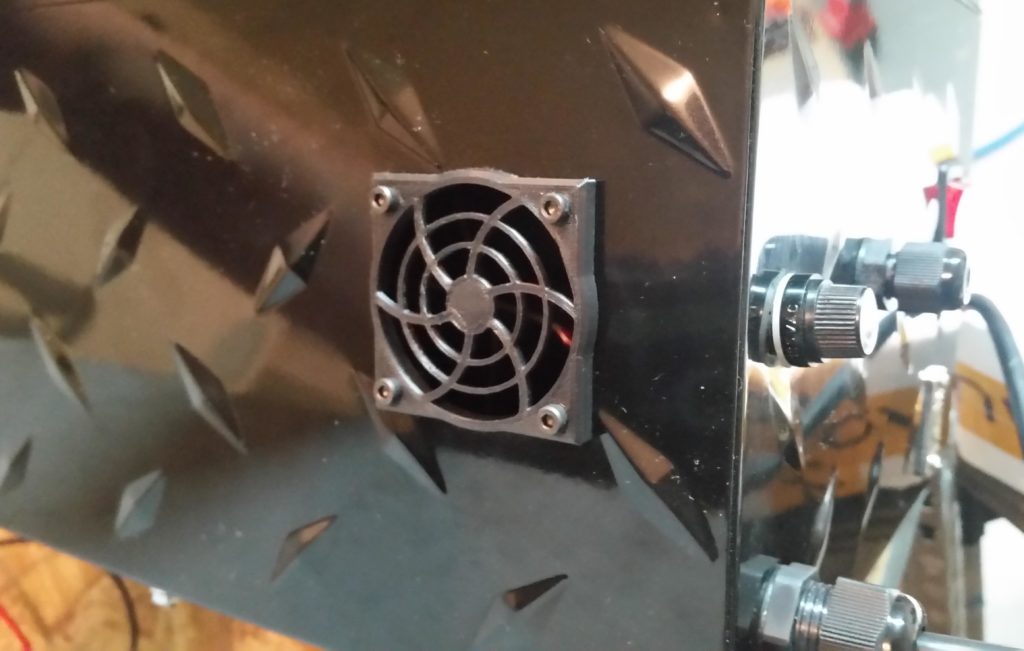
Before I cut the opposite vent hole in the Lathe CNC controller box, I decided to use a 50mm fan/vent cover that I downloaded and 3D printed. I chose 50mm since I wanted it a bit smaller than the intake cooling fan (90mm) to allow for a slight overpressure of the box to slow down the exiting air and allow it to pick up heat before it exits (analogous to our oil coolers on our airplanes). Also, I had a 2-inch hole saw, so . . . it was all a bit convenient (wink).
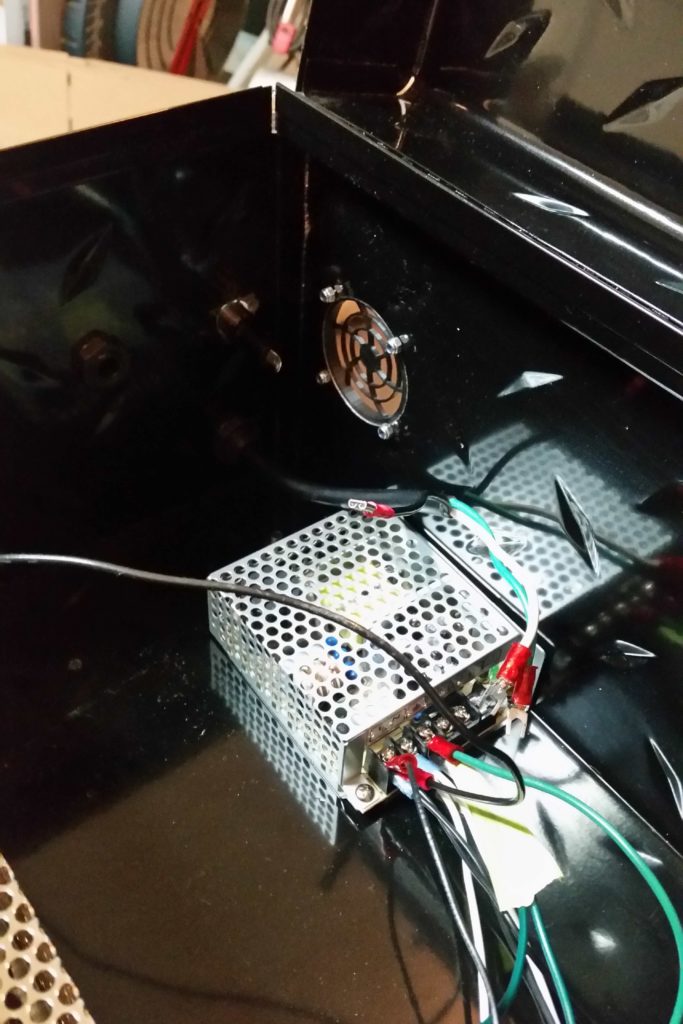
Again, here’s the interior shot of the Lathe CNC controller box cooling vent.
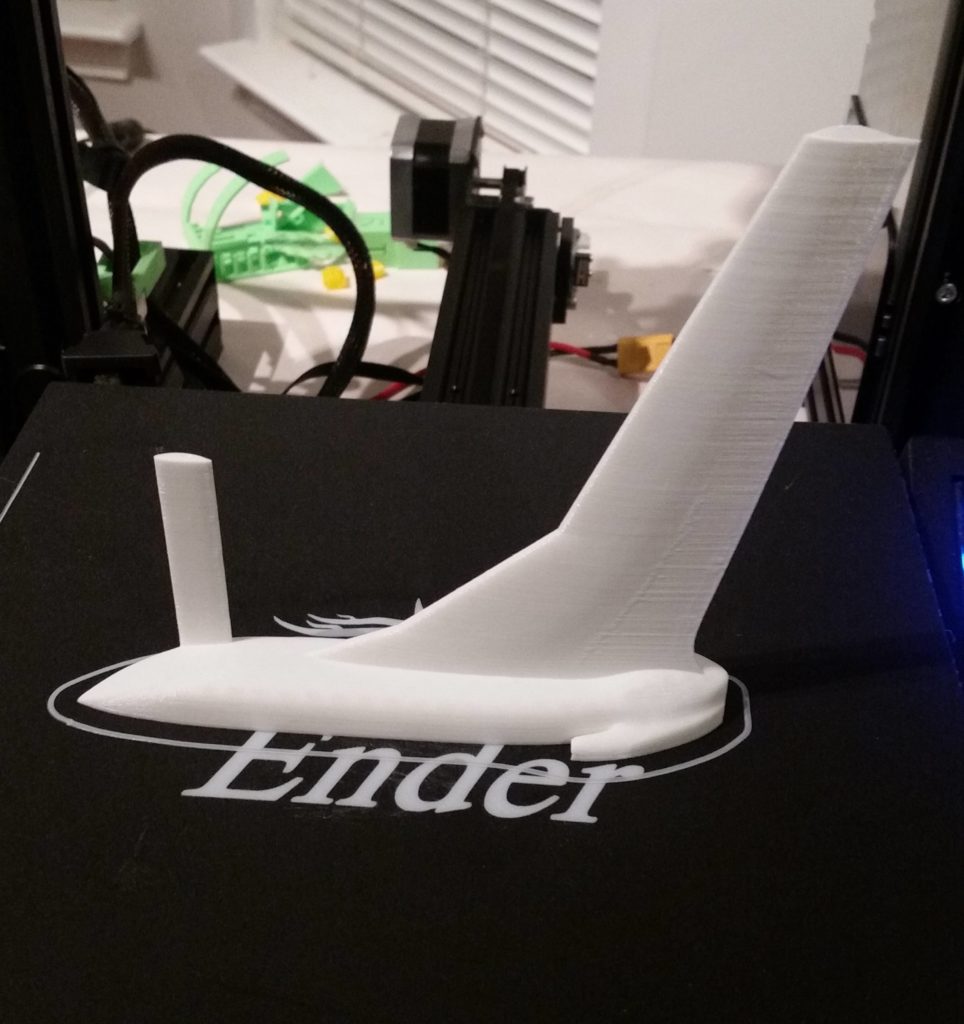
So, after about a half hour down in the shop I realized “Bob” (the moniker my 3D printer now bears) was not doing a darn thing! I figured I would put Bob to work and since I had an entire day scheduled in the shop, I could do some longer 3D prints.
I decided to print a Long-EZ model that Terry Lamp (builder of Marco’s beautiful Long-EZ) showed me a pic of that he had done. So I kicked off the 3-1/2 hour long 3D print that was required per each side of the fuselage.
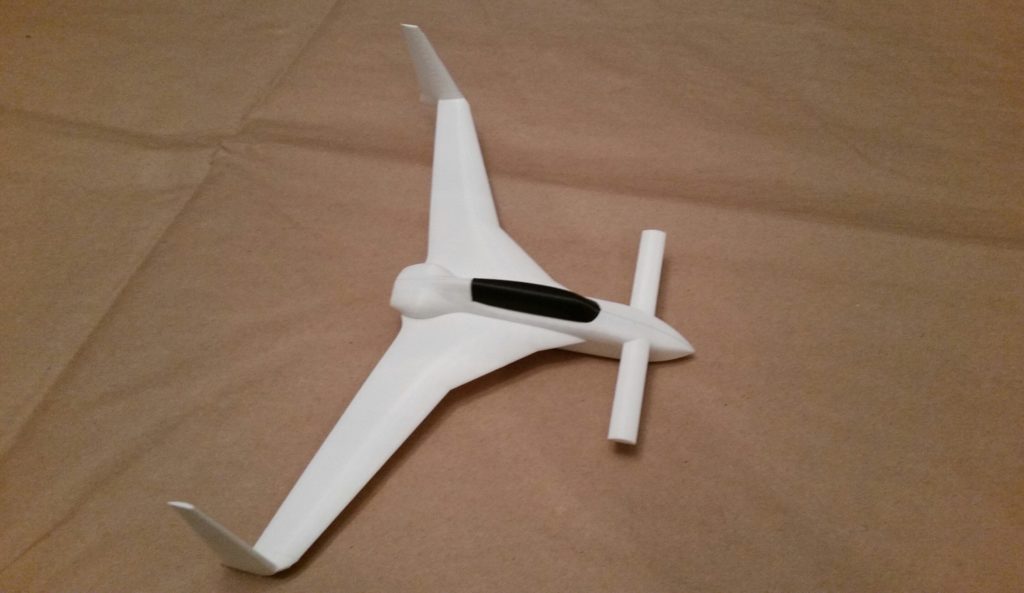
Here’s the results late in the evening! Again, I have to say I’m very impressed with this little 3D printer.
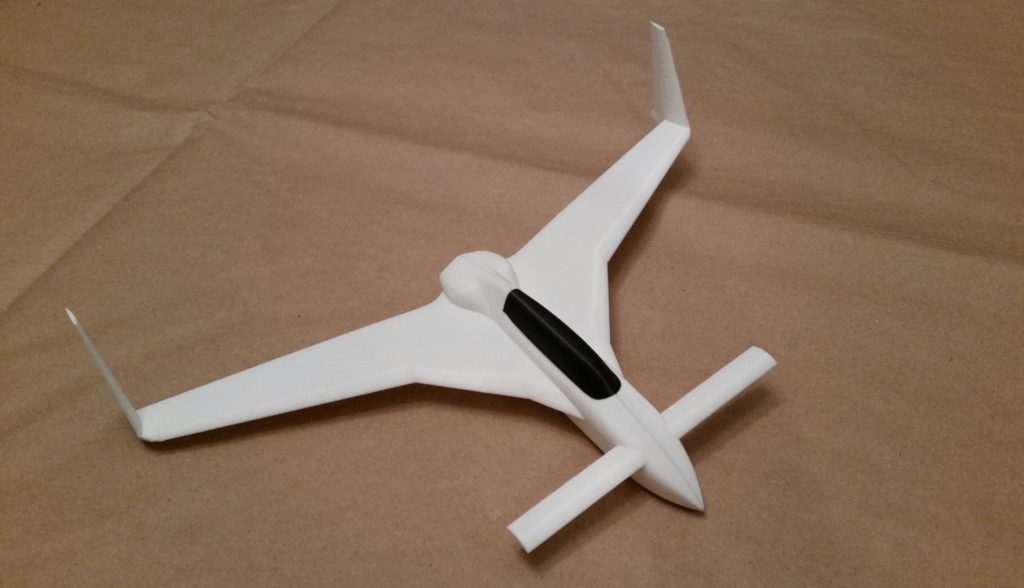
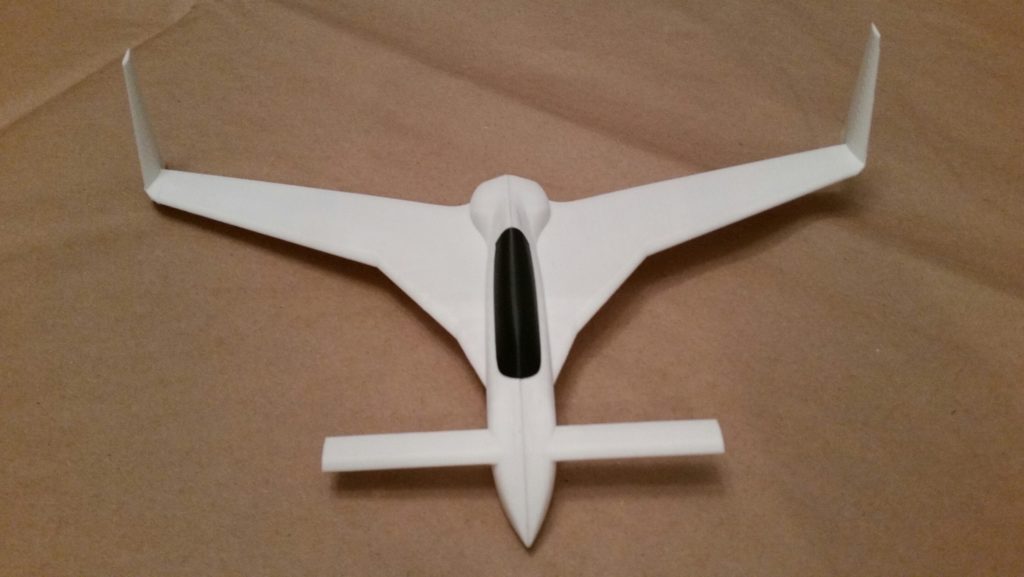
As I told Terry: Of course I love how cool this little model is, but it will also really help me visualize some paint schemes that are a little hard to do without an actual finished airplane or just looking at 2D pictures.
Again, not a direct airframe build kind of day, but getting closer with this ancillary stuff!